
As I rummaged through my pantry for a quick dessert, I stumbled upon the perfect combination of ingredients that turned my average baking day into a little magic. This is how I discovered the joy of making Magic Bars—a delightful blend of textures and flavors that will transport you to dessert paradise. My Magic Bars Recipe is a must-try for anyone who appreciates easy baking. With a buttery graham cracker crust, gooey chocolate, and customizable toppings like nuts and coconut, they serve as a fantastic crowd-pleaser for gatherings or a sweet treat for cozy nights at home. Plus, they’re super simple to whip up, inviting you to get creative with whatever goodies call to you. Are you ready to add some magic to your kitchen?
Why Are Magic Bars So Irresistible?
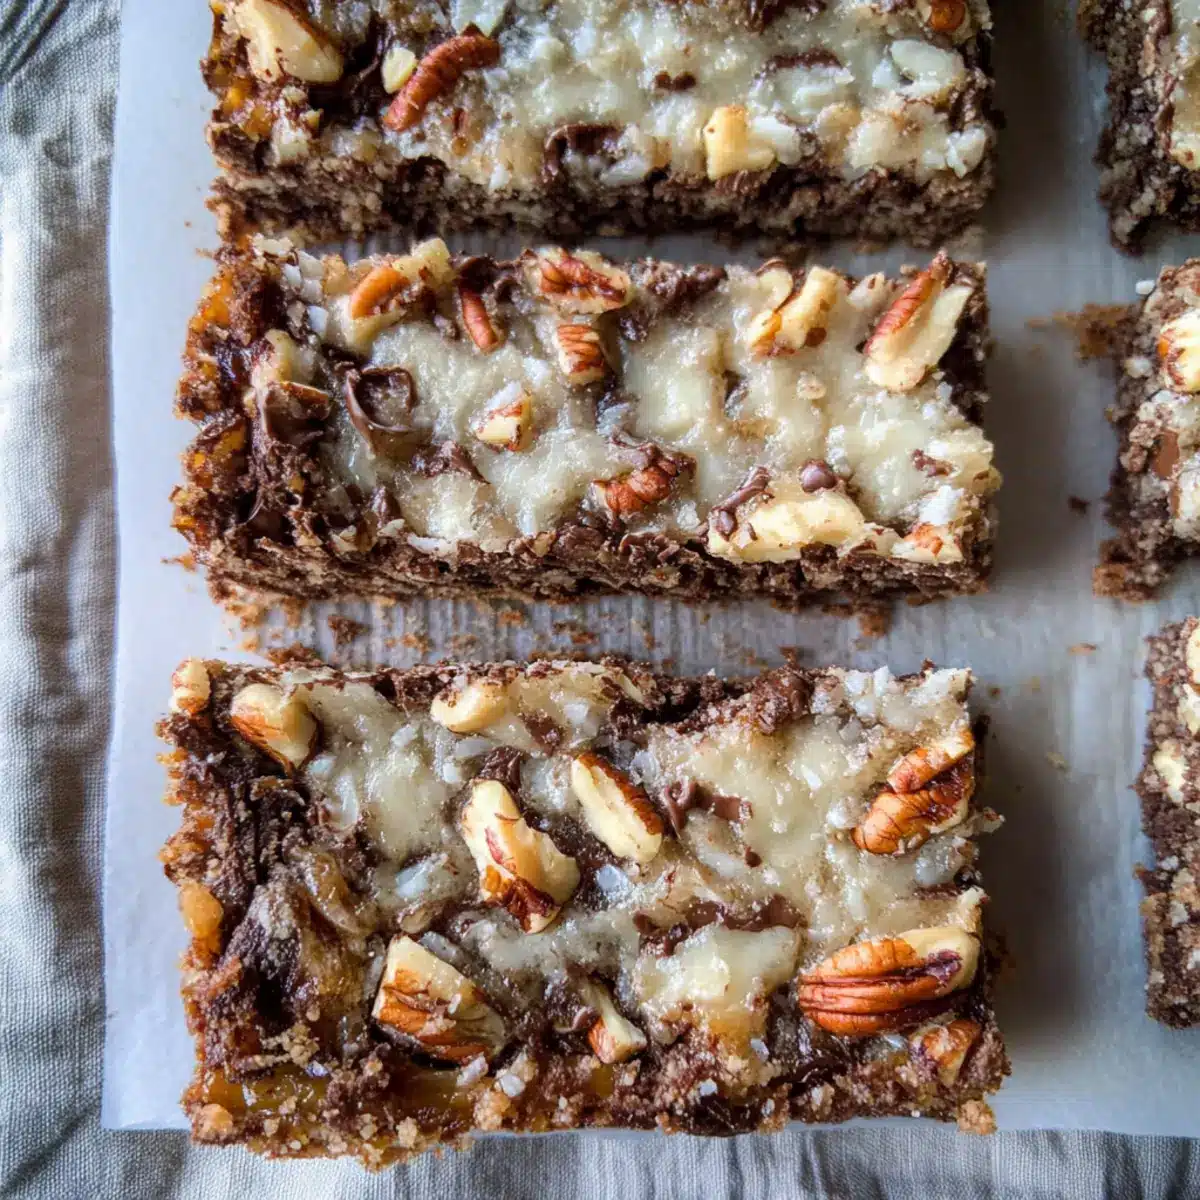
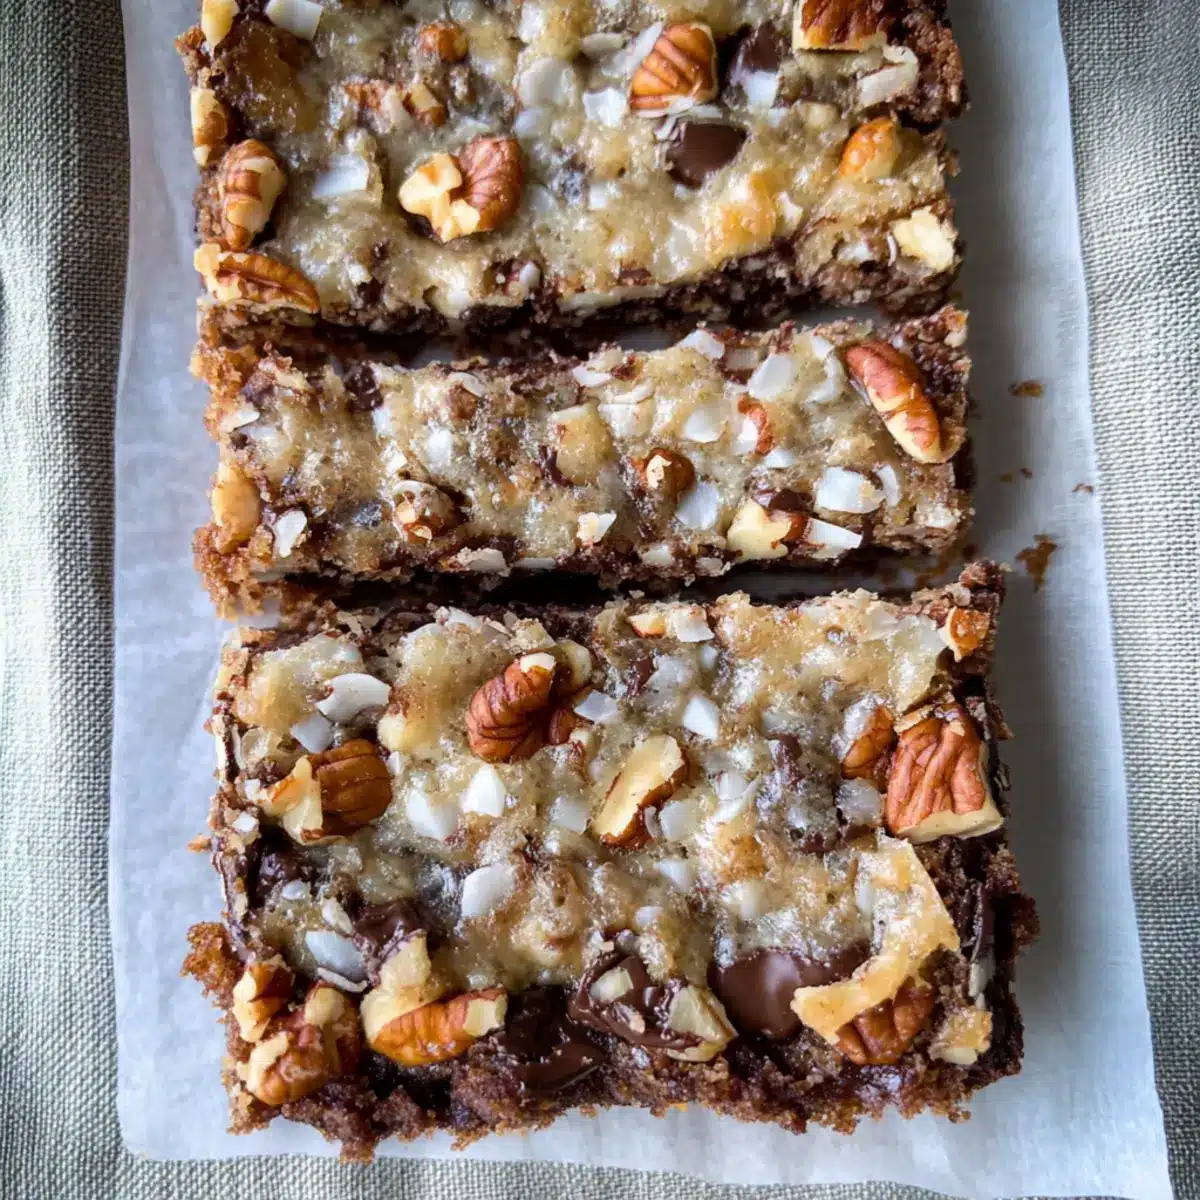
Irresistible Layers: Each bite of Magic Bars offers a delightful mix of textures, from crunchy crust to gooey chocolate.
Endless Customization: Feel free to get creative—swap nuts, add butterscotch chips, or even mini marshmallows!
Crowd-Pleaser: Perfect for parties and potlucks, these bars are sure to impress guests and loved ones alike.
Quick and Easy: With straightforward ingredients and minimal prep time, you’ll have a delicious treat in no time.
Make-Ahead Magic: Bake them a day in advance for easy entertaining, ensuring they’re always ready when cravings strike!
For more delightful dessert ideas, check out my Cottage Cheese Spinach recipe for a savory option or satisfy your sweet tooth with a batch of Chocolate Chip Bars.
Magic Bars Recipe Ingredients
For the Crust
• Salted Butter – Provides richness and moisture to the crust. Unsalted butter can be used if preferred, just adjust salt in the recipe.
• Graham Cracker Crumbs – Forms the base crust, adding a sweet, crisp texture. Can substitute with finely crushed Oreo cookies or shortbread for different flavors.
For the Layers
• Semi-sweet Chocolate Chips – Adds sweetness and chocolatey flavor. Dark chocolate or milk chocolate can be substituted based on preference.
• Butterscotch Chips – Contributes a smooth, buttery sweetness. Can be replaced with white chocolate chips for a different taste.
• Shredded Coconut – Provides chewiness and nutty flavor. Unsweetened coconut can reduce overall sweetness, creating a more balanced flavor.
• Pecans – Adds crunch and a rich nutty flavor. Almonds or walnuts can be substituted based on allergy concerns or personal preference.
• Sweetened Condensed Milk – Acts as the glue that holds all layers together, imparting creaminess. Skim or evaporated milk is not a suitable substitute here.
• Sea Salt (optional) – Enhances sweetness and balances the flavors. A sprinkle over the top before baking elevates taste.
Now that you have all the ingredients for your Magic Bars Recipe, let’s dive into creating this delightful treat!
Step‑by‑Step Instructions for Magic Bars Recipe
Step 1: Preheat the Oven
Begin by preheating your oven to 350°F (175°C). While the oven warms up, prepare a 9×13 inch baking dish by lining it with parchment paper and lightly spraying it with nonstick spray. This ensures that your Magic Bars will release easily once baked, allowing for neat, even squares when you cut them later.
Step 2: Prepare the Crust
In a small mixing bowl, combine melted salted butter with graham cracker crumbs until well blended. The mixture should resemble wet sand. Once fully combined, press this buttery crumb mixture evenly into the bottom of your prepared baking dish. Use the back of a measuring cup or your fingers to create a firm, even base that forms the foundation of your luscious Magic Bars.
Step 3: Add Toppings
Now it’s time to layer the toppings for your Magic Bars! Start by sprinkling semi-sweet chocolate chips over the crust, followed by butterscotch chips, shredded coconut, and finally, chopped pecans. Spread these ingredients evenly across the crust, allowing the flavors to meld beautifully as they bake. Each layer adds its own delicious texture and taste, creating a delightful array.
Step 4: Drizzle the Milk
Take your sweetened condensed milk and drizzle it evenly over the layered toppings. Use a spoon to spread it out gently to ensure every part of the mixture gets a touch of that creamy sweetness. This vital step binds everything together and guarantees a chewy, rich bite in every square of your Magic Bars.
Step 5: Bake the Bars
Place the baking dish in the preheated oven and bake for about 25 minutes. Keep an eye on the edges; they should turn a lovely golden brown when they’re ready. The center will be set yet slightly gooey—this is the perfect texture that will yield soft and chewy Magic Bars once cooled.
Step 6: Allow to Cool
After baking, remove the dish from the oven and let the Magic Bars cool completely in the pan on a wire rack. This cooling process is vital as it allows the layers to set properly. Once cooled, you can lift the entire batch out of the dish using the parchment paper for easy slicing into equal squares.
Step 7: Cut and Serve
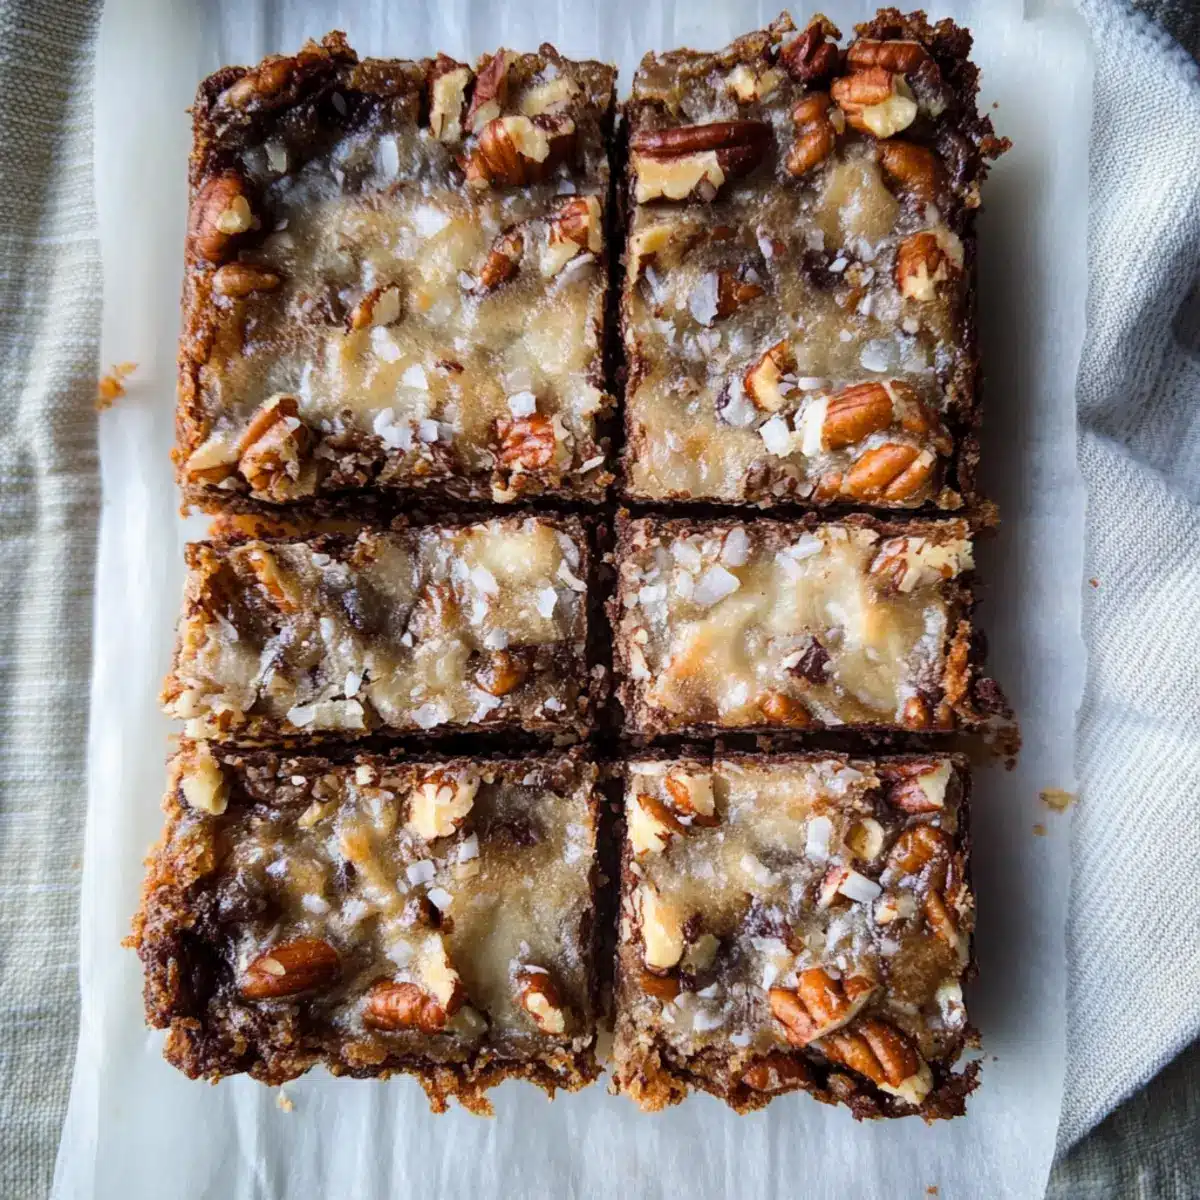
Using a sharp knife, slice the cooled Magic Bars into 20 squares, taking care to cut through all layers for clean edges. Serve them on a charming platter or store them in an airtight container to keep their delightful freshness. These bars are perfect for gatherings or as a sweet treat to enjoy throughout the week!
Expert Tips for the Best Magic Bars
- Cool Completely: Allow the Magic Bars to cool completely before cutting. This prevents messy squares and helps maintain their structure.
- Firm Base: Press the crust mixture firmly into the pan to avoid falling apart when sliced. A well-pressed crust is key to a perfect Magic Bars recipe.
- Flavor Variations: Don’t be afraid to customize! Use peanut butter chips, swap nuts for seeds, or add mini marshmallows for extra sweetness and texture.
- Layer Evenly: Distribute toppings evenly to ensure every bite offers a balanced mix of flavors. Uneven layering can lead to some pieces being overly sweet or lacking depth.
- Use Quality Ingredients: Opt for high-quality chocolate and fresh ingredients. This elevates the flavors, making your Magic Bars truly unforgettable!
What to Serve with Decadent Magic Bars
Indulging in the sweet layers of Magic Bars is just the start; here are delightful side dishes and drinks that will complete your dessert experience.
- Vanilla Ice Cream: A scoop of creamy vanilla ice cream complements the rich flavors of the bars and adds a refreshing temperature contrast.
- Fresh Berries: Raspberries or strawberries add a burst of tartness that perfectly balances the sweetness of your Magic Bars.
- Coffee: A warm cup of coffee enhances the chocolatey richness, while its bitterness balances the dessert’s sweetness beautifully.
- Whipped Cream: Light and airy whipped cream elevates the dessert experience, inviting you to savor each delightful bite with a fluffy topping.
- Chocolate Drizzle: A warm drizzle of chocolate sauce adds a luxurious finish, creating a richer, more decadent dessert choice.
- Nutty Caramel Sauce: Drizzle nutty caramel on top for a sweet finish that harmonizes with the pecans in the bars, making every bite a treat.
- Mint Tea: A soothing mint tea creates a refreshing palate cleanser, enhancing the overall indulgence without overpowering the magic.
- Sliced Bananas: Add some sliced bananas on the side for a fresh, fruity twist that contrasts nicely with the bar’s dense sweetness.
- Chocolate Milk: A glass of chocolate milk pairs fantastically, making it an irresistible treat for kids and adults alike.
- Salted Pecans: Serve a small bowl of salted pecans on the side to introduce a savory crunch that beautifully complements the creamy texture of the bars.
Magic Bars Recipe Variations
Feel free to sprinkle your own creativity into these Magic Bars and make them uniquely yours!
- Nut-Free: Substitute nuts with sunflower seeds for a delightful crunch without the allergens. Sunflower seeds lend a nutty flavor that pairs beautifully with chocolate.
- Peanut Butter Twist: Add peanut butter chips alongside chocolate chips for a rich, creamy taste explosion! The combination of flavors will make your taste buds dance with joy.
- Cookie Crust: Use crushed cookies, like Oreos or shortbread, instead of graham crackers for a fun flavor twist. The cookie base adds a sweetness that perfectly complements the layers above.
- Dried Fruits: Toss in some dried cranberries or cherries for a tart contrast. This fruity flavor can balance the sweetness while adding a pop of color to your bars!
- Mini Marshmallows: Incorporate mini marshmallows for an extra layer of gooeyness. They’ll melt slightly while baking, creating pockets of marshmallow goodness throughout.
- Coconut Variation: Use unsweetened coconut to reduce overall sweetness and boost the chewy texture. It creates a more nuanced flavor profile that chocolate lovers will appreciate.
- Spiced Up: Add a sprinkle of cinnamon or nutmeg to the crust for a warm spice note. This subtle enhancement will bring your bars to the next level of deliciousness!
- Flavorful Drizzle: Drizzle melted caramel or chocolate over the top after baking. This extra touch not only adds flavor but also makes for a beautiful presentation.
For additional inspiration, check out my Barefoot Contessa Salad for fresh ideas or whip up a batch of my irresistible Chocolate Chip Bars. Let your creativity shine!
Make Ahead Options
These Magic Bars are perfect for meal prep lovers! You can prepare the crust and layer the toppings up to 24 hours in advance, storing them covered in the fridge to maintain freshness. Simply press the crust and sprinkle the chocolate chips, butterscotch chips, coconut, and pecans into the baking dish, then cover tightly with plastic wrap. When you’re ready to bake, drizzle the sweetened condensed milk over the layers and pop them in the oven. This make-ahead strategy not only saves you time on busy days but ensures that your bars are just as delicious and gooey as if you made them fresh that day!
Storage Tips for Magic Bars
Room Temperature: Store your Magic Bars in an airtight container at room temperature for up to 5 days to keep them fresh and delicious.
Fridge: If you’d like them to stay fresher for longer, refrigerate the Magic Bars in an airtight container for up to 10 days. This helps preserve the gooey texture while adding a cool twist.
Freezer: For longer storage, freeze the Magic Bars in a freezer-safe container or wrapped tightly in plastic wrap for up to 3 months. Thaw them in the fridge before enjoying.
Reheating: If you’d like to warm them up, heat individual squares in the microwave for about 10-15 seconds. This brings back that gooey goodness!
Magic Bars Recipe FAQs
How do I choose the right ingredients for Magic Bars?
Absolutely! When making Magic Bars, the ripeness and quality of your ingredients can affect the final taste. For the best results, use fresh, high-quality chocolate chips and nuts. If you’re using coconut, make sure it’s not overly dry, as it can impact the chewiness. For the graham cracker crumbs, aim for finely crushed pieces that will hold together nicely in the crust.
How should I store my Magic Bars after baking?
You can store your Magic Bars in an airtight container at room temperature for up to 5 days. If you prefer them to stay fresh longer, refrigerate them, where they can last up to 10 days. Just remember to allow them to come to room temperature for the best flavor experience!
Can I freeze Magic Bars, and how?
Absolutely! To freeze your Magic Bars, wrap them tightly in plastic wrap or place them in a freezer-safe container. They can be kept for up to 3 months. When you’re ready to enjoy them, simply thaw in the fridge overnight. For a quick treat, you can microwave individual squares for about 10-15 seconds to bring back that delicious gooey texture.
What if my Magic Bars don’t set properly?
Very! If your Magic Bars are too gooey after baking, they may need a bit longer in the oven. Ensure the edges are golden brown and the center is slightly set—this is key to perfect bites. If they are overcooked, they’ll become dry, so keeping an eye on them is essential. Allow them to cool completely, as this will help them firm up further.
Are there any dietary considerations for Magic Bars?
Yes! If you’re concerned about nut allergies, you can substitute the pecans with sunflower seeds or pumpkin seeds for a nut-free option. Additionally, if you want to keep the recipe gluten-free, use gluten-free graham crackers. Always double-check the labels of products like sweetened condensed milk and chocolate chips, as they may contain allergens.
What’s the best way to cut my Magic Bars for serving?
To ensure clean and neat squares, I recommend using a sharp knife and cutting your bars when they are completely cool. If you find that the bars are sticking to the knife, you can rinse it under hot water and wipe it dry before cutting again. This simple trick revitalizes the blade and helps preserve the beautiful layers of your Magic Bars!

Delicious Magic Bars Recipe That Will Steal the Show
Ingredients
Equipment
Method
- Preheat your oven to 350°F (175°C) and line a 9x13 inch baking dish with parchment paper, spraying lightly with nonstick spray.
- In a bowl, combine melted salted butter with graham cracker crumbs; press the mixture evenly into the bottom of the prepared baking dish.
- Sprinkle semi-sweet chocolate chips, butterscotch chips, shredded coconut, and chopped pecans over the crust evenly.
- Drizzle sweetened condensed milk evenly over the layered toppings.
- Bake in the preheated oven for about 25 minutes until the edges are golden brown and the center is slightly gooey.
- Allow the Magic Bars to cool completely in the pan on a wire rack before lifting out using the parchment paper.
- Slice into 20 squares and serve on a platter or store in an airtight container.
Leave a Reply