
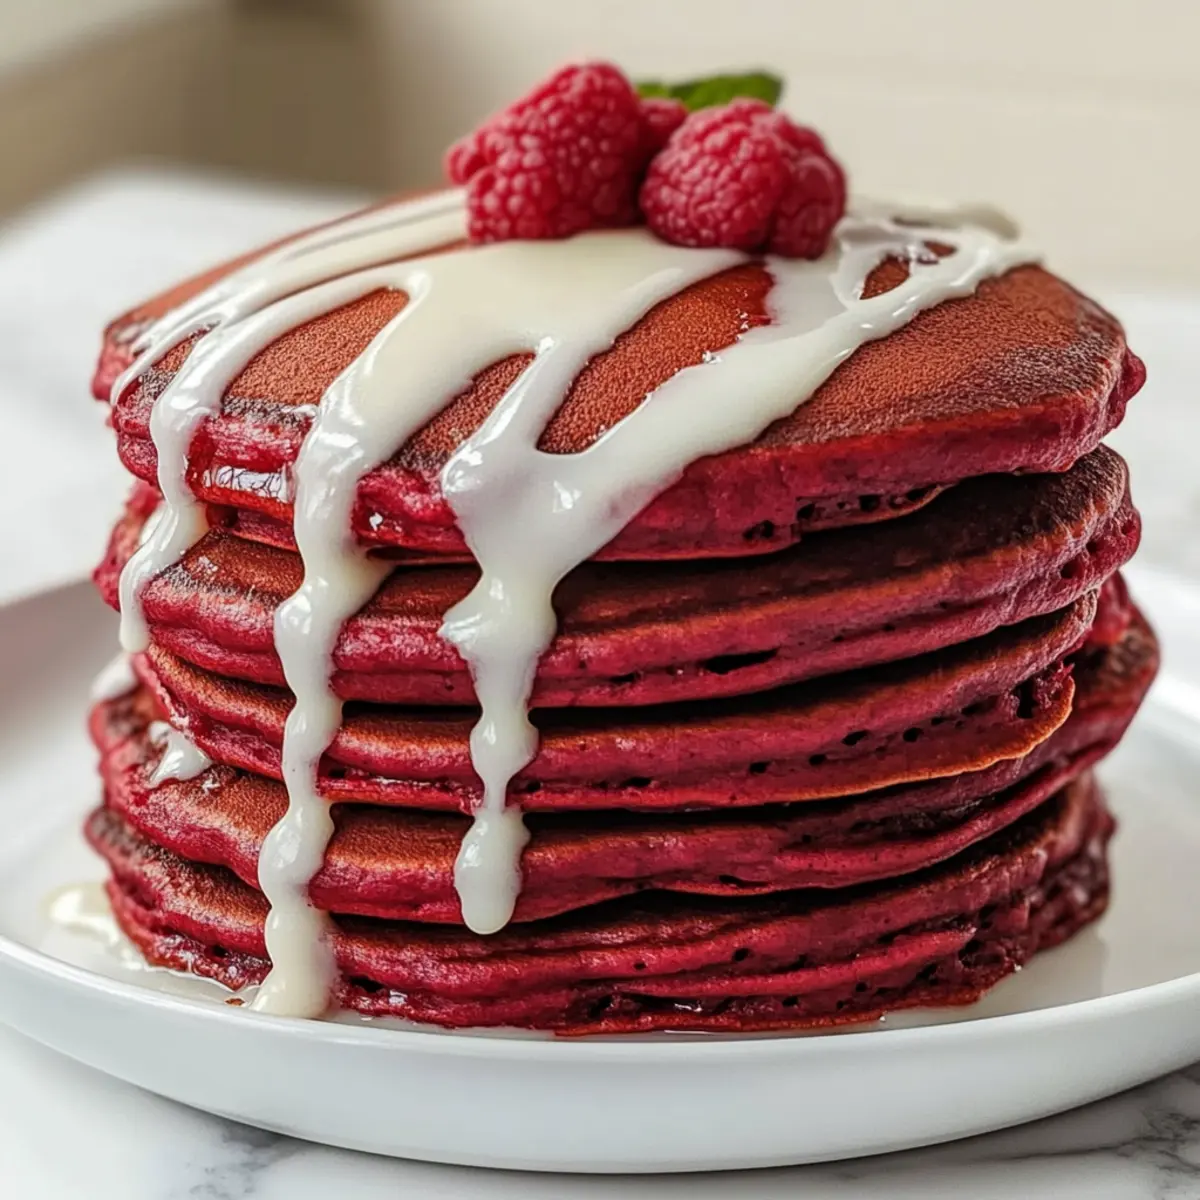
As the sun peeked through the kitchen window, the aroma of something delightful filled the air—a gentle promise of a breakfast that’s bound to dazzle. Fluffy red velvet pancakes have a magical way of transforming an ordinary morning into a special occasion, don’t you think? Their vibrant color and hint of cocoa make them a feast for both the eyes and taste buds. This recipe for Red Velvet Pancakes is a breeze to whip up, perfect for family breakfasts or those moments when you want to impress a loved one. With quick prep and a playful twist on traditional pancakes, these fluffy delights are sure to become a beloved favorite. So, are you ready to add a splash of color to your brunch routine? Let’s dive in!
Why Are These Pancakes So Special?
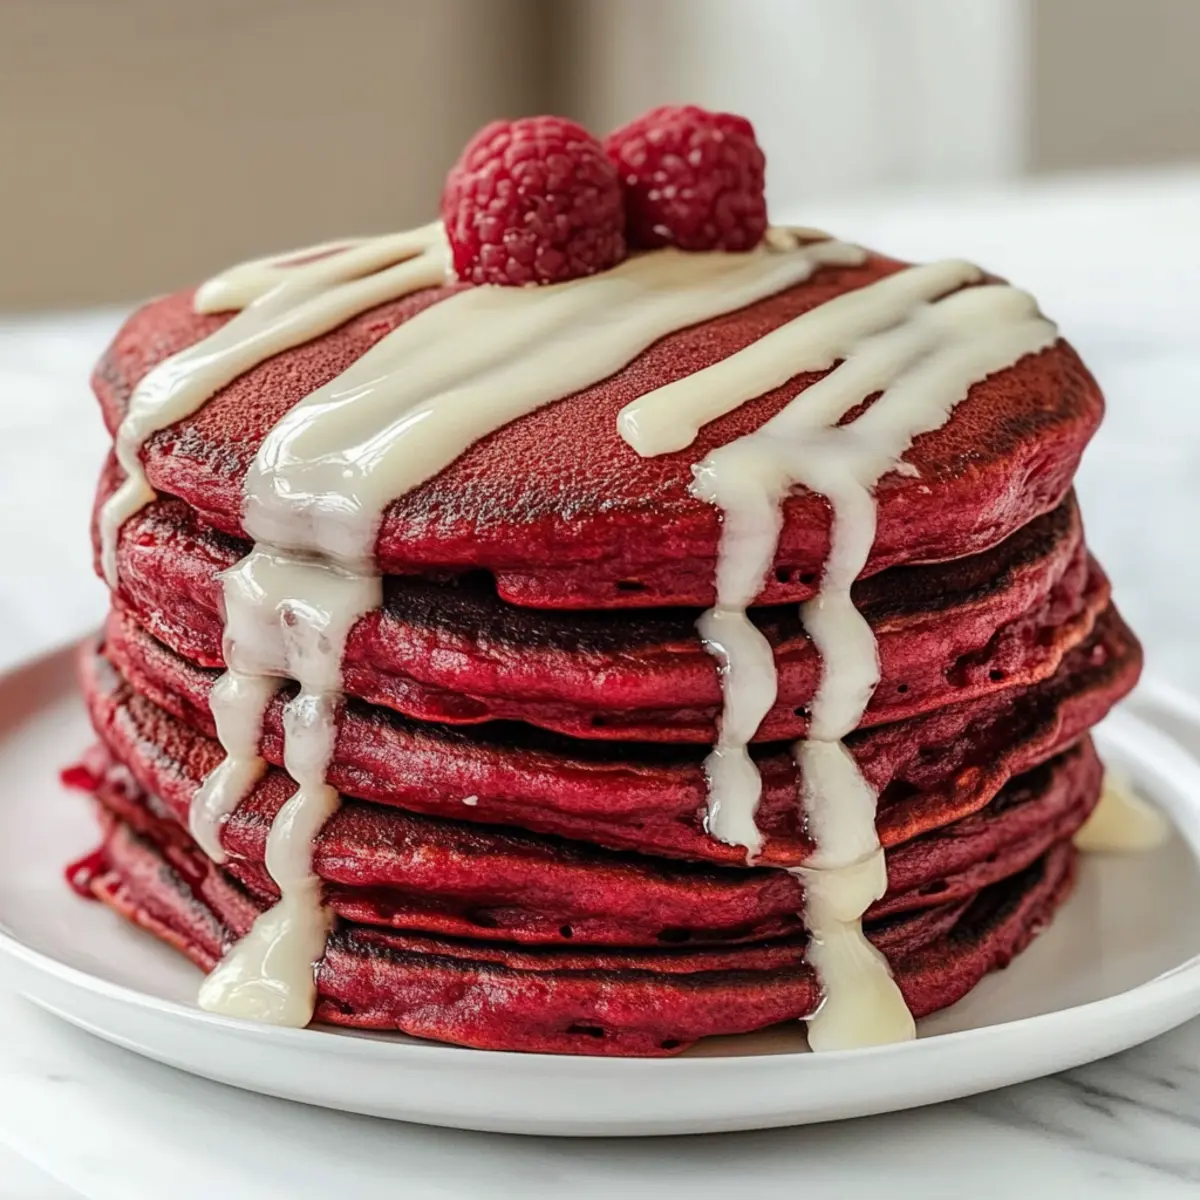
Fluffy Texture: Each pancake boasts an airy, cloud-like feel that makes every bite a joy.
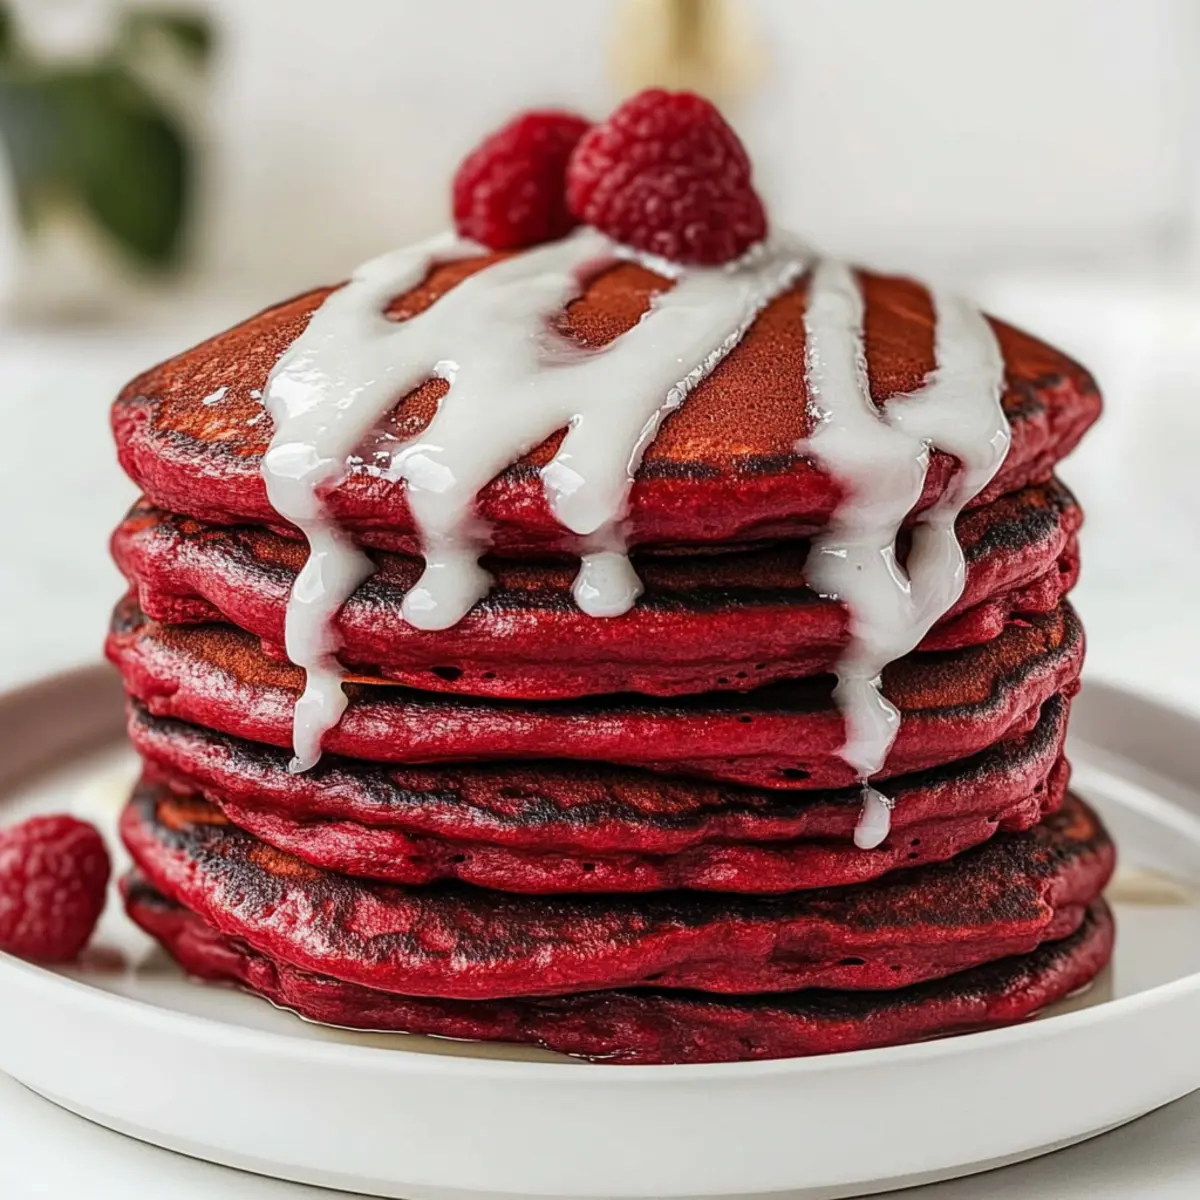
Vibrant Color: Their striking red hue adds a fun and festive touch to any breakfast table.
Family-Friendly: Easy to make, these pancakes are sure to please both kids and adults alike.
Decadent Flavor: A subtle cocoa taste combined with a sweet drizzle elevates your mornings.
Quick Prep: In just a few minutes, you can whip up a delicious brunch that feels special, perfect for when you’re looking to impress. And if you love a twist on breakfast, you might also want to try these Decadent Alfredo Lasagna pancakes!
Red Velvet Pancakes Ingredients
• Create fluffy, vibrant Red Velvet Pancakes with these essential ingredients!
For the Batter
- All-Purpose Flour – Provides the structure for a fluffy pancake; substitute with gluten-free flour for a gluten-free version.
- Unsweetened Cocoa Powder – Adds a hint of chocolate flavor without overpowering; ensure it’s unsweetened for optimal sweetness.
- Sugar – Sweetens the batter; brown sugar offers a richer flavor if desired.
- Baking Powder – Essential for achieving that light, fluffy texture; baking soda can replace it if you adjust the acidity.
- Pinch of Salt – Enhances all the flavors beautifully.
- Milk (Dairy or Non-Dairy) – Hydrates the batter, making it smooth; any milk alternative can be used.
- Egg – Acts as a binder for all ingredients; use a flax egg or applesauce for a vegan option.
- Melted Butter/Oil – Adds moisture and flavor; substitute with vegetable oil or coconut oil if needed.
- Red Food Coloring – Provides the iconic red hue; opt for gel food coloring for a deeper color with fewer drops.
For the Drizzle
- Powdered Sugar – Forms the sweet drizzle; can be substituted with a sugar alternative for a lighter option.
- Milk (for drizzle) – Thins the glaze; use any preferred milk alternative if necessary.
Step‑by‑Step Instructions for Red Velvet Pancakes
Step 1: Prepare the Batter
In a large mixing bowl, sift together 1 cup of all-purpose flour, 2 tablespoons of unsweetened cocoa powder, 1 tablespoon of sugar, 1 tablespoon of baking powder, and a pinch of salt to ensure a light texture. Create a well in the center, then pour in 1 cup of milk, 1 egg, and 2 tablespoons of melted butter. Gently mix until just combined and fold in a few drops of red food coloring until you reach your desired vibrant hue.
Step 2: Cook the Pancakes
Heat a non-stick griddle or frying pan over medium heat, greasing it lightly if needed. Once hot, pour ¼ cup of the red velvet pancake batter onto the griddle for each pancake. Cook for about 2 minutes or until bubbles form and the edges appear set. Carefully flip the pancakes and cook for another minute until they are puffy and cooked through, achieving that lovely fluffy texture.
Step 3: Make the Drizzle
In a small bowl, combine 1 cup of powdered sugar with enough milk (about 2 tablespoons) to create a smooth and pourable glaze. Whisk the mixture until silky, adjusting with more sugar or milk to reach your ideal consistency. This sweet drizzle will perfectly complement your beautifully vibrant red velvet pancakes.
Step 4: Serve
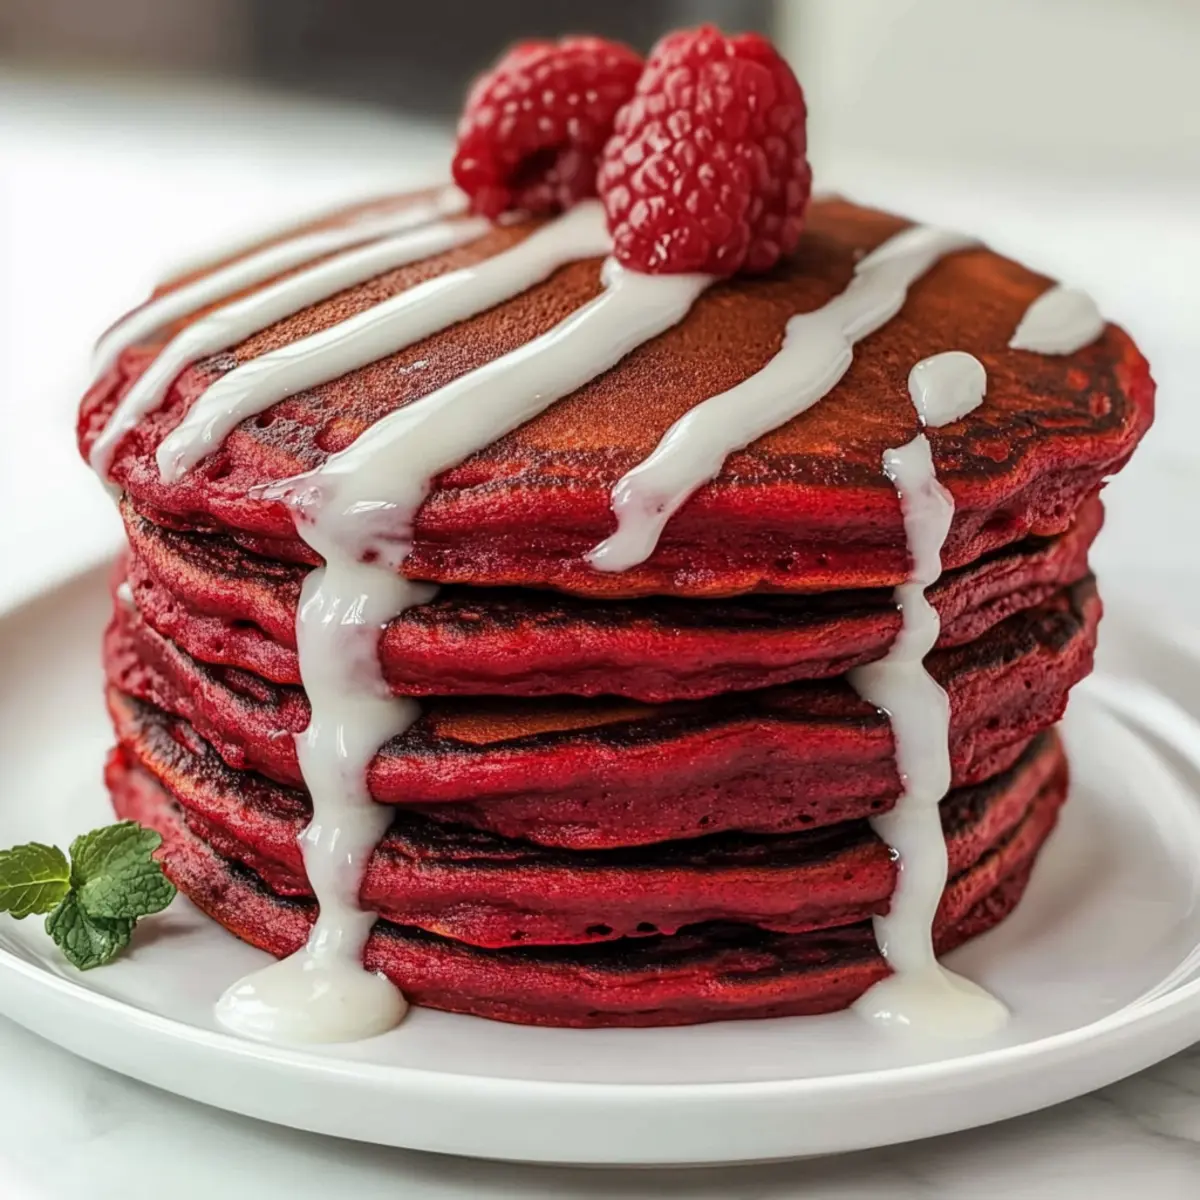
Once the pancakes are cooked and golden, stack them warmly on a plate. Generously drizzle the prepared sweet glaze over the top for a delightful finish. Optionally, you can garnish with fresh berries or whipped cream for an extra touch of indulgence. Enjoy your fluffy red velvet pancakes fresh from the griddle!
Red Velvet Pancakes: Endless Possibilities
Make these delightful pancakes your own with a few fun tweaks to elevate your family breakfast experience!
- Chocolate Chip Delight: Toss in mini chocolate chips for melty pockets of sweetness that take these pancakes to the next level.
- Cream Cheese Frosting Swap: Replace the glaze with a luscious cream cheese frosting for a richer, more indulgent treat. It adds a delightful tang to balance the sweetness.
- Gluten-Free Version: Swap all-purpose flour for a gluten-free flour blend to enjoy these fluffy pancakes without any gluten concerns.
- Cake Flour Touch: Use cake flour instead of all-purpose to create an even softer texture, perfect for a melt-in-your-mouth experience.
- Fruit Infusion: Add fresh berries or slices of bananas to the batter for a delicious fruity twist that complements the cocoa flavor beautifully.
- Nutty Crunch: Incorporate finely chopped nuts for a crunchy texture that contrasts wonderfully with the fluffy pancakes.
- Spicy Kick: Sprinkle some cinnamon or a pinch of cayenne pepper into the batter for added warmth and a hint of spice. It’s a surprising twist that many will love!
These tasty variations allow you to customize your Red Velvet Pancakes to match your family’s tastes. If you’re looking for more creative breakfast ideas, don’t forget to check out our Delicious Decadent Alfredo Lasagna for a unique twist on brunch!
Expert Tips for Red Velvet Pancakes
- Perfect Texture: Ensure you don’t overmix the batter—mix until the ingredients are just combined to keep the pancakes fluffy.
- Heat Control: Maintain a medium heat on your griddle. Too high, and the pancakes may burn before cooking through; adjust as necessary.
- Color Adjustment: When using gel food coloring, start with a small amount and gradually add more until you achieve the vibrant red you’re aiming for.
- Cooking Method: Use a measuring cup to pour your batter and create uniform pancakes, which helps with even cooking and presentation.
- Freshness Counts: For the best taste and texture, serve the Red Velvet Pancakes immediately after cooking. Store any leftovers properly for freshness.
Make Ahead Options
These Fluffy Red Velvet Pancakes are perfect for busy mornings or special brunches! You can prepare the pancake batter up to 24 hours in advance; simply mix all the dry ingredients (flour, cocoa powder, sugar, baking powder, and salt) and combine them with the wet ingredients (milk, egg, and melted butter) right before cooking. Store the batter in the refrigerator and ensure it’s well-covered to maintain its freshness. If you’re short on time, you can also cook the pancakes ahead of time and refrigerate them for up to 3 days. Reheat the pancakes in a toaster or microwave just before serving, adding a drizzle of the glaze for a delightful finish. With these make-ahead tips, you can enjoy delicious Red Velvet Pancakes with minimal effort!
How to Store and Freeze Red Velvet Pancakes
Fridge: Store cooked pancakes in an airtight container for up to 3 days. Make sure to separate layers with parchment paper to prevent sticking.
Freezer: Freeze pancakes in a single layer on a baking sheet until solid, then transfer to a freezer bag. They can be kept for up to 1 month.
Reheating: To reheat, simply pop them in a toaster or microwave. If using a microwave, cover with a damp paper towel to maintain moisture.
Make-Ahead Tip: These red velvet pancakes are perfect for meal prep; whip them up in advance to simplify your busy mornings!
What to Serve with Fluffy Red Velvet Pancakes
Indulging in fluffy red velvet pancakes invites a world of delicious possibilities, transforming breakfast into a joyful experience.
-
Whipped Cream: This light and airy topping adds a delightful creaminess that complements the moist texture of the pancakes.
-
Fresh Berries: Strawberries or raspberries introduce a burst of tartness, balancing the sweetness of the pancakes beautifully. You can even toss them in a little sugar to enhance their natural sweetness!
-
Maple Syrup: The classic choice provides a warm, rich flavor that perfectly pairs with the subtle cocoa notes of the pancakes, creating a harmonious sweet harmony.
-
Cream Cheese Frosting: An indulgent alternative to the drizzle, it enhances the decadent vibe of the pancakes, making for a truly special treat.
-
Crispy Bacon: The salty crunch adds a savory contrast, enriching each bite and creating a delightful sweet-and-savory combination that everyone loves.
-
Coffee: A robust cup of coffee rounds out the meal, balancing the sweetness of the pancakes while providing a cozy and comforting vibe to your breakfast.
-
Orange Juice: A refreshing glass of freshly squeezed orange juice adds a zesty brightness, cutting through the richness and leaving you feeling invigorated.
Transform your breakfast with these satisfying complements and create a morning feast that’ll have everyone coming back for seconds!
Red Velvet Pancakes Recipe FAQs
How do I choose ripe ingredients for Red Velvet Pancakes?
Absolutely! For the best results, ensure your eggs are fresh and within their expiration date. Use milk that is not nearing its expiration, as this will impact the pancake’s fluffiness and overall flavor. The red food coloring can vary in vibrancy, so opt for a gel version for bolder color with fewer drops.
How should I store leftover Red Velvet Pancakes?
Very good question! Store your cooked pancakes in an airtight container in the fridge for up to 3 days. To keep them fresh and prevent sticking, use parchment paper between the layers. For best results, reheat them in the microwave or toaster before serving.
Can I freeze Red Velvet Pancakes?
Yes, you can! To freeze, lay your pancakes in a single layer on a baking sheet and place them in the freezer until they are solid (about 1-2 hours). Then, transfer them to a freezer bag and store for up to 1 month. When you’re ready to enjoy them, reheat in the toaster or microwave—covering them with a damp paper towel helps retain moisture.
What should I do if my pancake mixture is too thick?
If your batter seems too thick, don’t worry! Simply add a small amount of milk, one tablespoon at a time, until you reach your desired consistency. A good pancake batter should be smooth and pourable but still somewhat thick, allowing it to spread slightly when poured onto the griddle.
Are there any dietary considerations for Red Velvet Pancakes?
Absolutely! This pancake recipe can be easily modified for dietary restrictions. For a gluten-free option, substitute all-purpose flour with a gluten-free blend. If you’re looking for a dairy-free option, use a non-dairy milk and replace the butter with coconut oil. For a vegan variation, swap the egg for a flax egg (1 tablespoon of ground flaxseed mixed with 2.5 tablespoons of water, left to sit for 5 minutes).
Can my pets share in my Red Velvet Pancakes?
It’s essential to keep pets away from these pancakes. The ingredients like sugar and red food coloring aren’t suitable for dogs or cats. Always enjoy your delicious homemade pancakes yourself and reserve special treats for your furry friends!
Fluffy Red Velvet Pancakes for a Sweet Family Breakfast
Ingredients
Equipment
Method
- In a large mixing bowl, sift together 1 cup of all-purpose flour, 2 tablespoons of unsweetened cocoa powder, 1 tablespoon of sugar, 1 tablespoon of baking powder, and a pinch of salt. Create a well in the center, then pour in 1 cup of milk, 1 egg, and 2 tablespoons of melted butter. Gently mix until just combined and fold in a few drops of red food coloring until you reach your desired vibrant hue.
- Heat a non-stick griddle or frying pan over medium heat, greasing it lightly if needed. Once hot, pour ¼ cup of the red velvet pancake batter onto the griddle for each pancake. Cook for about 2 minutes or until bubbles form and the edges appear set. Carefully flip the pancakes and cook for another minute until they are puffy and cooked through.
- In a small bowl, combine 1 cup of powdered sugar with enough milk (about 2 tablespoons) to create a smooth and pourable glaze. Whisk until silky, adjusting with more sugar or milk to reach your ideal consistency.
- Once the pancakes are cooked and golden, stack them on a plate. Generously drizzle the prepared sweet glaze over the top. Optionally, garnish with fresh berries or whipped cream.
Leave a Reply