
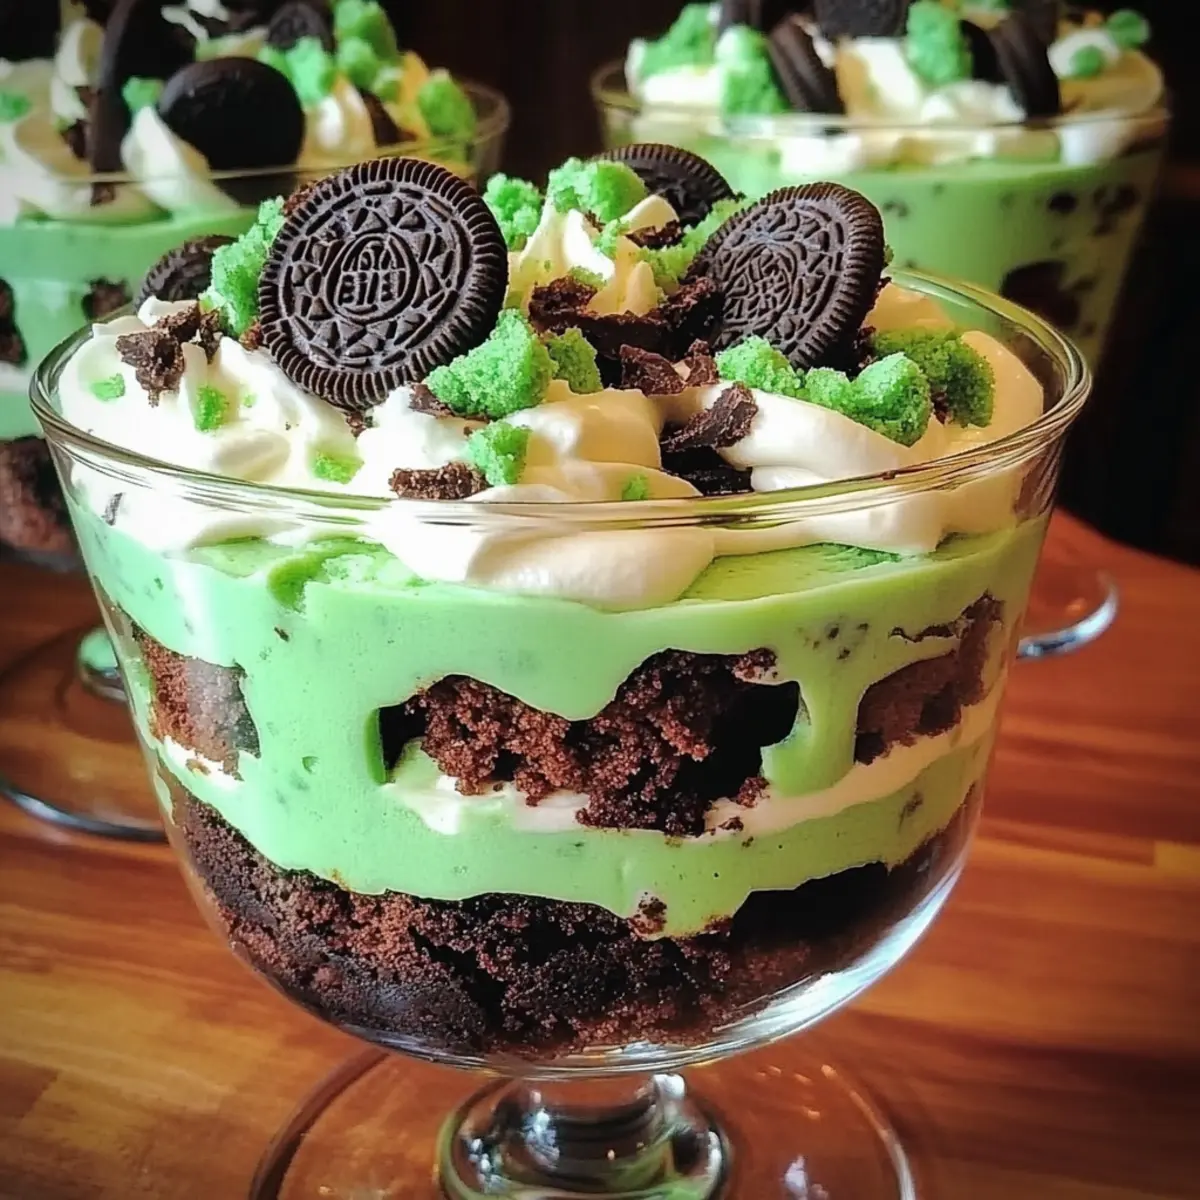
As I whisked together the vibrant green pudding, a wave of nostalgia washed over me—a reminder of laughter-filled St. Patrick’s Day celebrations. This Mint Chocolate Brownie Trifle captures that very spirit, elegantly layering fudgy brownies with creamy vanilla pudding and the nostalgic crunch of mint Oreos. No-bake and simple to whip up, this festive dessert is not only a treat for the taste buds but also a showstopper for your holiday table. Whether you’re hosting a gathering or indulging with loved ones, this easy recipe promises to add a touch of fun to your festivities. Ready to dive into this chocolatey delight that will make you the star of the party?
Why Is This Brownie Trifle So Special?
Effortless Creation: This Mint Chocolate Brownie Trifle is a no-bake wonder, making it perfect for busy celebrations without sacrificing taste or style.
Layered Indulgence: Imagine fudgy brownies layered with creamy vanilla pudding and crunchy mint Oreos, creating a delightful contrast in every bite.
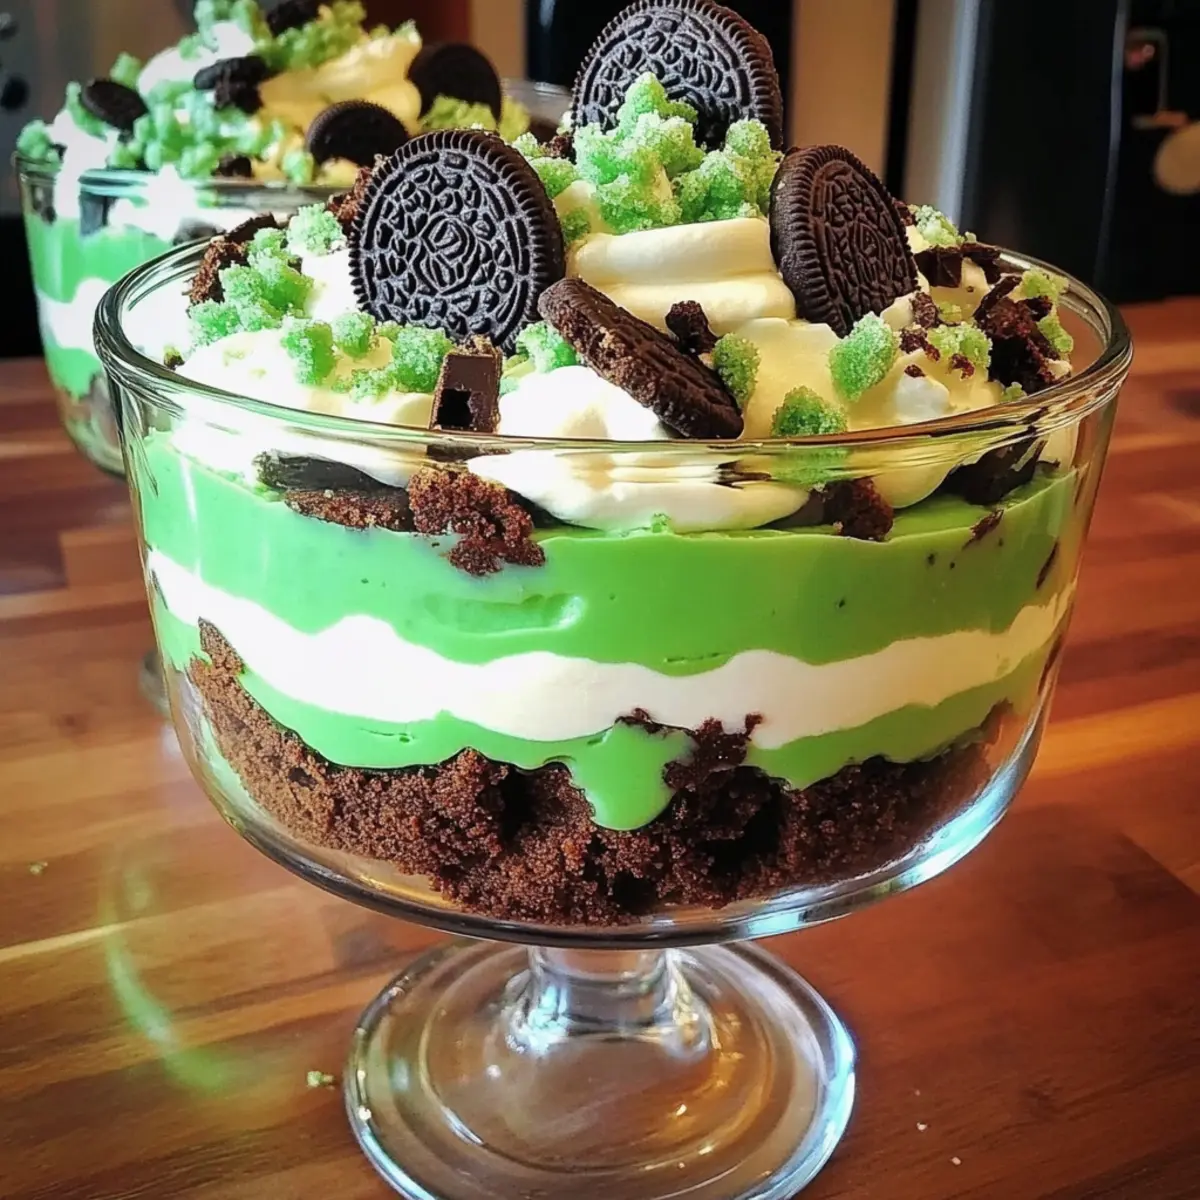
Festive Appeal: The vibrant green color instantly brings a celebratory vibe to your table, elevating it to a true holiday centerpiece.
Crowd-Pleasing Flavor: With its rich chocolate and refreshing mint flavor, it’s bound to impress guests of all ages—just like my popular Oatmeal Chocolate Chip bars or Maraschino Cherry Chocolate cookies!
Make-Ahead Convenience: You can prepare it a day in advance, allowing the flavors to meld and saving you time on the big day.
Customizable Delight: Feel free to swap in different flavored Oreos or pudding to create your own twist on this classic dessert!
Mint Chocolate Brownie Trifle Ingredients
For the Brownie Base
• Brownie Mix – The foundation of this dessert, adding a rich chocolate flavor; feel free to use homemade brownies for a gourmet touch.
For the Pudding Layer
• Instant Vanilla Pudding Mix – Provides creaminess that balances the chocolate; substitute with pistachio pudding for a festive green twist!
For the Whipped Topping
• Cool Whip – Light and fluffy, it complements the brownie and pudding layers beautifully; whipped cream makes a great alternative.
For the Color Enhancement
• Green Food Coloring – Adds that fun St. Patrick’s Day hue; optional if using pistachio pudding instead.
For the Minty Crunch
• Mint Oreos – Crushed to provide a delightful texture and burst of mint flavor in each layer; regular Oreos work as a substitute for a different twist.
With these simple yet essential ingredients, your Mint Chocolate Brownie Trifle will turn into a festive masterpiece that wows every guest!
Step‑by‑Step Instructions for Mint Chocolate Brownie Trifle
Step 1: Prepare the Brownies
Start by preparing the brownie mix according to the package instructions in an 8×8-inch pan. Bake them in a preheated oven at 350°F (175°C) for about 25–30 minutes, or until a toothpick inserted comes out with a few moist crumbs. Once baked, remove the brownies from the oven and let them cool completely in the pan.
Step 2: Mix the Pudding
In a large bowl, combine the instant vanilla pudding mix with 2 cups of cold milk, whisking vigorously for about 2 minutes until the mixture thickens. To achieve a festive green hue for your Mint Chocolate Brownie Trifle, add a few drops of green food coloring and mix until evenly distributed. Set the pudding aside to let it firm up a little.
Step 3: Crush the Oreos
Grab a Ziploc bag and place the mint Oreos inside, sealing it securely. Use a rolling pin to crush them into fine crumbs, shaking the bag occasionally to ensure even crushing. Aim for a texture that resembles coarse sand, which will add delightful crunch to each layer of your trifle.
Step 4: Assemble the Trifle
In a trifle bowl or clear glass cups, start layering your Mint Chocolate Brownie Trifle. Begin with a layer of cut brownie pieces, followed by a generous spoonful of the green vanilla pudding. Then, add a layer of Cool Whip to create a fluffy texture, and sprinkle crushed mint Oreos on top. Repeat the layers until you reach the top of your container, finishing with a dollop of Cool Whip and more crushed Oreos.
Step 5: Chill Before Serving
Cover the assembled Mint Chocolate Brownie Trifle with plastic wrap and place it in the refrigerator for at least 2 hours, allowing the flavors to meld and the layers to set beautifully. This chilling time enhances the creamy texture and makes for an even more enjoyable dessert experience.
Step 6: Serve and Enjoy
Once chilled, your Mint Chocolate Brownie Trifle is ready to impress! Use a large spoon to serve portions into bowls, showcasing the beautiful layers of brown and green. Keep it refrigerated and serve within three days for the best taste and freshness during your St. Patrick’s Day celebration.

Make Ahead Options
These Mint Chocolate Brownie Trifles are perfect for busy home cooks looking to streamline their meal planning! You can prepare the brownies and pudding up to 24 hours in advance, allowing you to assemble the trifle with minimal effort on the day of your gathering. Simply store the cooled brownies in an airtight container and refrigerate the prepared vanilla pudding (mixing in green food coloring just before assembling). When ready to serve, layer the brownie pieces, pudding, Cool Whip, and crushed Oreos in your trifle dish, then chill for at least 2 hours. Following these prep steps ensures that your trifle remains just as delicious while saving you valuable time!
Mint Chocolate Brownie Trifle Variations
Customizing your Mint Chocolate Brownie Trifle is a delicious adventure waiting to happen! Let your creativity shine with these exciting twists.
-
Gluten-Free Option: Use a gluten-free brownie mix to make this delightful treat accessible for everyone. You’ll never miss the gluten in this incredible layered dessert!
-
Dairy-Free Alternative: Swap out Cool Whip for coconut whipped cream and use almond milk for the pudding. This creates a creamy, dreamy dessert that meets dairy-free needs without sacrificing flavor.
-
Minty Extravaganza: Add peppermint extract to the vanilla pudding for an extra minty kick. This will elevate your trifle to a whole new level of refreshing goodness, making it a holiday favorite.
-
Chocolate Lovers’ Delight: Use chocolate pudding instead of vanilla for an intense chocolate experience. Combine this with layers of fudgy brownies for a double delight that will have chocoholics swooning.
-
Crunchy Additions: Toss in some chopped nuts like walnuts or pecans between layers for added texture and a nutty flavor. It’s a delightful surprise in each spoonful!
-
Flavor Swap: Experiment with different Oreo flavors like peanut butter or birthday cake to create a unique trifle experience. Who could resist that glee?
-
Fruity Touch: Layer in fresh mint leaves or crushed raspberries for a fruity edge alongside that rich mint chocolate flavor. This pop of color will add vibrancy and a fresh taste.
-
Single Serve Cups: For an attractive personal touch, create individual servings in mason jars or small cups. This makes serving easy and perfect for gatherings!
Each of these variations ensures that your Mint Chocolate Brownie Trifle remains a show-stopper no matter how you choose to personalize it. For another fun twist, consider trying out my Cottage Cheese Brownie or Chocolate Peanut Butter recipes for a delightful treat!
Expert Tips for Mint Chocolate Brownie Trifle
- Prep Ahead: Preparing the trifle a day in advance allows the flavors to meld beautifully, making it even tastier when served.
- Use a Clear Dish: Opt for a clear trifle bowl or individual glass cups to showcase the stunning layers of your Mint Chocolate Brownie Trifle.
- Avoid Soggy Brownies: Ensure the brownies are completely cooled before layering to prevent them from becoming soggy in the trifle.
- Add Texture: For an extra crunch, you can also include chopped nuts or additional mint cookies between the layers for delightful surprises.
- Watch the Chilling Time: Be sure to refrigerate the trifle for at least 2 hours, or even overnight, for the best texture and flavor blend.
- Storing Leftovers: Store any leftovers in the refrigerator and aim to consume within three days for optimal freshness and taste.
What to Serve with Mint Chocolate Brownie Trifle
Sharing this festive dessert is sure to spark joyous moments around the table, and you’ll want just the right accompaniments to elevate the experience.
-
Fresh Mint Tea: A warm, fragrant cup of mint tea complements the minty notes of the trifle, providing a refreshing palate cleanser.
-
Chocolate Coffee: The rich flavors of chocolate coffee enhance the dessert’s chocolatey goodness while adding a sophisticated touch to your gathering.
-
Fruit Salad: A light and zesty fruit salad balances the richness of the trifle, offering a refreshing and healthy contrast to the creamy layers.
-
Whipped Cream Topped Hot Cocoa: Indulge even more! Serve hot cocoa topped with a dollop of whipped cream for a cozy, decadent pairing that’s perfect for chilly evenings.
-
Almond Biscotti: Crunchy biscotti adds a delightful texture and nutty flavor that pairs beautifully with the dessert while inviting coffee lovers to savor every bite.
-
Ice Cream Float: Consider a minty ice cream float made with sparkling water and mint ice cream for a refreshing and playful beverage that echoes the trifle’s flavors.
Let these delicious pairings create a symphony of flavors and textures that will mesmerize your guests and make your St. Patrick’s Day celebration unforgettable!
How to Store and Freeze Mint Chocolate Brownie Trifle
Fridge: Keep your Mint Chocolate Brownie Trifle covered in the refrigerator for up to 3 days. This ensures it remains fresh and the flavors stay vibrant.
Make-Ahead: Prepare the trifle a day in advance and refrigerate it; this allows the flavors to meld beautifully, enhancing the overall taste when served.
Freezer: While not recommended for long-term storage due to texture changes, you can freeze individual portions for up to 1 month. Thaw in the fridge before serving.
Reheating: Enjoy this dessert cold right from the fridge; there’s no need to heat it, as the delightful creaminess and texture are best when chilled.
Mint Chocolate Brownie Trifle Recipe FAQs
How do I choose the right brownie mix?
Absolutely! When selecting a brownie mix, look for one that contains high-quality chocolate for a rich flavor. If you’re feeling adventurous, using a homemade brownie recipe will add an extra layer of love. Just ensure they cool completely before layering to keep the trifle from becoming soggy.
What’s the best way to store leftover trifle?
Store your Mint Chocolate Brownie Trifle covered in the refrigerator, where it will stay fresh for up to 3 days. This will maintain the vibrant flavors, and the layers will continue to meld beautifully. Avoid leaving it out at room temperature to prevent any spoilage.
Can I freeze my brownie trifle?
Very! While freezing the entire trifle is not recommended due to potential texture changes, you can freeze individual portions. Simply place them in airtight containers, and they will last up to 1 month. Thaw in the refrigerator before serving for the best results!
What if my brownies are too dry?
If your brownies turned out a bit dry, don’t worry! Simply drizzle a bit of milk over the brownie layer before adding the pudding to moisten them up. Alternatively, serve with a dollop of whipped cream on top for added moisture and indulgence.
Is this trifle suitable for people with allergies?
Be mindful of any allergies, as this trifle contains dairy and gluten from the brownie mix and Cool Whip. You can easily make it gluten-free by using a gluten-free brownie mix and opting for lactose-free whipped cream to accommodate those who are dairy-sensitive.
What if I can’t find mint Oreos?
No problem at all! If mint Oreos are unavailable, you can substitute them with regular Oreos or any other flavored cookies you enjoy. For a minty kick, consider adding a few drops of peppermint extract to the pudding for that lovely mint chocolate flavor without needing special cookies.

Mint Chocolate Brownie Trifle That Will Wow Your Guests
Ingredients
Equipment
Method
- Prepare the brownie mix according to the package instructions in an 8x8-inch pan. Bake at 350°F for about 25–30 minutes. Let cool completely.
- In a large bowl, combine the instant vanilla pudding mix with 2 cups of cold milk, whisking for about 2 minutes until thickened. Add a few drops of green food coloring.
- Crush the mint Oreos in a Ziploc bag using a rolling pin until they resemble coarse sand.
- Layer the trifle in a bowl or cups starting with brownie pieces, followed by pudding, Cool Whip, and crushed Oreos. Repeat layers until done.
- Cover the trifle with plastic wrap and refrigerate for at least 2 hours.
- Serve cold, showcasing the beautiful layers.
Leave a Reply