
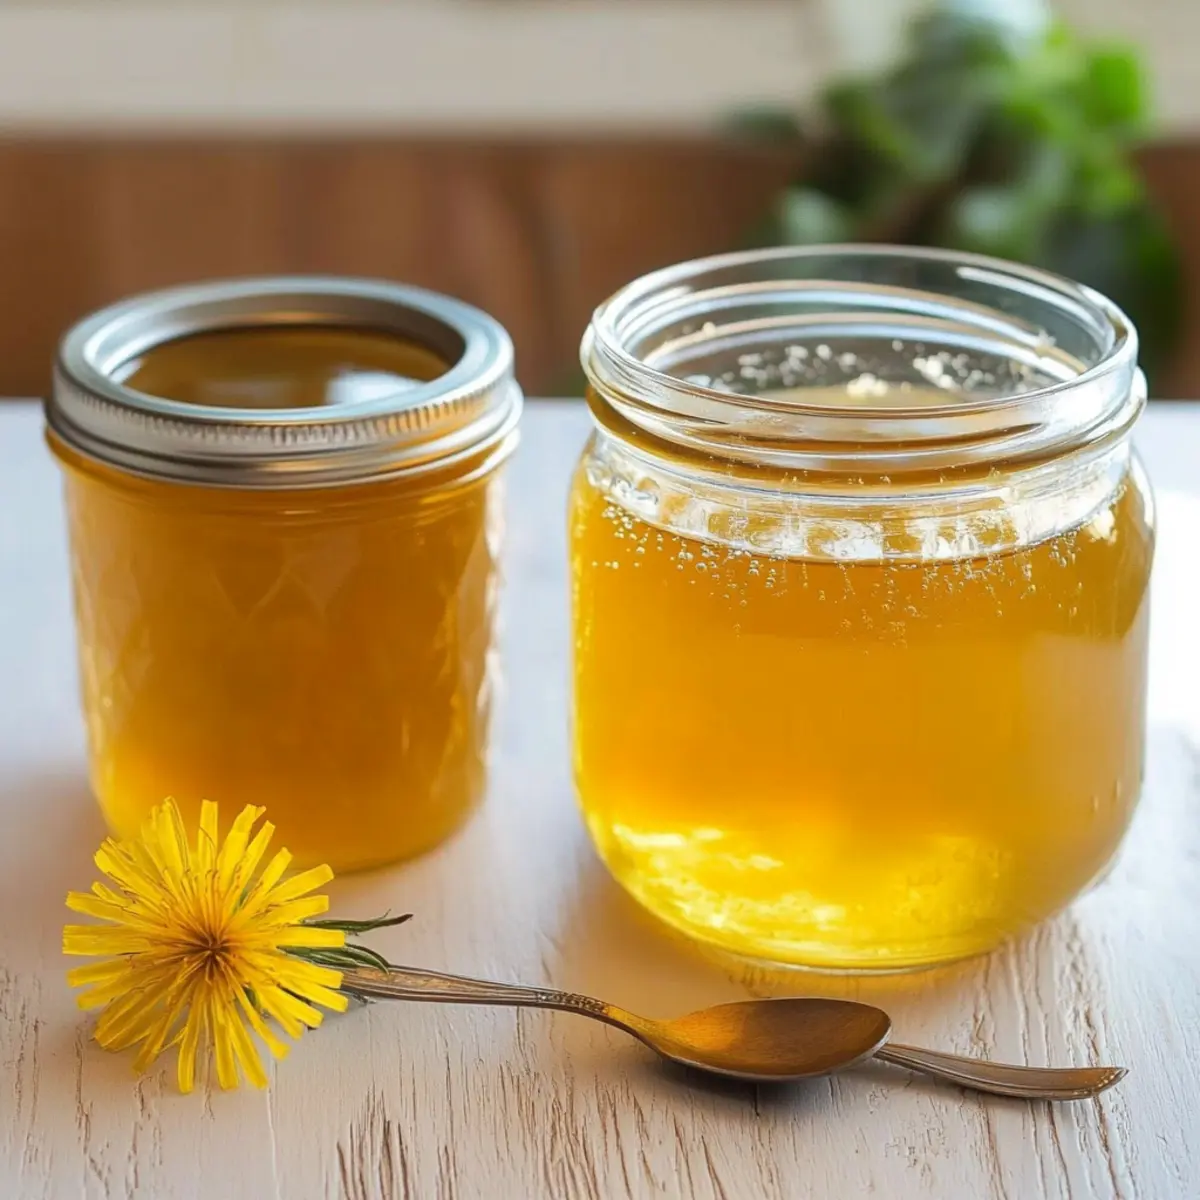
As I walked through my garden, sunlight filtering through the trees, I spotted those vibrant dandelion blossoms—often overlooked treasures of spring. This year, I decided to transform them into something truly special: homemade dandelion jelly. A delightful fusion of floral sweetness and nostalgia, this beginner-friendly recipe allows you to turn those sunny blooms into a golden spread reminiscent of honey. With just a bit of foraging and a handful of natural ingredients, you can create a perfect condiment that elevates morning toast or makes a thoughtful homemade gift. Plus, it’s an excellent way to embrace the seasonal bounty while enjoying the health benefits of dandelions! Are you ready to explore the joys of foraging and unleash your inner chef? Let’s dive in!
Why Make Dandelion Jelly?
Unique Flavor: This jelly captures the essence of spring with its subtly sweet, floral taste that’s unlike any store-bought option.
Easy for Beginners: You don’t need advanced cooking skills to master this recipe—just follow simple steps and enjoy the process!
Health Benefits: Packed with vitamins A, C, and K, this treat not only tastes amazing but also adds a nutritious boost to your breakfast.
Great for Gifting: Share the love of homemade food with friends and family; it’s a thoughtful gift that feels personal and special.
Versatile Uses: Spread it on toast, drizzle over pancakes, or pair with cheese for a delightful twist. If you’re interested in more creative uses for homemade spreads, check out my Peanut Butter Jelly recipe!
Seasonal Connection: Embrace the joys of foraging this spring—turn those vibrant dandelions into a delicious, sustainable treat that celebrates nature’s bounty!
Dandelion Jelly Ingredients
• Transform spring’s bounty into a delightful spread!
For the Jelly Base
- Dandelion Blossoms – 3 cups; choose flowers from unsprayed areas for safety and flavor.
- Water – 4 cups; this is essential for steeping and infusing those beautiful blossoms.
- Granulated Sugar – 4 cups; it sweetens the jelly and perfectly balances the floral notes of the dandelions.
- Powdered Pectin – 1 box; this helps thicken your jelly and keeps it from spoiling.
- Bottled Lemon Juice – 2 tablespoons; it adds the necessary acidity for flavor balance—fresh lemon juice can be substituted if preferred.
Optional Enhancer
- Yellow Food Coloring – 1 drop; while not necessary for flavor, it enhances the visual appeal of your dandelion jelly.
Embrace your inner forager and create a golden treat that celebrates the essence of spring with this dandelion jelly recipe!
Step‑by‑Step Instructions for Dandelion Jelly
Step 1: Harvest Dandelion Blossoms
Begin by gathering 3 cups of tightly packed dandelion blossoms from unsprayed areas to ensure safety. Be selective, ensuring to avoid any green parts, as they can impart bitterness to your jelly. Aim to harvest on a sunny day when the flowers are fully open for the best flavor. You’ll need a clean, dry basket or container for your fresh find.
Step 2: Steep Dandelion Petals
In a medium saucepan, bring 4 cups of water to a boil over medium-high heat. Once boiling, add half of the dandelion petals and stir gently to submerge them. Cover the saucepan and let the mixture steep for 20 minutes; you’ll notice the water turning a bright yellow as the flavors infuse, releasing a floral aroma that signals it’s time for the next step.
Step 3: Strain the Infusion
Carefully pour the steeped liquid through a fine mesh sieve into a separate container, squishing the petals lightly with a spoon to extract as much moisture as possible. Discard the solid petals, then repeat the steeping process with the remaining dandelion petals. You should have a beautiful golden liquid ready for the next step, about 3 cups total.
Step 4: Prepare the Jelly Mixture
Return the strained dandelion infusion to the saucepan and measure out exactly 3 cups. Add 4 cups of granulated sugar, 1 box of powdered pectin, and 2 tablespoons of bottled lemon juice. If desired, add a drop of yellow food coloring to enhance the jelly’s visual appeal. Stir well to combine all the ingredients and prepare for cooking.
Step 5: Boil the Mixture
Place the saucepan over medium-high heat and bring the mixture to a rolling boil, stirring continuously. Allow it to boil for exactly one minute; this timing is crucial as it helps achieve the proper jelly consistency. As it bubbles, you may notice some foam forming—skimming this off will keep your jelly looking clear and beautiful.
Step 6: Jar the Jelly
Once boiled, immediately pour the hot dandelion jelly into sterilized half-pint jars, filling them up to ¼-inch from the top. Wipe the rims clean of any drips to ensure a proper seal. Seal the jars tightly with lids; you can either refrigerate the jelly for up to a month or process them in a water bath canner for longer-term storage.
Dandelion Jelly Variations & Substitutions
Feel free to get creative with this dandelion jelly recipe and transform it into something uniquely yours!
- Herb-Infused: Add a handful of fresh mint or basil during the steeping process for an exciting flavor twist. This will add a refreshing note that contrasts beautifully with the floral sweetness.
- Citrus Swap: Replace the lemon juice with lime or orange juice for a different citrus zing. Each option brings its own unique profile, making your jelly even more delightful.
- Honey-Hinted: Substitute a portion of granulated sugar with honey for a deeper, richer sweetness. However, be cautious with the amount—it can intensify flavors beautifully!
- Berry Blend: Incorporate crushed strawberries or raspberries into the mix during the last minute of boiling for a fruity twist. This vibrant adaptation gives an extra pop of color and flavor.
- Spicy Kick: Add a pinch of cayenne pepper or red pepper flakes for a subtle heat. This unexpected touch can create a fascinating contrast to the jelly’s sweetness.
- Vegan Alternative: Use agar-agar instead of powdered pectin if you’re seeking a plant-based thickener. This swap makes your jelly vegan-friendly without sacrificing quality.
- Flavored Jars: Add a vanilla bean or a few drops of almond extract to the jelly mixture before boiling for an aromatic background note. The warmth of these flavors will elevate your jelly experience.
- Mix & Match: Why not try different flower varieties alongside dandelions? Violet or hibiscus adds a unique flair. You could even consider mixing this jelly with my Peanut Butter Jelly for delicious combinations!
Feel inspired and let your culinary imagination run wild as you whip up your own version of dandelion jelly!
Expert Tips for Dandelion Jelly
• Choose Wisely: Select dandelion blossoms from unsprayed areas to avoid chemicals. This ensures the freshest flavors and safest ingredients for your dandelion jelly.
• Avoid Bitterness: Remove as much of the green base from the dandelion petals as possible during harvesting and preparation to prevent unwanted bitterness in your jelly.
• Boil Precisely: Ensure to boil the jelly mixture for exactly one minute. This crucial timing is key to achieving the perfect consistency for your dandelion jelly.
• Sterilize Jars: Always use sterilized jars for long-term storage. This prevents spoilage and keeps your homemade jelly tasting fresh and delicious.
• Experiment Wisely: If you wish to enhance your jelly’s flavor, consider adding herbs like mint during the steeping process. Enjoy experimenting with flavors while still keeping the essence of dandelions.
Make Ahead Options
These delightful dandelion jelly jars can easily fit into your meal prep routine! You can prepare the infused dandelion liquid up to 24 hours in advance, refrigerating it to maintain its vibrant flavor and quality. Simply follow the initial steps of harvesting and steeping the dandelions, then strain and refrigerate the infusion until you’re ready to make the jelly. When you’re ready to finish, just warm the infusion back up in a saucepan, add your sugar, pectin, and lemon juice, and boil as directed. This preparation not only saves time on busy days but ensures your dandelion jelly turns out just as delicious as if you made it all in one go!
How to Store and Freeze Dandelion Jelly
- Fridge: Store your dandelion jelly in the refrigerator for up to 1 month. Make sure the jars are tightly sealed to keep it fresh and flavorful.
- Freezer: For longer preservation, freeze the jelly in airtight containers or freezer-safe jars for up to a year. Leave space for expansion as it freezes.
- Reheating: When ready to enjoy your frozen dandelion jelly, thaw it in the fridge overnight or use a microwave safely. Heat gently to return its lovely spreadable texture.
- Chef’s Tip: Always label your jars with the date and contents for easy identification later—keeping track of your homemade dandelion jelly has never been easier!
What to Serve with Homemade Dandelion Jelly?
Delight in creating a vibrant, well-rounded meal to savor every spoonful of your floral treasure.
- Toasted Bread: The warm, crunchy texture of toast perfectly captures the jelly’s delicate sweetness, making it an ideal breakfast companion.
- Fluffy Pancakes: Drizzle your dandelion jelly over stacked pancakes for a beautiful springtime breakfast, elevating the meal with a floral twist.
- Cream Cheese Spread: The rich creaminess of cream cheese complements the sweet floral notes in the jelly, perfect for a sophisticated brunch spread.
- Fresh Fruit Salad: The lightness of seasonal fruits harmonizes beautifully with the subtle sweetness of dandelion jelly, creating a refreshing side dish.
- Cheese Board: Pairing with brie or goat cheese highlights the floral flavors of the jelly, making it a unique addition to your cheese board.
- Sparkling Lemonade: The acidity and bubbles of a sparkling beverage rejuvenate the palate while perfectly balancing the jelly’s sweetness, ideal for spring gatherings.
- Vanilla Ice Cream: A scoop of vanilla ice cream topped with dandelion jelly creates a decadent dessert, turning simple sweets into something special and memorable.
Dandelion Jelly Recipe FAQs
How do I choose the best dandelions for my jelly?
Absolutely! When foraging for dandelion blossoms, ensure you pick them from unsprayed areas, away from roadsides or any potential chemical exposure. Look for fully opened flowers with a vibrant yellow color; avoid any that have begun to wilt or show dark spots. These will provide the best flavor and quality for your homemade dandelion jelly.
How should I store my dandelion jelly?
Very! Once prepared, you can store your dandelion jelly in the refrigerator for up to 1 month, but make sure the jars are sealed tightly to maintain freshness. If you’d like to keep it longer, consider processing your sealed jars in a water bath canner for long-term storage or freezing for up to a year.
Can I freeze dandelion jelly?
Absolutely! To freeze your dandelion jelly, transfer it into airtight containers or freezer-safe jars, leaving some space at the top for expansion. It’s best to freeze within a day or two of making it. When you’re ready to enjoy it, simply thaw in the fridge overnight or gently reheat in the microwave until spreadable.
What if my dandelion jelly doesn’t set properly?
No worries; this can happen! If your dandelion jelly doesn’t set, it may be due to insufficient boiling time or a lack of pectin. To remedy this, you can reheat the jelly and add a bit more powdered pectin, stirring continuously, and boil for an additional minute. This should help you achieve that perfect, jelly-like consistency.
Are there any dietary considerations I should be aware of?
Certainly! Dandelions are generally safe for most people, but if you have allergies to related plants like ragweed or daisy, it’s wise to avoid consuming dandelion jelly. Also, when making the jelly, ensure that all your ingredients, especially sugar, don’t contain any allergens, particularly if gifting to friends or family. Always label your jars for safety!
What should I pair with my dandelion jelly?
Absolutely! Dandelion jelly is incredibly versatile. It pairs wonderfully with toasted bread, muffins, or pancakes. You can also get creative by drizzling it over desserts or cheese for a delightful culinary twist. If you’re looking for inspiration, why not toss it into your next cheese platter for a charming, floral touch?
Sweet Dandelion Jelly: A Simple Spring Delight You'll Love
Ingredients
Equipment
Method
- Harvest 3 cups of tightly packed dandelion blossoms from unsprayed areas, avoiding green parts.
- Bring 4 cups of water to a boil, add half of the dandelion petals, cover, and steep for 20 minutes.
- Strain the mixture through a fine mesh sieve, discarding the solid petals. Repeat with remaining petals.
- Return the strained infusion to the saucepan, add sugar, pectin, lemon juice, and coloring if desired. Stir to combine.
- Boil the mixture for exactly one minute, skimming off foam as needed.
- Pour hot jelly into sterilized jars, seal tightly, and refrigerate for up to a month or process for long-term storage.
Leave a Reply