
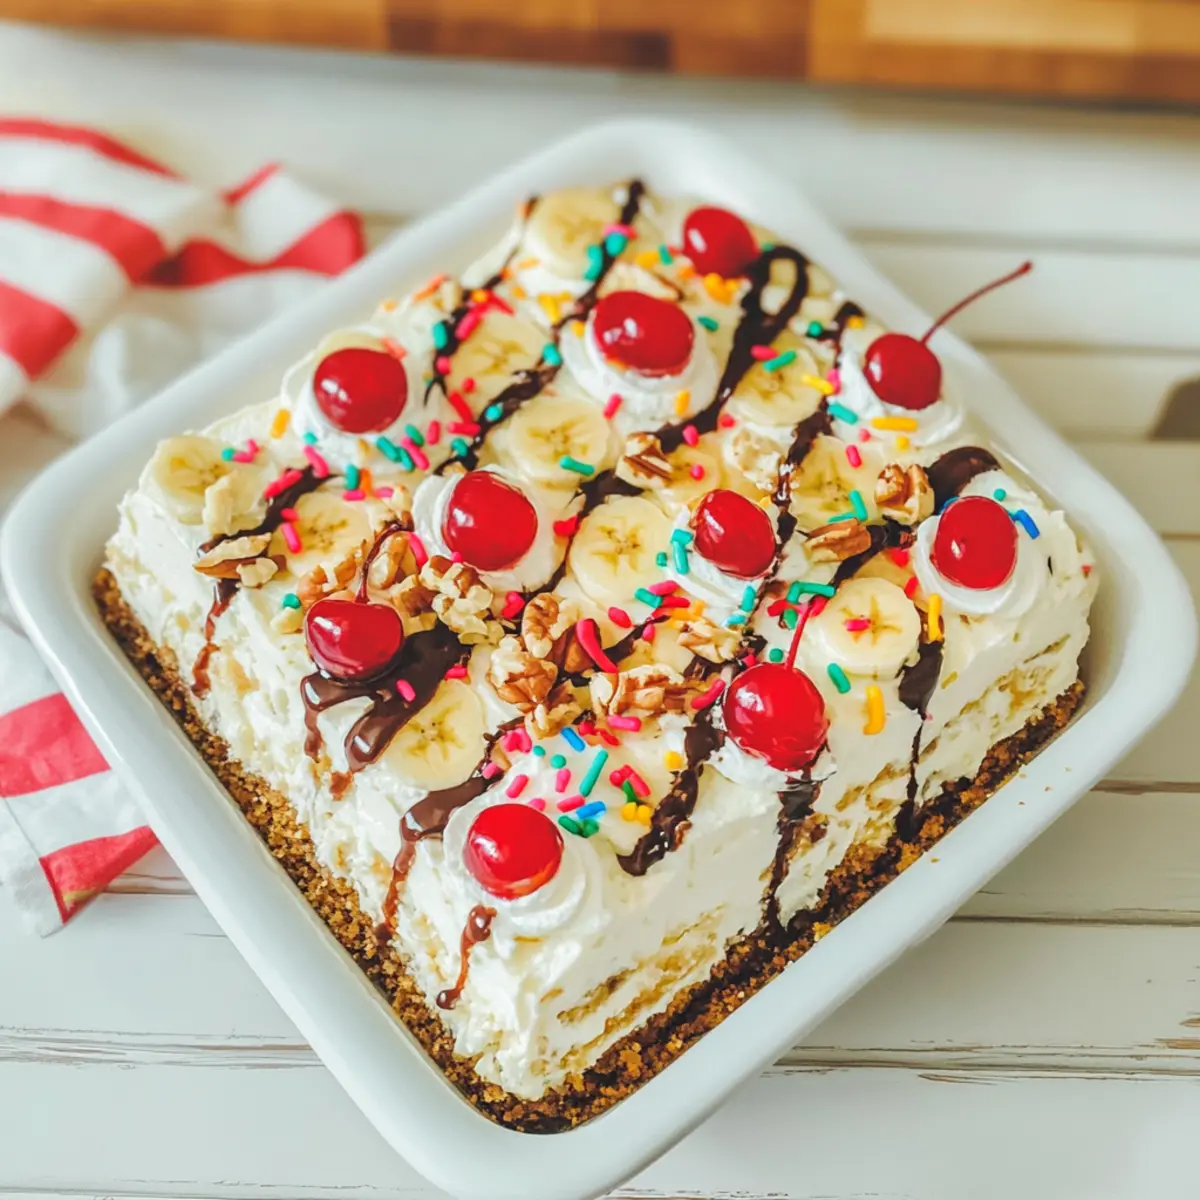
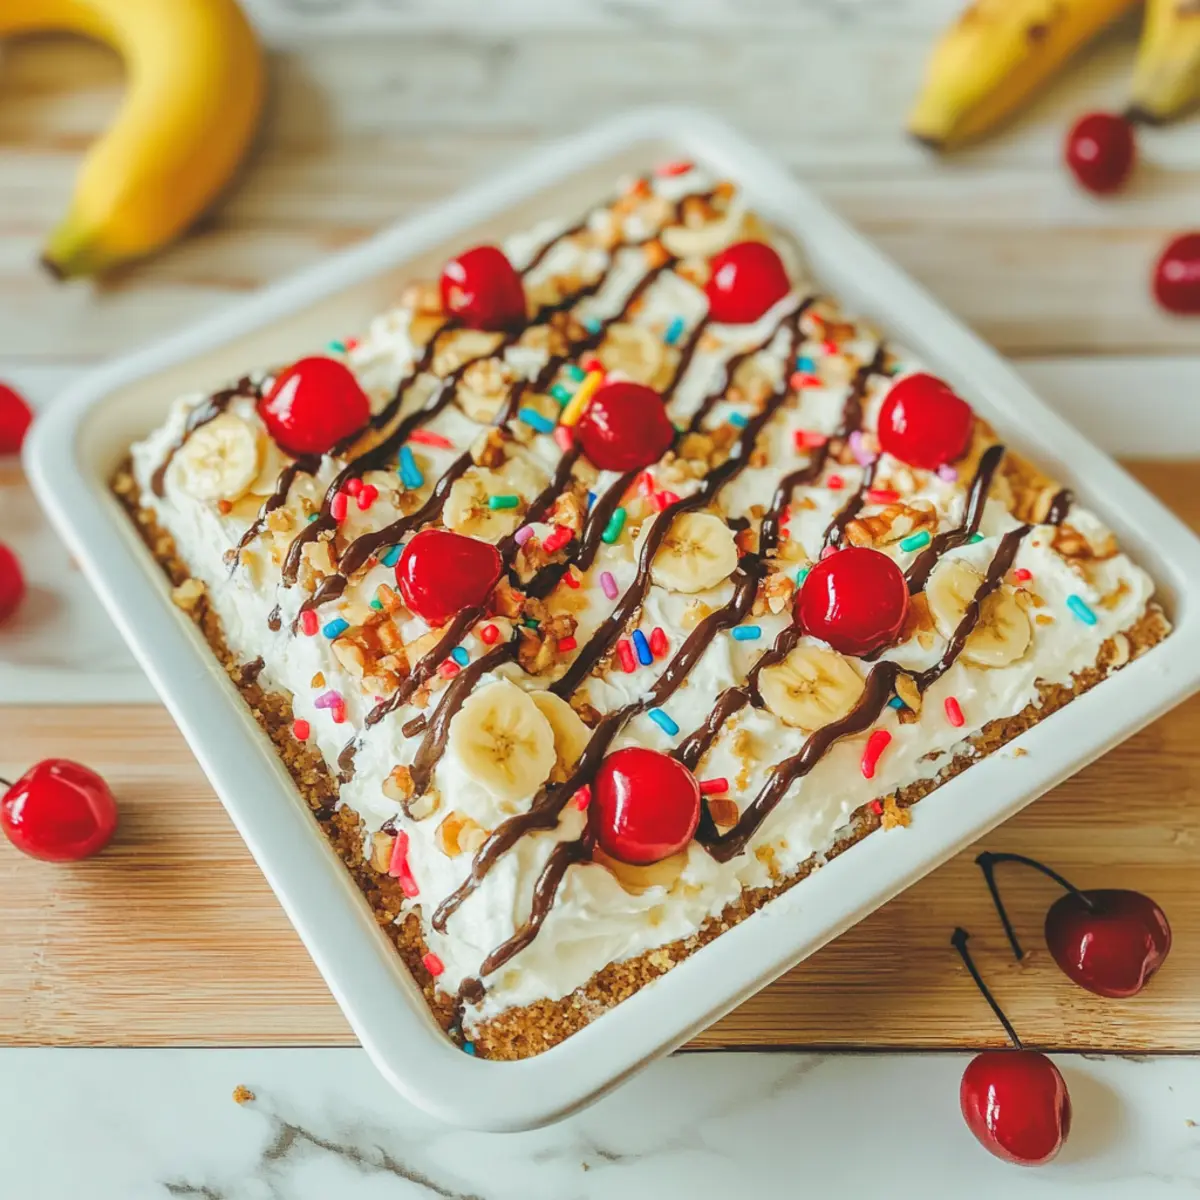
As I walked through a sun-soaked summer market, the sweet scent of ripe bananas wafted through the air, instantly drawing me back to simpler times. It’s that nostalgic feeling that inspired my No Bake Banana Split Cake, a dessert that brings together all the classic flavors of a beloved ice cream treat in a refreshing, creamy form. What’s more, this easy dessert is perfect for those warm evenings when you want to impress guests without spending hours in the kitchen. With its luscious layers of whipped cream, cream cheese, and banana pudding nestled on a buttery graham cracker crust, you’ll find it’s a delightful addition to summer barbecues or holiday gatherings. Are you ready to indulge in a dessert that’s as fun to make as it is to eat?
Why Is This No Bake Dessert Special?
Unmatched Simplicity: This No Bake Banana Split Cake requires minimal effort, perfect for busy days or spontaneous gatherings. Simply layer, chill, and delight!
Nostalgic Flavors: It channels the classic banana split we all love, offering a creamy and fruity indulgence that’s sure to evoke sweet memories.
Versatile Options: Customize it to your taste! Swap in chocolate pudding for a rich twist or use crushed cookies instead of nuts for added crunch.
Perfect for Any Occasion: Ideal for summer barbecues, holidays, or casual get-togethers. Everyone will be reaching for seconds, so make sure to check out my other favorites like Strawberry Banana Pudding and Chick Fil Banana!
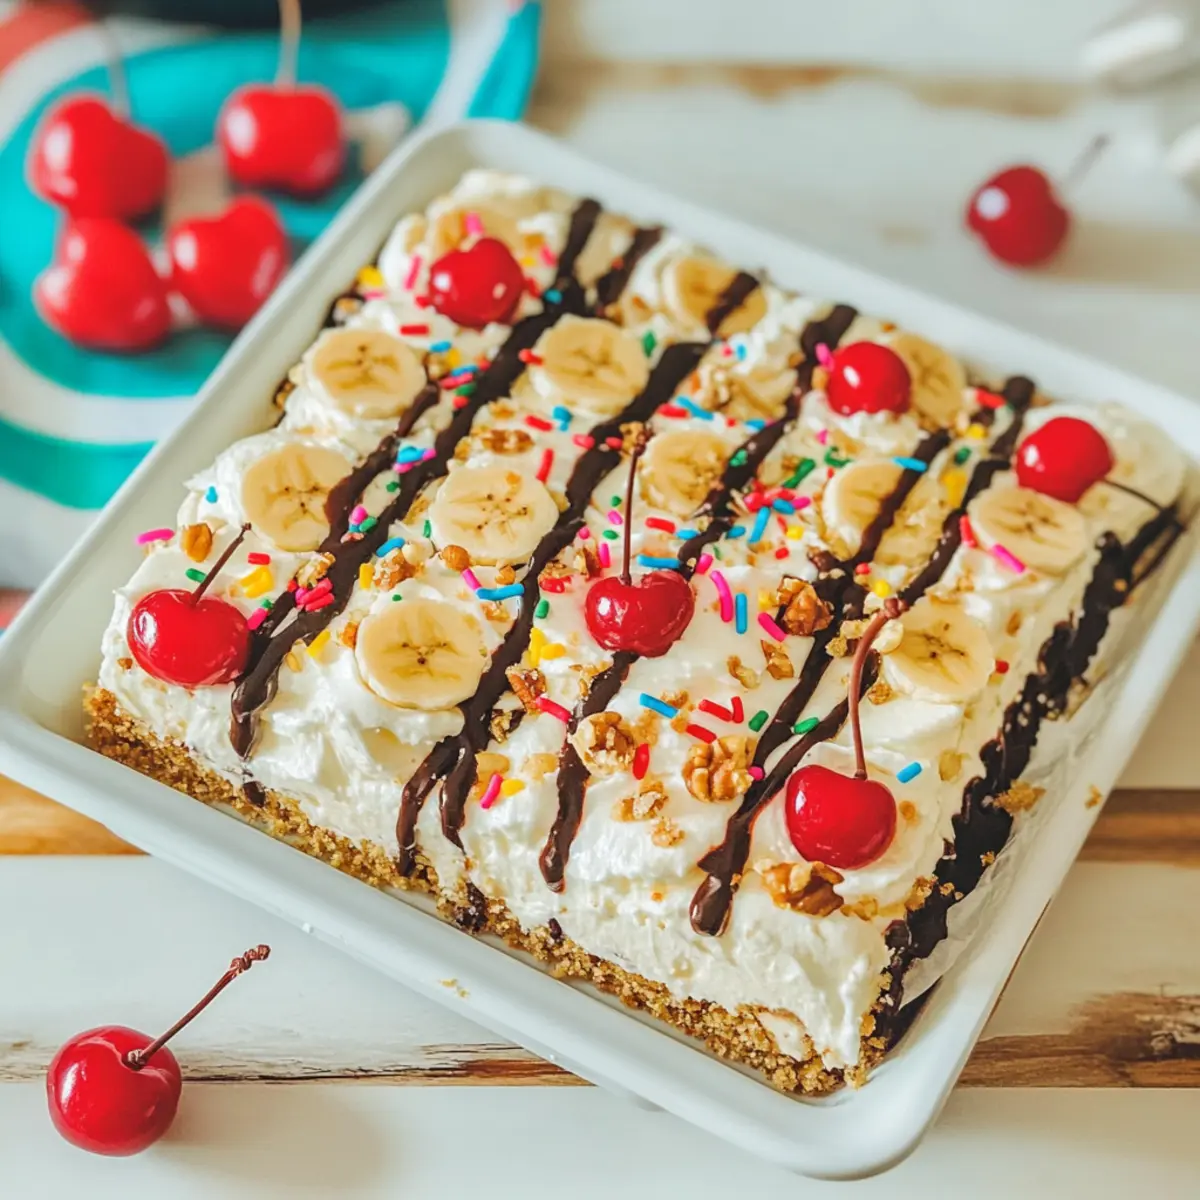
Effortless Presentation: With its colorful toppings and layers, this dessert looks as amazing as it tastes, making it a fantastic centerpiece at any gathering.
No Bake Banana Split Cake Ingredients
For the Crust
• Graham Crackers – They form the buttery base for the cake; gluten-free options work well too.
For the Filling
• Cream Cheese (8 oz) – Ensures a creamy texture; make sure it’s softened for easier blending.
• Instant Banana Pudding Mix (2 boxes, 3.4 oz each) – This flavor base thickens the filling; vanilla pudding is a great substitute.
• Cool Whip (14 oz) – Adds lightness and creaminess; feel free to use homemade whipped cream for a fresher taste.
• Milk (2 cups) – Helps blend the mixture smoothly; any type of milk will do, including dairy-free options.
For the Toppings
• Mixed Nuts Ice Cream Topping – Provides a delightful crunch; crushed cookies or chocolate chips make excellent replacements.
• Store-bought Vanilla Icing (1/2 container) – Perfect for decorating; you can also opt for a homemade frosting.
• Rainbow Sprinkles – A festive addition that brightens up the cake; feel free to customize with your favorite toppings.
• Maraschino Cherries (12) – A traditional touch on top for added color and flavor.
• Store-bought Chocolate Icing (1/2 container) – Great for drizzling; this can also be homemade if you prefer.
Let your imagination run wild while creating your No Bake Banana Split Cake, and enjoy the refreshing taste of summer goodness!
Step‑by‑Step Instructions for No Bake Banana Split Cake
Step 1: Prepare the Creamy Filling
In a stand mixer, combine 8 oz of softened cream cheese and 2 boxes of instant banana pudding mix. Mix on high speed until the ingredients are well-blended and smooth, about 2-3 minutes. The mixture should become thick and creamy, turning a delightful banana color.
Step 2: Add Cool Whip and Milk
Once your mixture is smooth, gently fold in 14 oz of Cool Whip and 2 cups of milk. Mix on medium speed until the filling thickens slightly, approximately 2-3 minutes. The texture should be light and airy, perfect for layering in your No Bake Banana Split Cake.
Step 3: Create the Graham Cracker Base
Spread a thin layer of Cool Whip on the bottom of a 9×13-inch baking dish to prevent sticking. Then, line the dish with a layer of graham crackers, ensuring they cover the bottom completely. This buttery base will give your cake the support it needs to hold those luscious layers.
Step 4: Layer the Pudding Mixture
Spoon one-third of the creamy banana pudding mixture over the graham cracker layer, spreading it evenly with a spatula. Gently press down to ensure the mixture fills in any gaps, creating a smooth layer. The pudding should be silky and inviting, showcasing the classic flavors of a banana split.
Step 5: Continue Layering
Repeat the layering process by adding another layer of graham crackers, followed by a second third of the pudding mixture. Alternate these layers until you’ve constructed three total layers, finishing with the pudding mixture on top. Ensure the top layer is even and spread nicely for the final presentation.
Step 6: Chill to Set
Cover the baking dish tightly with plastic wrap, and place it in the freezer for about 4 hours. This chilling time allows the No Bake Banana Split Cake to firm up beautifully, making it easy to slice and serve while ensuring its refreshing textures hold together.
Step 7: Decorate with Toppings
After the chilling time has elapsed, remove the cake from the freezer. Pipe half a container of store-bought vanilla icing decoratively on top, then embellish with maraschino cherries and rainbow sprinkles. Finally, drizzle warmed chocolate icing over the decorations to give your No Bake Banana Split Cake a delightful finish.
Step 8: Serve and Enjoy
Slice the cake into squares and serve chilled for a refreshing treat at summer gatherings or casual occasions. Each bite will bring a smile, combining the nostalgic flavors of a classic banana split into a creamy cake, making it a must-have dessert for everyone!
What to Serve with No Bake Banana Split Cake
Elevate your dessert experience by pairing this delightfully creamy treat with fresh and vibrant sides.
- Fresh Fruit Salad: Bright, colorful fruits provide a juicy contrast that balances the rich flavors of the cake. Consider a mix of strawberries, kiwi, and blueberries for a refreshing touch.
- Mint-Infused Iced Tea: The cool, soothing flavor of mint tea complements the sweetness of the cake, making it a perfect beverage choice. Serve it chilled with fresh mint leaves for an extra zing.
- Vanilla Ice Cream: A classic pairing that echoes the original banana split idea; the cold, creamy ice cream enhances the dessert experience. A scoop next to your slice is pure bliss!
- Chocolate-dipped Strawberries: These add a touch of elegance and whimsy, enhancing the iconic banana split flavors while bringing a delightful crunch to each bite.
- Light Lemon Sorbet: The zesty tang of lemon sorbet cuts through the creaminess, cleansing the palate beautifully between bites. It’s an invigorating contrast that’s sure to please.
- Peanut Butter Cookies: Their chewiness and nutty flavor complement the cake perfectly, adding another layer of texture and taste to your dessert table.
- Caramel Sauce Drizzle: Take indulgence up a notch by drizzling homemade or store-bought caramel sauce over the cake. This sweet addition creates a luscious finish that’s hard to resist.
- Almond Biscotti: Crunchy and lightly sweet, biscotti makes an excellent side, great for dipping if you serve it with coffee or tea alongside the cake.
- Cold Brew Coffee: The smooth, bold flavor of cold brew enhances the dessert’s sweetness, providing a delightful warm-weather pairing that many will love.
- Chocolate Mousse: For those who want to go a bit over-the-top, a dollop of rich chocolate mousse next to the cake adds decadence that will impress any guest.
Expert Tips for No Bake Banana Split Cake
-
Room Temperature Cream Cheese: Start with softened cream cheese to ensure a smooth, lump-free filling that integrates easily with the pudding mix.
-
Chill for Stability: Chill the filling before layering. This step allows the mixture to thicken and set properly, preventing a soggy cake.
-
Secure Storage: If you have leftovers, cover the cake tightly with plastic wrap to maintain freshness and prevent it from absorbing other odors in the fridge.
-
Experiment with Flavors: Don’t hesitate to play with alternatives; using chocolate pudding or flavored whipped cream can add a fun twist to your No Bake Banana Split Cake.
-
Decoration Delight: Pipe the icing just before serving to keep it fresh and visually appealing; adding cherries and sprinkles at the last moment captures the festive spirit!
No Bake Banana Split Cake Variations
Customize your No Bake Banana Split Cake with these delightful twists that will appeal to your taste buds!
-
Dairy-Free: Swap Cool Whip for whipped coconut cream for a light and refreshing option that’s completely dairy-free. You won’t miss the creaminess!
-
Chocolate Lovers: Use chocolate pudding mix in place of banana pudding for a rich, delectable chocolate dessert that will satisfy any sweet tooth.
-
Nut-Free Delight: If allergies are a concern, replace mixed nuts with crushed pretzels or crispy rice cereal for that delightful crunch without the nuts.
-
Fruit Fusion: Elevate the flavor by incorporating layers of sliced strawberries or crushed pineapple between the pudding layers for a fruity surprise.
-
Graham Cracker Alternative: For a gluten-free version, try using almond flour-based cookies or gluten-free Graham crackers. It’ll still taste amazing!
-
Texture Twist: Add a layer of finely chopped Oreo cookies between the graham cracker layers for a delightful chocolate crunch that complements the creaminess.
-
Sauce Swap: Instead of store-bought chocolate icing, opt for a homemade fudge sauce drizzled on top for an indulgent and rich finish.
-
Tropical Vibes: For a summer twist, replace bananas with diced mango and top with toasted coconut. It’s a burst of tropical goodness that’s simply irresistible!
Let your imagination take flight and enjoy creating your own unique version of this delightful cake! And don’t forget, for even more sweet inspiration, check out my Cinnamon Roll Coffee Cake or try a refreshing Pudding Icebox Cake for your next gathering.
Make Ahead Options
These No Bake Banana Split Cake layers are perfect for meal prep enthusiasts! You can prepare the creamy filling and layer it in the dish up to 24 hours in advance to save precious time on busy days. Simply mix the cream cheese, banana pudding mix, Cool Whip, and milk, and then layer it between graham crackers. For optimal quality, cover the dish tightly with plastic wrap before refrigerating; this prevents drying out and preserves the delightful flavors. When you’re ready to serve, add the finishing touches with the toppings—pipe the icing, sprinkle with cherries, and drizzle with chocolate just before indulging. This way, you’ll have a stunning dessert that’s just as delicious and refreshing with minimal last-minute effort!
How to Store and Freeze No Bake Banana Split Cake
Fridge: Store any leftover No Bake Banana Split Cake tightly covered in the fridge for up to 2-3 days. This keeps it fresh and creamy, ready for those spontaneous sweet cravings.
Freezer: If you want to make it ahead, the cake can be frozen for up to 2 months. Slice it first for convenience and wrap each piece individually in plastic wrap before placing them in an airtight container or freezer bag.
Reheating: For best taste, enjoy the cake chilled directly from the fridge or thaw it in the refrigerator overnight if frozen. Avoid microwaving, as it may alter the creamy texture.
Covering: Always ensure that your dessert is well-covered to prevent it from absorbing any unpleasant odors or flavors from the fridge or freezer.
No Bake Banana Split Cake Recipe FAQs
How do I choose ripe bananas for my No Bake Banana Split Cake?
Absolutely! Look for bananas that are slightly speckled with brown spots; they should be firm but not too mushy. Overripe bananas will add more sweetness and creamy texture to your dessert, enhancing that classic banana flavor we love.
What is the best way to store leftovers of the No Bake Banana Split Cake?
To keep your cake fresh, store it tightly covered in the fridge for 2-3 days. Use plastic wrap to seal it well, preventing it from absorbing other flavors from the fridge. Remember to enjoy it cold for the best taste and texture!
Can I freeze the No Bake Banana Split Cake?
Yes, you can! To freeze, slice the cake into individual portions for easy access later. Wrap each slice tightly in plastic wrap and place them in an airtight container or freezer bag. It can be frozen for up to 2 months. Thaw overnight in the refrigerator when you’re ready to enjoy!
What should I do if my filling doesn’t thicken properly?
Very good question! First, ensure your cream cheese is at room temperature before mixing, as this affects the consistency. If it’s still not thickening, consider adding a little more banana pudding mix or allow the mixture to chill in the fridge for an additional 10-15 minutes before layering to help it set better.
Are there any dietary considerations I should keep in mind for pets or allergies?
Absolutely! This No Bake Banana Split Cake contains ingredients like cream cheese, pudding mix, and nuts that are not safe for pets. If serving to others, be mindful of nut allergies and consider using alternatives like crushed cookies or omitting nuts altogether. Always communicate ingredients for those with dietary restrictions.
Can I make the No Bake Banana Split Cake in advance?
Yes! In fact, it’s recommended to prepare it a day in advance to allow the flavors to meld beautifully. Simply assemble it, cover it tightly, and store it in the refrigerator for optimal freshness. This way, you can enjoy more time with your guests and less time in the kitchen!
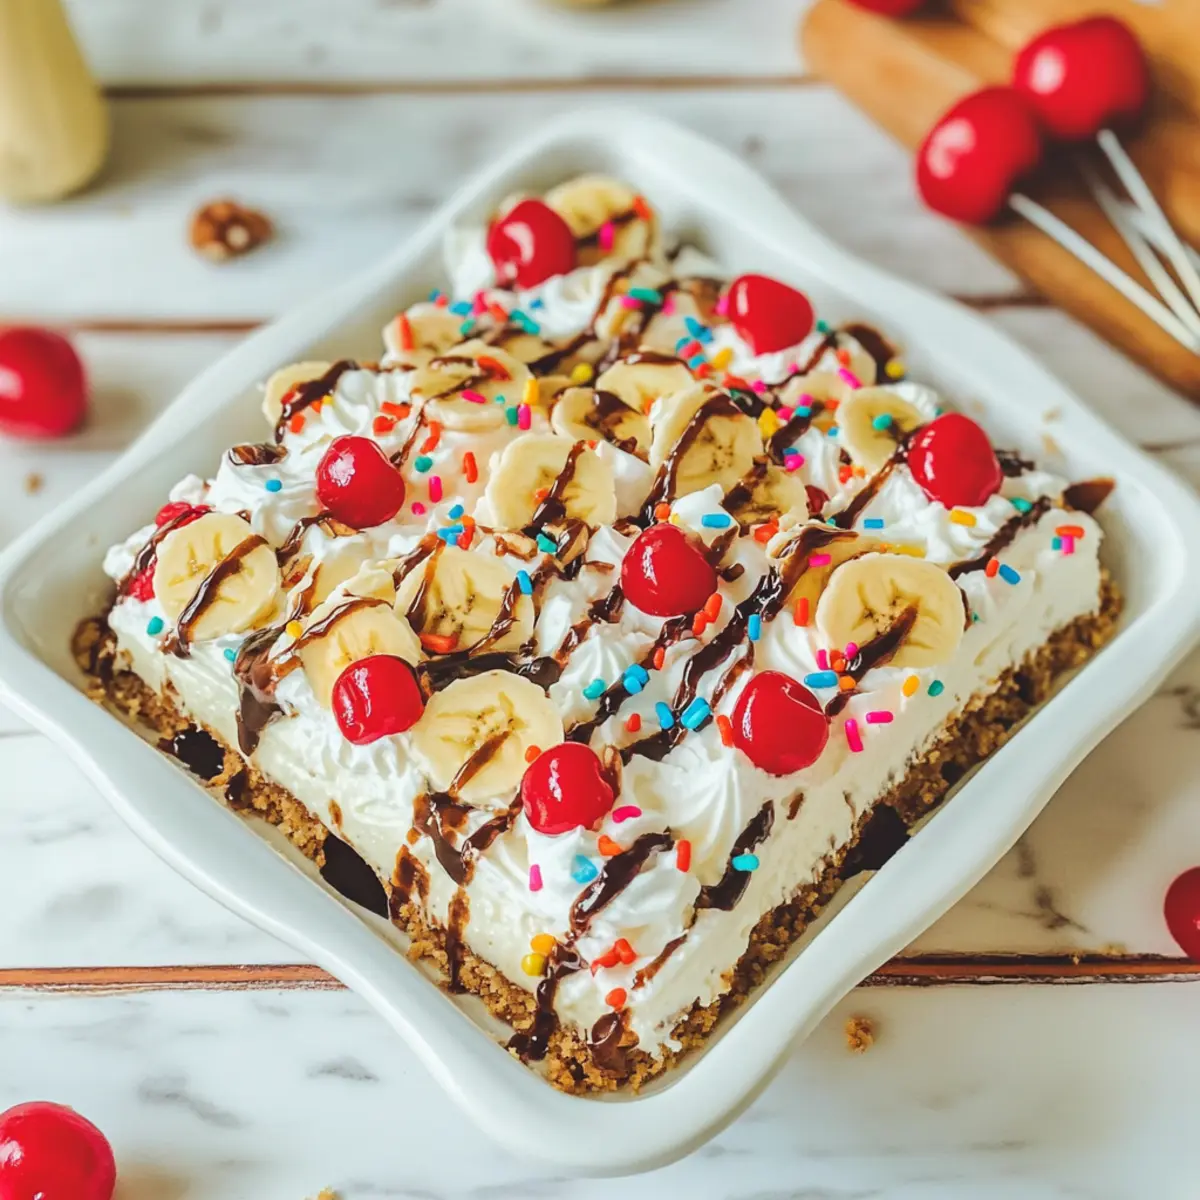
No Bake Banana Split Cake: A Cool Dessert for Summer Bliss
Ingredients
Equipment
Method
- In a stand mixer, combine 8 oz of softened cream cheese and 2 boxes of instant banana pudding mix. Mix on high speed until blended and smooth, about 2-3 minutes.
- Gently fold in 14 oz of Cool Whip and 2 cups of milk, mixing on medium speed until the filling thickens slightly, about 2-3 minutes.
- Spread a thin layer of Cool Whip on the bottom of a 9x13-inch baking dish, then line with a layer of graham crackers.
- Spoon one-third of the creamy banana pudding mixture over the graham cracker layer, smoothing it evenly.
- Repeat layering with another layer of graham crackers and followed by another third of the pudding mixture, finishing with pudding on top.
- Cover tightly with plastic wrap and place in the freezer for about 4 hours.
- After chilling, remove from the freezer, pipe half a container of store-bought vanilla icing on top, then add maraschino cherries and rainbow sprinkles.
- Drizzle warmed chocolate icing over the decorations before serving.
- Slice the cake into squares and serve chilled.
Leave a Reply