
As I stood in my kitchen, the aroma of toasted bread mingled with the delightful scent of melting cheese, I felt a wave of nostalgia wash over me. There’s something uniquely comforting about Open Faced Tuna Melts that takes me back to leisurely afternoons spent with loved ones, sharing stories and laughter over simple yet satisfying meals. This easy recipe is perfect for a quick lunch or cozy dinner, coming together in just 15 minutes. Trust me, whether you choose to broil or bake, these delectable melts are sure to impress and can be customized to fit your taste preferences. Ready to bring some warmth into your meal rotation? Let’s dive into the magic of these comforting creations!
Why are Open Faced Tuna Melts a Must-Try?
Simplicity at its finest: This recipe combines minimal ingredients and straightforward steps, making it perfect for home cooks of any skill level.
Quick Preparation: Ready in just 15 minutes, these Open Faced Tuna Melts are the ultimate solution for those busy days when time is tight but a delicious meal is still desired.
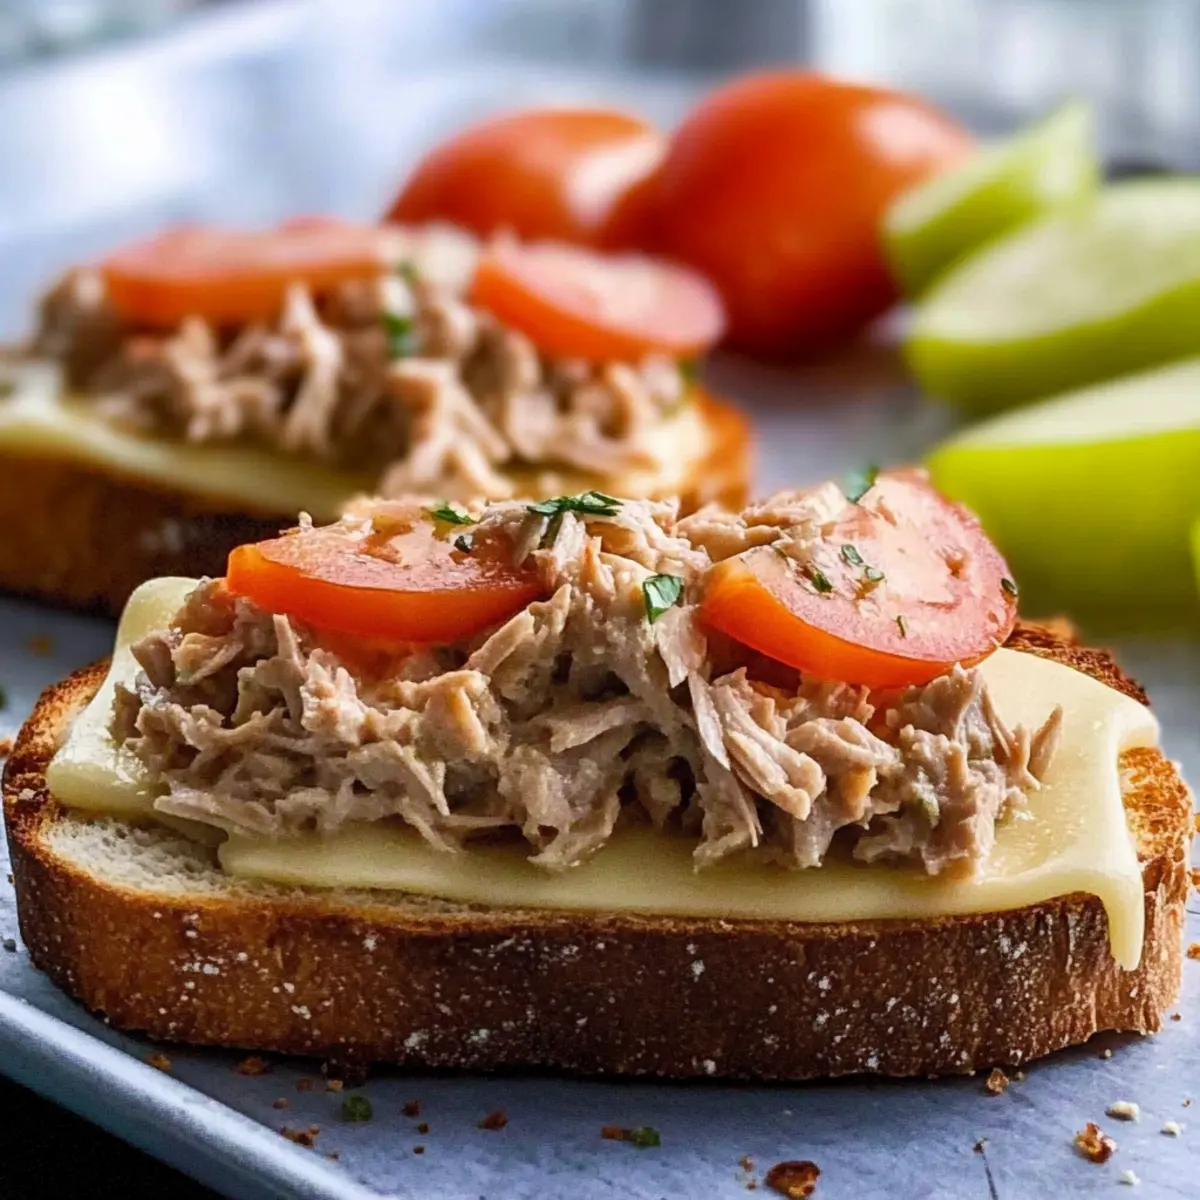
Comforting Flavors: Experience the rich taste of creamy tuna salad paired with gooey, melted cheese atop crispy bread, which brings together nostalgia and satisfaction in every bite.
Versatile Options: With variations like baked and broiled methods, you can choose your preferred technique, and even mix in ingredients such as roasted red peppers or fresh herbs for a personal touch.
Crowd-Pleaser: These melts are not only a go-to for lunch or dinner but also make fantastic appetizers for gatherings, ensuring they’re a hit with family and friends alike.
Storage Friendly: Leftovers can easily be stored and reheated, maintaining their delicious flavors and satisfying textures, making them a convenient choice for meal prep or quick snacks.
Open Faced Tuna Melts Ingredients
For the Tuna Salad
- Tuna – Use canned tuna packed in water for the best protein and flavor.
- Celery – Fresh or frozen adds a delightful crunch and freshness.
- Red Onion – This introduces a sweet bite; substitute with shallots for milder flavor.
- Flat-Leaf Parsley – Fresh herbs elevate the dish; dill or chives are good alternatives.
- Mayonnaise – Binds the salad and enhances creaminess; Greek yogurt works for a lighter option.
- Dijon Mustard – Provides a tangy depth; yellow mustard can be a suitable substitute.
- Lemon Juice – Brightens flavors; fresh is ideal, but bottled can work in a pinch.
For the Base & Topping
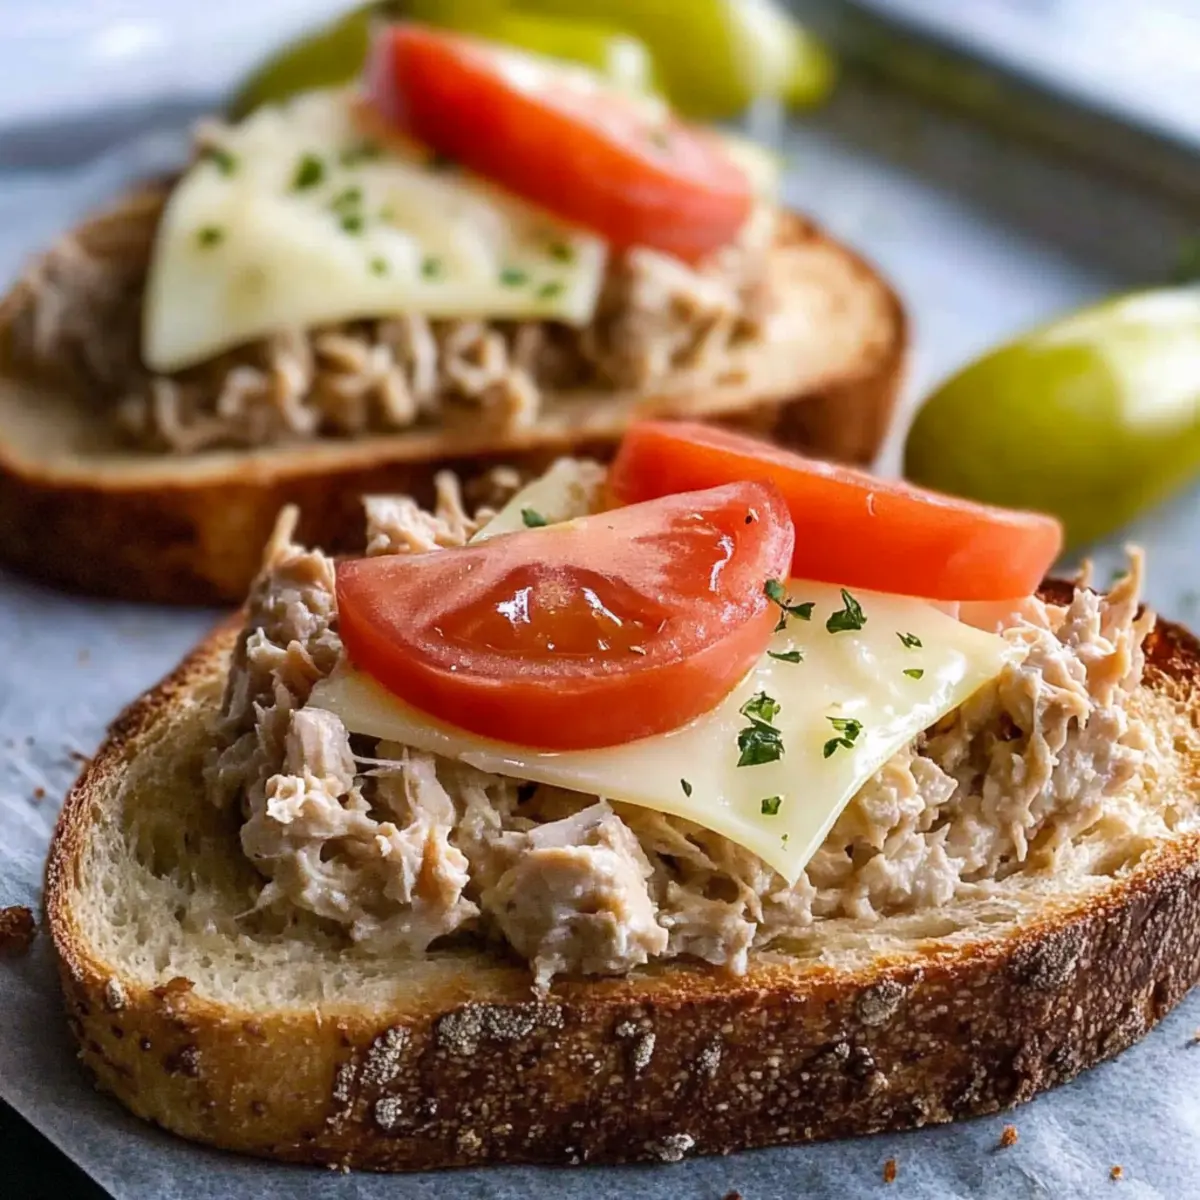
- Bread – Choose hearty options like sourdough or rye for best texture and flavor.
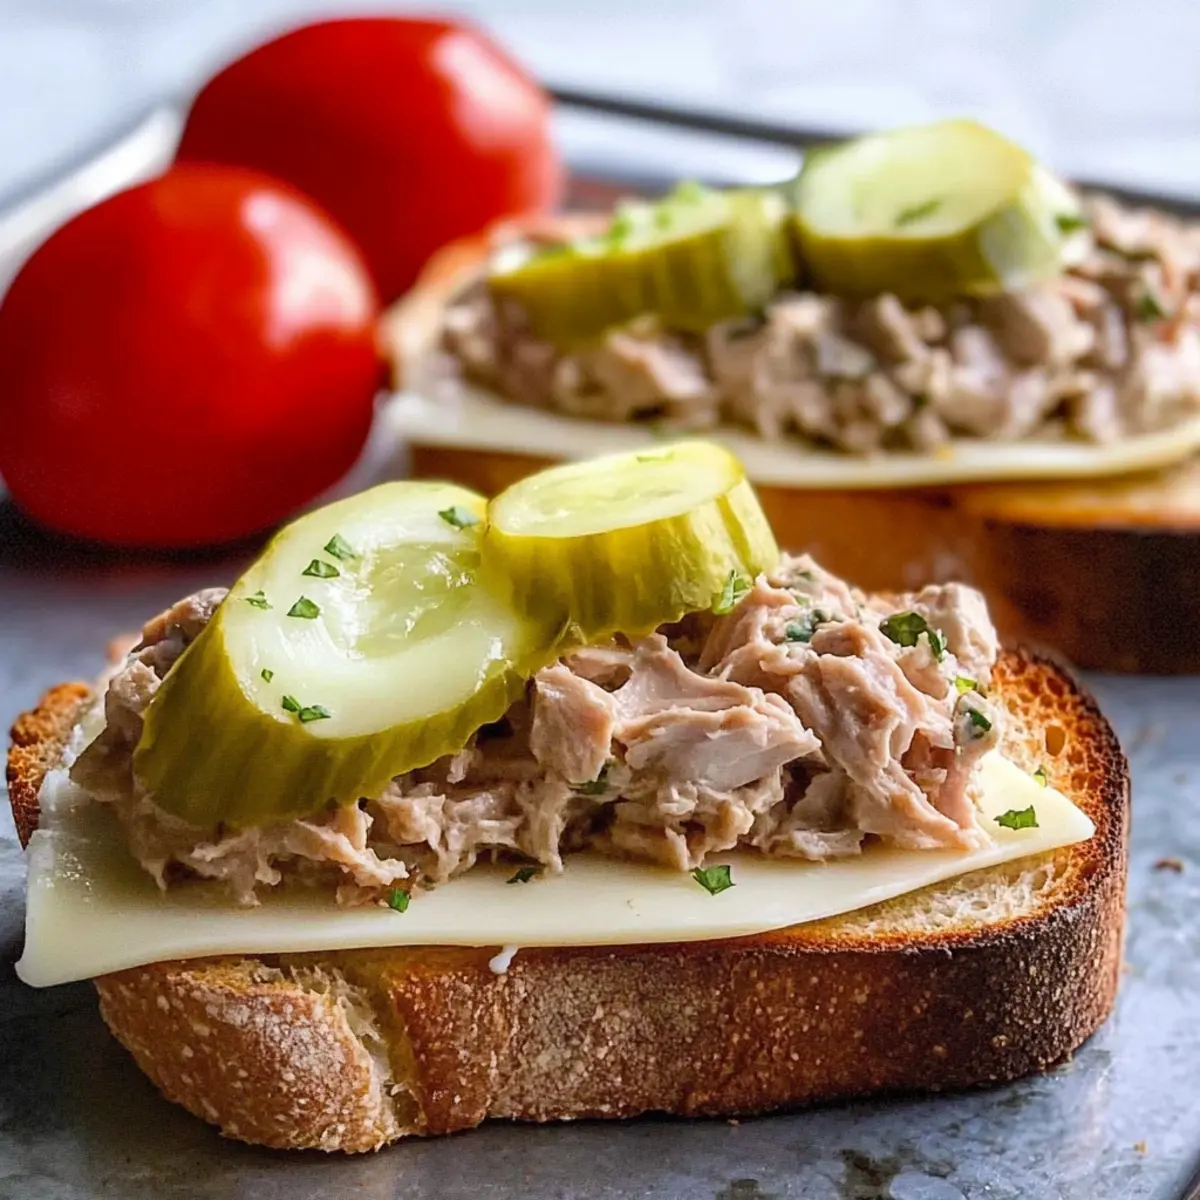
- Cheese – Cheddar, mozzarella, or Swiss melt beautifully for a creamy topping.
- Butter – Optional, but adds richness to toasted bread; can be omitted for a lighter version.
- Tomatoes – Low moisture varieties like Roma add freshness and color; ideal for topping.
Step‑by‑Step Instructions for Open Faced Tuna Melts
Step 1: Prepare Tuna Salad
In a large mixing bowl, combine drained canned tuna, finely chopped celery, red onion, and fresh parsley. Stir in mayonnaise, Dijon mustard, lemon juice, and a pinch of salt and pepper until all ingredients are well mixed and creamy. The tuna salad should have a cohesive texture, bursting with flavor, and ready to be heaped on your toasted bread.
Step 2: Toast Bread (Broiled Method)
Preheat your broiler and line a baking sheet with parchment paper. Butter one side of each bread slice generously before laying them on the prepared sheet. Broil the bread about 4 inches from the heat for 1-2 minutes until golden brown, then flip and toast the other side for an additional 1-2 minutes, achieving a perfect crunch to hold your Open Faced Tuna Melts.
Step 3: Assemble Tuna Melt (Broiled)
Once the bread is toasted, remove it from the oven and dollop generous spoonfuls of the prepared tuna salad onto each slice. Sprinkle evenly with your choice of cheese, like cheddar or mozzarella, covering the tuna thoroughly. Return the baking sheet to the broiler for about 2-3 minutes, watching closely until the cheese is melted and bubbly, signaling it’s time to add the fresh toppings.
Step 4: Add Tomato Topping (Broiled)
After the cheese has melted to perfection, pull the Open Faced Tuna Melts out of the oven. Top each sandwich with slices of fresh tomato, ensuring to season lightly with a pinch of salt and pepper if desired. The vibrant tomatoes will add a burst of freshness to each bite while providing a lovely visual contrast to the melted cheese.
Step 5: Toast Bread (Baked Method)
If you prefer the baked method, preheat your oven to 400°F. Butter one side of each bread slice and arrange them on a baking sheet with the buttered side facing up. Bake the bread for about 10 minutes, or until golden brown, flipping each slice halfway through for even toasting, to achieve a crispy base for your Open Faced Tuna Melts.
Step 6: Assemble Tuna Melt (Baked)
Once the bread is toasted, take it out of the oven and spread your creamy tuna salad evenly on top of each slice. Follow up by layering your favorite cheese over the salad to make it delightfully gooey. Return the baking sheet to the hot oven and bake for another 8-10 minutes, or until the cheese is melted and bubbly, creating an irresistible topping for your Open Faced Tuna Melts.
Open Faced Tuna Melts: Creative Twists
Feel free to elevate your Open Faced Tuna Melts by exploring these delightful variations that transform this beloved classic into something uniquely yours!
-
Dairy-Free: Substitute cheese with nutritional yeast and avocado for a creamy, plant-based version that still satisfies.
-
Spicy Kick: Mix in some diced jalapeños or a splash of hot sauce with the tuna salad for a fiery twist that’ll awaken your taste buds.
-
Mediterranean Delight: Swap the tuna for canned chickpeas, diced olives, and feta cheese to create a refreshing and protein-packed vegan option.
-
Herb-Infused: Incorporate fresh dill or cilantro into the tuna salad for an aromatic boost, bringing a fresh and vibrant twist to the flavors.
-
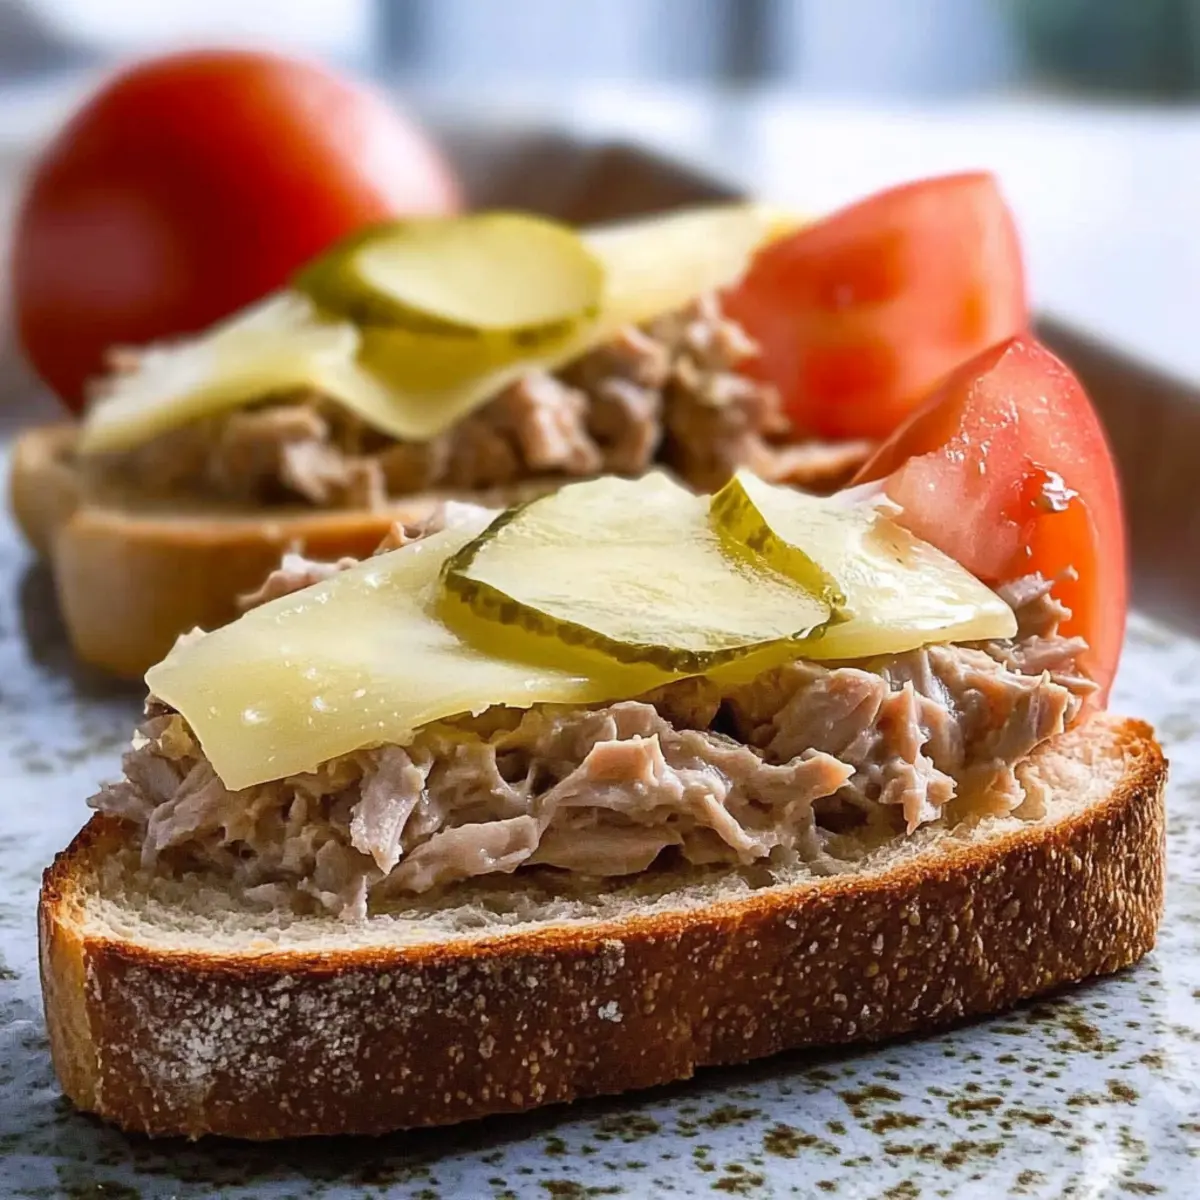
Savory Crunch: Add thinly sliced radishes or pickles on top for an extra layer of texture and tang that complements the creamy base beautifully.
-
Pesto Perfection: Mix a spoonful of pesto into the tuna salad for a herby and nutty flavor the whole family will love. In every bite, you’ll enjoy a burst of deliciousness that’s hard to resist.
-
Avocado Lover’s: Top with sliced avocado before serving for a creamy texture and added richness. This also amps up the nutrients, making your melts even more satisfying.
-
Sundried Tomato: Fold in chopped sundried tomatoes with the tuna mixture for a sweet and tangy flavor that adds a Mediterranean flair to your dish.
Remember, you can explore these variations alongside quick lunch ideas or even consider customizing your meal with no-cook dinners. Get creative and happy cooking!
How to Store and Freeze Open Faced Tuna Melts
Fridge: Keep your Open Faced Tuna Melts in an airtight container for up to 3 days. This allows you to enjoy leftovers while maintaining optimal flavors.
Freezer: For longer storage, wrap individual melts tightly in aluminum foil or plastic wrap, then place them in a freezer-safe bag. They can be frozen for up to 2 months.
Reheating: When ready to enjoy, thaw the melts in the fridge overnight if frozen, then reheat in the oven at 350°F for about 10-15 minutes, until heated through and the cheese is melty again.
Note: Avoid reheating in the microwave, as it can make the bread soggy, losing that delightful crunch.
Expert Tips for Open Faced Tuna Melts
-
Bread Choice Matters: Using hearty bread like sourdough or ciabatta prevents sogginess and adds delightful texture.
-
Keep an Eye on the Broiler: Broiling can burn quickly; stand close and watch for the perfect golden brown without overdoing it.
-
Customize Your Tuna Salad: Feel free to adjust mayonnaise to your liking; less for a drier mix and more for a creamier tuna salad.
-
Storage Solutions: Store leftovers in an airtight container for up to 3 days, reheating in an oven for crispy perfection on your Open Faced Tuna Melts.
-
Cheese Variations: Experiment with different cheese types, like Pepper Jack for a spicy kick or Swiss for a milder taste, to keep things interesting!
What to Serve with Open Faced Tuna Melts?
A delightful meal is just around the corner, full of comforting flavors and textures that pair beautifully with your tuna melts.
-
Crispy Potato Wedges: These golden-brown wedges provide a crunchy contrast, perfect for dipping in your favorite sauces alongside the melts.
-
Fresh Garden Salad: A light, vibrant salad with mixed greens, cherry tomatoes, and a zesty vinaigrette brings freshness to the mix, balancing the rich flavors of the tuna melts.
-
Homemade Coleslaw: Creamy coleslaw offers a sweet and tangy crunch that complements the richness of the melted cheese and savory tuna salad.
-
Sweet Pickle Spears: These add a burst of tangy sweetness that cuts through the creaminess of the tuna, enhancing each bite of your melt.
-
Roasted Vegetables: A medley of seasonal vegetables like bell peppers, zucchini, and carrots brings a warm, savory element to the table, rounding out the meal beautifully.
-
Iced Tea or Lemonade: Quench your thirst with a refreshing beverage that cools and uplifts, enhancing the overall comfort of your dining experience.
Whether you choose to go crisp, fresh, or sweet, these sides will elevate your Open Faced Tuna Melts into a truly memorable meal.
Make Ahead Options
These Open Faced Tuna Melts are fantastic for meal prep, allowing you to save time on busy weekdays! You can prepare the tuna salad up to 3 days in advance—just combine the drained tuna with celery, red onion, parsley, mayo, mustard, and lemon juice, then store it in an airtight container in the refrigerator to maintain freshness. Additionally, you can pre-toast the bread up to 24 hours beforehand without the toppings to keep it crisp. When it’s time to enjoy your melts, simply assemble the sandwich with the tuna salad and cheese, then bake or broil until the cheese is gooey and delicious. These make-ahead steps result in quick, satisfying meals that are just as tasty as fresh!
Open Faced Tuna Melts Recipe FAQs
What type of tuna is best for Open Faced Tuna Melts?
Absolutely! I recommend using canned tuna packed in water for the best flavor and texture. Look for brands that use high-quality fish for a richer taste. You can also opt for chunk light tuna or white albacore, depending on your preference, but make sure it’s well-drained before mixing in your salad.
How should I store leftover Open Faced Tuna Melts?
Leftovers can be stored in an airtight container in the refrigerator for up to 3 days. To keep them at their best, reheat in an oven or air fryer rather than the microwave for optimal texture. The crispiness of the bread is part of what makes these melts so enjoyable!
Can I freeze Open Faced Tuna Melts?
Yes, you can! Wrap individual tuna melts tightly in aluminum foil or plastic wrap, then place them in a freezer-safe bag. They can be frozen for up to 2 months. When you’re ready to enjoy them, thaw overnight in the refrigerator and reheat in the oven at 350°F for about 10-15 minutes. This will help maintain that delightful crunch you love.
What should I do if my tuna salad seems too dry?
Very good question! If your tuna salad appears too dry, don’t fret. You can simply add a bit more mayonnaise or Greek yogurt, a tablespoon at a time, until you reach your desired creaminess. Mix thoroughly after each addition to ensure everything is well combined. Adjustments like this can really enhance your Open Faced Tuna Melts!
Can I use different toppings for my tuna melts?
The more the merrier! Feel free to get creative with your toppings. Besides fresh tomatoes, consider adding sliced olives, roasted red peppers, or even avocado for added flavor and creaminess. Fresh herbs like dill or cilantro could also brighten the dish beautifully.
Are there any dietary considerations for Open Faced Tuna Melts?
Absolutely! If you have dietary restrictions, gluten-free bread can be substituted for a gluten-free option. For those with dairy allergies, consider using vegan cheese alternatives. Always check the labels of the ingredients you use, especially the mayonnaise and mustard, to ensure they meet your dietary needs.
Open Faced Tuna Melts: Easy Comfort for Quick Lunch Bliss
Ingredients
Equipment
Method
- In a large mixing bowl, combine drained canned tuna, finely chopped celery, red onion, and fresh parsley. Stir in mayonnaise, Dijon mustard, lemon juice, and a pinch of salt and pepper until all ingredients are well mixed and creamy.
- Preheat your broiler and line a baking sheet with parchment paper. Butter one side of each bread slice generously before laying them on the prepared sheet. Broil the bread about 4 inches from the heat for 1-2 minutes until golden brown, then flip and toast the other side.
- Once the bread is toasted, remove it from the oven and dollop generous spoonfuls of the prepared tuna salad onto each slice. Sprinkle evenly with your choice of cheese.
- After the cheese has melted, top each sandwich with slices of fresh tomato. Season lightly with salt and pepper if desired.
- If you prefer the baked method, preheat your oven to 400°F. Butter one side of each bread slice and arrange them on a baking sheet with the buttered side facing up. Bake the bread for about 10 minutes.
- Once the bread is toasted, spread your creamy tuna salad evenly on top of each slice. Layer your favorite cheese over the salad and return the baking sheet to the oven.
Leave a Reply