
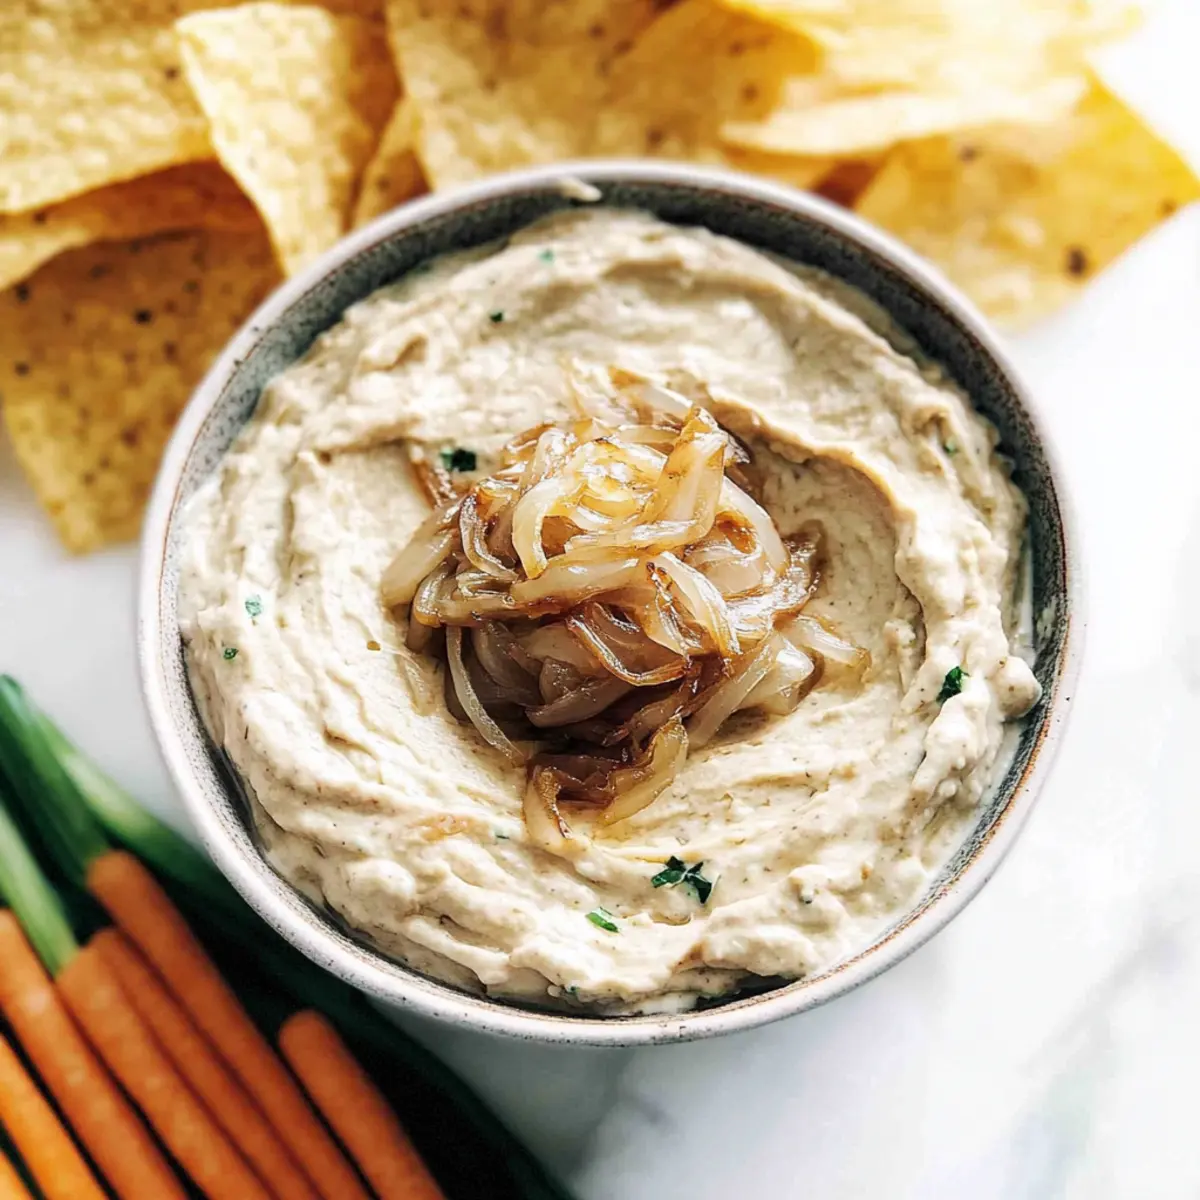
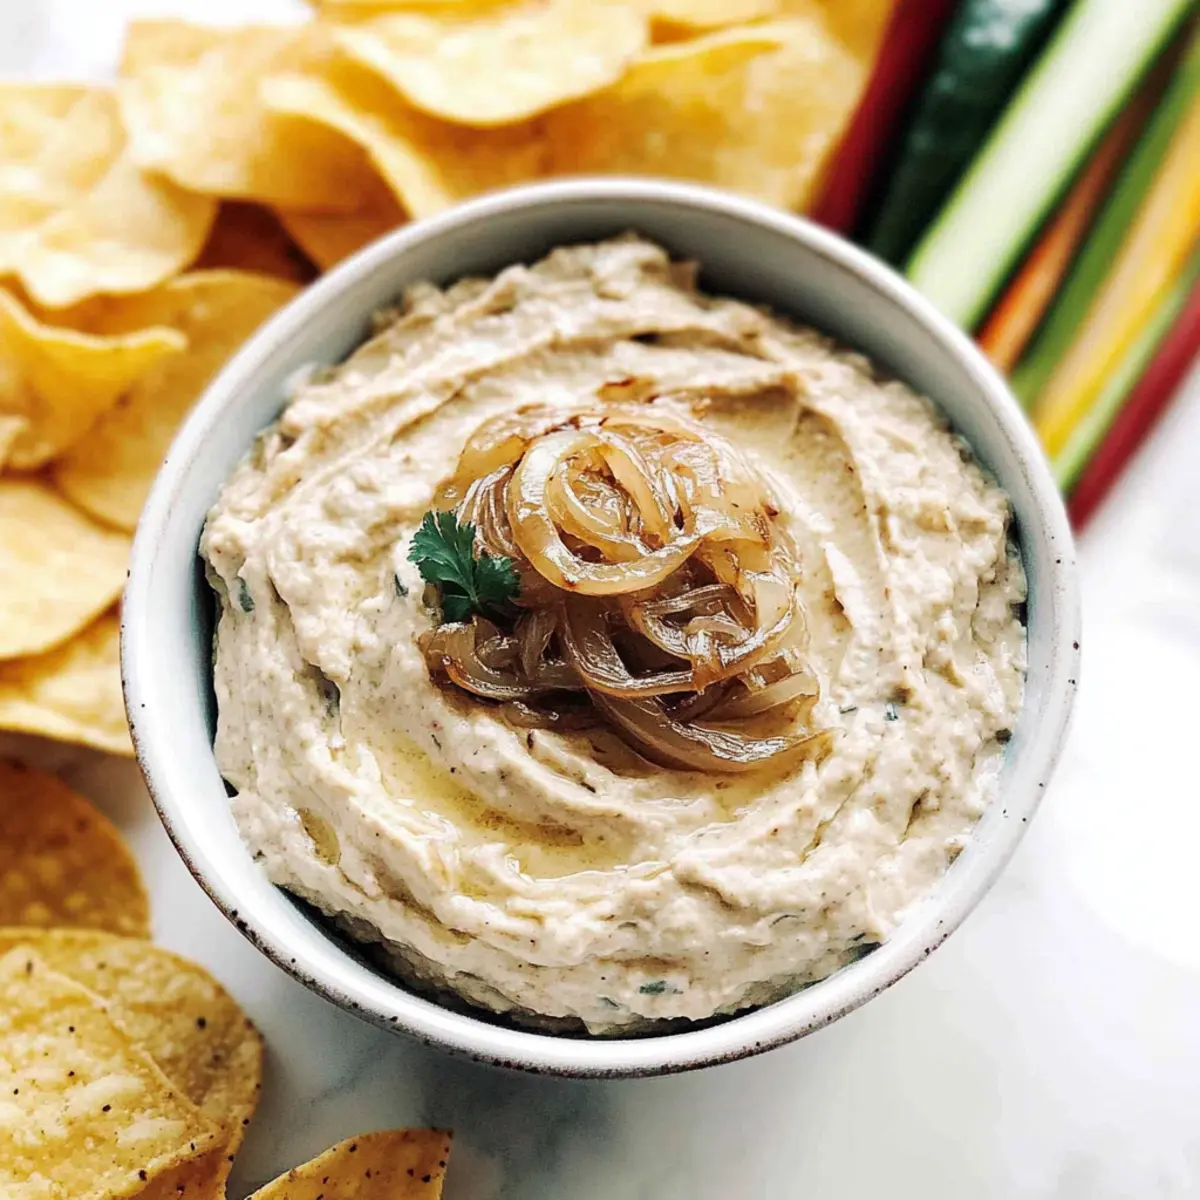
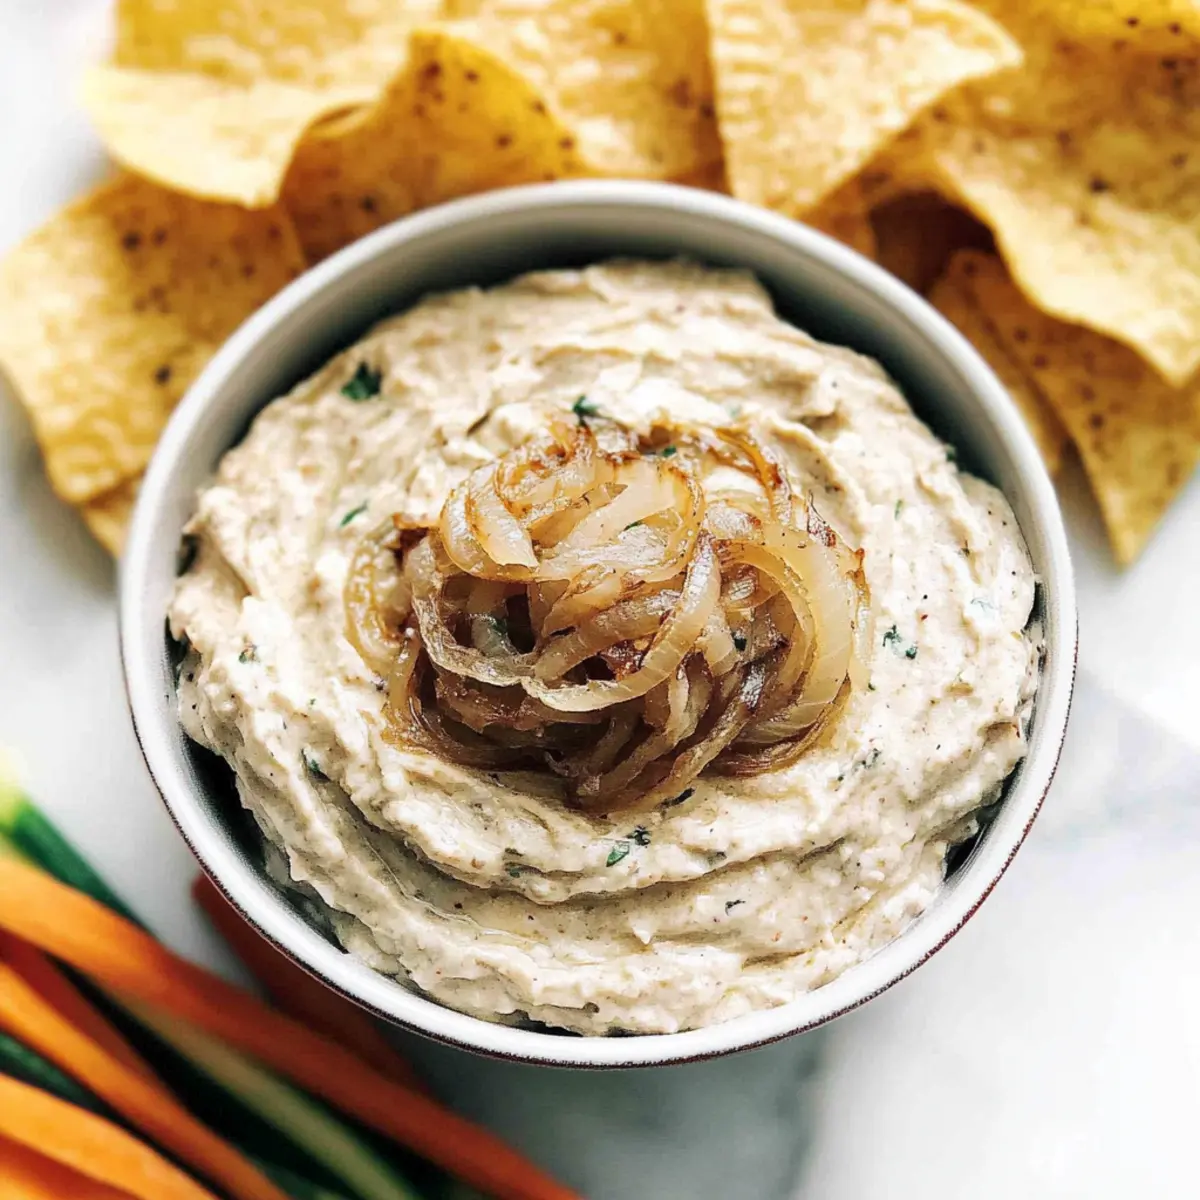
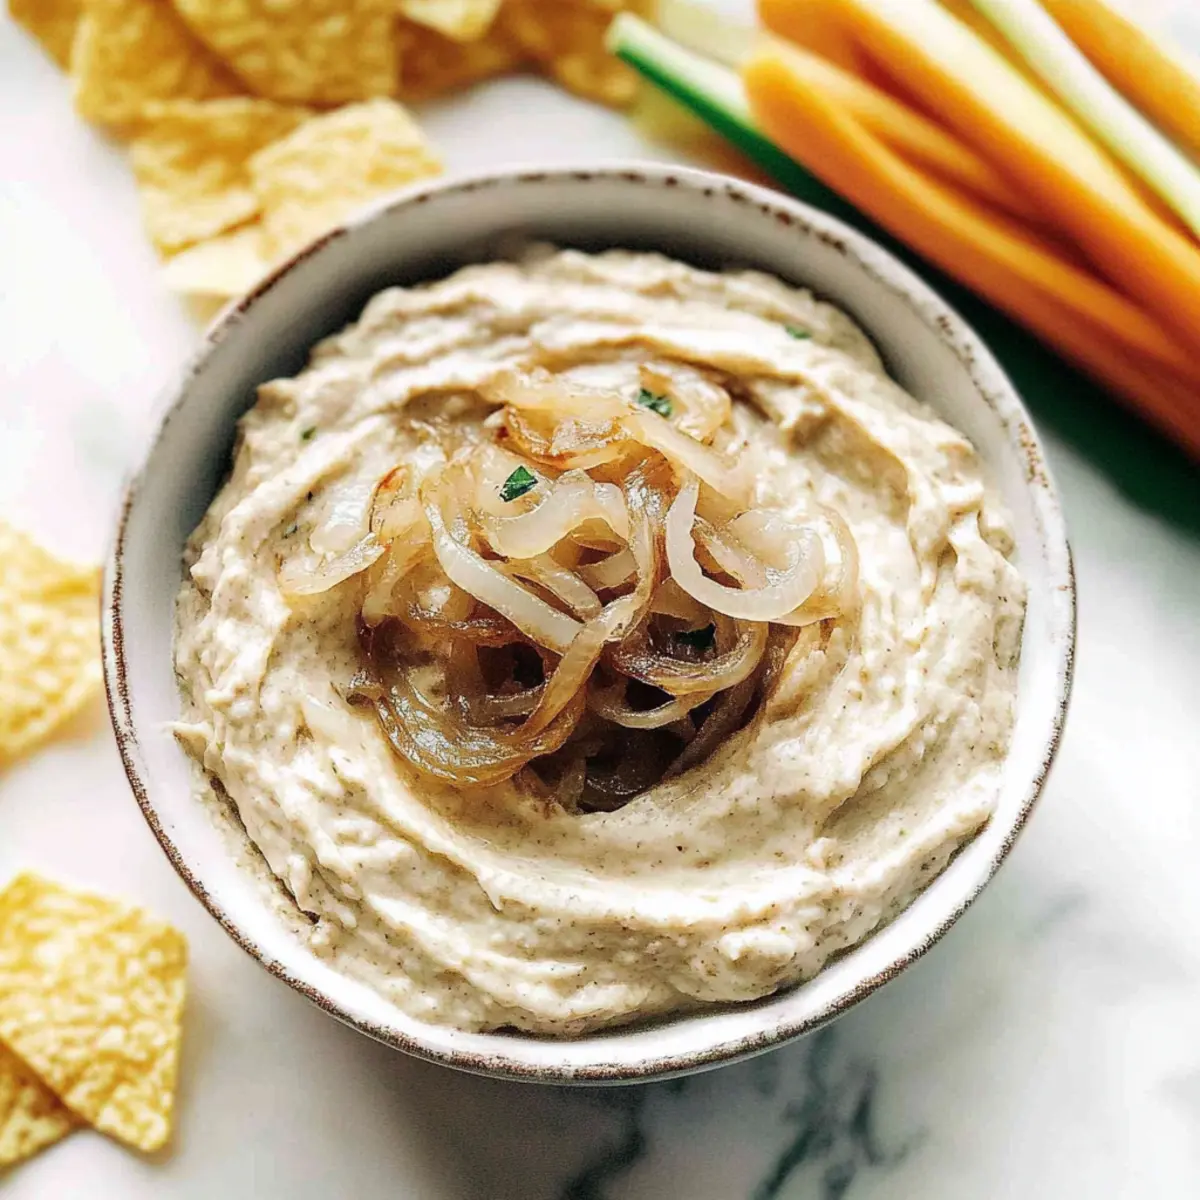
The gentle sizzle of onions caramelizing in a pan fills my kitchen with an aroma that beckons everyone to gather around. With each minute that passes, the sweetness intensifies, promising that something delicious awaits. Enter my Ultimate Caramelized Onion Dip—a crowd-pleaser that transforms simple gatherings into unforgettable feasts. Combining rich, golden onions with creamy sour cream and a hint of umami, this dip has it all: it’s quick to prepare for last-minute plans and makes a perfect companion for chips or fresh veggies. Whether you’re hosting a party or just craving a comforting snack, this vegetarian delight hits the spot every time. Ready to elevate your dipping game? Let’s dive in!
Why is This Dip an All-Star?
Irresistible Flavor: The sweet richness of caramelized onions melds beautifully with the creaminess of sour cream, creating a dip that’s bursting with flavor.
Quick and Simple: With just a few ingredients and straightforward steps, this recipe is perfect for both novice and experienced cooks.
Versatile Serving Options: Whether you pair it with chips, veggies, or slather it on burgers, this dip adapts to any occasion.
Make Ahead Magic: Prepare it in advance and let the flavors develop—ideal for busy hosts or spontaneous gatherings. You can even try it with some crispy chips for an added crunch!
Diet-Friendly: A vegetarian delight, this dip can easily cater to different dietary preferences, making it a crowd-pleaser. Whether you opt for a hint of garlic or a touch of spice, the variations are endless!
Caramelized Onion Dip Ingredients
For the Dip
• Yellow Onions – These are the main flavor source; feel free to use different varieties like white or red for unique tastes.
• Sour Cream – This ingredient adds a delicious creaminess and tang; Greek yogurt is a great lower-fat substitute.
• Cream Cheese – It provides a rich texture; consider replacing half with mayo for a lighter option.
• Garlic – Fresh garlic enhances the dip’s flavor; garlic powder works well if you’re in a pinch.
• Soy Sauce – This adds depth and umami; Tamari can be used for gluten-free needs.
• Worcestershire Sauce – It contributes savory notes; leave it out for a vegan option or use coconut aminos instead.
Optional Add-Ins
• Roasted Garlic – Boosts sweetness and flavor; simply roast a head and fold it into the dip.
• Hot Sauce or Jalapeños – For a spicy kick, mix in some hot sauce or finely diced jalapeños to take it up a notch.
• Silken Tofu or Cashew Cream – These can replace sour cream and cream cheese for a vegan version of the caramelized onion dip.
Step‑by‑Step Instructions for Caramelized Onion Dip
Step 1: Prep Ingredients
Begin by thinly slicing the yellow onions using a sharp knife or a mandoline for uniformity. Aim for slices that are about 1/8 inch thick, which will ensure even caramelization. Gather your other ingredients, including garlic, sour cream, cream cheese, soy sauce, and Worcestershire sauce, placing them close by for easy access throughout the cooking process.
Step 2: Caramelize Onions
Heat a high-quality non-stick skillet over low heat and add a tablespoon of butter. Once the butter has melted, incorporate the sliced onions, stirring them gently to coat. Cook these onions for 30–40 minutes, stirring frequently, until they are a deep golden brown and sticky. The slow cooking process is essential to develop their sweetness and rich flavor for your caramelized onion dip.
Step 3: Add Garlic and Sauces
With the onions beautifully caramelized, reduce the heat to medium-low and stir in minced garlic, soy sauce, and Worcestershire sauce. Cook this mixture for an additional 2–3 minutes, allowing the garlic to soften and the flavors to meld. Keep a close eye to prevent the garlic from burning, as it can quickly turn bitter in the dip.
Step 4: Mix Dip
Once the garlic is fragrant and combined, remove the skillet from the heat and let it cool for a few minutes. In a separate bowl, combine sour cream and cream cheese until smooth, ensuring there are no lumps. Gradually mix in the caramelized onion mixture, folding it gently until all ingredients are well incorporated, creating a creamy, irresistible caramelized onion dip.
Step 5: Chill
To enhance the flavors, transfer your dip into an airtight container or a serving bowl and refrigerate for at least 1 hour before serving. This chilling time allows the ingredients to meld beautifully, resulting in a dip that’s rich, flavorful, and sure to impress your guests at any gathering.
Make Ahead Options
These Ultimate Caramelized Onion Dip are perfect for busy home cooks looking to save time! You can caramelize the onions and mix the dip up to 3 days in advance, allowing the flavors to develop beautifully. After preparing the dip, store it in an airtight container in the refrigerator to maintain freshness. When you’re ready to serve, simply take it out and let it sit at room temperature for about 15 minutes before enjoying; this helps in achieving the ideal creamy consistency. With this make-ahead option, you’ll have a delightful, homemade dip ready for any surprise gathering or busy weeknight craving!
Expert Tips for Caramelized Onion Dip
• Quality Ingredients: Use fresh, high-quality onions and dairy for the best flavor. Avoid pre-packaged ingredients as they can dilute your dip’s richness.
• Patience is Key: Caramelizing onions requires low heat and time (30-40 minutes). Rushing the process will result in burnt onions rather than sweet, golden perfection.
• Control the Creaminess: When mixing in sour cream and cream cheese, ensure they’re at room temperature to prevent clumping, creating a smooth caramelized onion dip.
• Flavor Enhancements: Experiment with adding balsamic vinegar during caramelization for extra depth or toss in fresh herbs like thyme for an aromatic touch.
• Make-Ahead Wonder: This dip stays fresh for up to 4 days in the fridge. Making it a day ahead allows flavors to develop fully, resulting in an even tastier dip!
What to Serve with Ultimate Caramelized Onion Dip
The warm, inviting aroma of caramelized onions perfectly complements a variety of flavors, setting the stage for a delightful gathering.
- Crunchy Potato Chips: Their crispy texture contrasts beautifully with the creamy dip, making each bite a satisfying experience.
- Fresh Veggie Platter: Carrot sticks, cucumber slices, and bell pepper strips add a refreshing crunch while balancing the richness of the dip.
- Soft Pita Bread: The pillowy texture of warm pita is ideal for scooping up the dip, offering a heartier option for your guests.
- Bagel Crisps: These crunchy bites bring a hint of saltiness, enhancing the dip’s creamy richness and making for an addictive snack.
- Savory Cheese Platter: Pair with brie or aged cheddar for a sophisticated touch, elevating your appetizer spread to gourmet levels.
- Spicy Pickles: Their tangy bite cuts through the richness of the dip, adding a zesty punch that keeps taste buds engaged.
- White Wine Spritzer: A refreshing drink option that complements the sweet and savory notes of the dip while keeping the atmosphere light and enjoyable.
- Mini Sliders: Spread the dip on juicy burgers or veggie patties for a delectable twist that will have everyone coming back for more.
Variations & Substitutions for Caramelized Onion Dip
Feel free to sprinkle your own touch into this delightful dip, transforming it into a unique masterpiece!
- Dairy-Free: Swap sour cream and cream cheese for cashew cream or silken tofu for a creamy vegan option that still delights the palate.
- Spicy Twist: Add diced jalapeños or a splash of your favorite hot sauce for a fiery kick that will make taste buds dance! The warmth of the spice balances the sweetness of the onions beautifully.
- Herb-Infused: Introduce fresh herbs like thyme or rosemary, finely chopped, to elevate the flavor profile. Fresh herbs can infuse the dip with an aromatic note that sings of garden-fresh goodness.
- Caramelized Garlic: Include a whole head of roasted garlic for a sweeter, mellow flavor. The caramelized garlic infuses richness, making every bite a luscious experience.
- Balsamic Glaze: Drizzle a bit of balsamic vinegar during the onion caramelization for a hint of tangy sweetness that works wonders. The sweet and sour interplay is simply irresistible!
- Cheesy Delights: Grate in some Parmesan or sharp cheddar for a savory depth that complements the dip perfectly. The addition of cheese creates a delightful umami explosion.
- Smoky Flavor: Stir in some smoked paprika or chipotle powder to add a smoky, earthy depth. This subtle smokiness will transport your taste buds to BBQ heaven!
- Crunch Factor: For extra texture, fold in some diced bell peppers or finely chopped nuts. This adds a fun crunch that contrasts beautifully with the creamy texture of the dip.
And if you’re looking for something to pair this dip with, don’t miss checking out some ideas like Batter Dipped Fish or your crisp vegetables—it gives a great balance to the richness of the dip!
How to Store and Freeze Caramelized Onion Dip
Fridge: Store the dip in an airtight container for up to 4 days to maintain its creaminess and flavor.
Freezer: You can freeze caramelized onion dip for up to 2 months. Make sure it’s in an airtight container to prevent freezer burn.
Thawing: To use, transfer the dip to the fridge for 24 hours before serving, allowing it to thaw slowly and retain its texture.
Reheating: If you prefer it warm, gently reheat on the stovetop over low heat, stirring frequently until heated through.
Caramelized Onion Dip Recipe FAQs
How do I choose the right onions for this dip?
Absolutely! When selecting onions, look for firm ones without dark spots or blemishes. Yellow onions are ideal for caramelization due to their natural sweetness, but white or red ones can work beautifully as well. Ensure they feel heavy for their size—this indicates freshness!
How long can I store leftover caramelized onion dip?
You can keep the dip stored in an airtight container in the refrigerator for up to 4 days. The flavors only get better as it sits! Be sure to give it a good stir before serving, as it may thicken slightly while chilled.
Can I freeze caramelized onion dip?
Yes, you can freeze this delicious dip! Place it in an airtight container and freeze for up to 2 months. To thaw, simply transfer it to the fridge the night before you plan to use it. Once thawed, give it a good stir, and consider gently reheating it on low heat for a delightful warm serving.
What should I do if my onions are burning while caramelizing?
If your onions are scorching, lower the heat immediately. It’s essential to cook them slowly over low heat to achieve that sweet caramelization without burning. If you notice any burnt bits, carefully remove them from the pan to prevent bitterness from affecting the dip’s flavor.
Can I make this dip vegan?
Very! To transform this caramelized onion dip into a vegan delight, substitute the sour cream and cream cheese with silken tofu or cashew cream. Simply blend the tofu until smooth before mixing it with the caramelized onions. This way, everyone can enjoy the savory goodness!
Is this dip safe for pets?
It’s best to keep this dip away from pets. Ingredients like onion and garlic can be harmful to dogs and cats in significant amounts. Always check with your vet if you’re unsure about specific ingredients and their safety for your furry friends.
Irresistible Caramelized Onion Dip for Perfect Gatherings
Ingredients
Equipment
Method
- Begin by thinly slicing the yellow onions using a sharp knife or a mandoline for uniformity. Aim for slices that are about 1/8 inch thick.
- Heat a high-quality non-stick skillet over low heat and add a tablespoon of butter. Once melted, incorporate the sliced onions, stirring to coat. Cook for 30–40 minutes, stirring frequently, until they are a deep golden brown and sticky.
- Reduce heat to medium-low and stir in minced garlic, soy sauce, and Worcestershire sauce. Cook for an additional 2–3 minutes.
- Remove skillet from heat and let it cool for a few minutes. In a separate bowl, combine sour cream and cream cheese until smooth. Gradually mix in the caramelized onion mixture.
- Transfer dip into an airtight container or serving bowl and refrigerate for at least 1 hour before serving.
Leave a Reply