
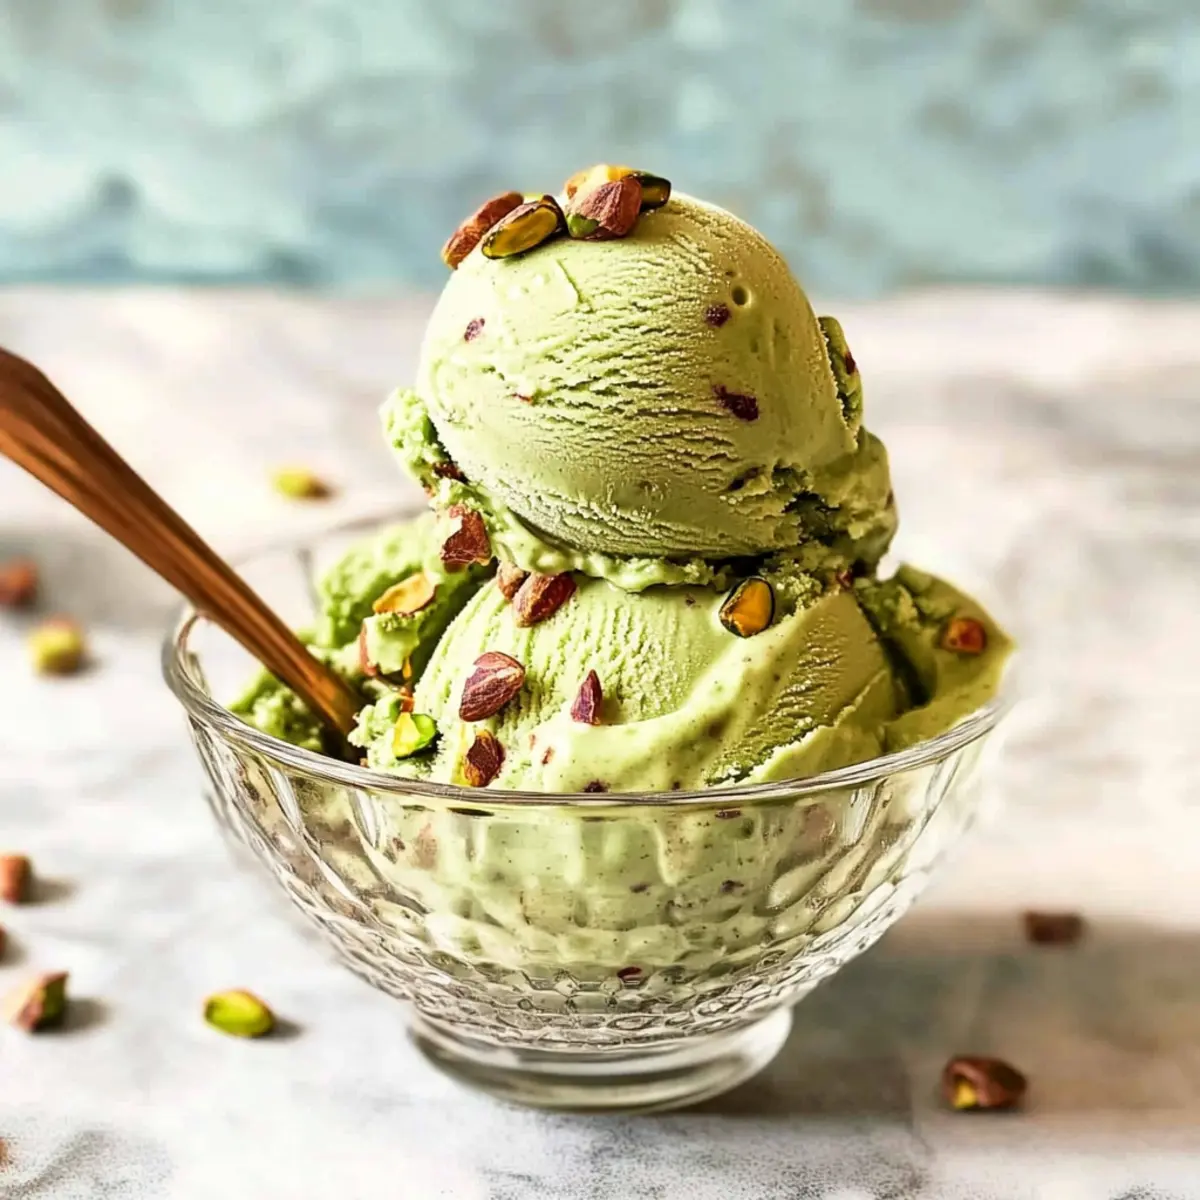
As I stood in my kitchen, the aroma of toasted pistachios filled the air, transporting me to a sun-soaked afternoon spent at a gelateria in Italy. Crafting this Homemade Creamy Pistachio Ice Cream is an adventure that offers the delightful nutty flavor of real pistachios without the fuss of eggs or custard. It’s incredible how simple ingredients can come together to create something so decadent and satisfying. This recipe is not only gluten-free and vegetarian, but it’s also a crowd-pleaser—perfect for summer gatherings or those quiet indulgent nights at home. Plus, it’s easy to make ahead of time, so you can just scoop and serve when the craving strikes. So, are you ready to impress your taste buds and your guests with this delightful homemade treat?
Why is Pistachio Ice Cream So Irresistible?
Creamy Delight: This ice cream features a sumptuous, velvety texture that’s sure to satisfy any sweet tooth. Natural Ingredients: Made with real pistachios, it’s a wholesome treat without the artificial additives found in store-bought versions. Quick Preparation: In just five easy steps, you can whip up this homemade delight without any fuss! Versatile Flavoring: Whether served plain or with a drizzle of caramel, it pairs beautifully with fresh fruit or even as a scoop in dessert sandwiches. Impressive Presentation: Its vibrant green color and nutty goodness make it a showstopper for gatherings, sure to impress friends and family alike. Indulge alongside Cream Cheese Pound for an unforgettable dessert spread!
Pistachio Ice Cream Ingredients
For the Base
- Pistachios – Use raw, unsalted pistachios for the best nutty flavor without added salt.
- Sugar – This sweetener balances the nuttiness; brown sugar adds a deeper richness.
- Heavy Cream – It provides a luxurious creaminess to the ice cream; avoid low-fat for the best texture.
- Salt – A pinch enhances all the flavors beautifully.
- Vanilla Extract – Opt for pure vanilla for deeper complexity—steer clear of imitation.
- Green Food Coloring (optional) – Adds a classic vibrant hue, but it’s optional depending on your preference.
For Serving
- Reserved Pistachios – Set aside some finely ground pistachios for a delightful topping.
- Wafers – Perfect for scooping or adding a crispy texture to your serving experience.
Craft your delightful Pistachio Ice Cream with these simple yet essential ingredients, and prepare to treat your loved ones to an unforgettable dessert!
Step‑by‑Step Instructions for Pistachio Ice Cream
Step 1: Prepare Pistachio Mixture
Begin by blending the raw, unsalted pistachios and sugar in a food processor until finely ground, which should take about 45 seconds. You want the mixture to be powdery, allowing the nutty flavor to shine through. Set aside 2 tablespoons of this mixture for topping later, and transfer the remaining pistachio mix to a bowl.
Step 2: Whip Cream
In a large mixing bowl, pour in the heavy cream and beat it with an electric mixer on medium-high speed until soft peaks form, which usually takes around 3-5 minutes. Ensure your bowl is chilled for optimal results; this will help achieve the right volume and texture. The cream should be fluffy and hold its shape without being overwhipped.
Step 3: Combine Ingredients
Gently fold the pistachio-sugar mixture, salt, vanilla extract, and optional green food coloring into the whipped cream. Use a spatula to combine, folding carefully to maintain the lightness of the whipped cream. This step is crucial in ensuring a smooth, creamy texture for your Pistachio Ice Cream.
Step 4: Churn Ice Cream
Pour the combined mixture into your ice cream maker and churn according to the manufacturer’s instructions, which typically takes about 25 minutes. The ice cream should thicken and become fluffy during this process, transforming into a delectable treat that captures the essence of pistachios.
Step 5: Freeze
Transfer the churned pistachio ice cream into a freezer-safe container, optionally mixing in the reserved chopped pistachios for added texture. Cover the surface with plastic wrap to minimize ice crystal formation and freeze for 4 to 6 hours, or until firm. This step allows the flavors to meld beautifully as the ice cream sets.
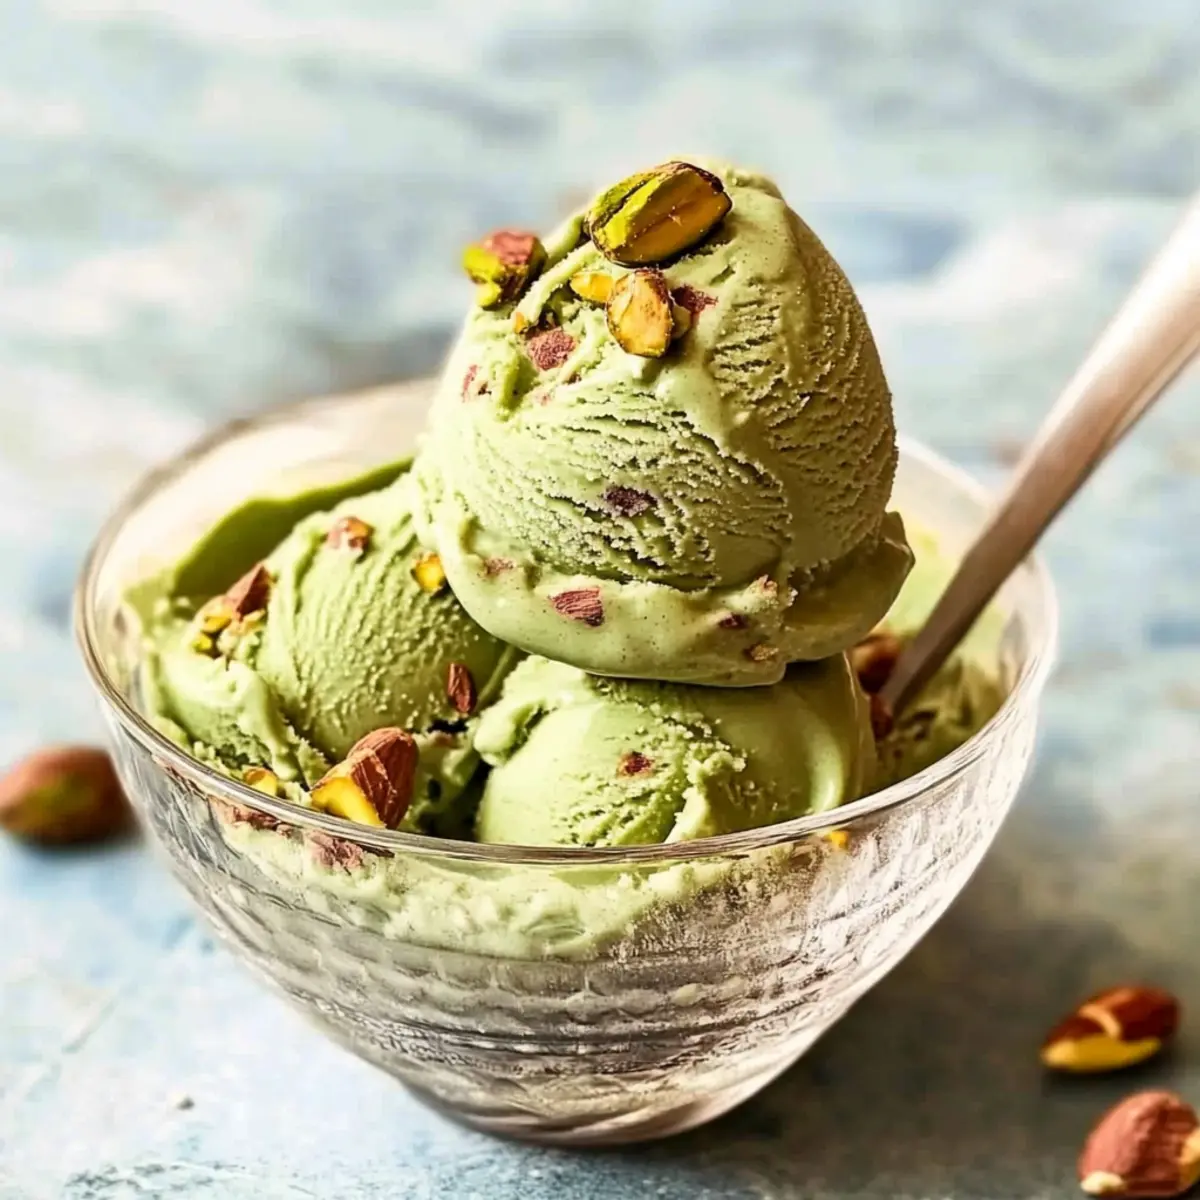
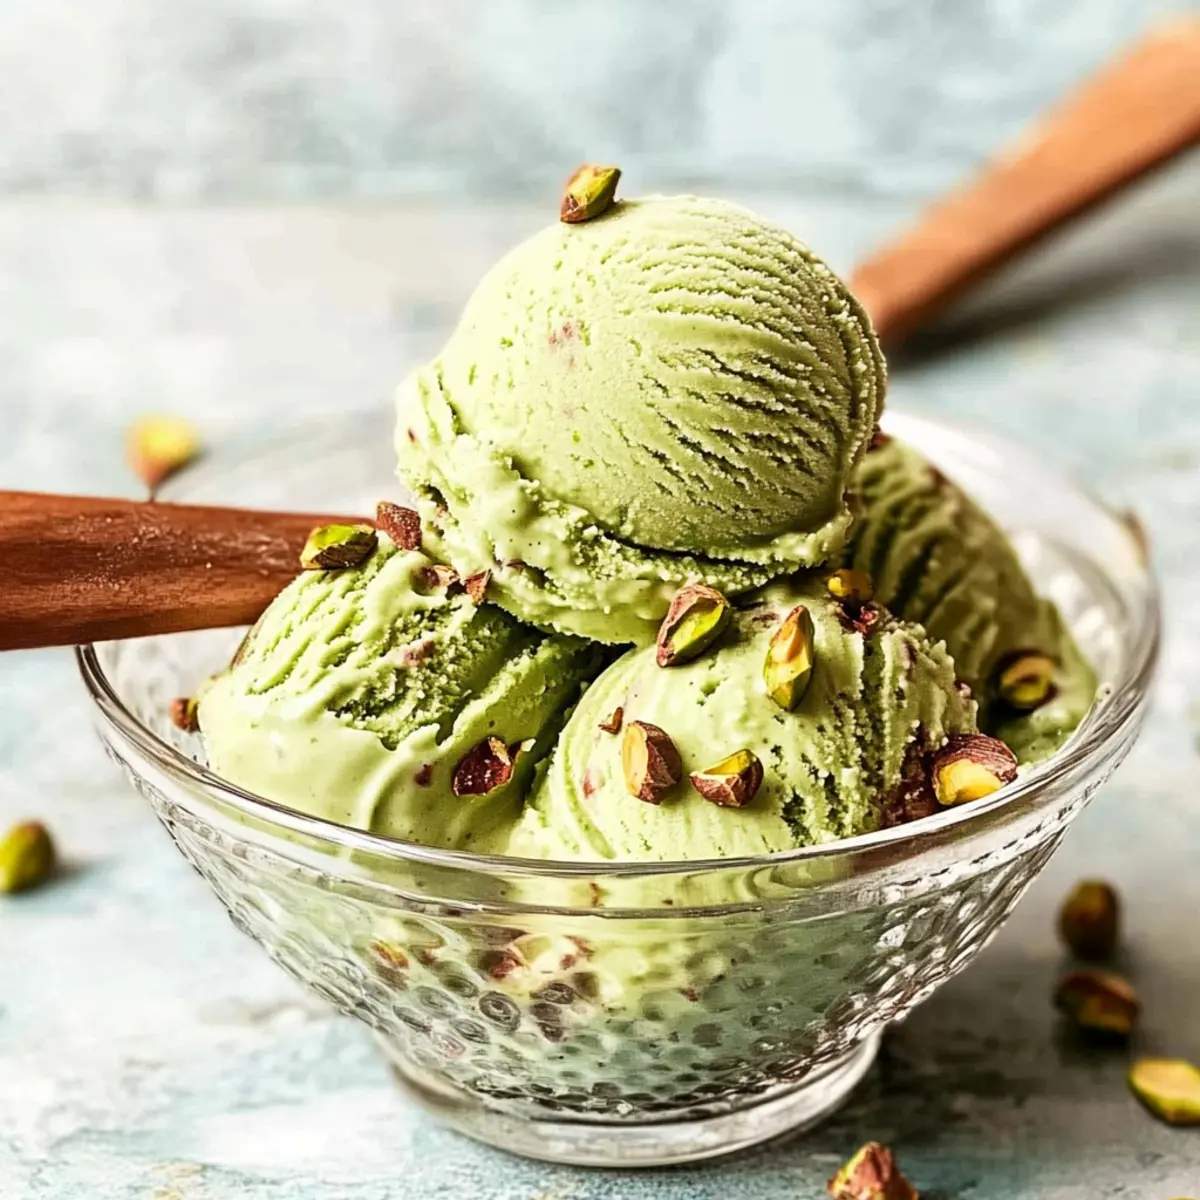
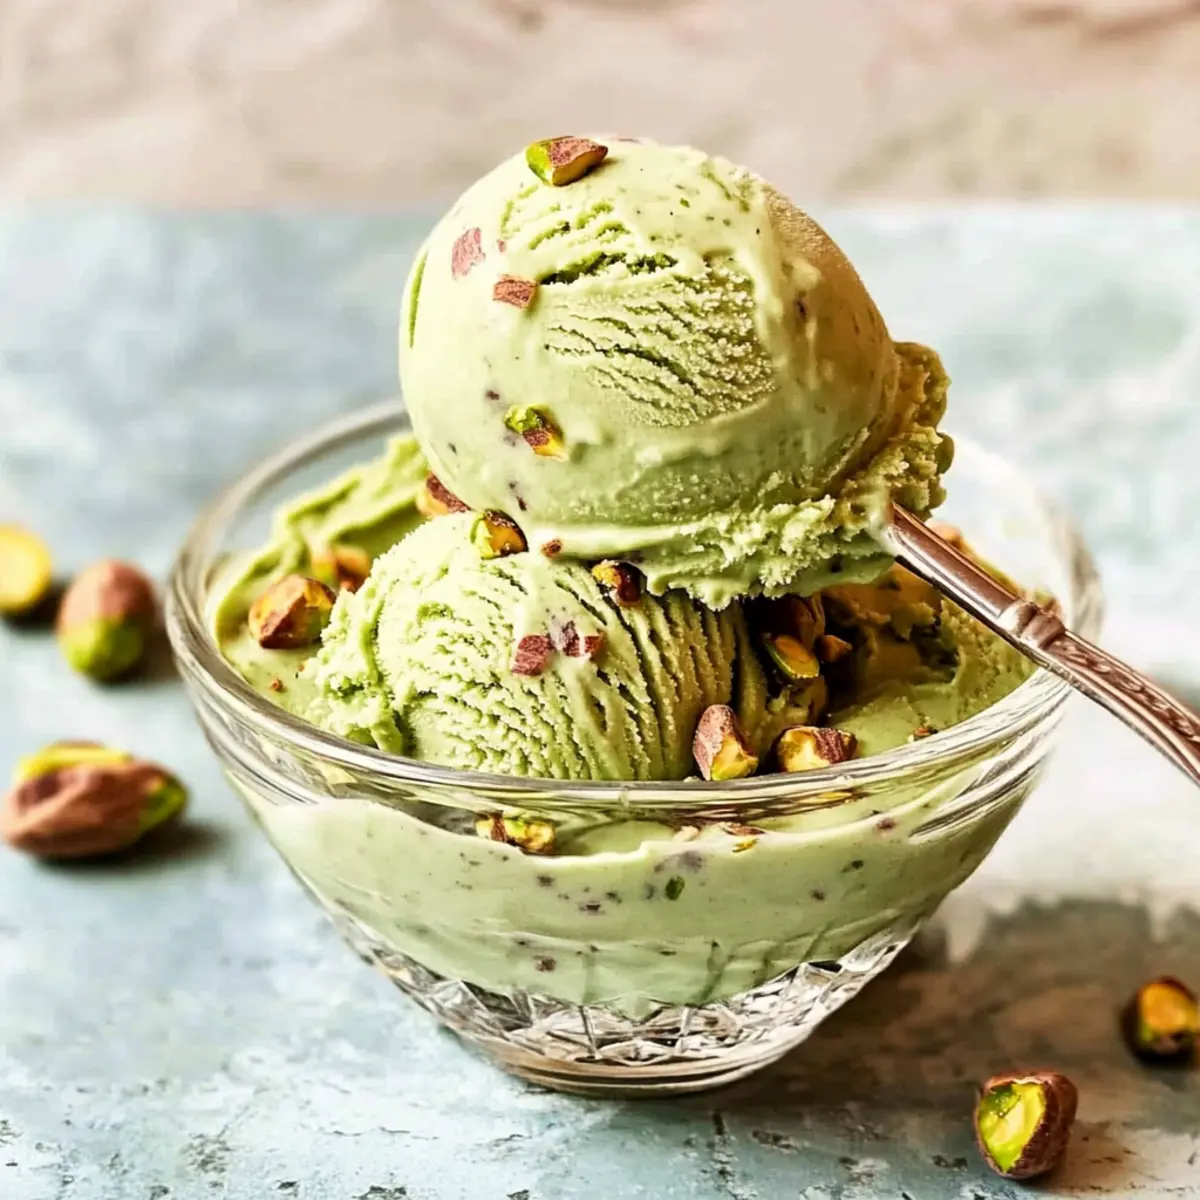
Step 6: Serve
When ready to serve your homemade Pistachio Ice Cream, let it sit at room temperature for about 5-10 minutes to soften slightly, making it easier to scoop. Serve it in bowls or cones, topped with the reserved pistachio-sugar mixture and crunchy wafers for an exquisite finish. Enjoy the delightful shades of green and rich flavors!
How to Store and Freeze Pistachio Ice Cream
-
Fridge: Store any leftover Pistachio Ice Cream in an airtight container in the fridge for up to 2 hours for the best texture, but it’s best enjoyed fresh!
-
Freezer: Keep the ice cream in a sealed freezer-safe container. Properly stored, it can last up to 2 weeks without losing its delightful flavor and creamy texture.
-
Preventing Ice Crystals: Press plastic wrap directly onto the surface of the ice cream before sealing the container to prevent ice crystals from forming during freezing.
-
Reheating: If the ice cream becomes too hard, allow it to soften at room temperature for 5-10 minutes before scooping. This will help restore its creamy consistency.
What to Serve with Homemade Creamy Pistachio Ice Cream?
Indulging in a scoop of this delightful dessert is just the beginning—let’s build a complete experience that will leave you yearning for more!
- Fresh Berries: Juicy raspberries or strawberries add a vibrant contrast to the nutty creaminess, brightening each bite with tartness.
- Chocolate Sauce: A warm drizzling of rich chocolate sauce creates a heavenly combination, balancing the flavors beautifully and adding an extra layer of indulgence.
- Shortbread Cookies: Light and buttery, these cookies make the perfect crunchy companion, ideal for scooping or soaking up the luscious ice cream.
- Chopped Nuts: Enhance the pistachio experience by sprinkling additional chopped nuts on top. They provide a satisfying crunch that elevates the texture.
- Mint Leaves: Fresh mint not only adds a pop of green but also brings a refreshing aroma that will elevate your dessert presentation.
- Caramel Swirl: A swirl of homemade caramel will introduce a luscious sweetness that pairs perfectly with the pistachio’s nutty flavor.
- Mango Sorbet: For a lighter touch, serve alongside a refreshing mango sorbet. The fruity brightness offers a lovely contrast, creating a delightful summer vibe.
- Sparkling Water: A nice bubbly beverage cleanses the palate between bites, making each spoonful of your Pistachio Ice Cream feel like a blissful escape.
- Almond Biscotti: These crispy treats are perfect for dunking, adding an extra layer of texture that beautifully complements the soft, creamy ice cream.
Make Ahead Options
These Pistachio Ice Cream recipes are perfect for busy home cooks looking to save time! You can blend the pistachios and sugar, and whip the cream up to 24 hours in advance—simply store them in separate airtight containers in the refrigerator. To maintain quality, avoid mixing the ingredients until you’re ready to churn; this prevents the whipped cream from deflating. When it’s time to serve, just combine the prepped components, churn the mixture, and freeze it for about 4 to 6 hours. This way, you can have delicious homemade ice cream ready to scoop at a moment’s notice, ensuring your dessert is as delightful as it is convenient!
Pistachio Ice Cream Variations
Feel free to get creative and make this delightful ice cream even more special with these fun variations!
-
Nutty Alternatives: Substitute pistachios with almonds or hazelnuts for a new twist on flavor. Just like pistachios, these nuts lend their unique richness to the ice cream, offering a different yet equally delicious experience.
-
Swirl of Flavor: Add a swirl of caramel or chocolate sauce to the mixture before freezing. The sweet ribbons of caramel or chocolate melt into the ice cream, creating a luscious contrast with the nutty undertones.
-
Lighten Up: For a lighter version, substitute half-and-half for the heavy cream. While it may affect creaminess, you’ll still create a deliciously refreshing treat.
-
Fruity Fusion: Blend in some fresh fruit like raspberries or peaches for a fruity twist. This adds a burst of freshness and pairs beautifully with the creamy pistachio base.
-
Celebrate Citrus: Incorporate a hint of lemon zest or orange zest into the mixture. The citrus notes will brighten the nutty flavor, giving your ice cream a vibrant kick.
-
Spicy Kick: For those who enjoy heat, add a pinch of cayenne or a splash of chili extract. This unexpected twist will warm the palate and add complexity to the creamy sweet base.
-
Mix and Match: Combine different nuts and fruits to create a unique sundae layered with textures and tastes—try walnuts with strawberries or pecans with blueberries for a delightful surprise!
Remember, the world of homemade ice cream offers endless possibilities! For more indulgent dessert ideas, why not try making a decadent Cream Cheese Pound or slathering your scoop between two cookies for a nostalgic ice cream sandwich? Happy experimenting!
Expert Tips for Perfect Pistachio Ice Cream
-
Chill Your Bowl: Using a chilled bowl for whipping the cream ensures that it reaches the right volume and consistency for the best texture in your Pistachio Ice Cream.
-
Watch the Cream: Avoid overwhipping the cream; it should form soft peaks. If it becomes grainy, the ice cream will lose its luxurious creaminess.
-
Room Temperature Ingredients: Ensure all ingredients are at room temperature before mixing. This simple step helps them combine more thoroughly, enhancing flavor and texture.
-
Let It Soften: Before serving your ice cream, allow it to sit out for 5-10 minutes. This makes scooping easier while ensuring a delightful texture when served.
-
Storage Tips: For optimal taste and texture, enjoy your homemade ice cream within the first few days. However, it’ll stay fresh in the freezer for up to two weeks—just remember to wrap it well!
Pistachio Ice Cream Recipe FAQs
How do I choose the best pistachios?
Absolutely! When selecting pistachios for your ice cream, look for raw, unsalted pistachios for the best flavor. Check for freshness by ensuring they are bright in color and have a nice nutty aroma. Avoid any with dark spots or a rancid smell, as these can spoil your delicious homemade ice cream.
What’s the best way to store leftover Pistachio Ice Cream?
You should store your leftover Pistachio Ice Cream in an airtight container in the freezer. It will maintain its delightful flavor and creamy texture for up to 2 weeks. For extra protection against ice crystals, press plastic wrap directly onto the surface before sealing the container.
Can I freeze this Pistachio Ice Cream for later?
Certainly! To freeze your Pistachio Ice Cream, transfer the churned mixture into a well-sealed freezer-safe container. For best results, enjoy it within 2 weeks. If it hardens too much, let it sit at room temperature for 5-10 minutes before scooping to restore that creamy texture.
What should I do if my ice cream is too hard to scoop?
Very! If you find that your Pistachio Ice Cream is too hard to scoop, simply let it sit at room temperature for about 5-10 minutes before serving. This softening period will make it much easier to scoop while keeping the delightful creaminess intact.
Are there any dietary considerations for this recipe?
Definitely! This Pistachio Ice Cream is gluten-free and vegetarian, making it a great treat for those with certain dietary restrictions. However, be mindful of nut allergies, as it contains pistachios. For a dairy-free version, you could try substituting the heavy cream with coconut cream, but this may slightly alter the final flavor and texture.
Creamy Homemade Pistachio Ice Cream in Just 5 Steps
Ingredients
Equipment
Method
- Begin by blending the raw, unsalted pistachios and sugar in a food processor until finely ground, about 45 seconds. Set aside 2 tablespoons for topping.
- In a large mixing bowl, pour in the heavy cream and beat it until soft peaks form, about 3-5 minutes.
- Gently fold the pistachio-sugar mixture, salt, vanilla extract, and optional green food coloring into the whipped cream.
- Pour the combined mixture into your ice cream maker and churn according to the manufacturer's instructions, about 25 minutes.
- Transfer the churned ice cream into a freezer-safe container and freeze for 4 to 6 hours, until firm.
- Let the ice cream sit at room temperature for 5-10 minutes before serving. Serve in bowls or cones topped with reserved pistachios and wafers.
Leave a Reply