
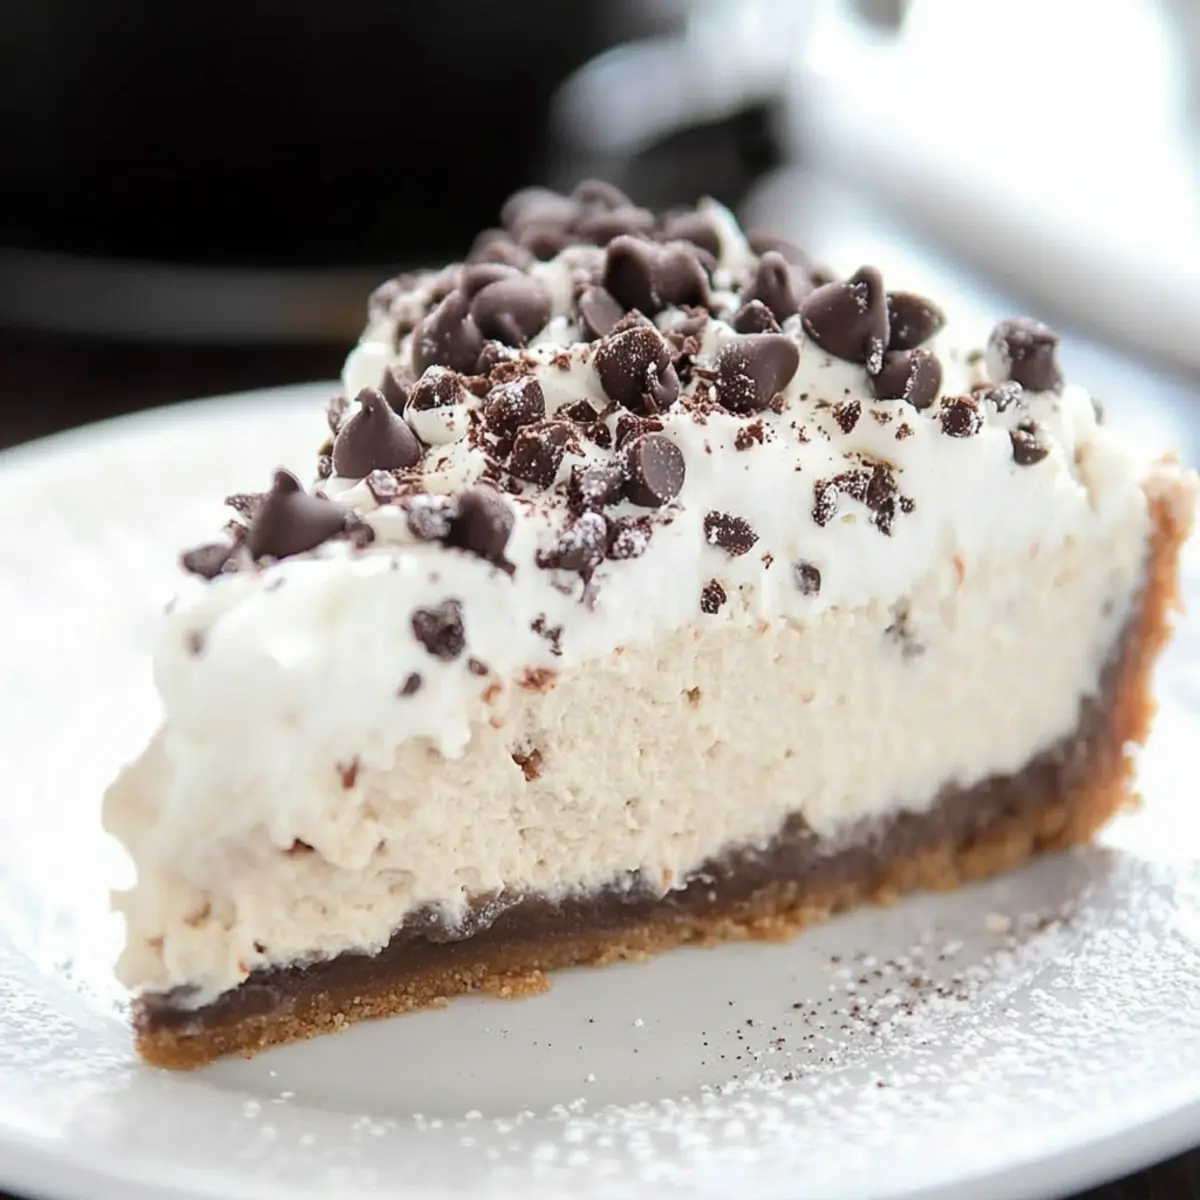
As I stood in my kitchen, the sweet scent of baking took me right back to my grandmother’s Italian home, where every dessert told a story. That’s the nostalgic feeling I wanted to capture with this Cannoli Cheesecake—a heavenly blend of creamy ricotta and mascarpone tucked into a crunchy cannoli shell crust. Whether you’re hosting a gathering or simply indulging on a cozy night in, this enchanting dessert is the perfect crowd-pleaser. Not only does it transport your taste buds to Italy, but it’s also surprisingly easy to whip up, making it a win for both novice and experienced bakers. Curious how combining the flavors of classic cannoli with the richness of cheesecake creates such a delightful experience? Let’s dive in!
Why is This Cannoli Cheesecake Special?
Creamy, Dreamy Texture: This cheesecake features a velvety filling made from rich ricotta and mascarpone, ensuring every bite melts in your mouth.
Unexpected Crunch: The unique cannoli shell crust adds a delightful crunch, elevating the traditional cheesecake experience.
Quick to Prepare: With straightforward steps, even beginner bakers will find success in the kitchen.
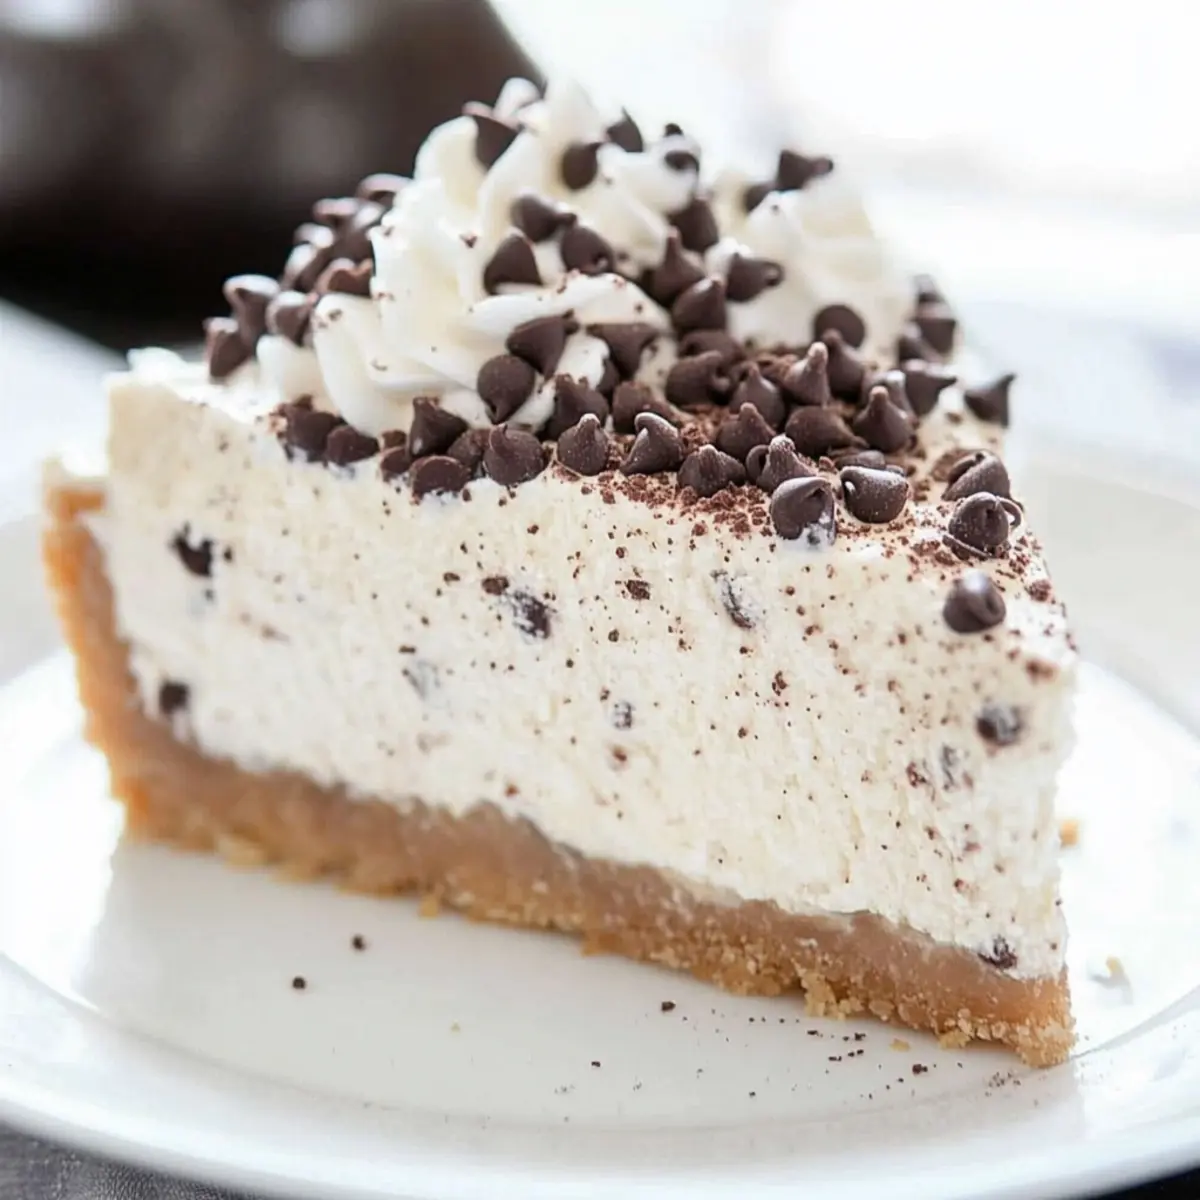
Versatile Topping Options: Whether adorned with mini chocolate chips or crushed pistachios, you can customize it to your taste. For other delightful variations, check out my Pumpkin Cheesecake Cookies or Blueberry Cheesecake Crumble!
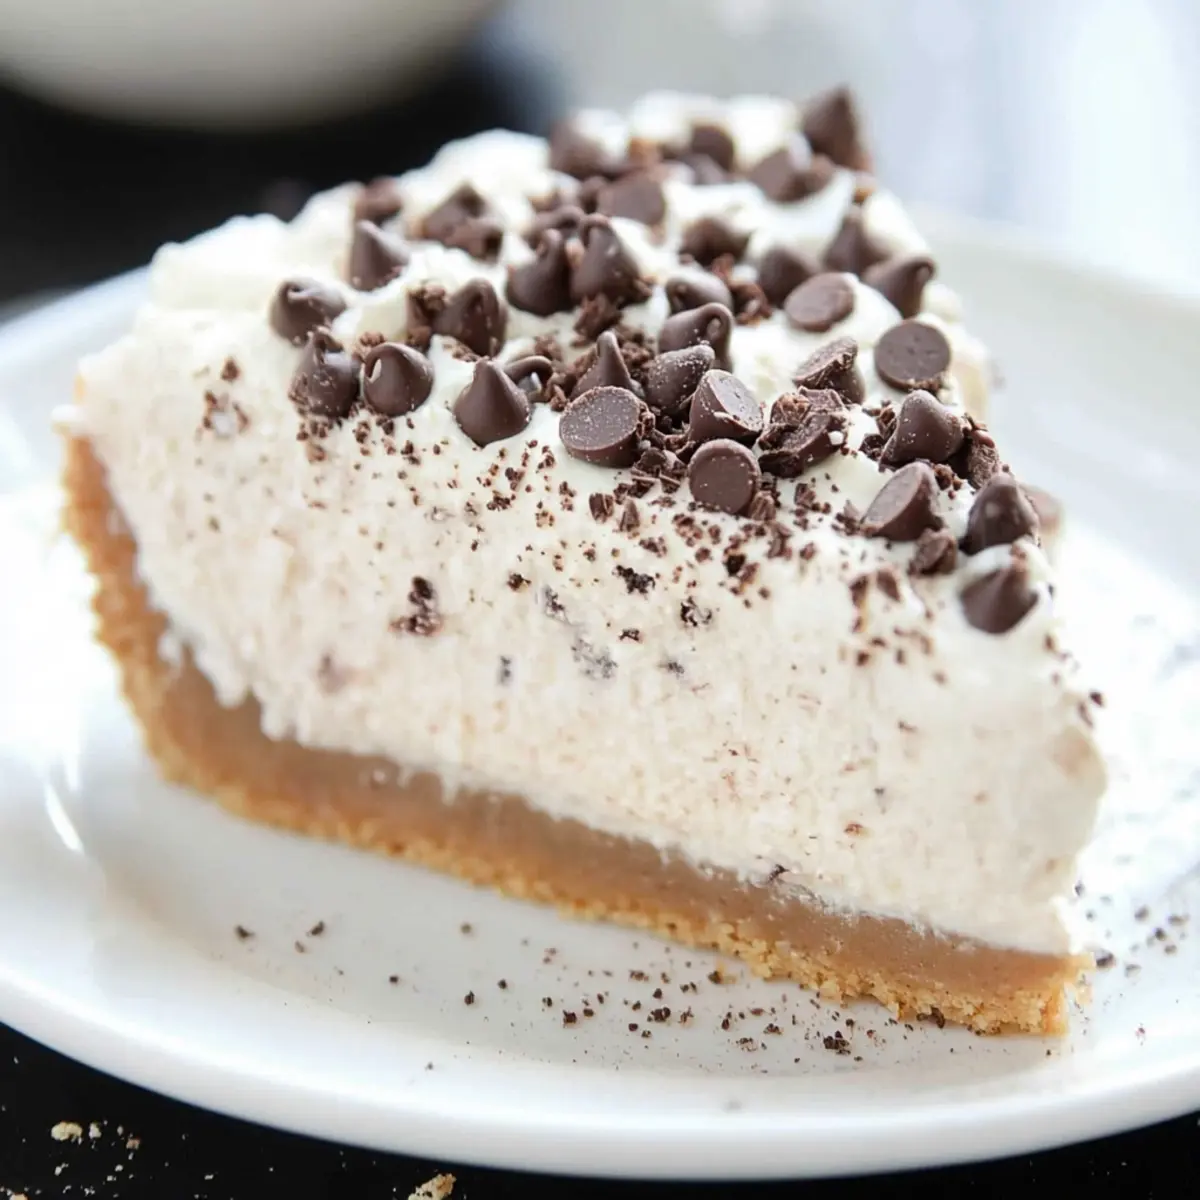
Crowd-Pleasing Dessert: Perfect for any gathering, this Cannoli Cheesecake is sure to impress your guests with its gorgeous presentation and irresistible flavor.
Cannoli Cheesecake Ingredients
For the Crust
• Graham Cracker Crumbs – A tasty base that complements the cheesecake perfectly.
• Cannoli Shells (Crushed) – Adds unique flavor and crunch to the crust; can substitute with crushed waffle cones if needed.
• Butter (Melted) – Binds the crust ingredients together, creating a rich texture.
• White Sugar – Sweetens both the crust and the cheesecake filling to balance flavors.
For the Cheesecake Filling
• Ricotta Cheese – This creamy filling star provides that authentic cannoli taste. Use whole milk ricotta for the best results.
• Mascarpone Cheese – Introduces an extra layer of richness and smoothness to the cheesecake.
• All-Purpose Flour – Helps give the cheesecake structure so it holds together well.
• Ground Cinnamon – Enhances the flavor of the filling, adding warmth to each bite.
• Vanilla Extract – A dash adds depth and sweetness to the whole dessert.
• Eggs – These rich ingredients offer stability; incorporate one at a time for the best texture.
• Heavy Cream – Essential for the fluffy whipped cream topping that adds a light finish.
• Powdered Sugar – Sweetens the whipped cream to perfection.
For Garnishing
• Mini Chocolate Chips – Optional but delightful, they boost both flavor and visual appeal; consider swapping for crushed pistachios for a twist.
Step‑by‑Step Instructions for Cannoli Cheesecake
Step 1: Preheat and Prepare the Pan
Preheat your oven to 325°F (163°C). While it warms, line a 9-inch springform pan with parchment paper, ensuring it’s snug against the sides. Lightly spray the base and sides with non-stick cooking spray to prevent any sticking, making removal easier later on.
Step 2: Make the Crust Mixture
In a medium bowl, combine graham cracker crumbs, crushed cannoli shells, melted butter, and white sugar. Mix until all ingredients are well incorporated and resemble wet sand. Firmly press this mixture into the bottom of your prepared springform pan, creating an even layer, then bake for 10 minutes until set and lightly golden.
Step 3: Adjust the Oven Temperature
Once your crust is baked, reduce the oven temperature to 300°F (149°C). This lower temperature is essential for the Cannoli Cheesecake to bake evenly without cracking. Prepare for the filling while your oven cools, ensuring everything is ready for the next step.
Step 4: Prepare the Cheesecake Filling
In a large mixing bowl, use a handheld or stand mixer to beat together the ricotta and mascarpone cheeses, sugar, and flour until smooth and creamy. Once combined, add the ground cinnamon and vanilla extract, continuing to mix until well blended, and the batter is velvety and free from lumps—a sign that your cheesecake filling is ready.
Step 5: Incorporate the Eggs
With the mixer on low, incorporate the eggs one at a time into the cheesecake filling, mixing gently after each addition just until combined. Be careful not to overbeat; the goal is to maintain a smooth texture while ensuring a light and airy Cannoli Cheesecake.
Step 6: Combine Filling and Crust
Pour the luscious cheesecake batter over your beautifully baked crust, using a spatula to spread it evenly to the edges. Ensure the filling is level to promote even baking, allowing the rich flavors of the ricotta and mascarpone to shine once it’s baked.
Step 7: Set Up a Water Bath
Place the springform pan inside a large roaster filled with hot water, ensuring the water level reaches halfway up the sides of the pan. This water bath will help the cheesecake bake gently and evenly. Bake for 105-115 minutes, or until the edges are set but the center remains slightly jiggly, a key indicator for perfect doneness.
Step 8: Cool Gradually in the Oven
After baking, turn off the oven and allow the Cannoli Cheesecake to sit inside for 30 minutes. This gradual cooling helps prevent cracks. Then, crack the oven door open slightly and let it cool for an additional 30 minutes. Finally, transfer the cheesecake to a wire rack and cool completely at room temperature.
Step 9: Whip the Cream Topping
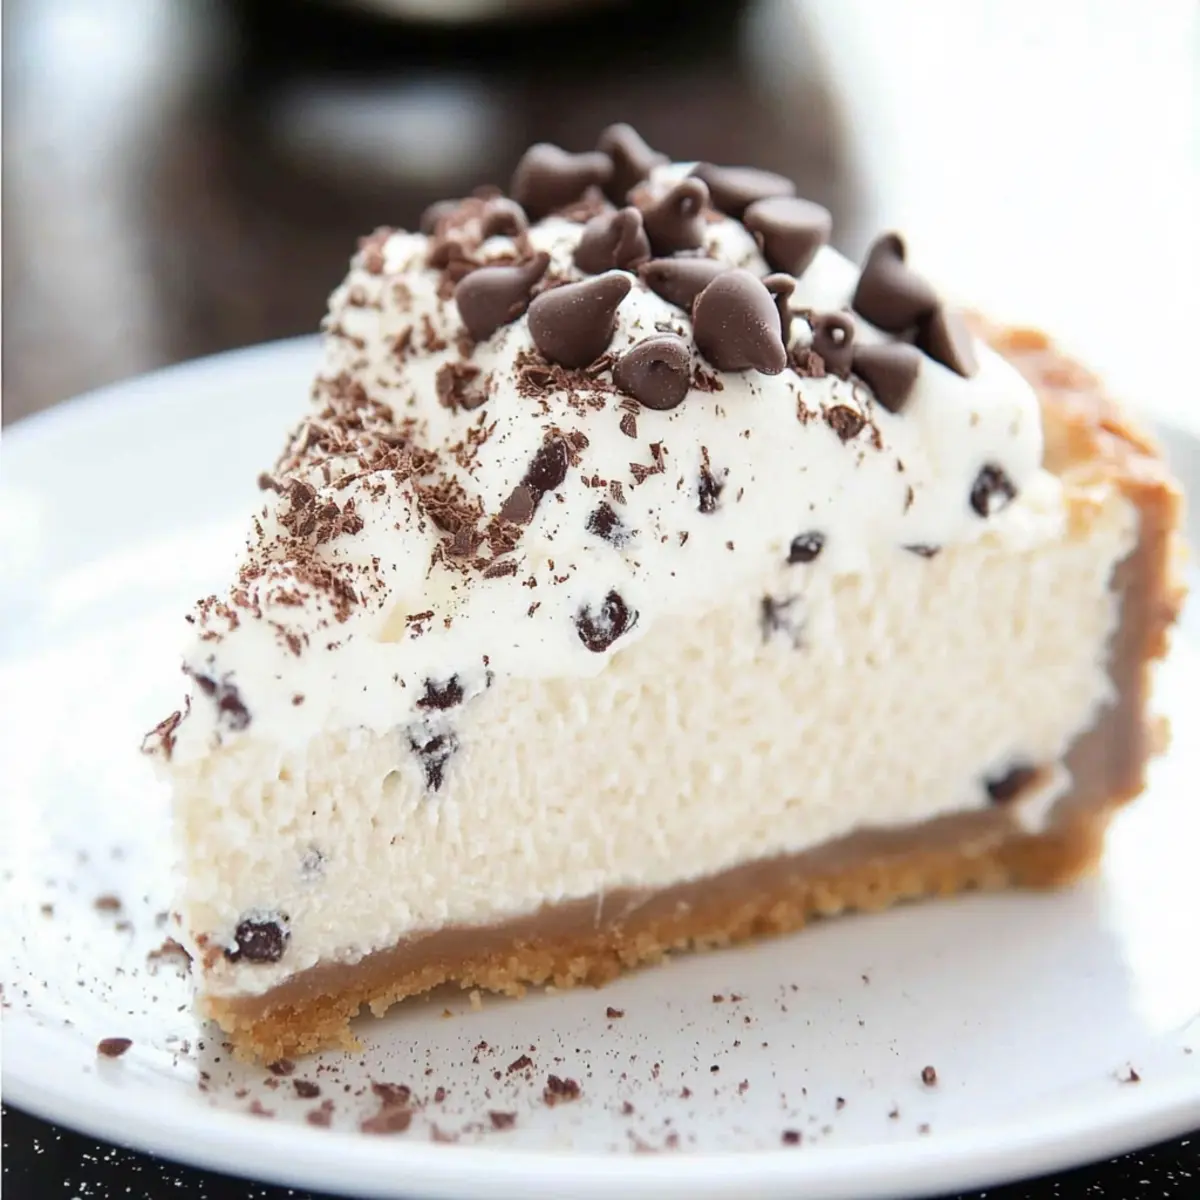
In a chilled mixing bowl, whip the heavy cream, powdered sugar, ricotta, and vanilla together until stiff peaks form. This will create a fluffy topping that complements the creamy texture of the Cannoli Cheesecake. Spread the whipped cream evenly over the cooled cheesecake, allowing it to bring a light, airy finish.
Step 10: Garnish and Serve
For a delightful touch, sprinkle mini chocolate chips or crushed pistachios on top of the whipped cream. The decorative garnish not only enhances flavor but also adds a beautiful presentation to your Cannoli Cheesecake. Cut into slices and serve chilled for the best experience.
How to Store and Freeze Cannoli Cheesecake
Fridge: Store any leftover Cannoli Cheesecake in an airtight container for up to 5 days. This will keep it fresh and ready for whenever you’re craving a slice.
Freezer: If you want to enjoy your cheesecake later, freeze individual slices wrapped tightly in plastic wrap and then in aluminum foil for up to 1 month.
Thawing: When ready to savor, thaw the frozen slices in the fridge overnight to ensure they maintain their creamy texture.
Reheating: For an extra light touch, consider serving with freshly whipped cream or a dusting of powdered sugar right before devouring!
What to Serve with Cannoli Cheesecake
The delightful flavors of this rich dessert pair beautifully with a variety of side dishes and beverages sure to enhance your dining experience.
- Fresh Berries: Juicy strawberries or raspberries add a burst of freshness, cutting through the creaminess of the cheesecake and balancing its richness.
- Espresso or Coffee: A strong cup of espresso complements the sweet flavors, enhancing the Italian dessert experience while providing a comforting finish.
- Chocolate Sauce: Drizzling warm chocolate sauce over the cheesecake brings an indulgent touch, enhancing chocolate notes and creating a luscious treat.
- Whipped Cream: Serve with an extra dollop of whipped cream for added lightness. Its fluffiness balances the dense texture of the cheesecake perfectly.
- Pistachio Crumble: A sprinkle of crushed pistachios offers a delightful crunch while harmonizing with the cheesecake’s flavors, maintaining that Italian essence.
- Italian Biscotti: Pair a slice with crispy biscotti for a delightful texture contrast and a nod to classic Italian desserts, perfect for dunking.
- Zesty Lemon Sorbet: A chilled scoop of lemon sorbet adds a refreshing contrast, cleansing the palate between bites and awakening taste buds.
- Amaretto Liqueur: A shot of amaretto by the side enhances the nuttiness while complementing the sweet notes, making it a sophisticated pairing.
Cannoli Cheesecake Variations
Customize your Cannoli Cheesecake for a delightful twist that will leave your taste buds dancing!
-
Nut-Free: Substitute crushed nuts with more chocolate chips or extra cannoli shells to keep it nut-free.
-
Gluten-Free: Use gluten-free graham crackers or almond flour to make the crust gluten-friendly, catering to those with dietary restrictions.
-
Flavor Boost: Add a teaspoon of almond extract to the filling for a delightful nutty aroma that will captivate your senses.
-
Extra Creamy: Incorporate an additional ½ cup of mascarpone for an ultra-luxurious filling that’s incredibly decadent.
-
Fruit-Inspired: Swirl in your favorite fruit preserves or fresh pureed fruit into the filling before baking—raspberry or lemon pairs wonderfully!
-
Spiced Up: Add a pinch of nutmeg or a splash of Amaretto liqueur in the filling for a fascinating twist that complements the traditional flavors.
-
Chocolate Lovers: Create a chocolate version by folding in melted chocolate into the cheesecake filling or using chocolate graham crackers for the crust.
-
Citrus Zing: Zest a lemon or orange into the filling for a refreshing citrus twist that perfectly balances the richness of the cheesecake.
For even more indulgence, consider exploring my recipes for Pumpkin Cheesecake Cookies or a delightful Blueberry Cheesecake Crumble!
Expert Tips for Cannoli Cheesecake
-
Avoid Overbaking: Make sure to take the cheesecake out when the edges are firm but the center is still slightly jiggly; this ensures a creamy texture.
-
Perfect Water Bath: Using a water bath prevents cracking and promotes even cooking. Don’t skip this step for your Cannoli Cheesecake!
-
Mix Gently: When incorporating eggs, mix just until combined. Overmixing can introduce air bubbles, leading to cracks during baking.
-
Use Quality Ingredients: Opt for whole milk ricotta and mascarpone for the best flavor and creaminess. It really makes a difference!
-
Cool Gradually: Allow the cheesecake to cool inside the oven gradually. This simple step helps prevent surface cracks and maintains a smooth finish.
Make Ahead Options
These Cannoli Cheesecake is perfect for busy home cooks looking to save time while still impressing family and friends! You can prepare the crust and filling up to 24 hours in advance; simply press the crust into the pan and combine the filling ingredients, then cover tightly and refrigerate. To maintain quality, be sure to refrigerate the cheesecake (once assembled) until you’re ready to bake. When you’re ready to serve, bake the cheesecake according to the instructions, and let it cool completely before topping it with the whipped cream. This strategy ensures your dessert is just as delectable but saves you precious time on the day of your gathering!
Cannoli Cheesecake Recipe FAQs
What type of ricotta cheese should I use for the Cannoli Cheesecake?
Absolutely! For the best results, I recommend using whole milk ricotta cheese, as it adds greater creaminess and flavor. If your ricotta is watery, drain it using a fine mesh strainer or cheesecloth for an hour before incorporating it into your cheesecake filling. This small step can truly elevate the texture of your dessert!
How should I store the Cannoli Cheesecake?
To keep your Cannoli Cheesecake fresh, store leftovers in an airtight container in the refrigerator for up to 5 days. If you prefer, you can also slice it and wrap individual pieces tightly in plastic wrap for easy access to your sweet treat later on.
Can I freeze the Cannoli Cheesecake?
Very much! To freeze your Cannoli Cheesecake, slice it into individual portions. Wrap each slice in plastic wrap and then wrap in aluminum foil for extra protection. This method helps prevent freezer burn. You can keep it in the freezer for up to 1 month, making it a great option for make-ahead desserts!
What should I do if my cheesecake cracks while baking?
No need to worry too much! If your Cannoli Cheesecake cracks, it’s often due to overbaking or sudden temperature changes. To avoid this, always use a water bath as recommended in the recipe, and remember to take it out of the oven while the center is still slightly jiggly. If you do get cracks, a delicious layer of whipped cream topping can beautifully conceal any imperfections!
Is Cannoli Cheesecake safe for people with gluten allergies?
If you or your guests have gluten allergies, you can easily make a gluten-free version of this Cannoli Cheesecake! Simply substitute the graham cracker crumbs for gluten-free alternatives, like ground almonds or gluten-free cookie crumbs. Always double-check the other ingredients to ensure they are gluten-free as well. Happy baking!
Creamy Cannoli Cheesecake That Will Steal Your Heart
Ingredients
Equipment
Method
- Preheat your oven to 325°F (163°C). Line a 9-inch springform pan with parchment paper and lightly spray with non-stick cooking spray.
- In a medium bowl, combine graham cracker crumbs, crushed cannoli shells, melted butter, and white sugar. Press into the bottom of the prepared springform pan and bake for 10 minutes.
- Reduce oven temperature to 300°F (149°C) and prepare for the filling.
- Beat together ricotta, mascarpone, sugar, and flour until smooth. Add cinnamon and vanilla extract, mixing until well combined.
- Incorporate the eggs one at a time, mixing gently after each addition.
- Pour the cheesecake batter over the baked crust, spreading evenly.
- Place the springform pan inside a large roaster filled with hot water reaching halfway up the sides of the pan. Bake for 105-115 minutes until edges are set but center is slightly jiggly.
- Turn off the oven and let the cheesecake cool inside for 30 minutes, then crack the oven door and cool for another 30 minutes. Transfer to wire rack to cool completely.
- Whip the heavy cream, powdered sugar, ricotta, and vanilla until stiff peaks form. Spread over cooled cheesecake.
- Garnish with mini chocolate chips or crushed pistachios. Cut into slices and serve chilled.
Leave a Reply