
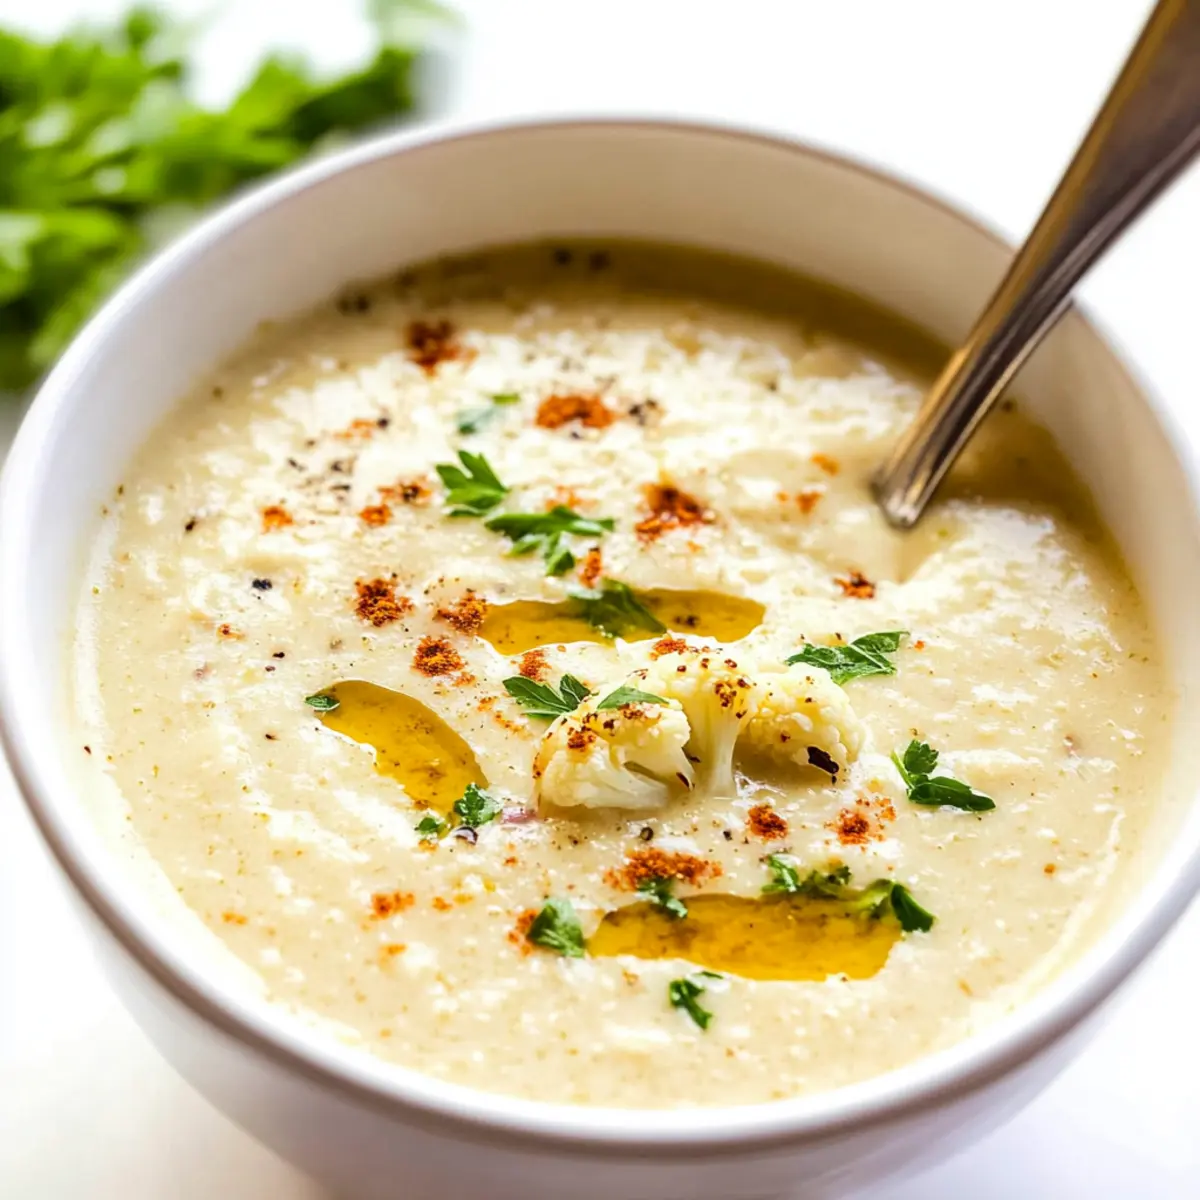
The aroma of roasted garlic can instantly transform any kitchen into a comforting haven, and it’s this very magic that envelops my 30-Minute Roasted Garlic Cauliflower Chowder. As a busy home-cook, I often crave a warm, creamy dish that doesn’t compromise on nutrition or time. This chowder offers you just that, blending the velvety richness of cauliflower with the savory depth of roasted garlic to create a quick, vegan delight. Best of all, it’s gluten-free and comes together in only 30 minutes, making it the perfect choice for those evenings when a satisfying meal feels like a luxury. Whether you’re winding down after a long day or prepping for a cozy dinner with friends, this chowder is sure to impress. What toppings will you choose to take this dish to the next level? Let’s dive in!
Why is this Chowder a Must-Try?
Quick and Easy: In just 30 minutes, you can whip up a creamy, satisfying chowder that fits perfectly into your busy schedule.
Nutritious Delight: Packed with cauliflower and garlic, this chowder delivers essential nutrients without compromising on flavor.
Versatile and Customizable: Whether you like it with spicy hints or a veggie boost, this recipe easily adapts! Try adding kale or a sprinkle of smoked paprika for a twist.
Crowd-Pleaser: It’s vegan, gluten-free, and loved by everyone! Perfect for family dinners or impressing guests.
Foolproof Flavor: The rich texture from cashews and the hearty taste of roasted garlic make this chowder unforgettable, ensuring you’ll want seconds. Check out how it pairs beautifully with dishes like Cheesy Cajun Garlic for a complete meal!
Roasted Garlic Cauliflower Chowder Ingredients
For the Base
- Raw Cashews – Soaked for creaminess. Substitute with silken tofu for a nut-free option.
- Cauliflower – Provides the base and creaminess. Fresh or frozen can be used; frozen might require slightly longer cooking.
- Potato – Adds thickness and a smooth texture. Use any type; sweet potatoes can add more sweetness.
For the Flavor
- Garlic Bulb – Enhances savory depth with roasted flavor. Substitute with garlic powder if necessary, though flavor won’t be as rich.
- Oil (e.g., olive oil) – For roasting vegetables. Use vegetable broth for oil-free cooking.
- Hummus – Contributes creaminess and flavor. Roasted garlic or plain varieties recommended; substitute with tahini for a different flavor profile.
For the Broth
- Vegetable Broth – Adds depth and seasoning. Water can work in a pinch, though broth enhances flavor.
- Miso Paste – Improves umami flavor. Leave out for a simpler taste, or use soy sauce as a substitute.
For the Cheesy Flavor (Optional)
- Nutritional Yeast – Provides a cheesy taste. Omit if not vegan or replace with Parmesan for non-vegan versions.
- Salt + Pepper – Essential for seasoning, adjust to taste.
- Water (as needed) – To adjust consistency. Add gradually to achieve the desired thickness.
Step‑by‑Step Instructions for Roasted Garlic Cauliflower Chowder
Step 1: Prep Cashews
Begin by soaking raw cashews in hot water for at least 2 hours. This step is crucial as it helps to soften the cashews, making them creamy when blended. Drain and rinse the cashews in a colander before using them in your chowder, which will help create that velvety texture in your Roasted Garlic Cauliflower Chowder.
Step 2: Preheat Oven
Set your oven to preheat at 425°F (220°C). This high temperature will ensure that your vegetables roast effectively, giving them a delicious caramelization that enhances the flavor of the chowder. While the oven warms up, gather your baking sheets and other ingredients to streamline the cooking process.
Step 3: Chop Vegetables
While the oven is heating up, chop the cauliflower into small florets and peel the potato, cutting it into even chunks for even cooking. Make sure to keep the pieces relatively uniform in size to ensure they cook at the same rate, creating a harmonious texture in the Roasted Garlic Cauliflower Chowder.
Step 4: Toss with Oil
Place the chopped cauliflower and potato onto a baking sheet. Drizzle with your chosen oil, then add a generous pinch of salt and pepper. Toss everything together until the vegetables are well-coated, ensuring a uniform roast that brings out their natural sweetness as they cook.
Step 5: Prepare Garlic
Take the garlic bulb and cut off the top quarter to expose the cloves. Drizzle a little olive oil over the exposed cloves, wrap it in foil, and place it on the baking sheet alongside the vegetables. This will allow the garlic to roast beautifully, providing depth to your chowder’s flavor.
Step 6: Roast
Slide the baking sheet into the preheated oven and roast for 20–25 minutes. Check the garlic after 15 minutes; it should be soft and golden. Once the vegetables are caramelized and tender, remove everything from the oven and let them cool for a few minutes.
Step 7: Blend Ingredients
In a high-powered blender, combine the roasted cauliflower, potato, and the squeeze-out garlic cloves. Add the soaked cashews, hummus, vegetable broth, miso paste, nutritional yeast, and seasonings. Blend until you achieve a luxuriously smooth consistency that’s packed with flavor, forming the base of your chowder.
Step 8: Adjust Consistency
After blending, check the chowder’s thickness. If it’s too thick for your liking, gradually add water until you reach your desired texture. Blend again if necessary, tasting to adjust seasonings further, ensuring your Roasted Garlic Cauliflower Chowder is perfectly creamy and satisfying.
Step 9: Serve
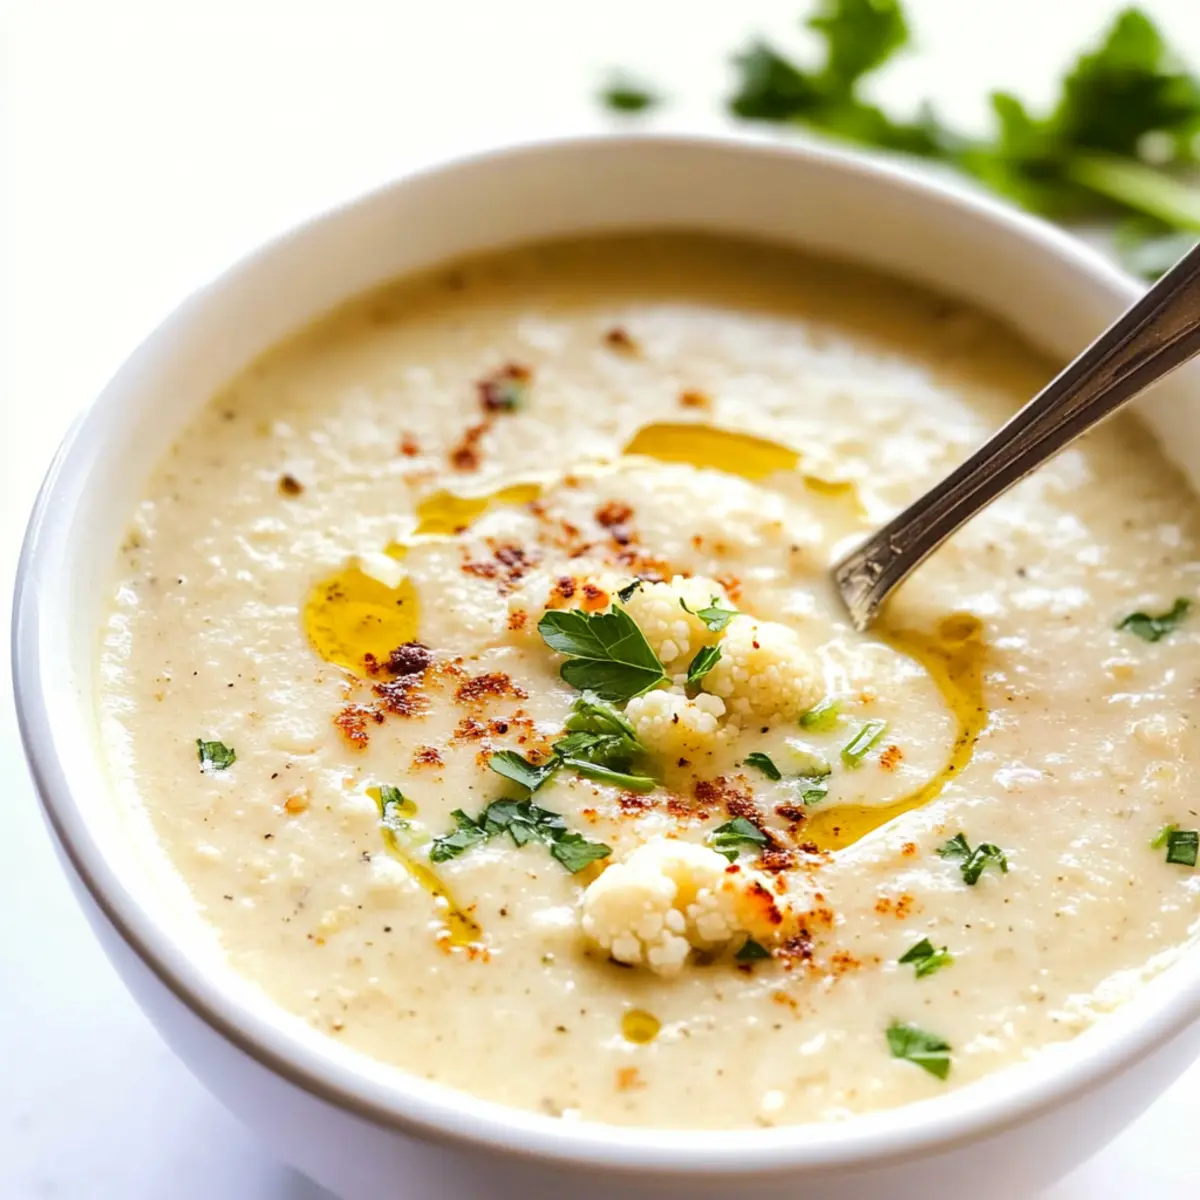
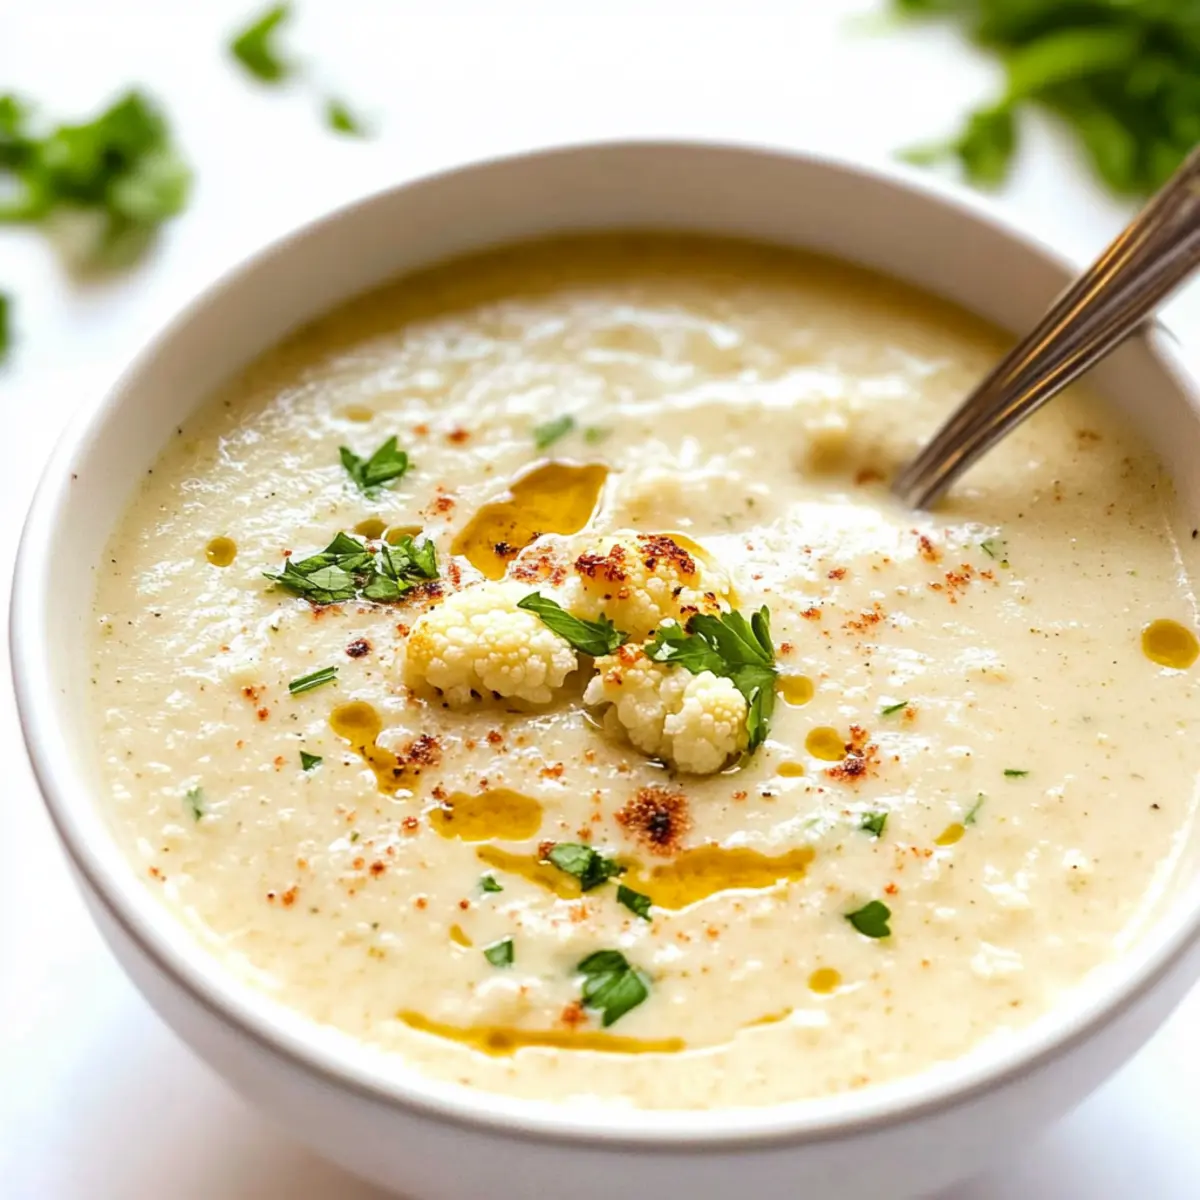
When ready to serve, pour the chowder into bowls. Garnish each bowl with reserved roasted garlic cloves, a sprinkle of fresh parsley, and a drizzle of olive oil to elevate the flavors. This final touch adds a beautiful presentation, showcasing your delicious Roasted Garlic Cauliflower Chowder!
How to Store and Freeze Roasted Garlic Cauliflower Chowder
Fridge: Consume the chowder within 3–5 days for optimal freshness. Store in an airtight container to prevent it from absorbing other flavors and to keep it creamy.
Freezer: For longer storage, freeze the chowder in individual portions for up to 3 months. Use freezer-safe containers or resealable bags, removing as much air as possible.
Reheating: Thaw overnight in the fridge if frozen. Reheat gently on the stovetop over low heat, adding a splash of water or broth if needed to restore the consistency of your Roasted Garlic Cauliflower Chowder.
Roasted Garlic Cauliflower Chowder Variations
Feel free to customize this chowder to suit your tastes and dietary needs while exploring new flavors!
-
Vegan Cheese: Add a handful of vegan cheese for an extra creamy and cheesy delight that complements the garlic perfectly.
-
Extra Veggies: Toss in chopped kale or spinach for a nutrient-packed boost that adds vibrant color and a fresh taste to your chowder.
-
Spicy Kick: Incorporate smoked paprika or a pinch of cayenne pepper to elevate the heat levels, creating a delightful warmth that pairs beautifully with the roasted garlic.
-
Herbal Twist: Experiment with adding fresh herbs like thyme or rosemary; they will infuse a fragrant aroma and depth to your chowder.
-
Protein Boost: Mix in cooked quinoa or lentils for a heartier meal that will keep you satisfied and add a nice texture to the chowder.
-
Lemon Zest: A touch of lemon zest can brighten up the flavors significantly, making the chowder more refreshing and lifting the richness of the cashews.
-
Nut-Free Option: Substitute the cashews with silken tofu for an equally creamy texture without nuts, perfect for those with allergies.
-
Topping Ideas: Relish with a drizzle of balsamic glaze or sprinkle of crispy chickpeas for a crunchy contrast that adds another layer to your chowder experience.
Try pairing this chowder with a warm slice of bread or a side of Zucchini Corn Chowder for a complete meal that feels cozy and satisfying!
Expert Tips for Roasted Garlic Cauliflower Chowder
- Perfectly Soaked Cashews: Ensure cashews are soaked for a full 2 hours to achieve that ultimate creaminess in your chowder.
- Adjust Garlic: Roasted garlic is potent, so start with one bulb and adjust according to your taste preference; it can become overpowering.
- High-Powered Blender: Using a high-powered blender is key for a velvety smooth consistency in your Roasted Garlic Cauliflower Chowder; don’t skimp on this!
- Season After Blending: Always taste and adjust seasoning only after blending; this ensures that flavors are well-balanced and enhances the overall taste.
- Customize Texture: For a thicker chowder, add less water initially; you can always add more to achieve your desired consistency without losing flavor.
What to Serve with 30-Minute Roasted Garlic Cauliflower Chowder
The perfect side dishes can elevate your chowder experience, creating a comforting and satisfying meal.
-
Crispy Garlic Bread: The crunch of toasted bread infused with garlic complements the creaminess of the chowder beautifully, perfect for dipping.
-
Simple Green Salad: A fresh mix of greens with a light vinaigrette adds a refreshing crunch and balances the richness of the chowder.
-
Roasted Brussels Sprouts: These savory bites provide a delightful texture and sweetness that pairs wonderfully with the roasted garlic flavor.
-
Vegan Grilled Cheese: A classic comfort food, melty vegan cheese between perfectly toasted bread makes for an indulgent side that’ll delight your taste buds.
-
Baked Sweet Potatoes: Their natural sweetness enhances the chowder while the soft texture contrasts beautifully with the velvety soup.
-
Herbed Quinoa: This wholesome grain dish adds a nutty flavor and a chewy texture, creating a nutritious boost alongside your chowder.
-
Chilled White Wine: A glass of crisp, chilled white wine, like Sauvignon Blanc, can cut through the creaminess and refresh your palate.
-
Lemon Sorbet: For dessert, a light lemon sorbet serves as a refreshing, palate-cleansing finale after your rich chowder.
These pairings not only complement the rich, creamy flavors of the 30-Minute Roasted Garlic Cauliflower Chowder but also create a meal that’s sure to impress your family or guests!
Make Ahead Options
These 30-Minute Roasted Garlic Cauliflower Chowder is perfect for busy weeknights and meal prep enthusiasts! You can prepare the roasted vegetables (cauliflower, potato, and garlic) up to 3 days in advance; simply roast them, let them cool, and store them in an airtight container in the refrigerator. Additionally, soak the cashews 24 hours ahead so they’re ready to blend seamlessly into the chowder. When you’re ready to enjoy your chowder, just blend the prepped ingredients with hummus, broth, and spices, and heat on the stove until warmed through. This makes for a creamy, flavorful soup that tastes just as delicious as if you made it fresh!
Roasted Garlic Cauliflower Chowder Recipe FAQs
How do I choose the best cauliflower for this recipe?
Absolutely! Select cauliflower that is firm and has a creamy white color. It should feel heavy for its size with no dark spots or blemishes. Fresh cauliflower will have tightly packed florets, while any signs of wilting indicate it’s past its prime, so opt for the freshest heads available!
How long can I store leftover chowder in the fridge?
The chowder is best when shared fresh, but if you have leftovers, you can keep them in an airtight container for 3 to 5 days in the fridge. Just make sure to let it cool to room temperature before sealing it up to maintain its creamy texture.
Can I freeze Roasted Garlic Cauliflower Chowder?
Indeed! To freeze, let the chowder cool completely, then transfer it into freezer-safe containers or resealable bags. Make sure to remove as much air as possible to prevent freezer burn. It can be stored for up to 3 months. When you’re ready to enjoy it, thaw it overnight in the fridge and reheat gently on the stove, adding a little water or broth as needed to restore its creamy consistency.
What can I do if my chowder is too thick after blending?
If you find your Roasted Garlic Cauliflower Chowder is thicker than you like, the solution is simple! Start by adding a small amount of water or vegetable broth—about 1 tablespoon at a time—and blend again until you achieve your desired consistency. This keeps the flavor intact while adjusting the texture to your preference.
Is this chowder safe for people with nut allergies?
Absolutely! While the recipe calls for cashews to achieve creaminess, you can substitute them with silken tofu to keep it nut-free. Another option is to substitute the cashews with more hummus, ensuring a deliciously creamy chowder without any nuts. Just remember to check your ingredients, like broth and hummus, to confirm they’re allergy-friendly.
Can pets eat this chowder?
While the ingredients in the Roasted Garlic Cauliflower Chowder are generally safe for pets, avoid giving it to them as garlic can be harmful to dogs and cats in larger quantities. It’s always best to keep pet dietary restrictions in mind and stick to their dog or cat-friendly meals!
Creamy Roasted Garlic Cauliflower Chowder in 30 Minutes
Ingredients
Equipment
Method
- Begin by soaking raw cashews in hot water for at least 2 hours. Drain and rinse before using.
- Preheat your oven to 425°F (220°C).
- Chop the cauliflower into small florets and peel the potato, cutting it into even chunks.
- Place the chopped cauliflower and potato onto a baking sheet. Drizzle with oil, salt, and pepper; toss to coat.
- Prepare the garlic bulb by cutting off the top quarter. Drizzle with olive oil, wrap in foil, and place on the baking sheet.
- Roast everything in the oven for 20-25 minutes, checking the garlic after 15 minutes.
- In a blender, combine roasted cauliflower, potato, and garlic cloves with soaked cashews, hummus, broth, miso paste, nutritional yeast, and seasonings. Blend until smooth.
- Adjust the chowder's thickness with water if needed and re-blend.
- Serve in bowls, garnishing with roasted garlic, fresh parsley, and a drizzle of olive oil.
Leave a Reply