
There’s something magical about the combination of caramel, chocolate, and oats that transports me back to my childhood, when I would eagerly await dessert after family dinners. Enter Carmelitas—these gooey caramel oatmeal cookies are a delightful twist on traditional treats, offering a perfectly crispy crust and a luscious filling. What makes this recipe stand out is its simplicity; you won’t need to spend hours in the kitchen to watch your loved ones’ eyes light up! Plus, they’re a fantastic crowd-pleaser, ideal for gatherings or even a cozy night in. With minimal prep time and ingredients you likely have on hand, these caramel-chocolate bars are a dessert you’ll crave again and again. Ready to unravel the golden layers of bliss in these Carmelitas? Let’s dive into the delicious details!
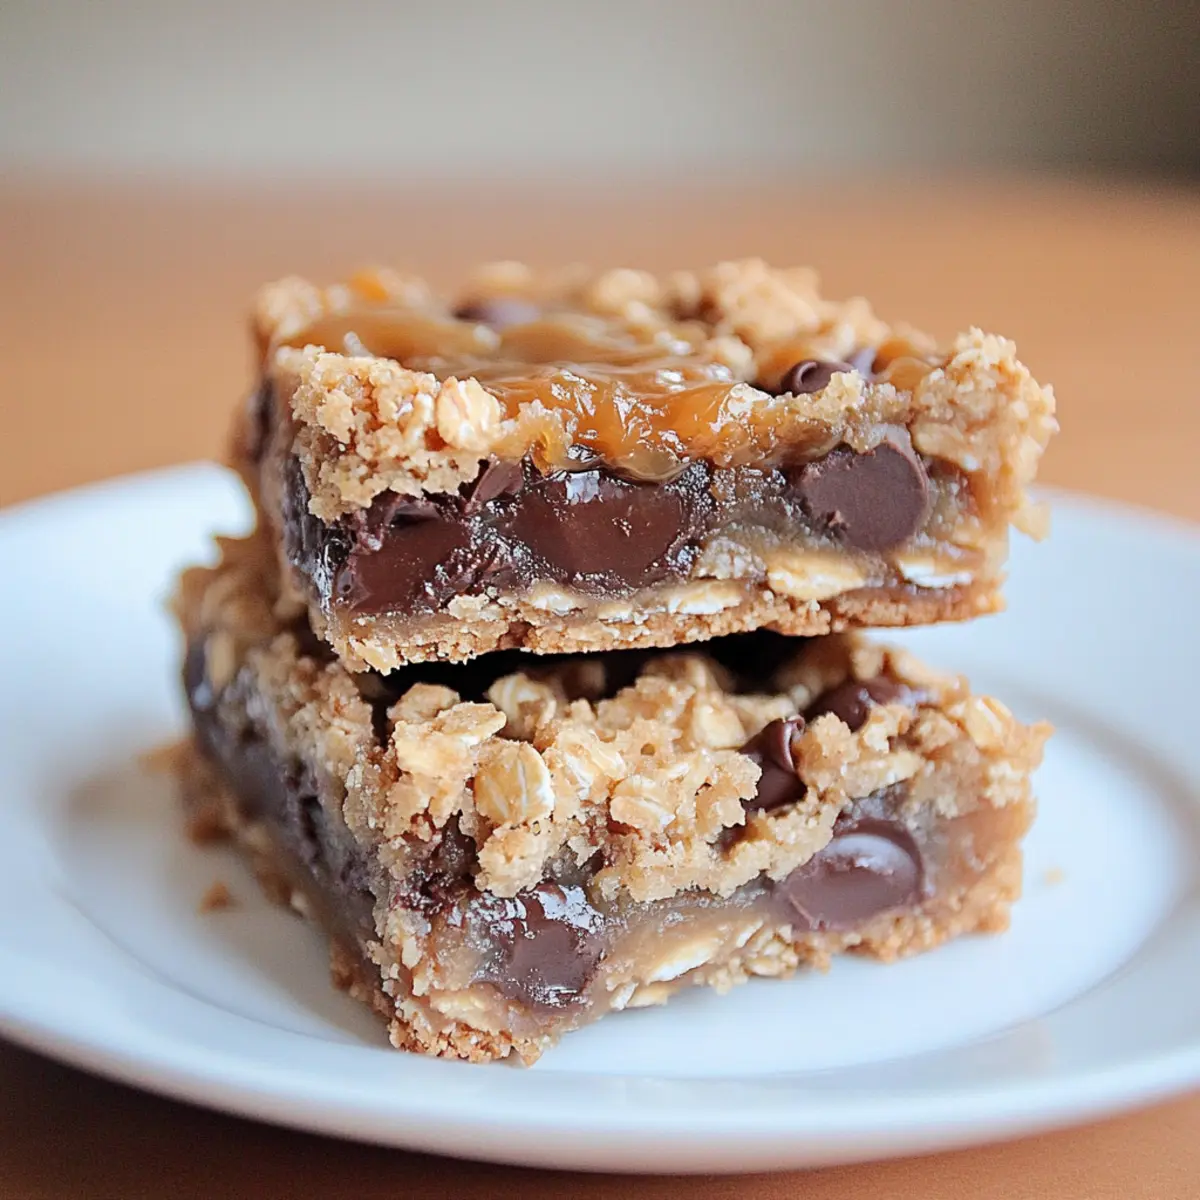
Why Are Carmelitas So Irresistible?
Delectable Layers: Each bite of these bars features a luscious blend of gooey caramel and decadent chocolate, giving you a taste experience that’s simply unforgettable.
Easy to Prepare: With straightforward steps and common ingredients, these caramel oatmeal cookies are perfect for cooks of any skill level.
Versatile Treat: Customize them with nuts, flavored chocolate chips, or even a drizzle on top for a unique touch every time!
Crowd-Pleasing Delight: Whether it’s a family get-together or a special occasion, these Carmelitas will have everyone asking for seconds!
Perfectly Textured: Enjoy the delightful contrast of a crispy top layer with a gooey center, making them an instant hit for your dessert table.
Time-Saving Option: Whip these up in no time and serve them warm with a scoop of ice cream for an impressive dessert that feels indulgent yet effortless.
Carmelitas Ingredients
For the Caramel Filling
• Caramel Squares or Bits – Bring a delightful gooey sweetness to your Carmelitas; homemade caramel can add a personal touch.
• Heavy Cream – Ensures a smooth, luscious consistency; you may substitute with milk or half-and-half for a lighter option.
For the Cookie Base
• Butter – Melting it adds richness and moisture to the mixture; consider coconut oil for a dairy-free alternative.
• Brown Sugar – Infuses a deep flavor and moisture into the bars; coconut sugar is a great substitute for a lower glycemic index.
• All-Purpose Flour – Provides structure to the bars; a gluten-free blend can work well if needed.
• Rolled Oats – Adds a wonderful chewy texture; quick oats can be used but might slightly alter the consistency.
• Baking Soda – A must for leavening; ensure it’s fresh for the best rise.
• Semisweet Chocolate Chips – Contributes rich chocolate flavor; feel free to swap in dark or white chocolate chips for a different taste.
Now that you have all you need for these delicious Carmelitas, let’s embark on the journey to create this mouthwatering treat!
Step‑by‑Step Instructions for Carmelitas
Step 1: Preheat and Prepare the Pan
Begin by preheating your oven to 350°F (175°C). While it heats, line an 8×8 or 9×9 inch baking pan with foil or parchment paper, leaving some overhang to help with lifting the bars out later. This will ensure your Carmelitas release easily and maintain their shape as you slice them.
Step 2: Melt the Caramel Filling
In a medium saucepan, combine the caramel squares and heavy cream over low heat. Stir continuously for about 5–7 minutes until the mixture is fully melted and smooth, with no lumps remaining. Once done, remove it from the heat and set aside, allowing it to cool slightly as you prepare the base.
Step 3: Mix the Oatmeal Cookie Base
In a large mixing bowl, combine the melted butter, brown sugar, all-purpose flour, rolled oats, and baking soda. Mix with a wooden spoon or spatula until just combined, ensuring the ingredients are evenly distributed. This mixture will form the delicious foundation of your Carmelitas, offering a perfect balance of sweetness and chewiness.
Step 4: Create the Bottom Layer
Take half of the oatmeal mixture and press it firmly into the bottom of the prepared pan to create a uniform layer. Aim for an even thickness across the base. Once pressed down, place the pan in the preheated oven and bake for 10 minutes until the edges are slightly golden and set.
Step 5: Add Chocolate Chips and Caramel
Carefully remove the pan from the oven and sprinkle the semisweet chocolate chips evenly over the baked crust, creating a delicious layer. Next, gently pour the warm caramel mixture over the chocolate chips, ensuring an even distribution for that luscious caramel goodness in your Carmelitas.
Step 6: Crumble the Remaining Oat Mixture
Now, take the remaining oatmeal mixture and crumble it over the caramel layer, spreading it as evenly as possible. This will form a delightful topping for your Carmelitas, making sure each bite is filled with that oat-chocolate-caramel combination. Return the pan to the oven for an additional 15–20 minutes.
Step 7: Allow to Cool and Slice
Once the edges of the Carmelitas are lightly browned and the center appears set, remove them from the oven and let them cool completely in the pan. This will take about 30 minutes and will ensure cleaner cuts when you slice them into bars. The cooling process is crucial for the perfect gooey texture!
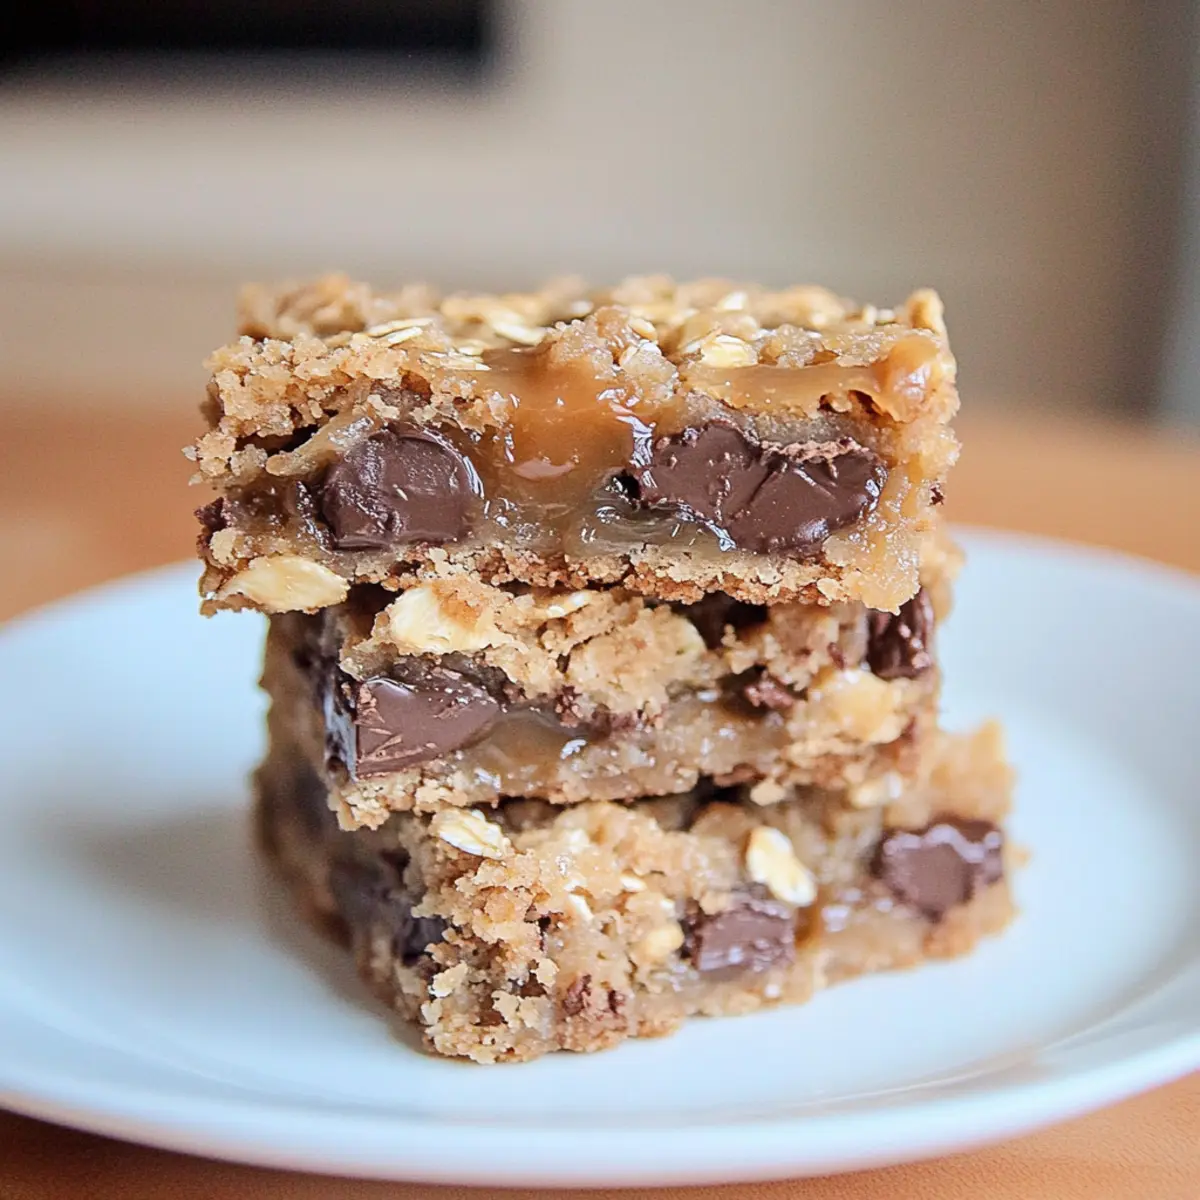
Carmelitas: Customization Ideas
Feel free to let your creativity shine and tailor these delightful Carmelitas to suit your taste and dietary preferences!
- Nutty Crunch: Add chopped nuts like pecans or walnuts for a satisfying crunch that balances the gooey texture nicely. Something about that nutty flavor pairs beautifully with caramel!
- Flavored Chips: Swap semisweet chocolate chips for peanut butter chips or butterscotch chips to introduce new flavor profiles that can delight your taste buds.
- Oat-Free Option: Use rice cereal instead of oats for a completely different texture, resulting in a treat that’s crispy and light while still indulgent.
- Dairy-Free Treat: Substitute the butter with coconut oil and heavy cream with almond milk to make these bars dairy-free yet equally scrumptious.
- Heat It Up: For those who enjoy a kick, consider adding a pinch of cayenne pepper or a sprinkle of sea salt on top before baking for an exciting flavor contrast.
- Layered Goodness: Add a layer of raspberry or strawberry jelly between the chocolate and caramel layers for a fruity twist that adds freshness to the rich dessert.
- Drizzle Delight: Top with a generous drizzle of melted chocolate or white chocolate after they cool for that gourmet touch. A little extra frosting goes a long way!
- Coconut Bliss: Throw in some shredded coconut for a tropical flair that lifts the flavor profile of these caramel oatmeal cookies to new heights.
With these variations, you’ll create new favorites while enjoying the classic flavors of homemade Carmelitas. Don’t hesitate to explore and make them your own—happy baking!
How to Store and Freeze Carmelitas
Room Temperature: Store your Carmelitas in an airtight container at room temperature for up to one week, allowing easy access to these delicious treats.
Fridge: For extended freshness, place the container in the fridge where they can last up to two weeks; just remember to bring them back to room temperature before serving for the best experience.
Freezer: Freeze the bars individually wrapped in plastic wrap and then placed in a freezer bag for up to three months. Thaw overnight in the fridge and enjoy!
Reheating: To enjoy a warm bite, heat in the microwave for about 10-15 seconds, bringing back that gooey goodness that makes Carmelitas irresistible.
Make Ahead Options
These Carmelitas are a fantastic option for meal prep, saving you valuable time during busy weeks! You can prepare the oatmeal cookie base up to 24 hours in advance; simply mix the ingredients, press it into the pan, and cover tightly with plastic wrap or aluminum foil before refrigerating. The caramel filling can also be made ahead and stored in an airtight container in the fridge for up to 3 days. When you’re ready to finish the Carmelitas, simply sprinkle the chocolate chips and pour the caramel over the crust, crumble the remaining oatmeal mixture on top, and bake as directed. This way, your delicious caramel oatmeal cookies will emerge just as gooey and delightful, with minimal hassle!
What to Serve with Decadent Carmelitas: Gooey Caramel and Chocolate Oat Bars
Indulging in these layered delights invites thoughts of pairing them with equally delightful accompaniments.
-
Vanilla Ice Cream: This classic pairing adds a creamy contrast that balances the rich caramel and chocolate, making each bite even more decadent.
-
Whipped Cream: A dollop of fresh whipped cream introduces a light, airy texture, perfect for enhancing the gooey layers without overpowering them.
-
Fresh Berries: Consider vibrant raspberries or strawberries for a pop of color and a tartness that cuts through the sweetness, creating a refreshing contrast.
-
Hot Fudge Sauce: Drizzling warm fudge over your Carmelitas elevates them to a new level of indulgence, ensuring a gooey, chocolatey experience in every bite.
-
Chocolate Milk: This nostalgic drink pairs flawlessly, complementing the chocolate chips while adding a sweet, creamy touch that both kids and adults adore.
-
Coffee: A warm cup of coffee serves as a comforting companion, enhancing the overall flavor experience and providing a delightful balance against the sweetness.
These pairings turn your dessert into a memorable feast, inviting friends and family to gather and enjoy the harmony of tastes and textures that accompany your Carmelitas!
Expert Tips for Making Carmelitas
• Perfect Caramel Bliss: Ensure caramels are fully melted with the cream to avoid lumpy textures. Stir continuously over low heat for a silky pour.
• Cooling Time Matters: Allow the bars to cool completely before slicing. They may look soft but will firm up for cleaner cuts and perfect bites.
• Avoid Overbaking: Keep a close eye on your Carmelitas! Overbaking can lead to dry bars. Aim for lightly browned edges for the best texture.
• Prep the Pan Right: Use parchment or foil for easy lifting once baked. This method prevents sticking and keeps your caramel oatmeal cookies intact.
• Customize with Care: If adding nuts or swaps, ensure they won’t overpower the caramel and chocolate flavors, which are the stars of these Carmelitas!
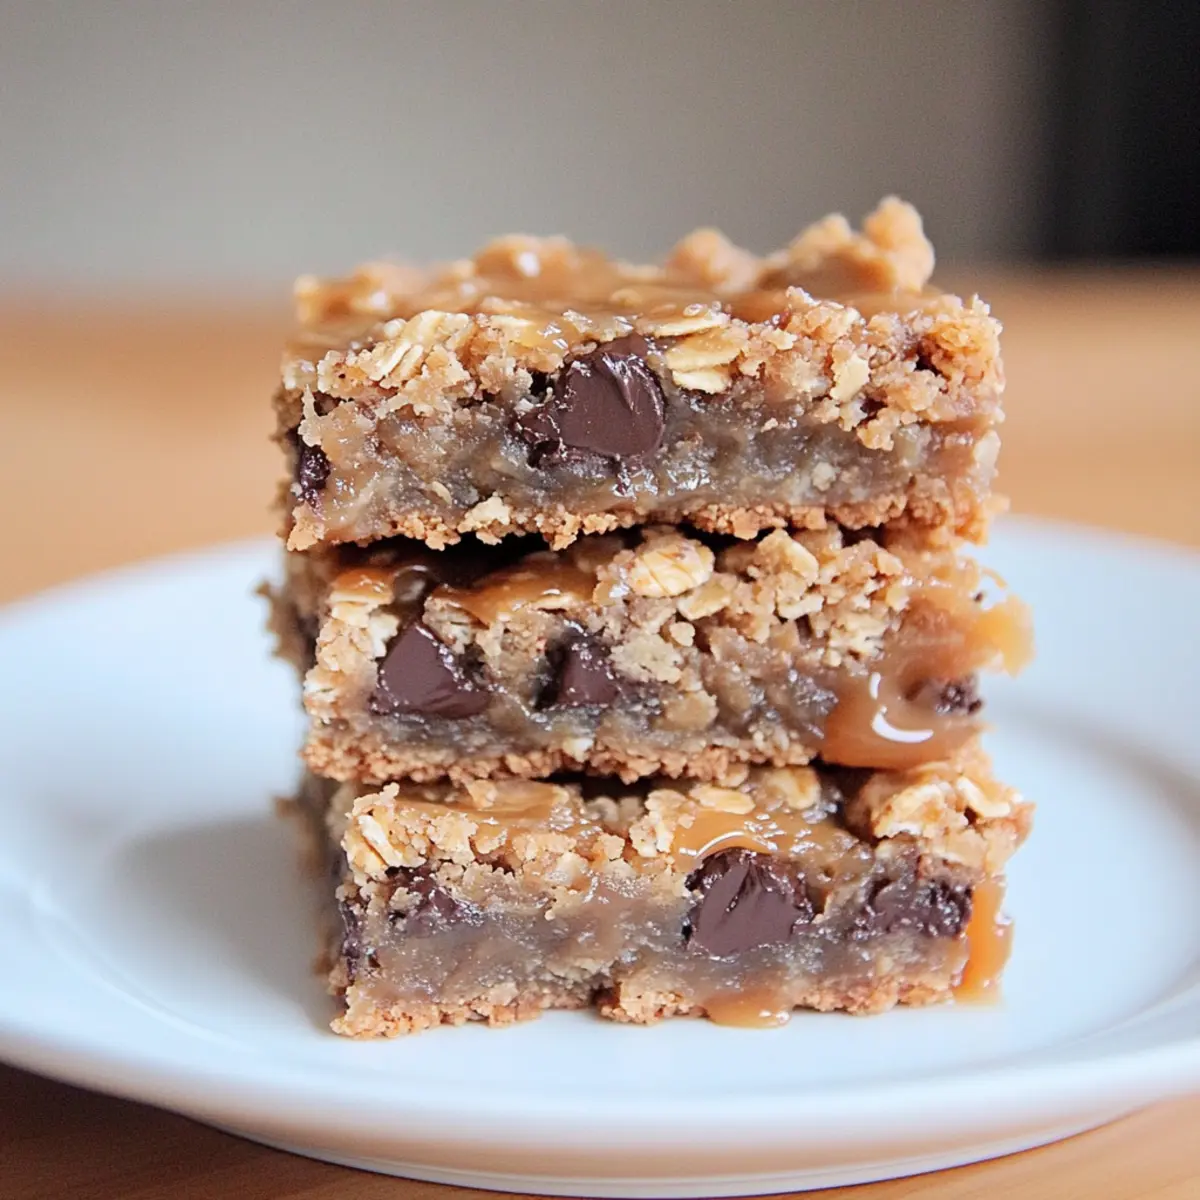
Carmelitas Recipe FAQs
How do I choose the right caramel for my Carmelitas?
Absolutely! For the best results, opt for soft caramel squares or bits. Look for brands that list “cream” and “butter” as ingredients for a richer flavor. If you’re feeling adventurous, homemade caramel can personalize your treat. Just make sure it’s smooth, as lumpy caramel can affect the texture of your bars.
What’s the best way to store leftover Carmelitas?
I often store my Carmelitas in an airtight container at room temperature for up to one week—this keeps them lovely and soft! If you want to extend their life, they can also go in the fridge for up to two weeks. Just remember to allow them to come back to room temperature before enjoying!
Can I freeze Carmelitas, and if so, how?
Yes, indeed! Wrap each bar individually in plastic wrap, then place them in a freezer-safe bag. They’ll maintain their quality for up to three months. When you’re ready to indulge, simply thaw them overnight in the fridge. For that fresh-out-of-the-oven taste, pop one in the microwave for about 10-15 seconds!
What should I do if my Carmelitas turn out crumbly?
Very important! If your Carmelitas crumble, it might be due to overbaking. Keep an eye on them when baking; they should be just lightly browned on the edges. Also, ensure you’re measuring your ingredients accurately; too much flour can dry them out. If you find them dry, try adding a touch of additional butter next time for moisture!
Are Carmelitas suitable for those with dietary restrictions?
Yes! You can customize your Carmelitas to accommodate various dietary needs. To make them dairy-free, substitute butter with coconut oil and heavy cream with a non-dairy alternative. For a gluten-free option, replace the all-purpose flour with your favorite gluten-free blend. Just be sure to check the labels on your chocolate chips and caramel!
Can I add nuts to my Carmelitas?
Absolutely! Chopped nuts like pecans, walnuts, or almonds can be a fantastic addition for added crunch. Just mix in about half a cup when you’re combining the oatmeal base. Be considerate with the quantities—let the caramel and chocolate shine while adding that delightful nutty texture!
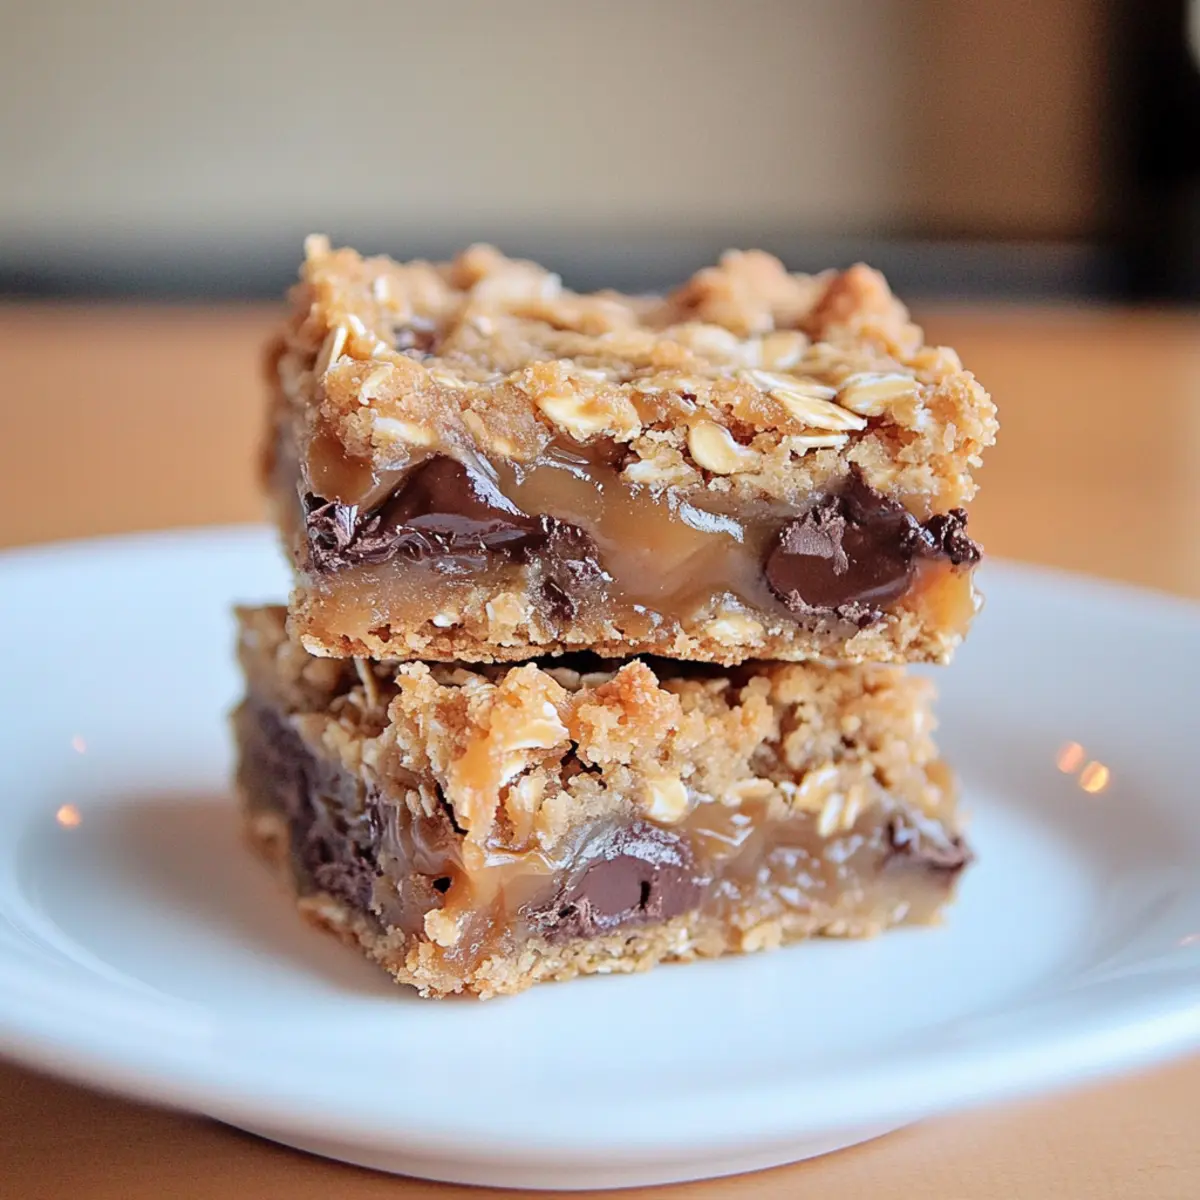
Carmelitas: Chewy Caramel Oat Bars That Wow Everyone
Ingredients
Equipment
Method
- Preheat your oven to 350°F (175°C) and line an 8x8 or 9x9 inch baking pan with foil or parchment paper.
- In a medium saucepan, combine caramel squares and heavy cream over low heat, stirring for 5–7 minutes until melted and smooth.
- In a large mixing bowl, combine melted butter, brown sugar, all-purpose flour, rolled oats, and baking soda. Mix until just combined.
- Press half of the oatmeal mixture firmly into the bottom of the prepared pan and bake for 10 minutes until slightly golden.
- Sprinkle chocolate chips over the baked crust, then pour warm caramel mixture evenly over them.
- Crumble the remaining oatmeal mixture over the caramel layer and return to the oven for an additional 15–20 minutes.
- Allow the bars to cool completely in the pan for about 30 minutes before slicing into bars.
Leave a Reply