
As I stood in my kitchen, the comforting aroma of melting butter and creamy peanut butter enveloped me like a warm hug. There’s something incredibly nostalgic about baking cookies, and this Soft Peanut Butter Cookie Dream truly takes me back to simpler times. These tender, chewy treasures are not just delicious; they sprinkle a sprinkle of joy into any gathering or cozy night in. With a hint of chocolate chips and a sprinkle of sea salt, they elevate the classic peanut butter cookie to something magical. What’s more, they’re super easy to whip up—perfect for those moments when you crave homemade goodness without the fuss. Plus, you can make them gluten-free with just a simple swap! Ready to dive into this peanut butter paradise? Let’s bake some memories!
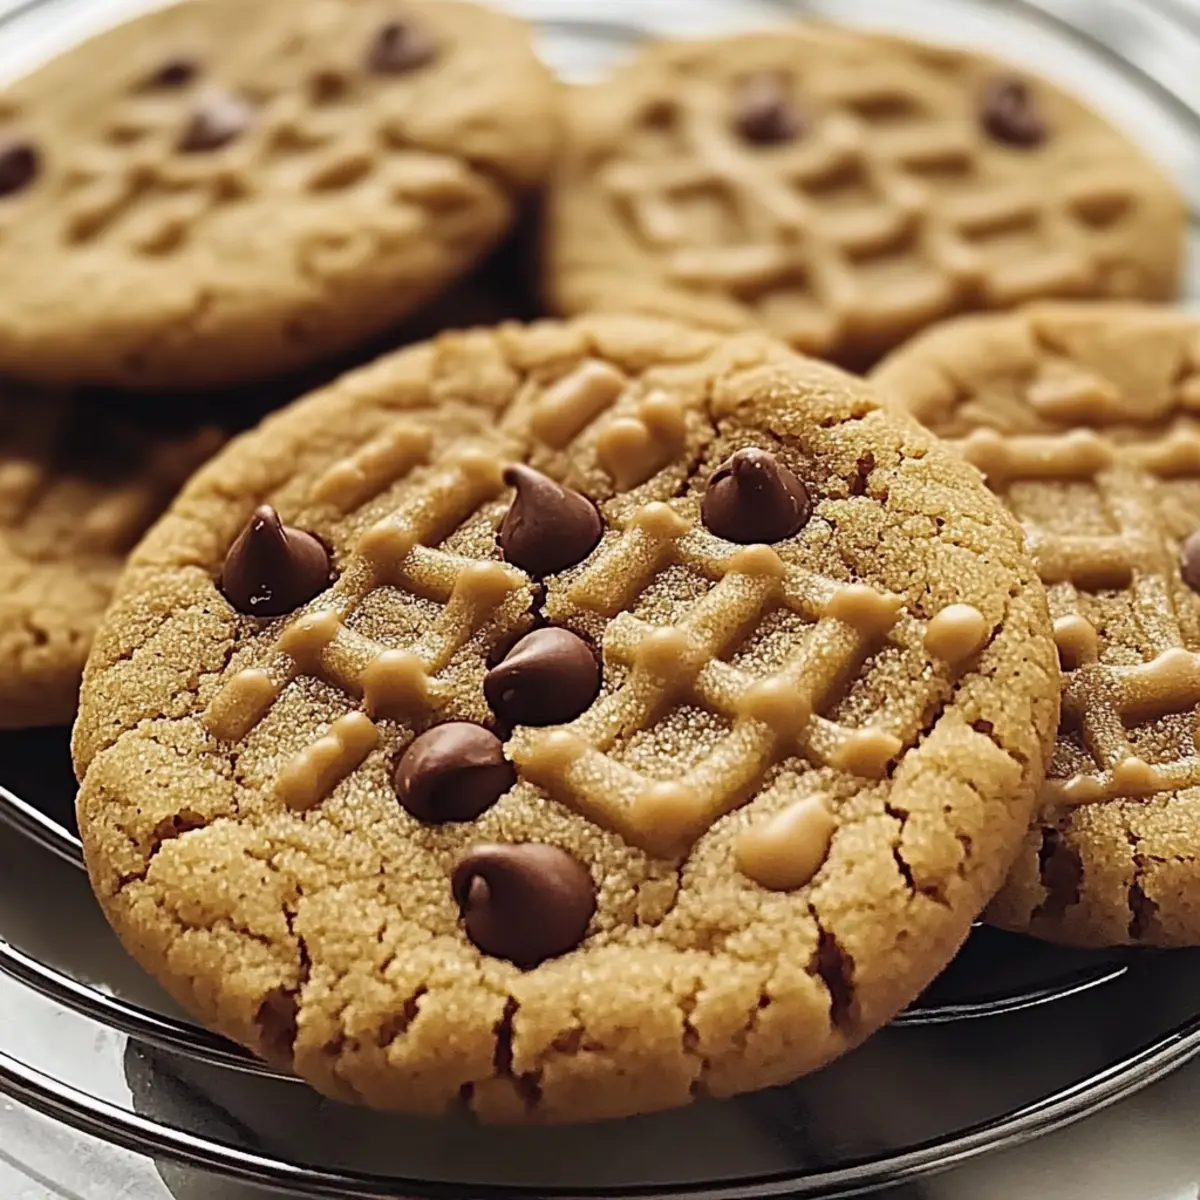
Why Are These Cookies a Must-Try?
Simplicity: This easy recipe requires minimal ingredients and just a few straightforward steps, making it perfect for bakers of all skill levels.
Irresistible Flavor: The combination of creamy peanut butter and gooey chocolate chips creates a mouthwatering treat that is sure to satisfy your sweet tooth.
Versatile Customization: Feel free to add your favorite mix-ins like chopped nuts or even a sprinkle of cinnamon for an extra twist, allowing you to make every batch uniquely yours.
Crowd-Pleaser: These cookies are a hit at parties, bringing back fond memories and warming hearts with their delightful aroma—perfect for sharing or enjoying solo with a glass of milk.
Gluten-Free Option: Easily adaptable for gluten-sensitive friends, simply swap the all-purpose flour for a gluten-free blend to ensure everyone can enjoy this cozy treat.
Ready to fill your kitchen with the charming smell of freshly baked cookies? Don’t forget to check out my Banana Pudding Dream to pair these cookies with another comforting favorite!
Peanut Butter Cookie Dream Ingredients
• Get ready to create your Peanut Butter Cookie Dream with these essential ingredients!
For the Cookie Dough
- Creamy Peanut Butter – Provides rich flavor and moisture; feel free to swap it for crunchy for added texture.
- Unsalted Butter (1/2 cup) – Ensures your cookies are soft; make sure it’s softened for easy mixing.
- Granulated Sugar (1/2 cup) – Sweetens the cookies; cut back slightly if you prefer them less sweet.
- Brown Sugar (1/2 cup) – Adds moisture and a hint of caramel flavor; either light or dark brown sugar works well.
- Large Egg (1) – Binds everything together and enhances texture; room temperature eggs mix in better.
- All-Purpose Flour (1 1/4 cups) – Provides essential structure; substitute with gluten-free flour for a modified version.
- Baking Soda (1/2 teaspoon) – Acts as a leavening agent, helping your cookies rise beautifully.
- Salt (1/4 teaspoon) – Elevates flavor; omit if using salted butter.
- Vanilla Extract (1 1/2 teaspoons) – Adds warmth and depth of flavor; try almond extract for a delicate variation.
Optional Mix-Ins
- Chocolate Chips – Enhances the indulgent flavor of the cookies; for a unique twist, try adding white chocolate or butterscotch chips.
- Chopped Nuts – Offers a crunchy contrast; chopped peanuts would be the perfect complement to the creamy flavor.
- Cinnamon – A pinch can add a warm spice to elevate your cookies further!
Step‑by‑Step Instructions for Peanut Butter Cookie Dream
Step 1: Preheat the Oven
Begin by preheating your oven to 350°F (175°C). This is the perfect temperature to ensure your cookies bake evenly and turn out soft. While the oven heats up, line a baking sheet with parchment paper to prevent sticking and make cleanup a breeze.
Step 2: Mix the Wet Ingredients
In a large mixing bowl, combine 1/2 cup of creamy peanut butter, 1/2 cup of softened unsalted butter, 1/2 cup of granulated sugar, and 1/2 cup of brown sugar. Use a hand mixer or wooden spoon to blend the ingredients until the mixture is smooth and creamy. This should take about 2-3 minutes, and the sugars should dissolve nicely into the buttery goodness.
Step 3: Add the Egg and Vanilla
Once your wet mixture is smooth, crack in 1 large egg and pour in 1 1/2 teaspoons of vanilla extract. Mix well until everything is fully incorporated, creating a rich and luscious base for your Peanut Butter Cookie Dream. This should take another minute or so, until the mixture appears homogenous and velvety.
Step 4: Combine the Dry Ingredients
In a separate bowl, whisk together 1 1/4 cups of all-purpose flour, 1/2 teaspoon of baking soda, and 1/4 teaspoon of salt. This step helps distribute the baking soda evenly throughout the flour. Ensure there are no clumps, as this will keep your cookies light and fluffy.
Step 5: Fold the Dry into the Wet
Gradually fold the dry ingredients into the wet mixture, carefully mixing until just combined. Be cautious not to overmix, as this can make your cookies tough. You want a slightly sticky dough that is rich with the flavors of peanut butter and hints of sweetness.
Step 6: Portion the Dough
Using a cookie scoop or tablespoon, drop uniform balls of dough onto the prepared baking sheet, ensuring to leave about 2 inches of space between each cookie. This spacing is crucial, as the Peanut Butter Cookie Dream will spread a little while baking. Aim for about 12-15 cookies per sheet.
Step 7: Create the Signature Pattern
Take a fork and gently press down on each cookie to create a crisscross pattern on top. This not only adds a perfect aesthetic touch but also helps the cookies bake evenly. The cookies should look inviting and ready to be transformed into delicious treats.
Step 8: Bake to Golden Perfection
Slide the baking sheet into the preheated oven and bake for 10-12 minutes, or until the edges of the cookies are lightly golden. The centers may look a bit soft, but they will firm up as they cool. Keep an eye on them for that perfect golden-brown edge.
Step 9: Cool and Transfer
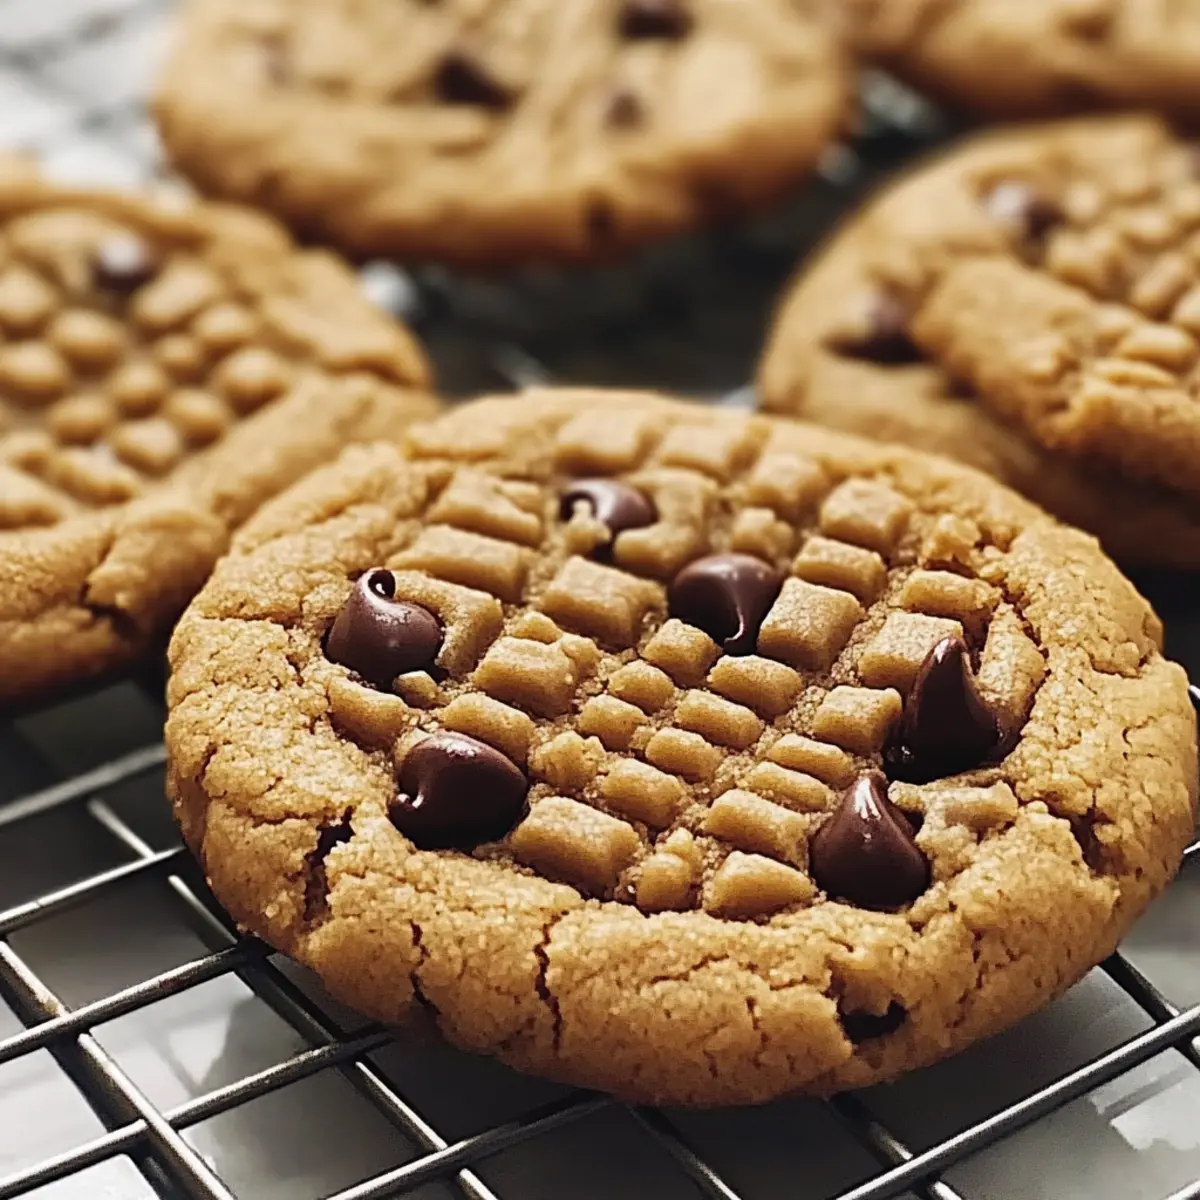
After baking, allow the cookies to cool on the baking sheet for about 5 minutes. This resting period ensures they set up perfectly without falling apart. Once slightly firm, transfer them to a wire rack to cool completely—this final step enhances their chewy texture, making your Peanut Butter Cookie Dream truly irresistible.
Make Ahead Options
These Peanut Butter Cookie Dream cookies are perfect for meal prep enthusiasts! You can prepare the cookie dough up to 24 hours in advance by mixing it together and storing it in an airtight container in the refrigerator. This allows the flavors to meld beautifully, making them just as delicious when baked fresh. Additionally, you can portion out the cookie dough onto the baking sheet and freeze them—this method allows you to enjoy freshly baked cookies anytime by simply pulling them out and baking from frozen, adding an extra couple of minutes to the baking time. Just remember to let them cool completely before storing in an airtight container for optimal freshness! Enjoy the convenience of homemade cookies without the hassle on busy days!
Expert Tips for Peanut Butter Cookie Dream
Softened Butter: Make sure your unsalted butter is at room temperature to blend seamlessly with the sugars, resulting in a smooth cookie dough.
Avoid Overmixing: Gently fold the dry ingredients into the wet mixture; overmixing can lead to dense cookies instead of that soft, chewy perfection you desire.
Cool Time Matters: After baking, allow the cookies to cool on the baking sheet for a few minutes before transferring them to a rack. This helps them set properly and stay soft.
Customize Wisely: Feel free to add chocolate chips or nuts, but remember that this can change the cookie texture—stick to small amounts to keep the balance.
Golden Edges: Keep an eye on your cookies as they bake. They should have lightly golden edges while the centers stay soft; this ensures the melt-in-your-mouth experience you crave!
Peanut Butter Cookie Dream Variations
Feel free to unleash your creativity and make these cookies your own with delightful twists!
-
Crunchy Delight: Swap creamy peanut butter for crunchy for an exciting texture contrast.
-
Chocolate Extravaganza: Stir in a generous handful of chocolate chips or even mix in butterscotch chips for a sweet surprise.
-
Nutty Bliss: Add chopped peanuts or walnuts for an extra crunchy element that complements the creamy peanut butter wonderfully.
-
Spiced Twist: Toss in a pinch of ground cinnamon or nutmeg to warm up the flavors and create a cozy baking aroma.
-
Gluten-Free Magic: Substitute all-purpose flour with a gluten-free blend for a safe treat that everyone can enjoy.
-
Sweetened Elegance: Consider using coconut sugar instead of granulated sugar for a lower-glycemic option with a hint of caramel flavor.
-
Fruity Surprise: Mix in a handful of dried cranberries or raisins for a delightful chewy twist that balances sweetness and nuttiness.
-
Salted Caramel Kick: Drizzle some salted caramel on top of the cookies once cooled for an indulgent finish that will have everyone coming back for more!
With all these variations, you’ll never get bored of baking these Peanut Butter Cookie Dreams! And while you’re at it, why not pair your cookies with a comforting bowl of Banana Pudding Dream? It makes for a delightful dessert combo!
What to Serve with Soft Peanut Butter Cookie Dream
Imagine the warmth of freshly baked cookies melting in your mouth, paired with delightful accompaniments that bring every bite to life.
- Creamy Milkshake: Indulge in a rich, creamy milkshake that complements the sweet, nutty flavor of the cookies, creating a nostalgic treat.
- Fresh Fruit Plate: A colorful mix of berries and slices of apple provide a refreshing balance to the cookies’ sweetness, adding a touch of tartness.
- Vanilla Ice Cream: Serving these cookies warm over a scoop of vanilla ice cream creates a delightful contrast in temperature and texture, offering irresistible bliss.
- Chocolate Dipping Sauce: Drizzle melted chocolate over the cookies for an elevated treat; the richness of chocolate paired with peanut butter is simply divine.
- Coffee or Espresso: Enjoying these cookies with a hot cup of coffee or a bold espresso brings a comforting café vibe right to your home.
- Caramel Sauce: A warm drizzle of caramel on top of your cookies enhances their flavors, adding a silky richness that’s utterly satisfying.
- Hot Chocolate: For a cozy evening, pair these delights with a steaming mug of hot chocolate, making every bite feel like a hug in a mug.
Let’s get creative and elevate your Peanut Butter Cookie Dream into a dessert spread that your family and friends will absolutely adore!
How to Store and Freeze Peanut Butter Cookie Dream
Room Temperature: Store cookies in an airtight container at room temperature for up to one week. This keeps them soft and delicious while preventing them from drying out.
Fridge: For enhanced freshness, place cookies in the refrigerator in a sealed container. Enjoy them cold or let them warm to room temperature before indulging, where they’ll stay fresh for up to two weeks.
Freezer: To freeze, wrap each cookie in plastic wrap and place them in a freezer-safe bag. They will maintain their delightful texture for up to three months; simply thaw at room temperature when you’re ready to enjoy.
Reheating: If you prefer warm cookies, pop them in the microwave for 10-15 seconds to restore that fresh-baked feel. Enjoy your Peanut Butter Cookie Dream anytime!
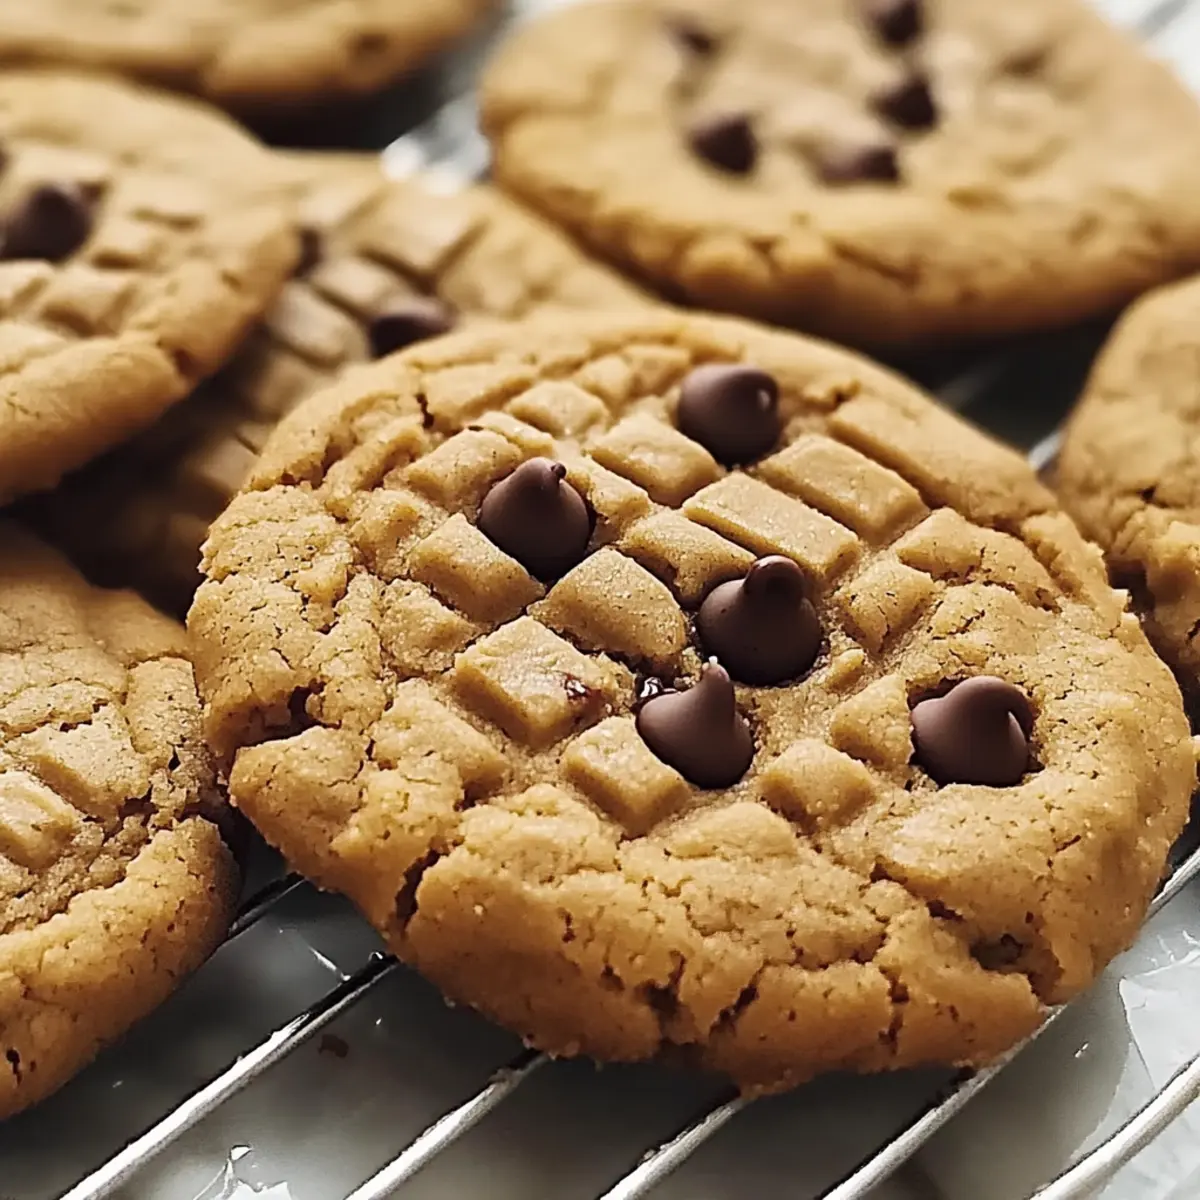
Peanut Butter Cookie Dream Recipe FAQs
What type of peanut butter works best for these cookies?
Absolutely! For a rich flavor, use creamy peanut butter; however, if you like a bit of texture, crunchy peanut butter is a fantastic alternative. Just remember that the kind you choose will affect the overall texture of your Peanut Butter Cookie Dream!
How should I store my cookies to keep them fresh?
Store your cookies in an airtight container at room temperature for up to one week to maintain their softness. If you want them to last a bit longer, pop them in the refrigerator, where they can stay fresh for up to two weeks. Just make sure they’re sealed well to prevent moisture loss!
Can I freeze these cookies for later?
Definitely! To freeze, wrap each cookie in plastic wrap and place them in a freezer-safe bag. They can be stored in the freezer for up to three months. When you’re ready to enjoy them, just let them thaw at room temperature, and they’ll taste almost as good as fresh out of the oven.
What if my cookies turn out too hard?
Very! If your cookies come out harder than expected, a common culprit is overmixing the dough or baking them too long. Always mix gently and keep an eye on them in the oven; bake until the edges are just lightly golden, while the centers remain soft. If they harden too much, you can enjoy them with a glass of milk to soften them up a bit!
Are these cookies suitable for people with allergies?
It’s essential to consider dietary restrictions. These cookies contain common allergens—peanut butter, eggs, and gluten from all-purpose flour. For those with gluten sensitivities, you can easily make gluten-free cookies by using a gluten-free flour blend. Always check for nut allergies if you plan to share them with friends or family.
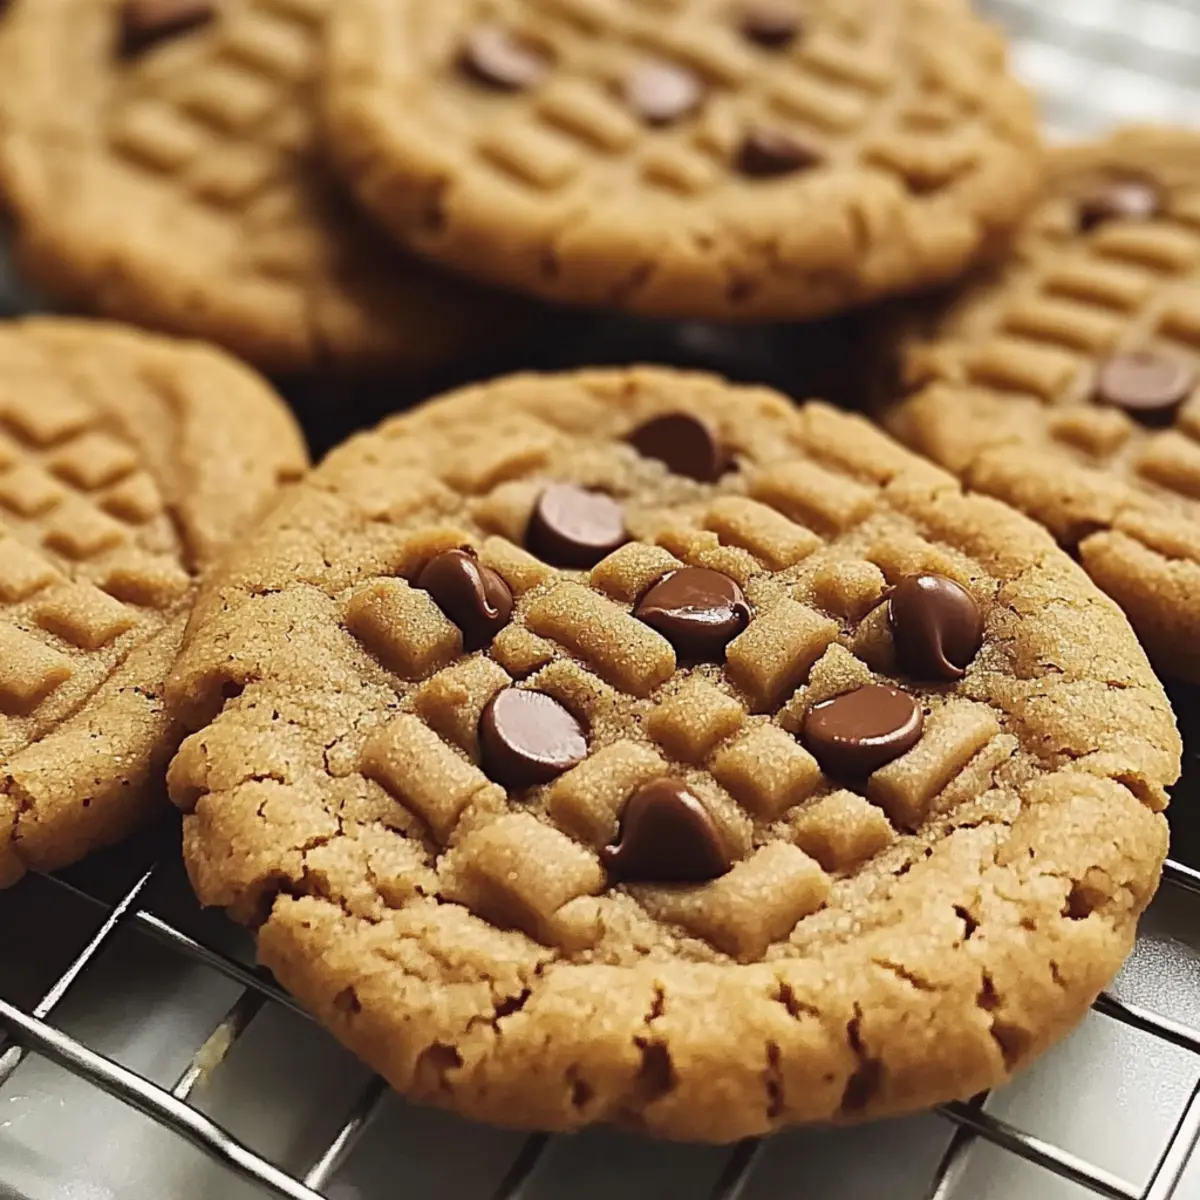
Peanut Butter Cookie Dream: Soft, Chewy Bliss Awaits
Ingredients
Equipment
Method
- Preheat your oven to 350°F (175°C) and line a baking sheet with parchment paper.
- In a large mixing bowl, combine peanut butter, softened butter, granulated sugar, and brown sugar. Blend until smooth.
- Add the egg and vanilla extract, mixing until fully incorporated.
- Whisk together flour, baking soda, and salt in a separate bowl, then fold into the wet mixture until just combined.
- Using a cookie scoop, drop dough onto the baking sheet with 2 inches of space between each cookie.
- Press a fork down on each cookie to create a crisscross pattern.
- Bake for 10-12 minutes, until edges are lightly golden. Cool on the baking sheet for 5 minutes before transferring to a wire rack.
Leave a Reply