
As I stood in my kitchen, the delicious aroma of roasted chickpeas wafted through the air, reminding me of the simple pleasures of snack time. Today, I’m excited to share my Cheez-It Roasted Chickpeas recipe—a healthier take on a beloved childhood favorite! These crunchy morsels are not only quick to whip up in just 30 minutes, but they also pack a protein punch that will keep your energy levels up throughout the day. Thanks to the delightful flavor of nutritional yeast, each bite delivers that nostalgic cheesy goodness without the guilt. Whether enjoyed on their own or as a zesty salad topping, these vegan, gluten-free snacks will satisfy your cravings and make you rethink what snacking can be. Curious to discover how to make this tasty treat? Let’s dive into the recipe!
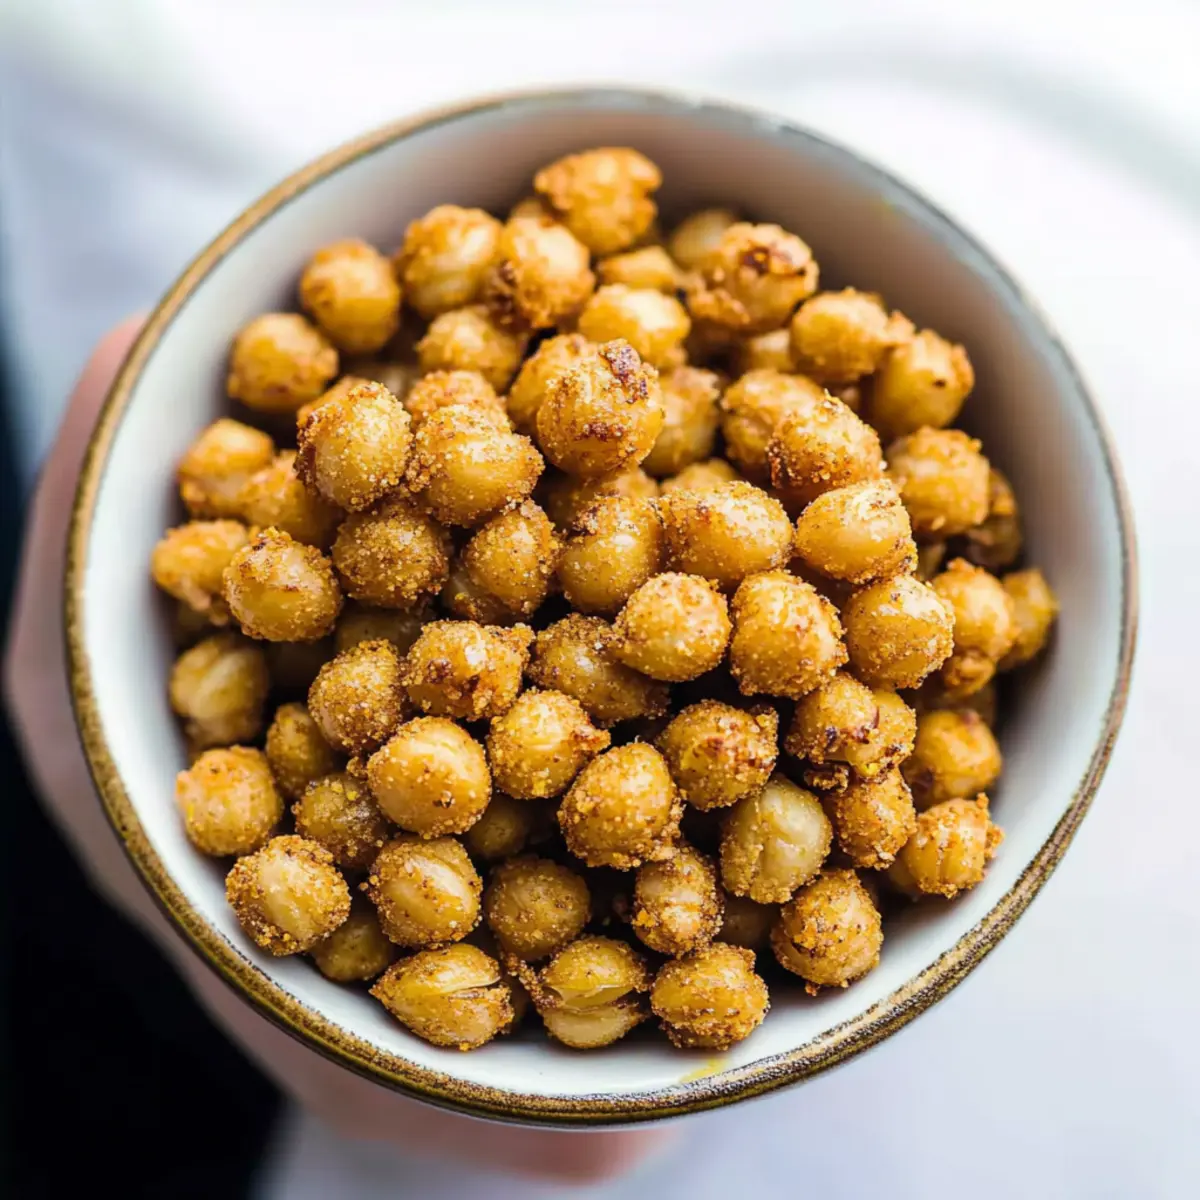
Why are these chickpeas so irresistible?
Addictive crunch: Each bite of these Cheez-It Roasted Chickpeas is a delightful explosion of crunch that will leave you longing for more.
Flavor-packed alternative: Thanks to nutritional yeast, you get all the cheesy flavor without any dairy—perfect for vegan diets!
Healthy snacking: With protein and fiber-rich chickpeas, these snacks will keep you feeling full and energized.
Quick and easy: In just 30 minutes, you can whip up a batch, making them a fantastic choice for busy days.
Versatile usage: Enjoy them on their own or sprinkle them over salads for an added crunch. For more delicious veggie options, check out our Roasted Vegetable Orzo or tasty Rajas Con Crema!
Cheez-It Roasted Chickpeas Ingredients
For the Chickpeas
• Chickpeas – Your base ingredient, packed with protein and fiber; you can use canned or cooked dried chickpeas for convenience.
• Nutritional Yeast – Provides that addictive cheesy flavor without dairy; it’s essential for achieving the true Cheez-It taste.
• Salt – Enhances the overall flavor; use sea salt or kosher salt for the best results.
• Pepper – Adds a hint of spice; adjust according to your personal taste preference for milder or bolder flavor.
• Cayenne Pepper – Offers a slight kick; feel free to omit if you prefer a milder snack.
Optional Extras
• Garlic Powder – Brings an extra layer of flavor; fantastic for those who love a savory punch.
• Olive Oil – Drizzling before baking can create an even crunchier texture for your chickpeas.
Unlock the joy of healthier snacking with these crispy Cheez-It Roasted Chickpeas and watch your cravings turn into guilt-free indulgence!
Step‑by‑Step Instructions for Cheez-It Roasted Chickpeas
Step 1: Preheat the Oven
Begin by preheating your oven to 400°F (200°C). This step is crucial as it ensures the Cheez-It Roasted Chickpeas become perfectly crispy during baking. Make sure your oven is fully heated before placing the chickpeas inside for the best results!
Step 2: Prepare the Chickpeas
Drain and rinse your chickpeas thoroughly under cold water. To achieve maximum crispiness, use a clean kitchen towel to dry them thoroughly, removing any excess moisture. A well-dried surface is key to that delightful crunch in your Cheez-It Roasted Chickpeas.
Step 3: Remove Chickpea Skins (Optional)
For an even crunchier texture, take a few moments to remove the skins from the chickpeas. While this step is optional, it significantly enhances the final product. The skins can be peeled off easily, making your roasted chickpeas extra enjoyable!
Step 4: Season the Chickpeas
In a large mixing bowl, toss the dried chickpeas with nutritional yeast, salt, pepper, and cayenne to taste. Ensure every chickpea is evenly coated with the seasoning mix, which is vital for achieving that addictive cheesy flavor reminiscent of Cheez-Its.
Step 5: Spread on a Baking Sheet
Transfer the seasoned chickpeas onto a baking sheet, spreading them out in a single layer. This arrangement is essential to ensure the Cheez-It Roasted Chickpeas cook evenly and develop that delightful crunch. Use parchment paper if you prefer easy cleanup!
Step 6: Roast in the Oven
Place the baking sheet in your preheated oven and roast the chickpeas for 25 to 30 minutes. Stir them halfway through baking to ensure they brown evenly. You’ll know they’re ready when they turn golden brown and emit a mouth-watering aroma that fills your kitchen.
Step 7: Cool and Serve
Once the chickpeas are perfectly roasted, remove them from the oven and allow them to cool slightly on the baking sheet. This cooling step helps them firm up even more, making them irresistibly crunchy. Now they’re ready to be enjoyed as a guilt-free snack or added to your favorite salad!
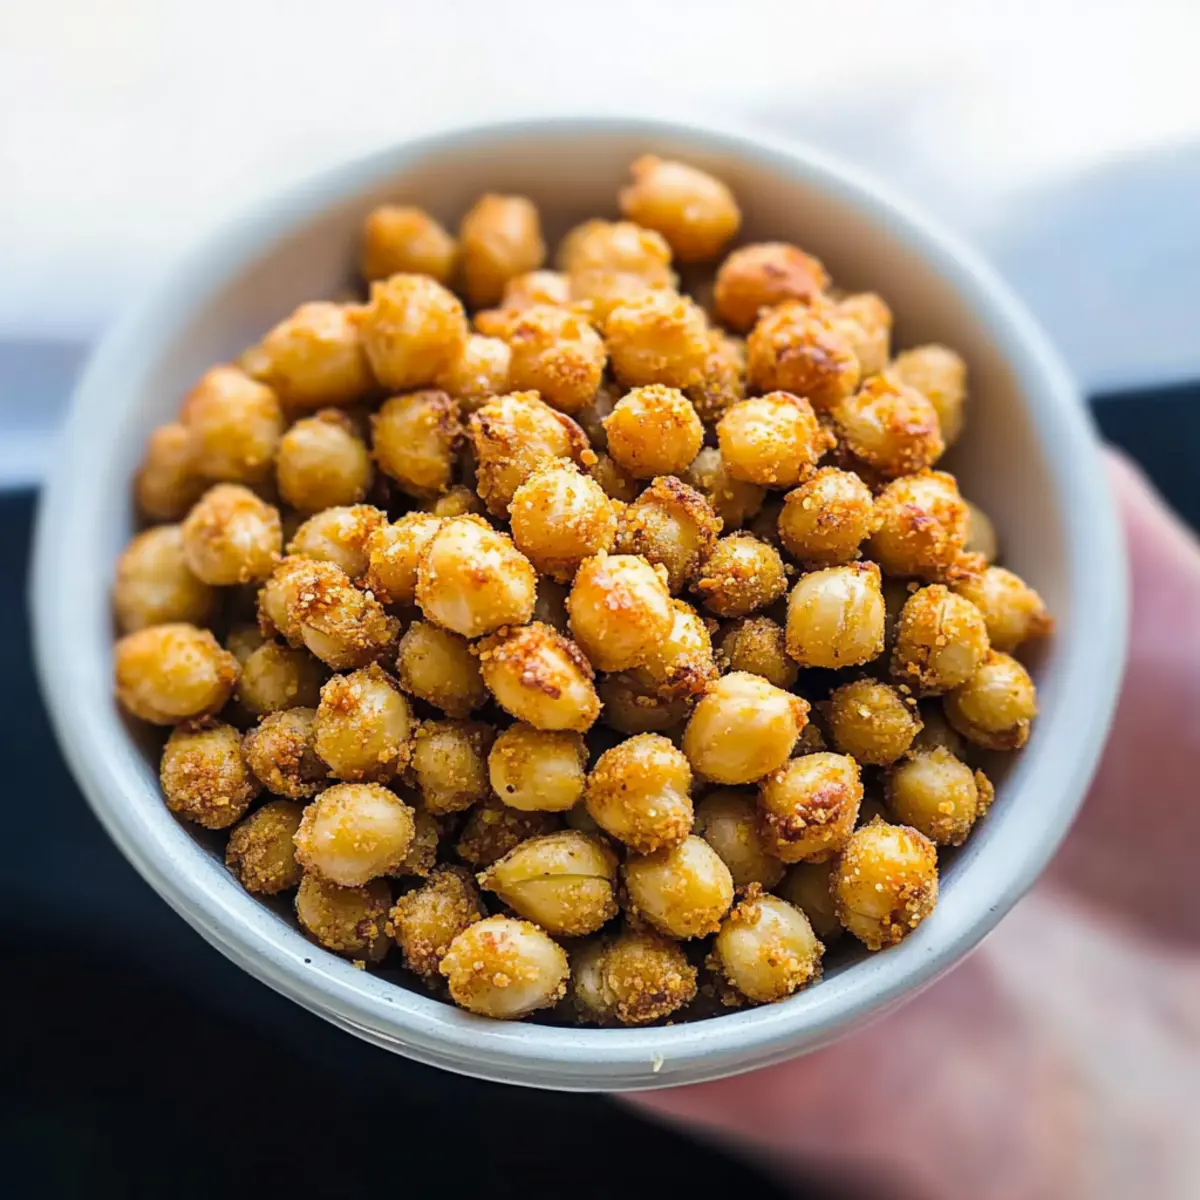
How to Store and Freeze Cheez-It Roasted Chickpeas
Airtight Container: Store Cheez-It Roasted Chickpeas in an airtight container at room temperature to maintain their crunchy texture for up to 3 days.
Avoid Moisture: To keep them crispy, place a paper towel in the container to absorb any excess humidity.
Freezing Option: If you want to freeze the chickpeas, spread them in a single layer on a baking sheet, freeze until solid, then transfer to a freezer-safe bag—ideal for up to 2 months.
Reheating: Reheat in the oven at 350°F (175°C) for 5-10 minutes, ensuring they’re crisped back to perfection before snacking!
Cheez-It Roasted Chickpeas Variations
Feel free to let your creativity shine through with these tasty twists on Cheez-It Roasted Chickpeas!
-
Garlic Powder:
Add a dash of garlic powder for an extra layer of savory flavor. This simple addition brings a comforting aroma that’ll make your kitchen feel inviting. -
Smoked Paprika:
Instead of traditional spices, sprinkle in smoked paprika for a smoky twist. Its rich depth will transform your snack into something truly unique and satisfying. -
Olive Oil Drizzle:
For an even crisper texture, drizzle the chickpeas with olive oil before roasting. This extra touch adds richness without compromising healthiness. -
Curry Flavor:
Trying something different? A teaspoon of curry powder can introduce vibrant, exotic flavors to your chickpeas. It’s a delightful adventure for the taste buds! -
Nutritional Yeast Variations:
Mix in different seasonings of nutritional yeast, such as spicy or garlic-flavored varieties, for an exciting new cheesy twist. Each option can create a wonderfully distinct flavor profile. -
Hot Sauce Kick:
If you’re in the mood for some heat, toss the chickpeas with a splash of your favorite hot sauce before roasting. It will take these snacks to another level—perfect for spice lovers! -
Lemon Zest:
Brighten up your chickpeas with some lemon zest just before serving. This zesty finish will elevate your snack, bringing freshness to every crunchy bite. -
Chickpea Salad Topping:
Use these roasted chickpeas as a crunchy topping for salads. Their delightful crunch paired with greens makes for a beautifully textured meal.
The culinary world is full of delicious possibilities, so don’t hesitate to explore what works best for you. Enjoy experimenting with flavors, and be sure to check out our Roasted Vegetable Orzo for more delightful veggie-filled ideas!
What to Serve with Cheez-It Roasted Chickpeas
Treat your taste buds to a delightful array of flavors that complement the crunchy, cheesy goodness of this healthy snack.
- Fresh Green Salad: A crisp salad with mixed greens and a zesty vinaigrette balances the savory crunch, making for a satisfying meal.
- Creamy Avocado Dip: The creamy richness of avocado dip pairs wonderfully, providing a smooth contrast to the chickpeas’ crunchiness.
- Hummus Platter: Serve alongside a variety of hummus flavors for a fun and interactive snacking experience that adds even more protein!
For a heartier dish, consider enjoying the roasted chickpeas over quinoa for a protein-packed bowl. The subtle nutty flavor of quinoa harmonizes beautifully with the spices of the chickpeas.
- Sparkling Lemonade: A refreshing glass of sparkling lemonade adds a bright, citrusy pop, enhancing the flavors of the roasted chickpeas.
- Chickpea Tacos: Use the Cheez-It Roasted Chickpeas in tacos with fresh veggies and a tangy sauce for a twist on a classic favorite.
- Ranch Dip: A creamy ranch dip pairs perfectly for those who enjoy dipping, adding a rich flavor that contrasts well with the chickpeas’ crispy texture.
Your snacking experience will never be the same with these delicious pairings that truly elevate your Cheez-It Roasted Chickpeas!
Make Ahead Options
These Cheez-It Roasted Chickpeas are a fantastic option for meal prep, saving you time during busy weeknights! You can prepare the chickpeas by rinsing and drying them up to 24 hours in advance, storing them in an airtight container in the refrigerator to maintain freshness. Season them with nutritional yeast, salt, pepper, and cayenne just before roasting to keep the flavors vibrant. When you’re ready to enjoy this crunchy snack, simply spread the prepared chickpeas on a baking sheet and roast in the oven as directed. You’ll have a delicious, guilt-free treat that’s just as tasty as if made fresh!
Expert Tips for Cheez-It Roasted Chickpeas
• Skin Removal Benefits: Taking the time to remove chickpea skins boosts crunchiness, enhancing the overall texture of your Cheez-It Roasted Chickpeas.
• Dry Chickpeas Thoroughly: Ensure chickpeas are completely dried before seasoning. Moisture leads to sogginess, making it harder to achieve that desired crispiness.
• Watch the Timer: Check your chickpeas in the final minutes of roasting to avoid burning. Ovens can vary, and staying vigilant ensures perfect results.
• Experiment with Spices: Don’t hesitate to personalize your batch! Adding garlic powder or smoked paprika can elevate the flavor, creating your unique twist on Cheez-It Roasted Chickpeas.
• Store Properly: Store leftovers in an airtight container at room temperature to maintain their crunchy texture for up to three days.
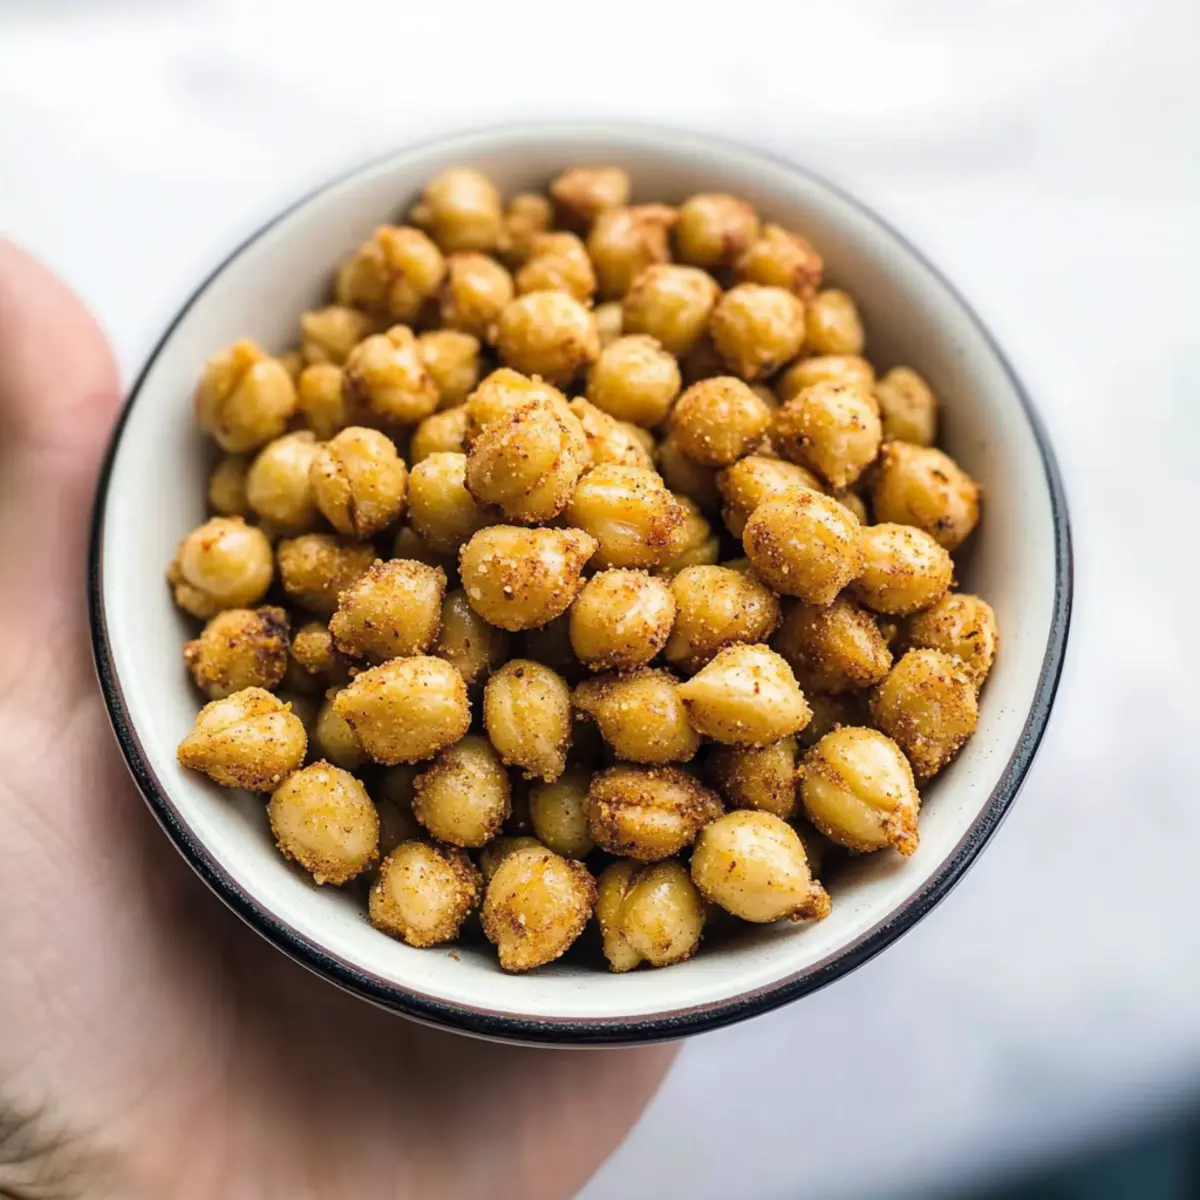
Cheez-It Roasted Chickpeas Recipe FAQs
How do I select the best chickpeas for this recipe?
Absolutely! For the best texture, opt for canned chickpeas that are firm and free of dark spots. If using dried chickpeas, soak and cook them until tender, making sure they’re not overcooked to avoid mushiness. A good rule of thumb is to ensure they are plump and smooth to the touch.
How should I store leftover Cheez-It Roasted Chickpeas?
To keep your Cheez-It Roasted Chickpeas crispy, store them in an airtight container at room temperature. They’ll stay fresh for up to 3 days. To absorb excess moisture, you might consider adding a paper towel in the container. A little trick I often use!
Can I freeze Cheez-It Roasted Chickpeas for later?
Yes! Freezing is a great option. Spread your roasted chickpeas in a single layer on a baking sheet and freeze until solid—this usually takes about 1-2 hours. Once frozen, transfer them to a freezer-safe bag. They can be stored this way for up to 2 months. When you’re ready to enjoy them, reheating in the oven at 350°F (175°C) for 5-10 minutes restores that delightful crunch.
What should I do if my chickpeas turn out soggy?
Very! If you find that your roasted chickpeas are soggy, it’s likely due to moisture. To avoid this, make sure to dry the chickpeas thoroughly after rinsing and before seasoning. If they’re already cooked, you can spread them back on a baking sheet and roast them at 400°F (200°C) for an additional 5-10 minutes to help them regain some crispiness.
Are Cheez-It Roasted Chickpeas safe for pets?
While chickpeas themselves are generally safe for pets, be cautious with seasonings. Avoid adding salt, spices, or any ingredients that might upset your pet’s stomach. If you want to share with your furry friends, plain, unseasoned chickpeas are the way to go!
Can I make Cheez-It Roasted Chickpeas without nutritional yeast?
Of course! While nutritional yeast is key for that cheesy flavor, you can experiment with other seasonings to enhance flavor. Try a mix of garlic powder, onion powder, and a touch of paprika to create a unique taste. The more the merrier when it comes to customizing your snacks!
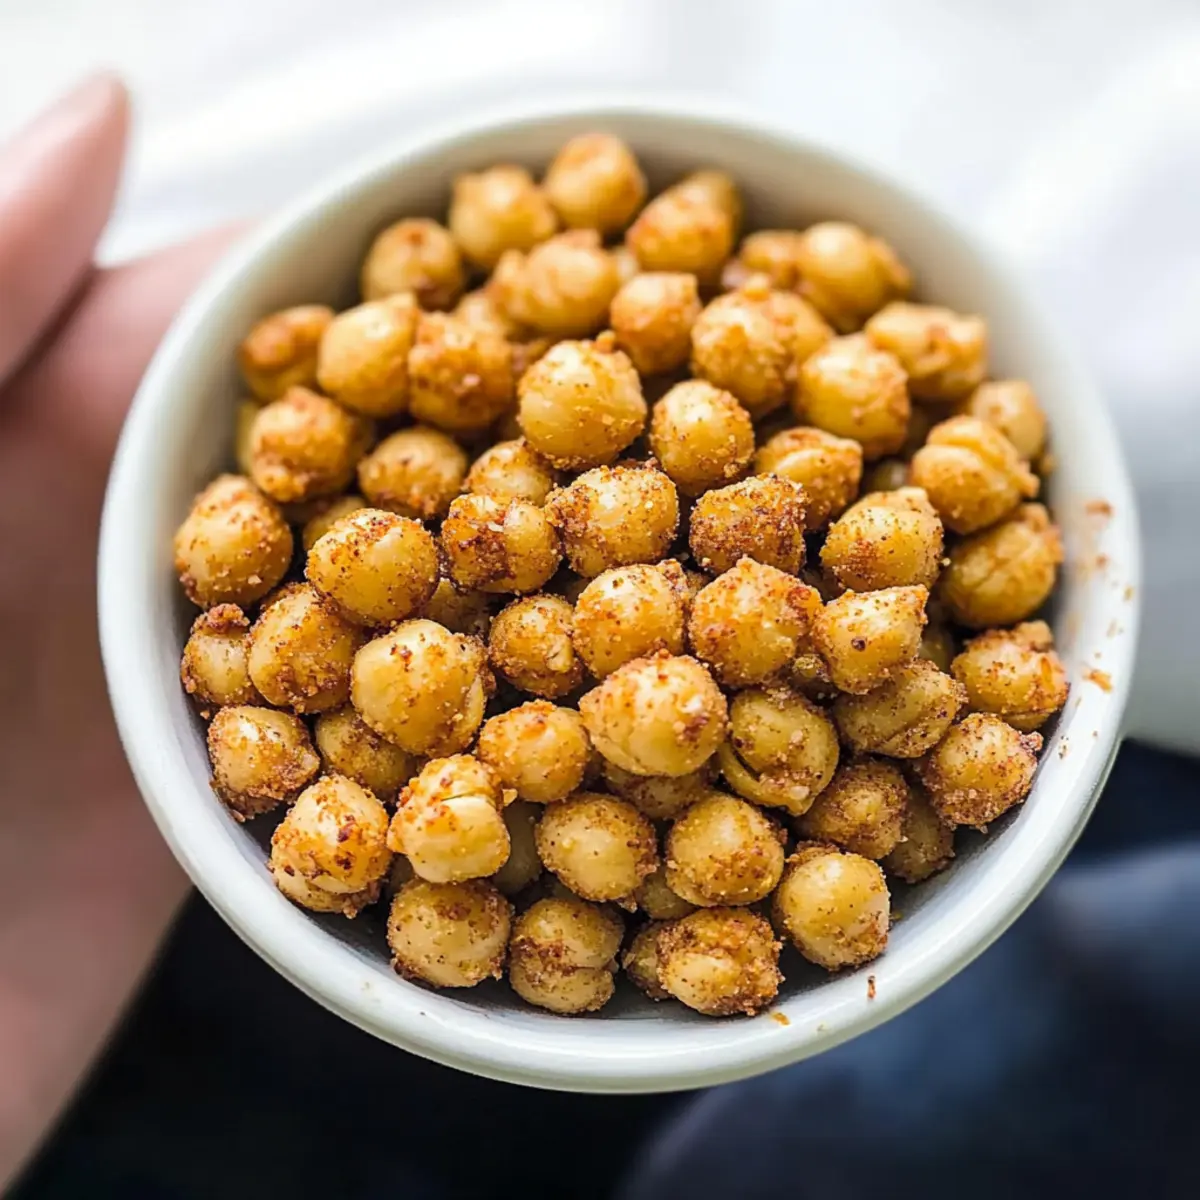
Cheez-It Roasted Chickpeas: Crunchy, Cheesy, Guilt-Free Snack
Ingredients
Equipment
Method
- Preheat your oven to 400°F (200°C).
- Drain and rinse chickpeas thoroughly. Dry them with a clean kitchen towel.
- (Optional) Remove skins from the chickpeas for extra crunch.
- In a large bowl, mix chickpeas with nutritional yeast, salt, pepper, and cayenne.
- Spread the seasoned chickpeas on a baking sheet in a single layer.
- Roast in the oven for 25 to 30 minutes, stirring halfway.
- Allow chickpeas to cool slightly before serving.
Leave a Reply