
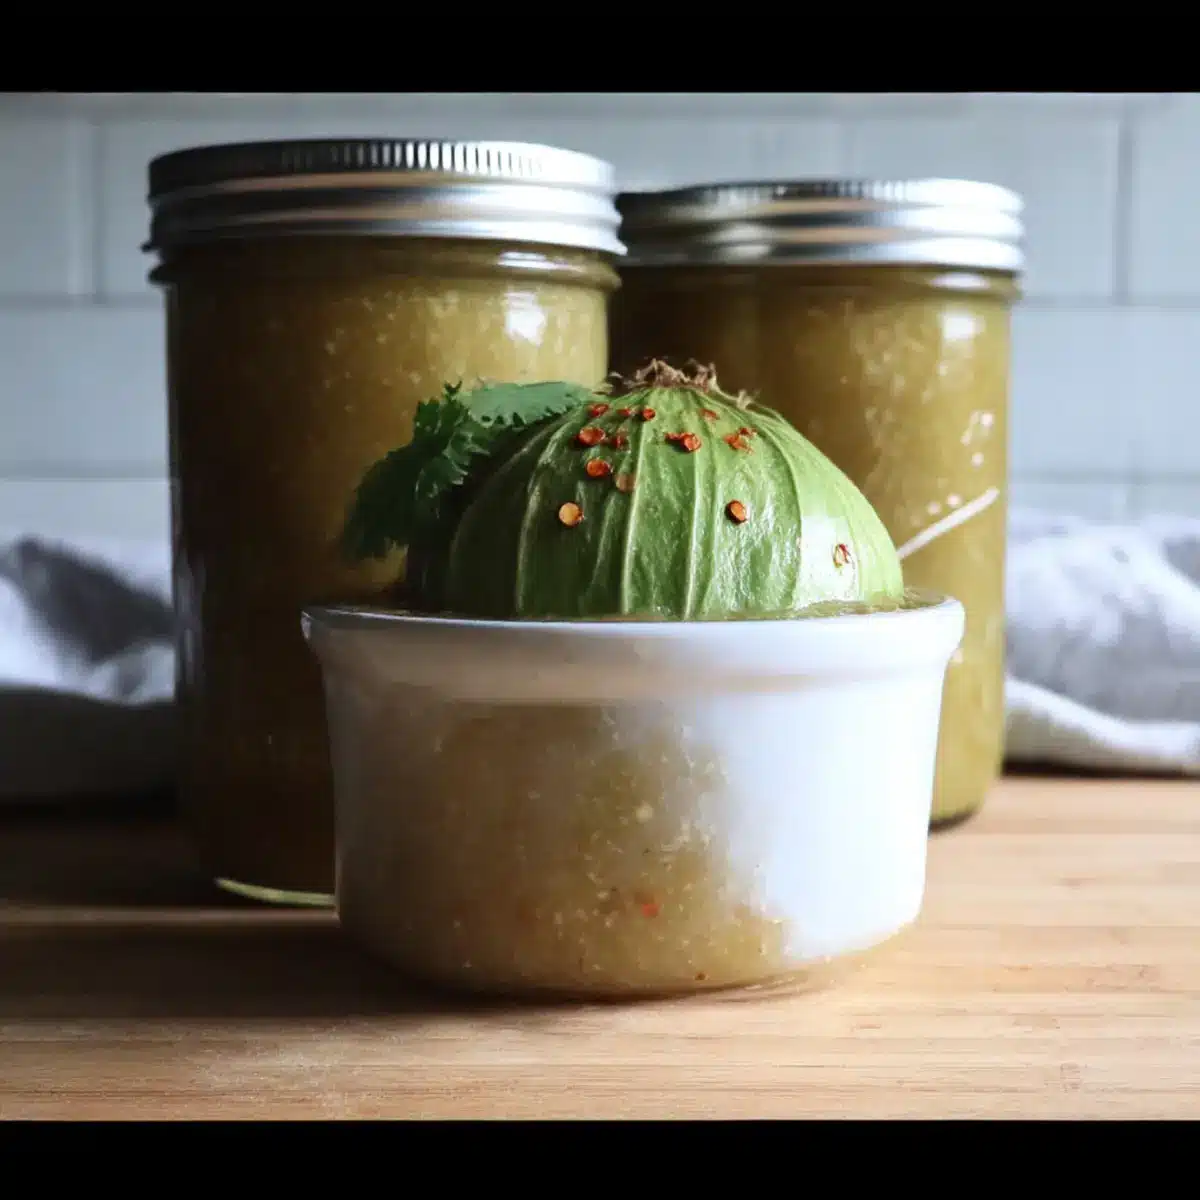
As I stood in my kitchen, the vibrant green burst of fresh tomatillos caught my eye, instantly igniting a desire to create something special. This Homemade Tomatillo Sauce for Canning is not just a recipe; it’s an opportunity to preserve the lively flavors of summer and bring a zing to your meals year-round. With the perfect balance of tangy tomatillos and spices that you can tailor to your liking, this sauce transforms simple dishes into culinary delights. Plus, the joy of canning means you’ll have this zesty treasure ready whenever you need it—say goodbye to store-bought sauces filled with preservatives! Are you ready to unlock the vibrant flavors of homemade goodness? Let’s dive into the world of canning tomatillo sauce!
Why is Homemade Tomatillo Sauce a Must-Try?
Zesty, Fresh Flavor: With the bright taste of tomatillos and customizable spices, this sauce can elevate any meal.
Preservative-Free Goodness: Enjoy the peace of mind that comes with using fresh, wholesome ingredients without any of those unwanted additives.
Canning Convenience: Once you master the technique, you’ll have jars of this delectable sauce on hand all year long—perfect for taco night or a quick drizzle over grilled veggies.
Versatile Use: From topping enchiladas to serving as a chip dip, this sauce fits seamlessly into countless dishes, much like my delicious Garlic Chicken Bites.
Crowd-Pleasing Appeal: Friends and family will be asking for seconds, making it an ideal addition for gatherings or weeknight dinners.
Simple Process: Even if you’re new to canning, the steps are straightforward, allowing your inner chef to shine without feeling overwhelmed!
Canning Tomatillo Sauce Ingredients
• Get ready to gather vibrant flavors!
For the Sauce
- Tomatillos – 4 quarts (about 6 lbs), husked and finely chopped; the essential tangy base for your homemade sauce.
- Onion – 1 cup, finely chopped; yellow onion is preferred for its delightful sweetness.
- Garlic – 8 cloves, finely crushed; adds aromatic richness, and feel free to adjust based on your love for garlic!
- Lime Juice – 1/2 cup, bottled; crucial for both flavor and preservation, avoid substituting with fresh juice to maintain acidity levels.
- Cilantro – 4 tbsp, minced; brightens the sauce, but can be replaced with parsley for a milder taste.
- Ground Cumin – 4 tsp; imparts earthy warmth, or try coriander for a different flavor dimension.
- Red Chile Flakes – 4 tsp; adjust this to customize the heat of your canning tomatillo sauce, or switch to diced jalapeños for a fresh kick.
- Salt – 4 tsp; enhances overall flavor, so tweak according to taste, especially if you’re using pre-seasoned ingredients.
Step‑by‑Step Instructions for Canning Tomatillo Sauce
Step 1: Sterilize Jars
Begin by sterilizing your canning jars and lids to ensure food safety. Submerge them in simmering water for 10 minutes or run them through a dishwasher on a hot cycle. This important first step prevents spoilage, so make sure all equipment is squeaky clean before moving on to the actual tomatillo sauce preparation.
Step 2: Cook Ingredients
In a large skillet, heat your stovetop to medium-high, then add the finely chopped tomatillos, onion, garlic, cilantro, lime juice, cumin, red chile flakes, and salt. If the mixture starts to stick, add 1/2 cup of water to maintain moisture. Stir frequently while simmering for about 15-20 minutes until the sauce thickens to about one-third of its original volume, forming a rich consistency that looks slightly glossy.
Step 3: Blend Sauce
Once cooked, remove the skillet from heat and let it cool slightly. Working carefully, either use an immersion blender directly in the skillet or transfer the mixture to a countertop blender. Blend until the tomatillo sauce reaches a smooth and creamy texture, with a vibrant green color that signals its freshness. Be cautious with hot liquids to avoid splatters during this process.
Step 4: Jar and Seal
Next, pour the blended tomatillo sauce into your sterilized jars, leaving about 1/2 inch of headspace at the top. Using a clean cloth, wipe the rims of the jars to remove any remnants of sauce—this ensures a proper seal. Afterward, place the lids on top and screw on the rings until they are fingertip-tight.
Step 5: Process Jars
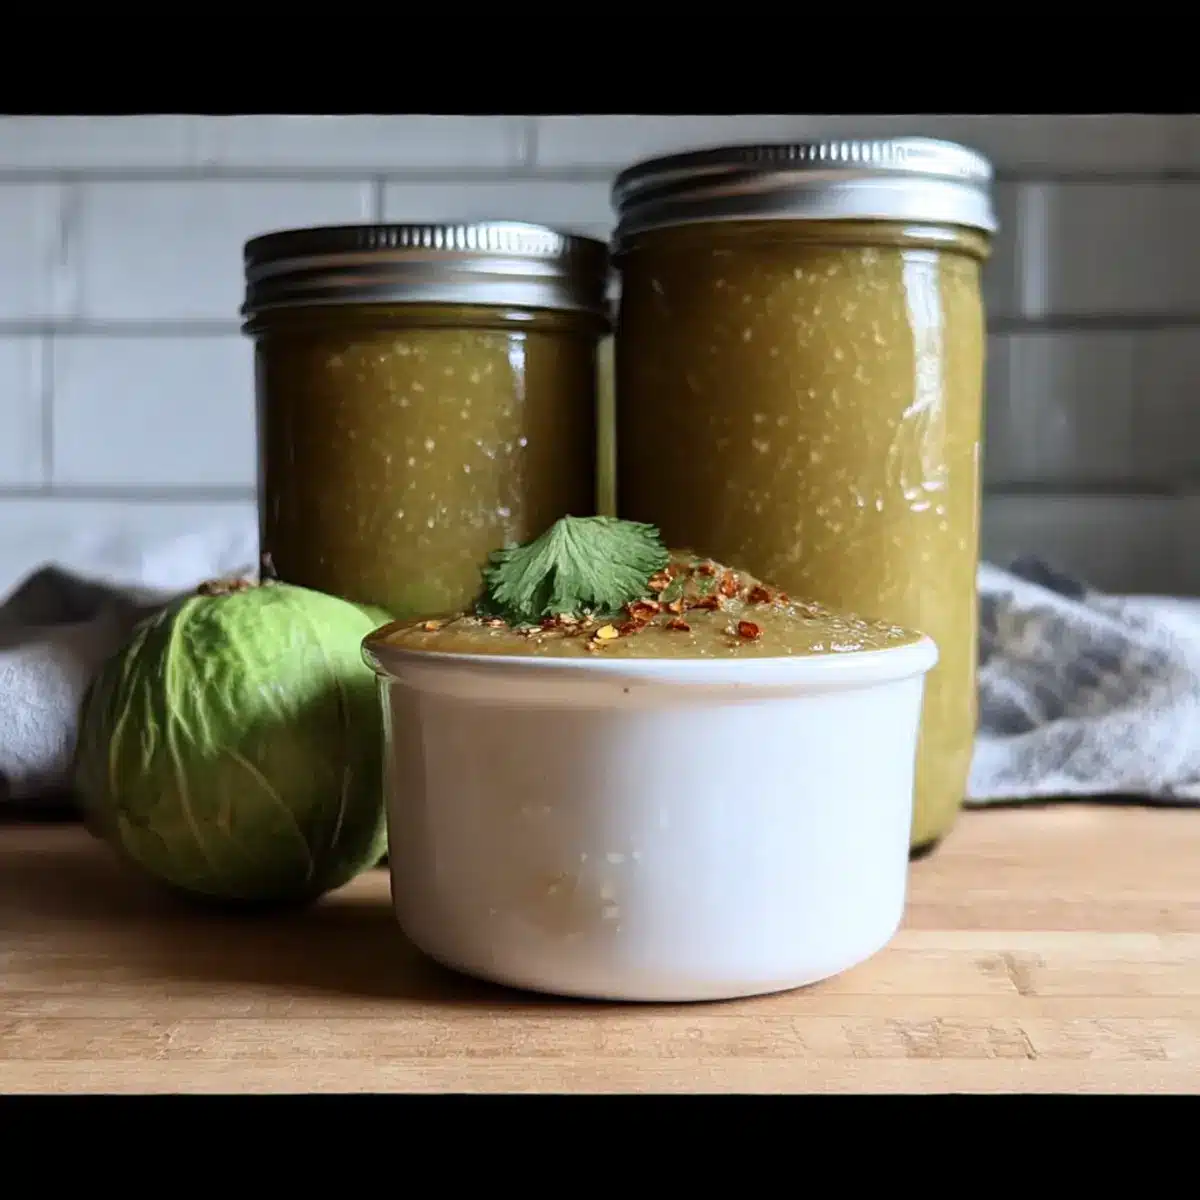
To preserve your homemade tomatillo sauce, process the jars in a boiling water bath. For pint-sized jars, process for 15 minutes, and for quart-sized jars, extend this to 20 minutes. Adjust the time depending on your altitude according to canning guidelines—this step is crucial for ensuring your sauce is safe for long-term storage.
Step 6: Cool and Store
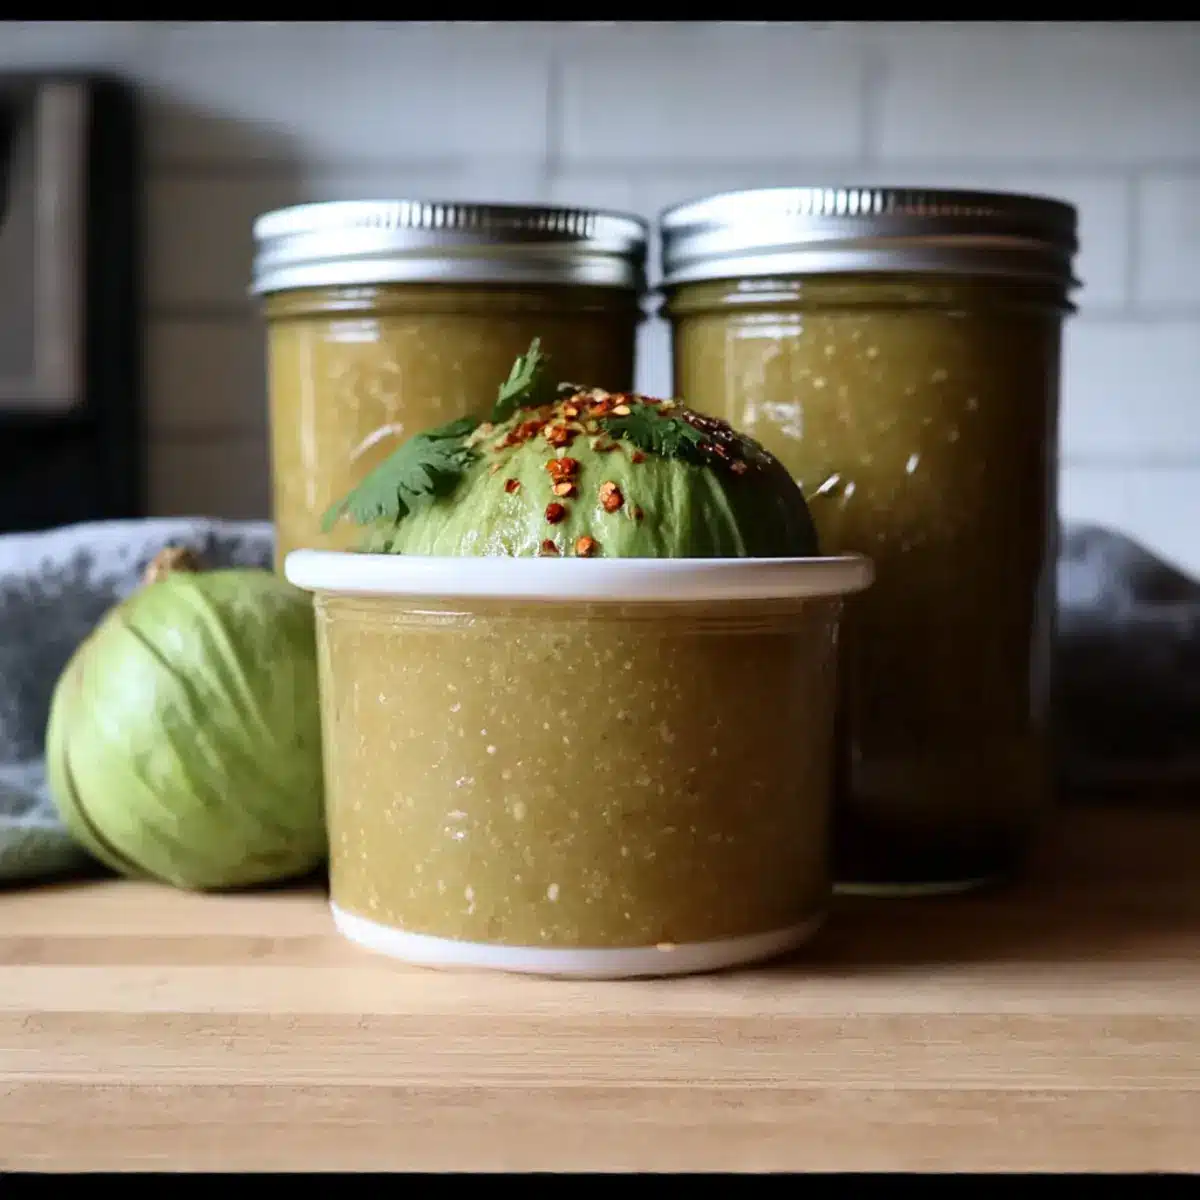
Once processing is complete, carefully remove the jars from the boiling water using tongs, placing them on a flat surface, such as a cutting board, to cool. Listen for the satisfying “pop” sound of the jars sealing as they cool down. After 24 hours, check the seals by pressing down in the center of the lids—if it doesn’t pop back, your canning tomatillo sauce is ready for pantry storage for up to a year!
Expert Tips for Canning Tomatillo Sauce
• Sterilization is Key: Ensure all jars and lids are properly sterilized before canning to prevent spoilage; this is crucial for a successful batch.
• Stir to Prevent Burning: While cooking, stir frequently to avoid any ingredients sticking and burning on the bottom of the skillet, which can affect flavor.
• Watch the Thickness: Monitor the sauce as it simmers; achieving the right thickness before blending is essential for a perfect consistency in your canning tomatillo sauce.
• Use Caution with Hot Ingredients: When blending, let the sauce cool slightly and use caution to avoid splatters—an immersion blender can also make this step safer.
• Check Seals Closely: After cooling, ensure that the lids are sealed properly. If the jar center pops back, it means a proper seal was not achieved, and it may need to be refrigerated and consumed quickly.
Make Ahead Options
These Homemade Tomatillo Sauce for Canning options are perfect for busy home cooks looking to save time in the kitchen! You can prepare the sauce base up to 3 days in advance by cooking the tomatillos, onions, garlic, cilantro, lime juice, and spices. Simply cool the mixture completely, transfer it to an airtight container, and refrigerate. When you’re ready to can, blend the chilled sauce until smooth, then follow the canning instructions as detailed. This method not only enhances the flavors but ensures that your sauce remains just as delicious. With these make-ahead options, you’ll have a fresh and vibrant tomatillo sauce ready to elevate your meals with minimal effort!
What to Serve with Homemade Tomatillo Sauce for Canning
Elevate any meal with delightful sides and pairings that enhance the vibrant zest of your homemade tomatillo sauce.
-
Creamy Guacamole: A velvety, rich dip that balances the tangy tomatillo sauce; perfect for layering on tacos or chips.
-
Grilled Chicken Tacos: Juicy, marinated chicken tucked into warm tortillas, topped with tomatillo sauce for a fresh burst of flavor that brightens each bite.
-
Spicy Roasted Cauliflower: Crunchy, spicy florets roasted to perfection; their smoky flavors pair beautifully with the zesty sauce.
-
Corn Tortilla Chips: Crunchy and salty, these chips make for an ideal vessel to scoop up your tomatillo sauce, offering the perfect crunch to complement the tanginess.
-
Black Bean Salad: A light and refreshing mix of black beans, corn, and avocado, dressed with lime; this salad enhances the freshness of your canning tomatillo sauce.
-
Cilantro Lime Rice: A fragrant and bright side dish; the subtle flavors of cilantro and lime meld seamlessly with the zesty sauce, making every bite a joy.
Bring the joys of home-cooked flavors to your table and let the versatile tomatillo sauce shine in these delightful pairings!
Storage Tips for Canning Tomatillo Sauce
Cool Storage: Place your sealed jars in a cool, dark pantry or cupboard to maintain freshness for up to one year. Avoid direct sunlight or heat sources.
Room Temperature: Canned tomatillo sauce can be stored at room temperature as long as the jars are sealed properly. Always check for any signs of spoilage before use.
Refrigeration: Once opened, refrigerate any unused sauce and consume within 1-2 weeks for the freshest taste.
Freezing Option: If you want to have extra sauce on hand, consider freezing unsealed portions in airtight containers for up to 6 months; thaw overnight in the fridge before using.
Canning Tomatillo Sauce Variations
Customize your tomatillo sauce experience with these delightful twists that invite flavor exploration and personal touch!
-
Spicy Kick: Increase red chile flakes or use fresh diced jalapeños for a vibrant heat infusion. Adjust the amount gradually to find your perfect level of spice.
-
Sweet Surprise: Add a tablespoon of honey or agave syrup for a subtle sweetness that balances the tanginess. This twist can create a delightful contrast in flavors, enhancing the overall taste.
-
Herbaceous Touch: Swap cilantro for fresh basil or oregano to give your sauce a unique herbal flair. The herbal infusion adds layers of flavor, transforming the sauce into a herbaceous delight.
-
Smoky Flavor: Incorporate smoked paprika or chipotle peppers in adobo for a smoky profile that complements the tomatillos. This addition brings a rich depth, perfect for those who enjoy a more complex sauce.
-
Creamy Addition: Blend in some avocado after cooking for a creamy version of your tomatillo sauce. This rich twist adds a velvety texture and a unique taste that pairs wonderfully with grilled meats.
-
Citrus Zest: Add lime or orange zest for an extra citrusy punch that brightens the sauce. The refreshing aroma and flavor of citrus elevate the overall experience.
-
Chunky Version: Leave some ingredients in larger pieces for a chunky texture to enhance dips or toppings. This texture variation gives a delightful bite, making your sauce even more enjoyable.
-
Low-Sodium Alternative: Use sodium-free herbs and spices to control salt levels, making your sauce healthier. You won’t compromise on flavor, and it accommodates dietary needs beautifully.
Whichever variation you choose, each offers an exciting opportunity to enjoy your homemade sauce in new and delicious ways. For a different kind of zesty experience, consider pairing this sauce with my Garlic Chicken Bites or using it as a drizzle over your favorite dishes like my savory Chicken Enchiladas Sauce. Enjoy crafting your culinary masterpiece!
Canning Tomatillo Sauce Recipe FAQs
What type of tomatillos should I use?
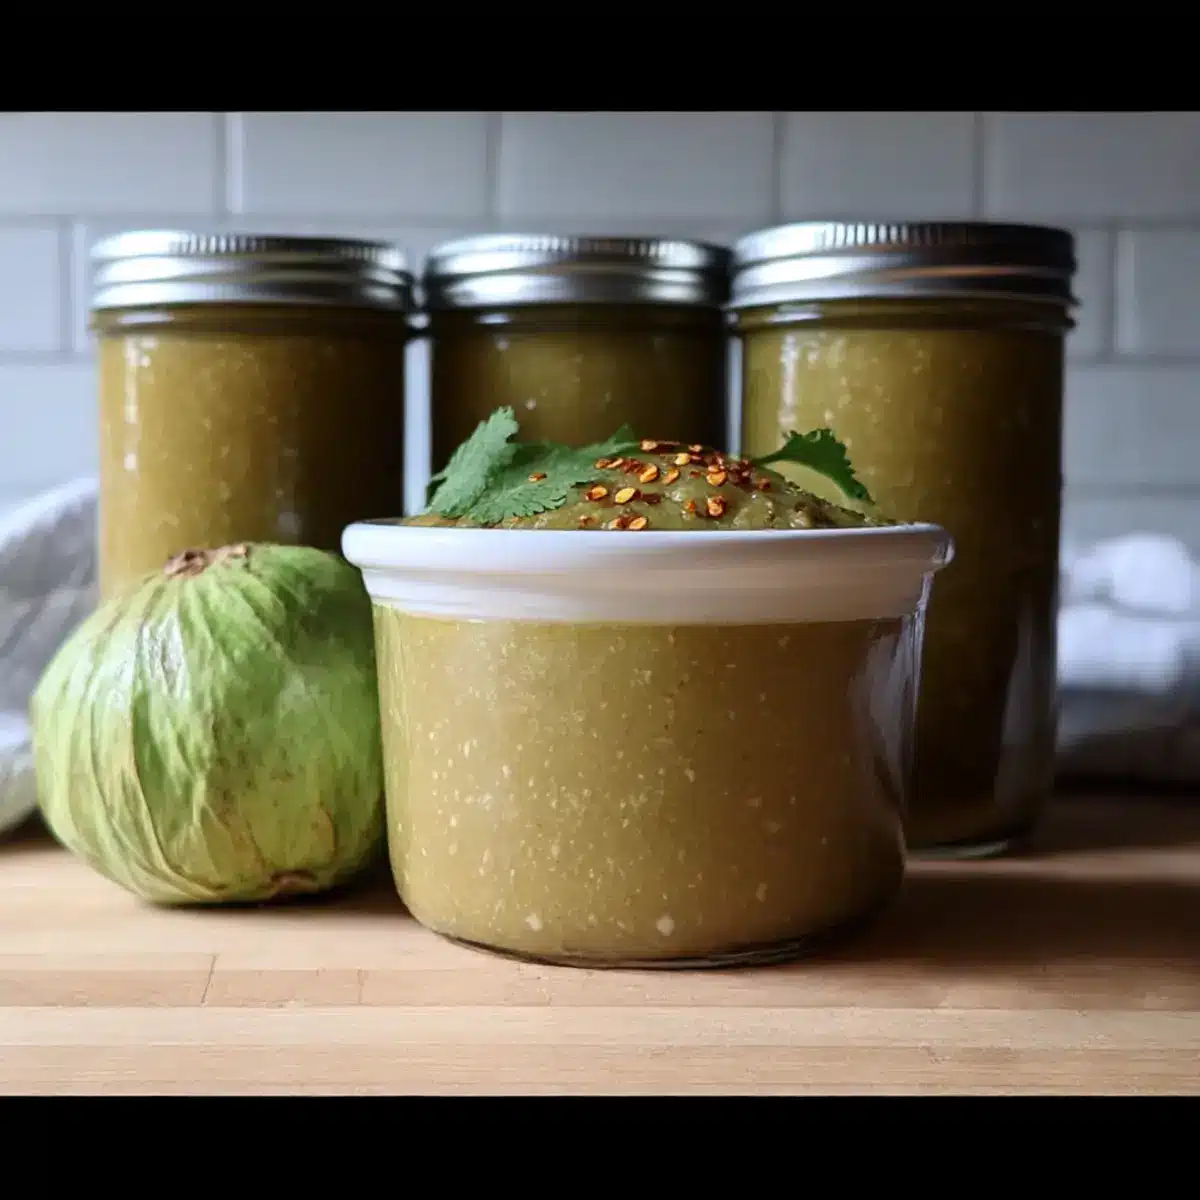
Absolutely! For your canning tomatillo sauce, I recommend using fresh or slightly under-ripe tomatillos. Look for firm tomatillos with no dark spots. The husk should be green, and the fruit should have a bright lime green color for the best flavor.
How should I store my canned tomatillo sauce?
After sealing your jars, store them in a cool, dark pantry for up to one year. Ensure the jars are properly sealed and check for any signs of spoilage before consumption, such as an unsealed lid or off odors.
Can I freeze the tomatillo sauce?
Certainly! If you have extra sauce or prefer freezing, pour it into airtight containers, leaving some headspace for expansion. It can be stored in the freezer for up to 6 months. Just remember to thaw it overnight in the refrigerator before using!
What should I do if my sauce is too thin?
If your tomatillo sauce turns out too thin after blending, don’t worry! Return it to the stove and simmer on medium-high heat for an additional 5-10 minutes. Stir frequently until it thickens to your desired consistency. This method ensures the flavors deepen while achieving the perfect thickness.
Are there any dietary considerations for my guests?
Very! If you’re making this sauce for a gathering, keep in mind that it contains garlic and onion, which are common allergens. For those who might prefer a milder sauce, you can also omit the cilantro or switch it with parsley. Just be sure to inform your guests about all the ingredients!
Can I adjust the spice level in my tomatillo sauce?
Absolutely! You can easily customize the spice level by increasing or decreasing the amount of red chile flakes. For a milder version, add just one teaspoon, or for a much spicier sauce, consider adding fresh jalapeños or serrano peppers while cooking!
Canning Tomatillo Sauce: Elevate Your Home Cooking Game
Ingredients
Equipment
Method
- Sterilize your canning jars and lids by submerging them in simmering water for 10 minutes.
- In a large skillet, heat stovetop to medium-high, then add the tomatillos, onion, garlic, cilantro, lime juice, cumin, red chile flakes, and salt. Stir frequently while simmering for about 15-20 minutes.
- Blend the mixture until it reaches a smooth consistency.
- Pour the blended sauce into sterilized jars, leaving 1/2 inch of headspace. Wipe the rims and seal the jars.
- Process the jars in a boiling water bath for 15 minutes for pint-sized jars or 20 minutes for quart-sized jars.
- Remove the jars, cool on a flat surface, and check seals after 24 hours.
Leave a Reply