
As the hum of summer fills the air, my mind drifts to sun-soaked beaches and swaying palm trees. This Creamy Dairy-Free Piña Colada Ice Cream captures that blissful escape in a bowl. With just a handful of simple ingredients, this luscious treat combines the tropical flavors of coconut and pineapple, offering the perfect way to cool down on warm days without any dairy. Not only is this ice cream a delightful summer dessert, but it’s also gluten-free and incredibly easy to whip up, making it ideal for last-minute gatherings or a cozy night in. So, why not treat yourself to a scoop or two? Let’s dive into this refreshing recipe that will have everyone asking for seconds. Ready to create your own slice of paradise at home?
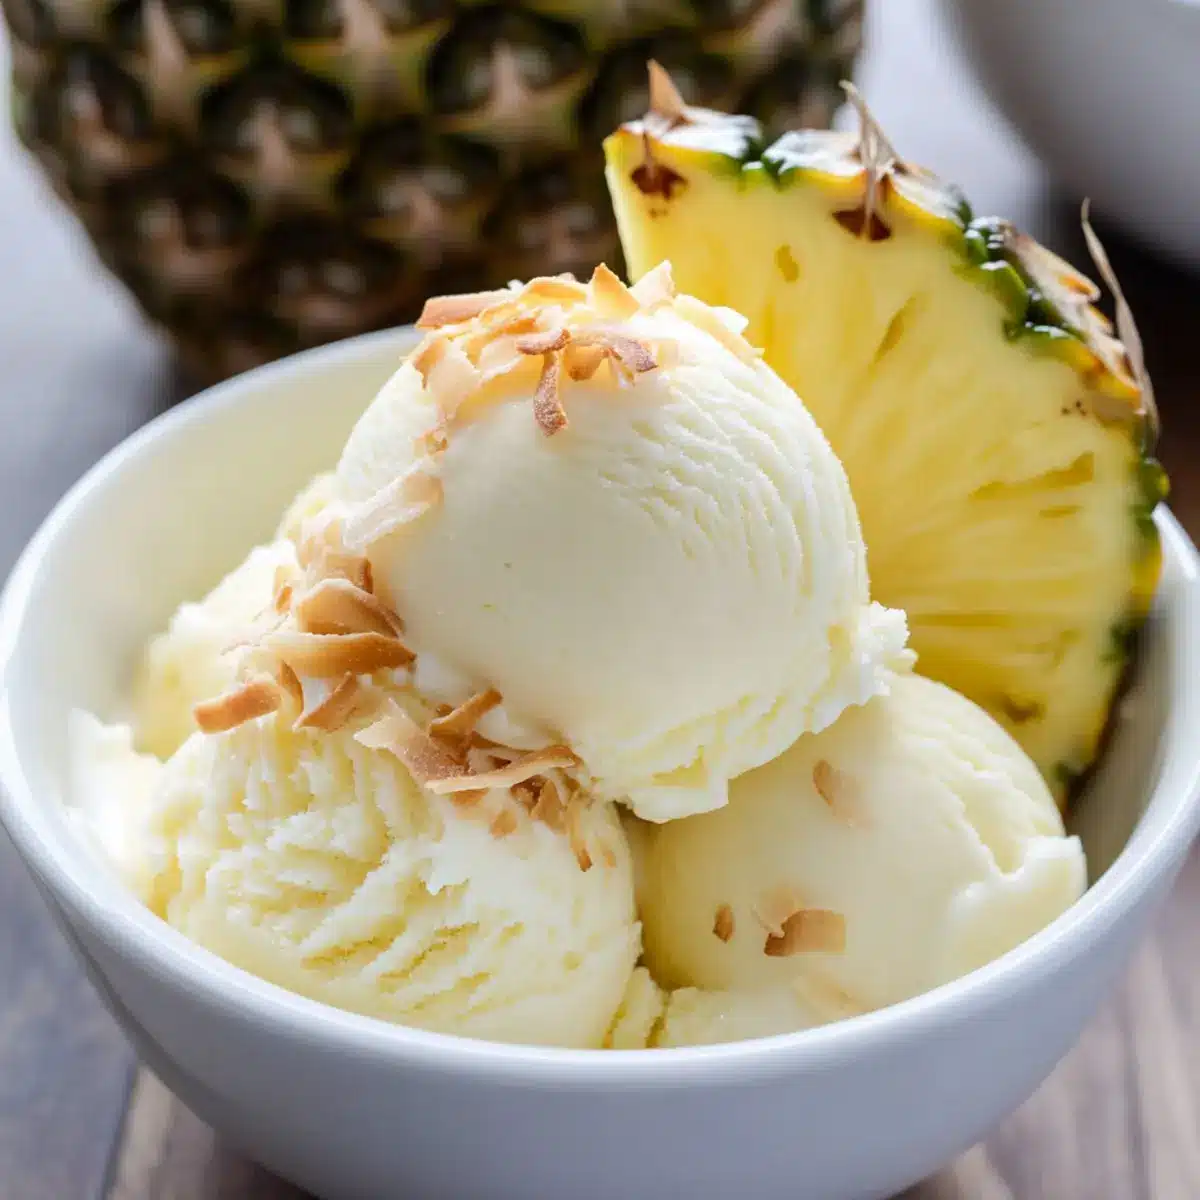
Why is Piña Colada Ice Cream a Must-Try?
Tropical Escape: This ice cream embodies the essence of summer, transporting you to a beachside paradise with every creamy bite.
Dairy-Free Delight: Perfect for those avoiding dairy, this recipe uses coconut milk for a rich texture that satisfies without the heaviness.
Quick and Easy: With just a few basic ingredients and simple steps, you can whip up this indulgent treat without spending hours in the kitchen.
Versatile Flavors: Customize it to your taste—add lime zest for tang or mix in diced pineapple for an extra fruity kick, making it a fun addition to summer picnics.
Crowd-Pleasing Dessert: Whether serving at a barbecue or an intimate gathering, this ice cream will surely impress, leaving everyone raving about your homemade creation. Pair it with Cream Cheese Pound for a truly delightful dessert spread!
Piña Colada Ice Cream Ingredients
For the Cream Base
• Coconut Milk (13 oz cans) – Use unsweetened canned coconut milk for a perfect creamy texture.
• Granulated Sugar (3/4 cup) – Sweetens the ice cream; you can substitute with cane or coconut sugar if desired.
• Egg Yolks (4) – Adds richness; whisk them well before tempering to ensure a smooth mixture.
For Flavor Enhancement
• Coconut Extract (1/2 tsp) – Amplifies the coconut flavor; it’s optional but highly recommended for a deeper taste.
• Rum Extract (1/2 tsp) – Brings that classic piña colada essence; feel free to omit for an alcohol-free treat.
• Pineapple Juice (3/4 cup) – Adds sweetness and acidity; for a more vibrant taste, consider using fresh juice.
With these delightful ingredients at hand, you’re just a few steps away from enjoying a refreshing bowl of piña colada ice cream that will have you dreaming of sunny days!
Step‑by‑Step Instructions for Piña Colada Ice Cream
Step 1: Combine Coconut Milk
In a large mixing bowl, whisk together the coconut milk until smooth and creamy. This is the base for your piña colada ice cream, so ensure there are no lumps. Reserve one cup of the mixture for later use; this will help achieve the perfect consistency in your final blend.
Step 2: Heat Mixture
In a medium saucepan, combine the remaining two cups of coconut milk with granulated sugar. Heat over medium flame, stirring continuously, until the mixture is steaming but not boiling, about 5 to 7 minutes. You’ll see small bubbles forming at the edges, indicating it’s ready for the next step.
Step 3: Temper Egg Yolks
In a separate bowl, whisk the egg yolks until they are light and frothy. Slowly add one cup of the warm coconut mixture to the yolks, whisking vigorously to temper them. This step prevents the eggs from scrambling. Once combined, pour the egg mixture back into the saucepan with the remaining coconut mixture, stirring constantly.
Step 4: Cook Mixture
Return the saucepan to medium heat and cook the mixture, stirring constantly, until it thickens and coats the back of a spoon, which takes about 5-7 minutes. You want a velvety texture that is slightly thickened, but be careful not to let it boil, as this can affect the creaminess.
Step 5: Strain and Mix
After thickening, pour the mixture through a fine mesh strainer directly into the bowl with the reserved coconut milk. This step helps remove any bits of cooked egg, resulting in a smooth piña colada ice cream base. Stir in the coconut extract, rum extract, and pineapple juice until everything is well combined.
Step 6: Cool
To cool the mixture, set the bowl over an ice bath, stirring occasionally until it reaches room temperature, which should take about 15-20 minutes. It’s essential for your ice cream mixture to be chilled before the next step, as this helps in achieving a smooth texture when churning.
Step 7: Churn
Once cooled, pour the mixture into your ice cream maker and churn according to the manufacturer’s instructions, typically for about 20-25 minutes. The ice cream should thicken significantly during this process, transforming into a soft-serve consistency that sets the stage for a delicious piña colada treat.
Step 8: Freeze
Transfer the churned ice cream to an airtight, freezer-safe container. Smooth the top and seal with a lid. Freeze the ice cream for at least 6 hours, or ideally overnight, until solid. This final freezing step allows the piña colada ice cream to firm up perfectly, providing a refreshing tropical dessert ready to be enjoyed.
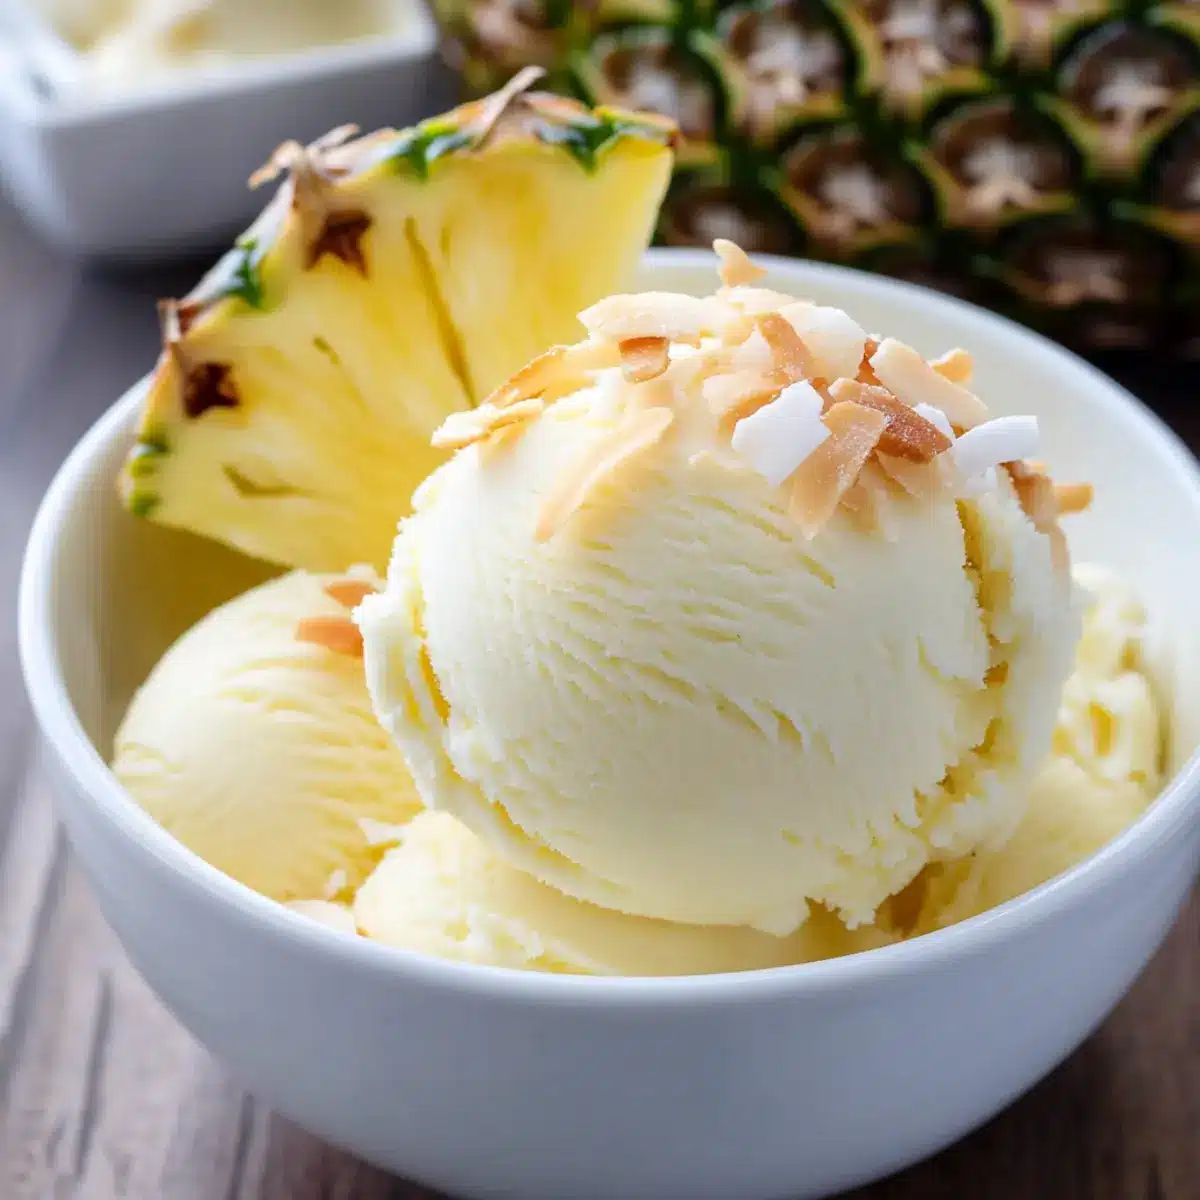
Expert Tips for Piña Colada Ice Cream
-
Use Unsweetened Coconut Milk: This helps you control the ice cream’s sweetness and ensures a balanced flavor without additives.
-
Proper Egg Tempering: Whisk the egg yolks vigorously when combining them with the hot mixture to prevent scrambling—for a smooth piña colada ice cream.
-
Chill Equipment: Ensure your ice cream maker bowl and mixing tools are cold to prevent ice crystals and achieve a creamy texture.
-
Add Fresh Ingredients: For an extra burst of flavor, consider using fresh pineapple juice and zest. It will elevate your piña colada experience!
-
Churn Gently: Stop churning just before it’s fully set; over-churning can lead to a grainy texture. Aim for softness that resembles soft serve.
Make Ahead Options
These Creamy Dairy-Free Piña Colada Ice Creams are perfect for busy home cooks looking to save time! You can prepare the entire ice cream base up to 24 hours in advance by following the initial steps of combining the coconut milk, sugar, and yolks, then straining and mixing everything together. After cooling, cover the bowl tightly with plastic wrap and refrigerate until you’re ready to churn. Just remember to chill it completely before pouring it into your ice cream maker—this helps achieve that smooth texture. When you’re ready to enjoy, simply churn and freeze the mixture, and you’ll be indulging in a tropical scoop with minimal fuss!
How to Store and Freeze Piña Colada Ice Cream
Freezer: Transfer your piña colada ice cream to an airtight container. It will maintain optimal texture for up to 2 weeks.
Avoid Ice Crystals: To prevent ice crystals from forming, press a piece of parchment paper directly on the surface of the ice cream before sealing the container.
Thawing: When ready to enjoy, let the ice cream sit at room temperature for about 10-15 minutes before scooping. This will make it easier to serve without compromising the creamy texture.
Re-freezing: If you have leftovers, you can refreeze the ice cream. Just make sure the container is tightly sealed to maintain flavor and texture.
Variations & Substitutions for Piña Colada Ice Cream
Feel free to get creative with this recipe and tailor it to your taste buds—your ice cream adventure awaits!
-
Vegan Delight: Replace egg yolks with silken tofu for a plant-based twist, giving your ice cream a creamy texture without the dairy.
-
Natural Sweetener: Swap granulated sugar for maple syrup or agave nectar. Just remember to adjust the quantity since these are liquid sweeteners!
-
No Coconut Milk: If coconut doesn’t excite you, try almond milk or cashew milk for a different base—both will add unique flavors to your ice cream.
-
Flavor Burst: For a tropical twist, stir in mango puree or passion fruit juice instead of pineapple. This will create a vibrant and exotic fusion that’s sure to impress.
-
Extra Creaminess: Use full-fat coconut cream instead of coconut milk to amplify the richness. It’s a fabulous choice for a decadent dessert that feels indulgent.
-
Mix-In Heaven: Add chocolate chunks, chopped macadamia nuts, or shredded coconut after churning for delightful texture and flavor surprises. This adds a little crunch to every creamy scoop.
-
Coconut Flakes: For those who love a little contrast, toast unsweetened coconut flakes and fold them in after churning—perfect for a nutty flavor and crunchy texture!
-
Spicy Twist: For the adventurous, a dash of cayenne pepper or minced jalapeño can elevate this ice cream with an unexpected spicy kick—definitely a conversation starter!
The possibilities are endless! Don’t forget to pair your piña colada ice cream with a slice of Pistachio Pudding Icebox for an exquisite dessert combo!
What to Serve with Creamy Dairy-Free Piña Colada Ice Cream
Elevate your delightful tropical treat into a complete feast with these perfect pairings that add a burst of flavor and excitement.
-
Tropical Fruit Salad: Fresh, juicy fruits like mango, kiwi, and berries brighten up the plate, enhancing the piña colada experience. Enjoy the refreshing contrast of textures between the creamy ice cream and crunchy fruit.
-
Coconut Macaroons: These chewy, sweet cookies drizzled with chocolate will echo the coconut notes in your ice cream, creating a delightful duo for your dessert table.
-
Grilled Pineapple Slices: Caramelized on the grill, these sweet, warm slices tie perfectly with the cool, creamy ice cream, making every bite a tropical delight.
-
Chocolate Sauce: A drizzle of rich chocolate sauce adds an indulgent layer, balancing the sweetness of the ice cream with a hint of bitterness. Serve in small bowls for dipping fun!
-
Minty Mojito Mocktail: This refreshing drink combines mint, lime, and sparkling water for a non-alcoholic pairing that perfectly complements the tropical flavors in your ice cream.
-
Waffle Cones: Crunchy waffle cones add fun and texture to your piña colada ice cream, allowing you to enjoy the dessert in a playful way while keeping it classic.
-
Pineapple Coconut Smoothie: A creamy smoothie made with coconut milk and fresh pineapple can be a delightful prelude, intricately tying into the flavors of your dessert.
-
Coconut Whipped Cream: This dairy-free topping adds a light, airy texture that harmonizes beautifully with the firm creaminess of your piña colada ice cream.
-
Chocolate-Covered Almonds: These crunchy bites bring a nutty richness that contrasts wonderfully with the smooth ice cream, making for an elegant and satisfying snack.
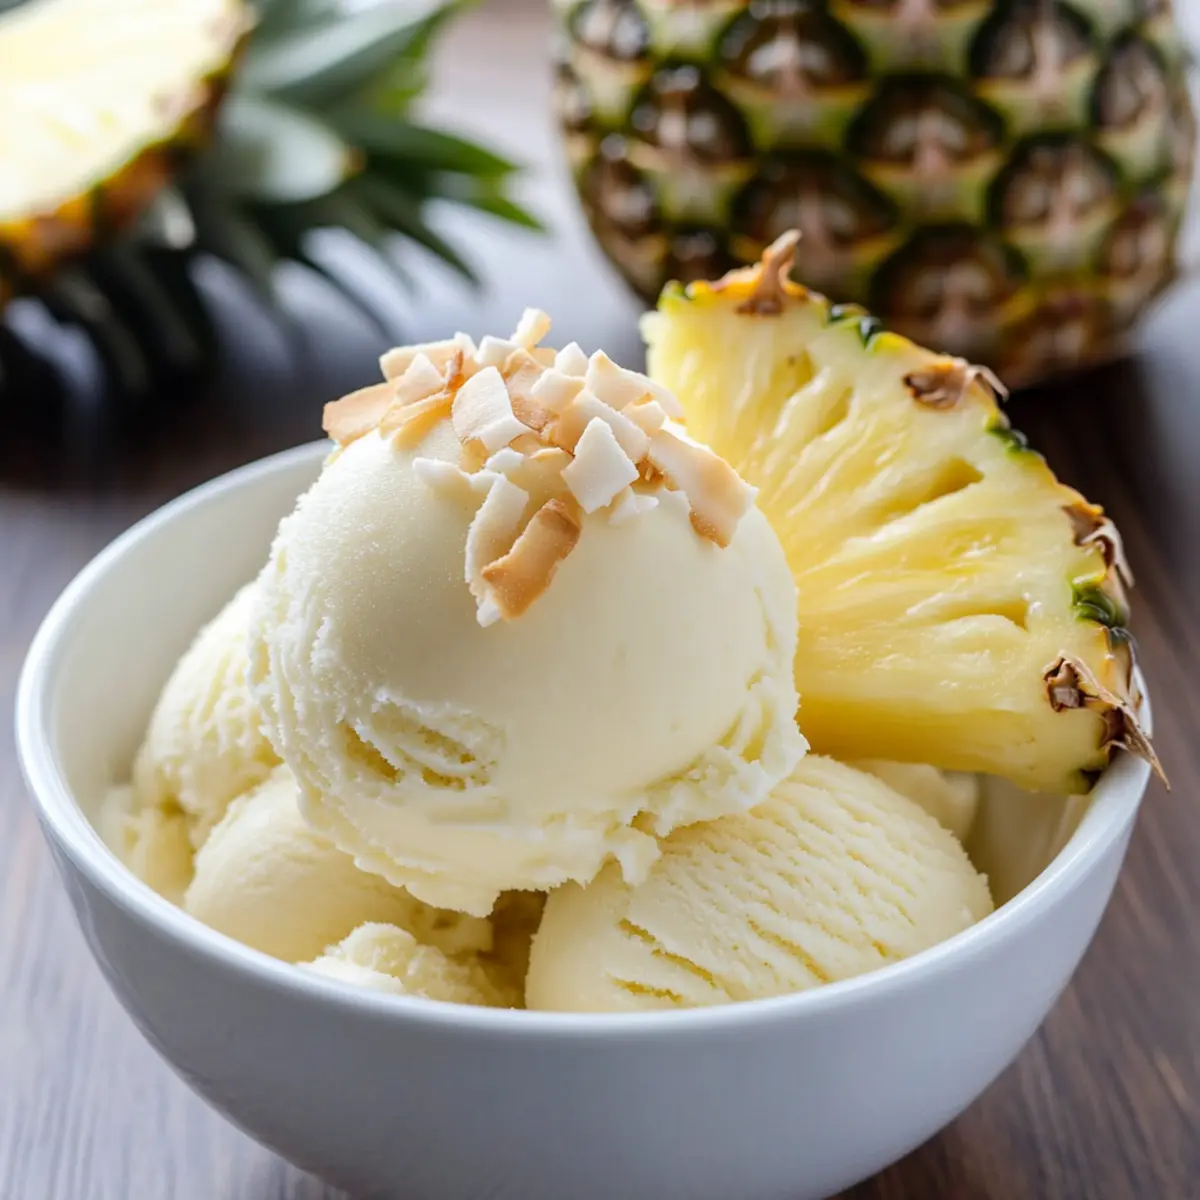
Piña Colada Ice Cream Recipe FAQs
How do I select ripe coconuts or coconut milk?
Absolutely! When choosing coconut milk, opt for unsweetened canned varieties to avoid additives. Check the expiration date and ensure there are no dark spots on the can which could indicate spoilage. If using fresh coconut, a ripe coconut should feel heavy for its size, and when shaken, you should hear the water slosh inside.
How long can I store piña colada ice cream in the freezer?
Piña colada ice cream can be stored in an airtight container in the freezer for up to 2 weeks for optimal texture. For best results, press a piece of parchment paper directly on the surface before sealing the container to prevent ice crystals.
Can I freeze piña colada ice cream for later?
Certainly! To freeze, pour the churned mixture into a freezer-safe container and smooth the top. Seal it tightly and freeze for at least 6 hours or overnight to achieve the desired hardness. If you’re meal prepping, this ice cream will be perfect to have on hand for those warm summer days!
What if my ice cream is icy rather than creamy?
Very! If your piña colada ice cream turns out icy, it could be due to over-churning or not cooling the mixture properly before churning. Make sure to churn the mixture just until it thickens and resembles soft-serve, and also ensure your ice cream maker bowl is thoroughly chilled for the best results.
Can I make this recipe gluten-free and safe for my allergies?
Absolutely! This piña colada ice cream is inherently gluten-free and dairy-free, making it a great option for those with dietary restrictions. However, always double-check your ingredient labels to confirm there are no allergens specific to your needs, especially in the sugar or extracts used.
Can I change the ingredients without affecting the flavor?
The more the merrier! You can certainly swap out the rum extract for vanilla extract for a mild flavor or skip it altogether to keep it alcohol-free. Want to add more texture? Consider mixing in diced fresh pineapple or toasted coconut flakes after churning for a delightful twist!
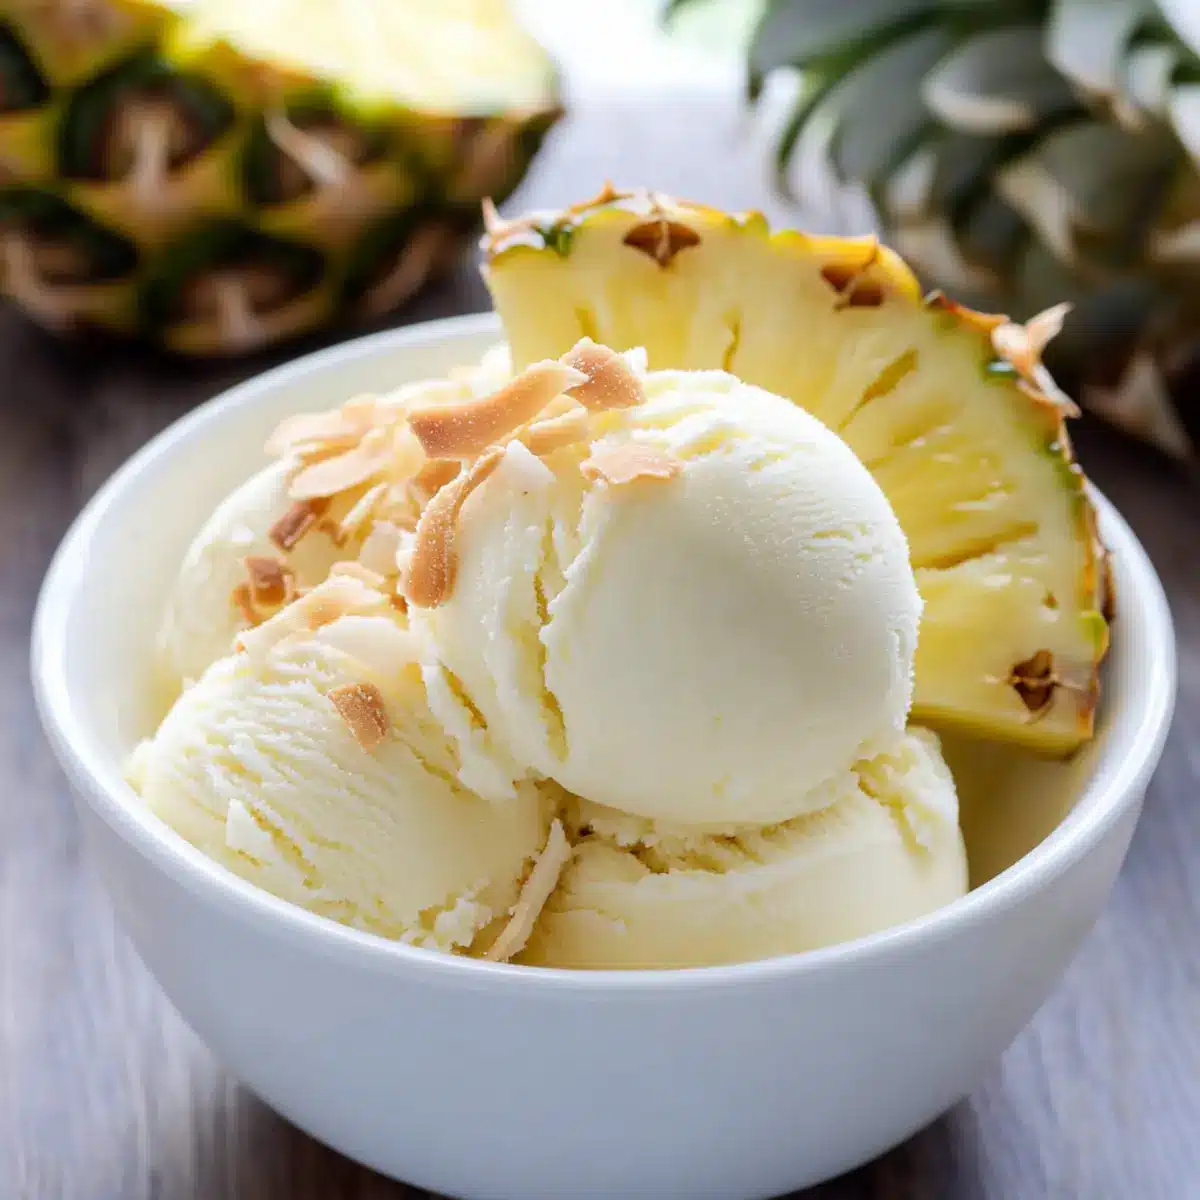
Delightful Homemade Piña Colada Ice Cream for Summer Bliss
Ingredients
Equipment
Method
- Combine Coconut Milk: In a large mixing bowl, whisk together the coconut milk until smooth and creamy.
- Heat Mixture: In a medium saucepan, combine the remaining two cups of coconut milk with granulated sugar.
- Temper Egg Yolks: In a separate bowl, whisk the egg yolks until light and frothy.
- Cook Mixture: Return the saucepan to medium heat and cook the mixture until thick.
- Strain and Mix: Pour the mixture through a fine mesh strainer into the bowl with reserved coconut milk.
- Cool: Set the bowl over an ice bath and stir occasionally until it reaches room temperature.
- Churn: Pour the mixture into your ice cream maker and churn according to the manufacturer's instructions.
- Freeze: Transfer the churned ice cream to an airtight container and freeze until solid.
Leave a Reply