
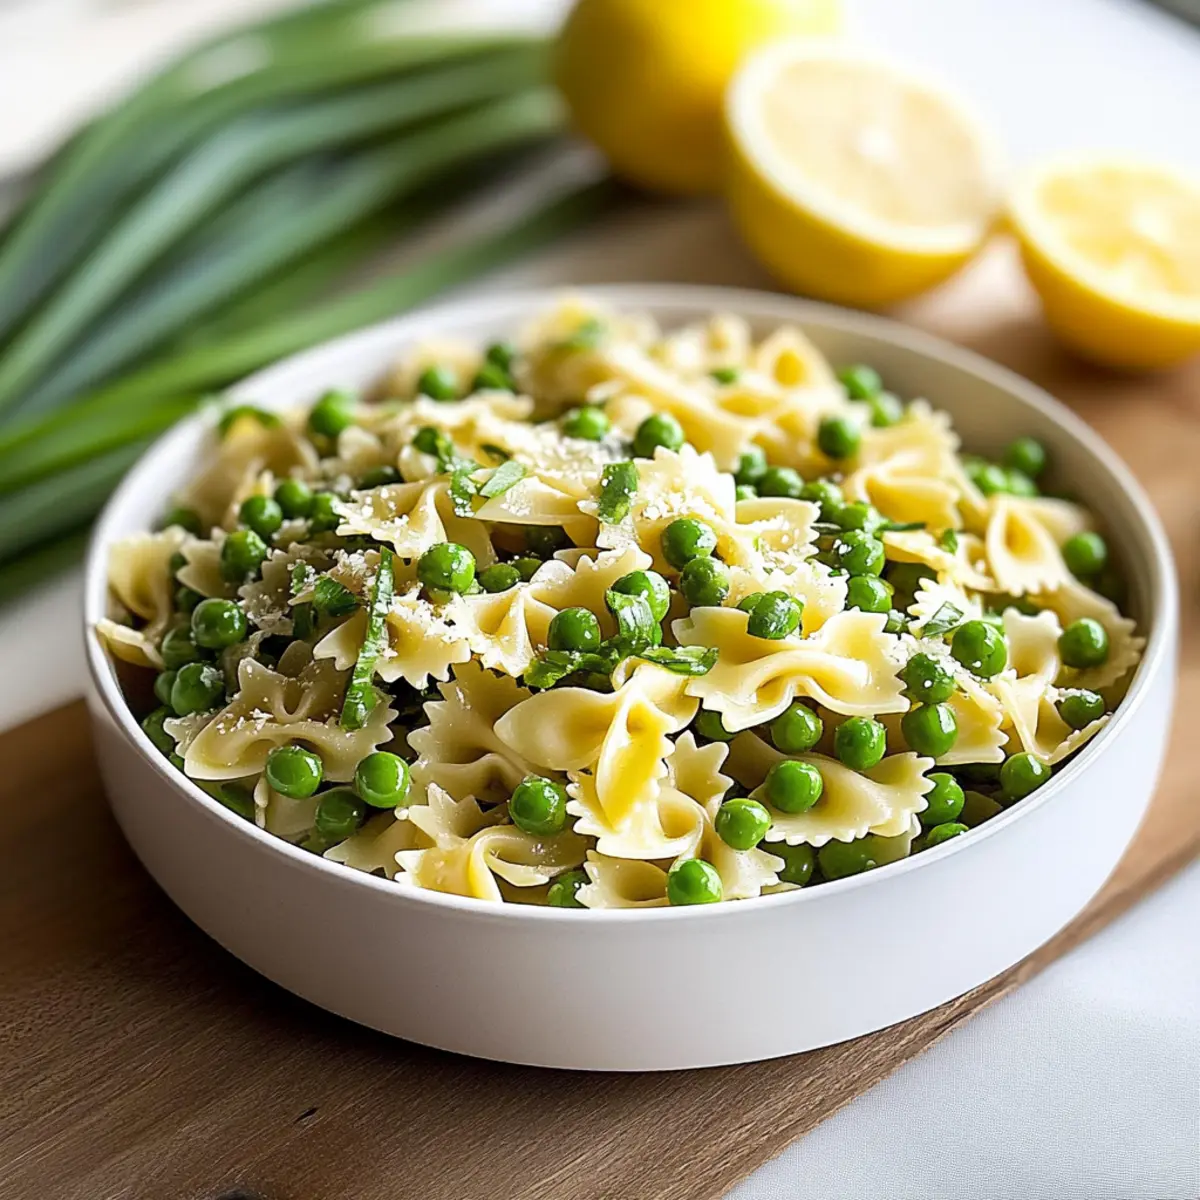
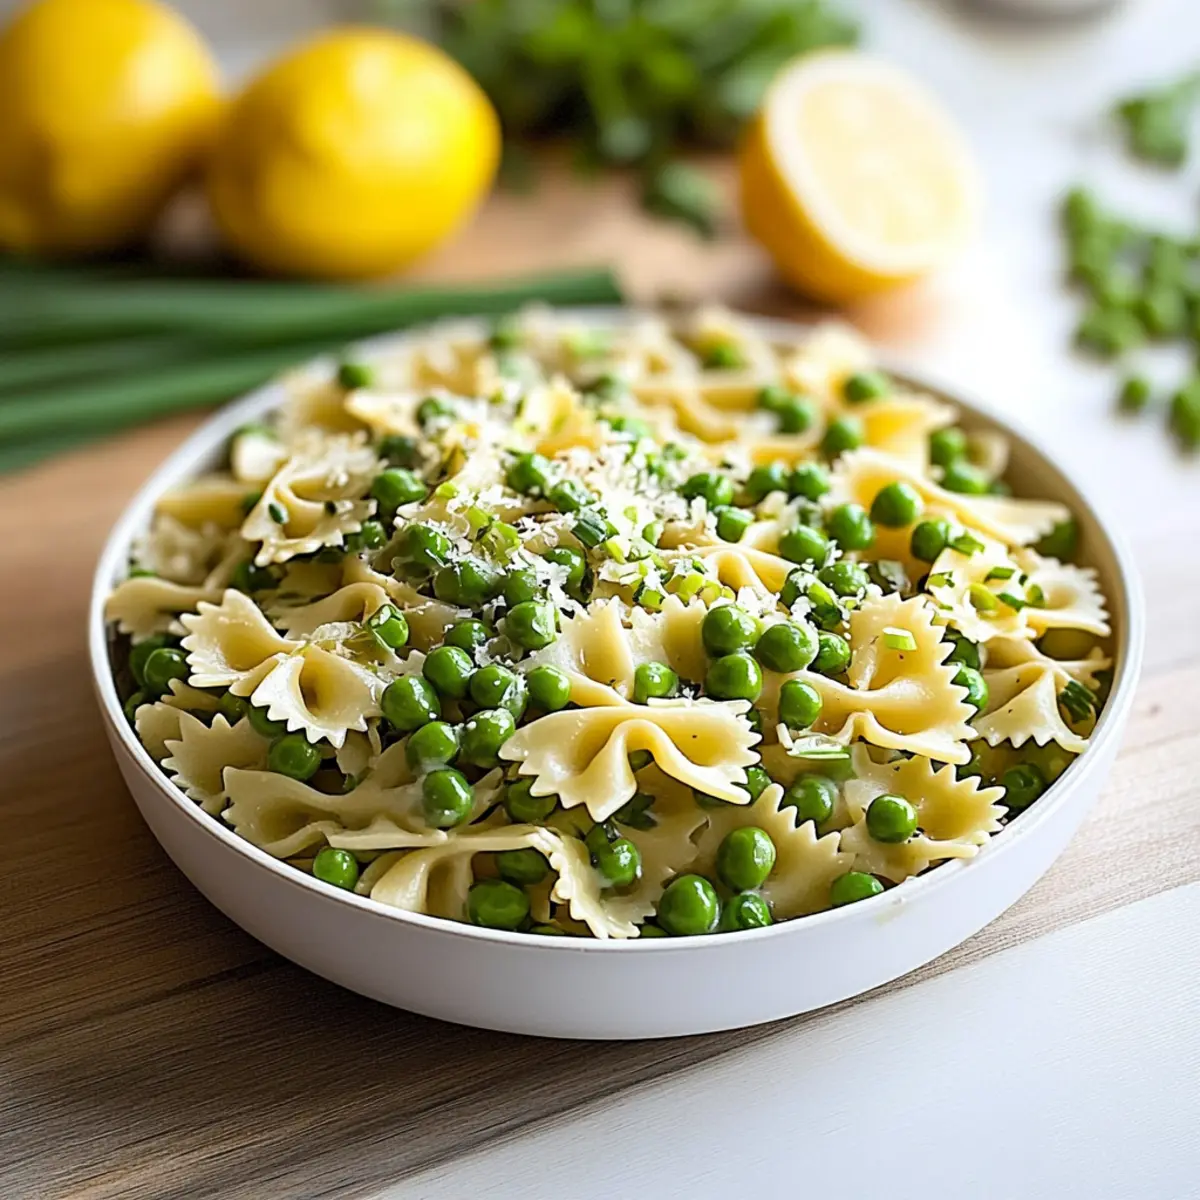
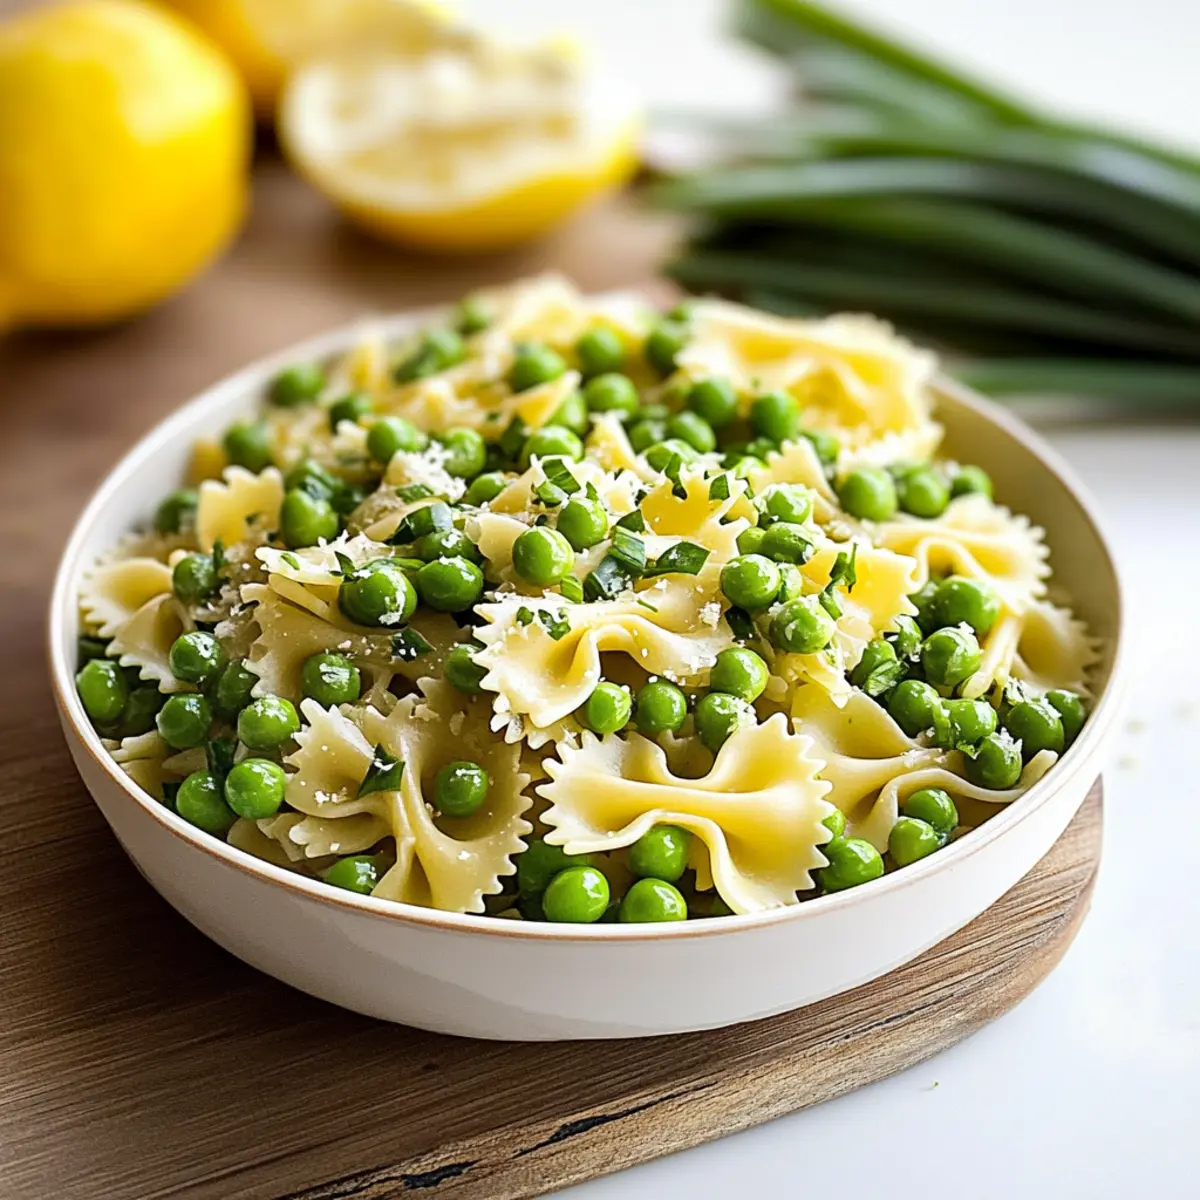
As I tossed the vibrant greens together, the aroma of zesty lemon filled my kitchen, instantly whisking me away to sun-drenched picnics and warm summer gatherings. This Healthy Pea Bowtie Pasta Salad is not just a dish; it’s a celebration of fresh flavors and a quick solution for anyone seeking a light, nutritious meal. With the perfect balance of tender bowtie pasta and sweet, spring peas, it’s ready in just 15 minutes, making it an ideal companion for busy nights or potluck fun. Plus, this pasta salad is incredibly versatile—you can customize it with whatever veggies you have on hand! Curious how to bring this colorful dish to life? Let’s dive into the recipe!
What Makes This Salad So Refreshing?
Quick and Easy: Just 15 minutes is all it takes to whip up this delightful dish, making it a perfect choice for busy weeknights or spontaneous picnics.
Fresh and Zesty: The combination of sweet spring peas and zesty lemon brings every bite to life, refreshing your palate and brightening up your meal.
Versatile Ingredient Options: Not a fan of peas? Swap them out for blanched asparagus or shelled edamame to suit your taste—this salad loves to be adapted!
Texture That Delights: Enjoy the satisfying crunch of peas alongside the tender bowtie pasta, creating a harmonious blend of textures that will keep you coming back for more.
Perfect for Gatherings: Impress your friends and family at potlucks or barbecues with a dish that’s not just healthy but also bursting with vibrant colors and flavors. Don’t forget to pair it with a delightful main like Ditalini Sausage Pasta for a complete meal!
Bowtie Pasta Salad Ingredients
For the Salad
- Freshly Shelled Spring Peas – Adds natural sweetness and crisp texture, but you can use frozen peas if needed.
- Green Onions – Introduces a mild onion flavor; chives can be a great substitute for a milder taste.
- Bowtie Pasta – The main structure of the salad; feel free to swap for gluten-free pasta to accommodate dietary needs.
For the Dressing
- Extra Virgin Olive Oil – This will enhance flavor and provide healthy fats necessary for a balanced dish.
- Lemon Zest – Brightens the salad with aromatic qualities; opt for organic lemons for best results.
- Fresh Lemon Juice – Balances the flavors with acidity, making sure every bite is refreshing.
- Fine Sea Salt – Essential for seasoning; adjust according to your taste preferences.
- Ground Black Pepper – Adds warmth and a little hint of spice to the dish.
Optional Ingredients
- Shredded Parmesan – Brings richness to the salad; you can omit for a vegan version or swap with nutritional yeast for a cheesy flavor.
Step‑by‑Step Instructions for Healthy Pea Bowtie Pasta Salad
Step 1: Boil the Peas
In a medium saucepan, bring 2 cups of water to a rolling boil over high heat. Once boiling, add the freshly shelled spring peas (or defrosted frozen peas) and cook for 60 seconds. As soon as they turn vibrant green, quickly drain the peas and transfer them to an ice water bath for 1 minute to halt the cooking process, preserving their bright color and crisp texture.
Step 2: Prepare the Pasta
While the peas cool, cook the bowtie pasta in a separate pot filled with salted water according to package instructions, usually around 8-10 minutes until al dente. Stir occasionally to prevent sticking. Once cooked, drain the pasta, rinse under cold water to cool it down, and set it aside in a large mixing bowl to combine with the peas and green onions later.
Step 3: Combine Ingredients
In your large mixing bowl, add the cooled bowtie pasta and drained peas. Next, slice the green onions and sprinkle them on top for a mild onion flavor. Gently toss the pasta, peas, and green onions together with a spatula, ensuring everything is evenly distributed, creating a colorful base for your bowtie pasta salad.
Step 4: Whisk the Dressing
In a separate small bowl, use a whisk to combine 1/4 cup of extra virgin olive oil, the zest of one lemon, the juice of half a lemon, and a pinch of fine sea salt and ground black pepper. Whisk until the mixture is well blended and slightly emulsified. This zesty dressing will elevate the flavors in your Healthy Pea Bowtie Pasta Salad.
Step 5: Dress the Salad
Pour the freshly whisked dressing over the pasta salad mixture in the large bowl. Gently toss everything together with a spoon, ensuring every piece of pasta and ingredient is well coated in the flavorful dressing. Taste the salad and adjust the seasoning if necessary, making sure it’s perfectly balanced to your liking.
Step 6: Add Cheese and Chill
If desired, add shredded Parmesan cheese to the salad, folding it in gently for added richness. Once everything is mixed, cover the bowl with plastic wrap or a lid and let the salad chill in the refrigerator for at least 30 minutes. This resting time allows the flavors to meld beautifully, enhancing the overall taste of your Healthy Pea Bowtie Pasta Salad before serving.
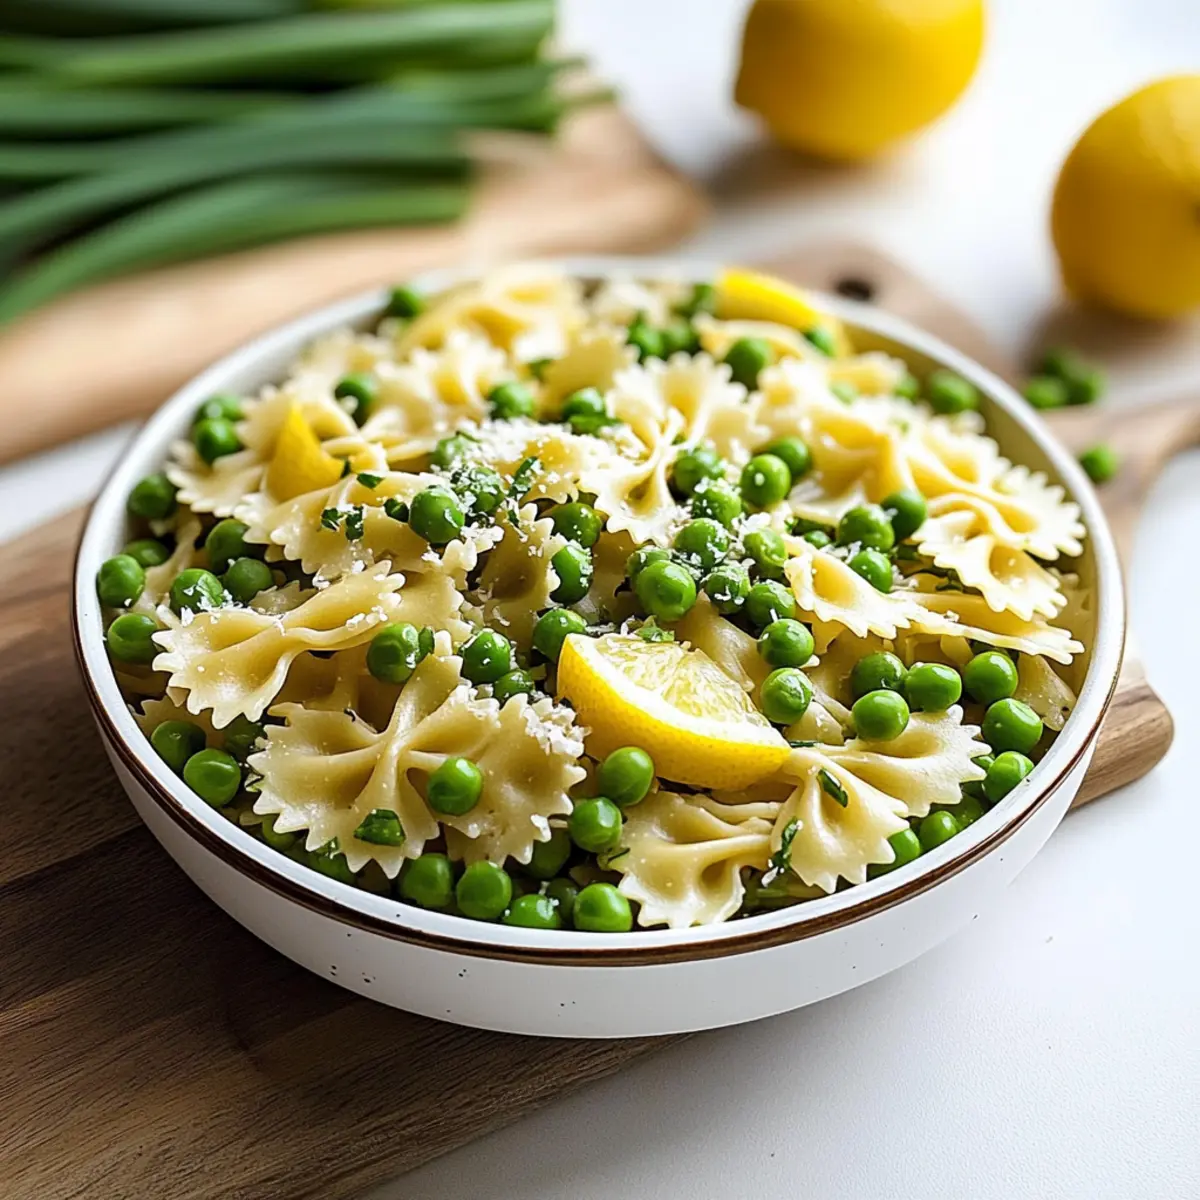
Step 7: Serve and Enjoy
After chilling, give the salad a final toss before serving. Arrange the colorful Healthy Pea Bowtie Pasta Salad in a large serving bowl or individual plates. This refreshing salad is perfect for picnics, potlucks, or as a light lunch and can be paired with grilled proteins for a satisfying meal. Enjoy the burst of flavors and vibrant textures with every bite!
Tips for the Best Bowtie Pasta Salad
• Freshness First: Use freshly shelled peas when in season for a delightful sweetness; frozen peas are a quick alternative but may lack some flavor.
• Taste as You Go: Always taste your salad after dressing it to adjust seasoning; the right balance of salt and lemon juice will elevate your bowtie pasta salad.
• Chill Out: Letting the salad chill for at least 30 minutes allows flavors to meld beautifully; don’t skip this step for the best results.
• Customize Freely: Feel free to swap in other seasonal veggies like asparagus or cherry tomatoes to enhance color and flavor—this salad is all about versatility!
• Storage Savvy: Keep leftovers in an airtight container in the fridge for up to 3 days; it’s deliciously refreshing even the day after!
Make Ahead Options
These Healthy Pea Bowtie Pasta Salad is perfect for meal prep enthusiasts! You can prepare the salad components, such as cooking the bowtie pasta and blanching the peas, up to 24 hours in advance to save time. Just store the cooled pasta and peas separately in airtight containers in the refrigerator to maintain their texture. For maximum freshness, combine the salad and dressing on the day you plan to serve it, allowing the flavors to meld beautifully. Simply mix the peas, pasta, green onions, and dressing together before serving, and you’ll enjoy a vibrant, delicious dish that tastes just as fantastic as if it was made fresh that day!
Bowtie Pasta Salad Variations
Customize your delicious bowtie pasta salad with these fun and creative twists that’ll make it uniquely yours!
-
Gluten-Free: Swap regular bowtie pasta for gluten-free pasta to accommodate dietary needs without sacrificing taste.
-
Dairy-Free: Omit the Parmesan or substitute with nutritional yeast for a cheesy flavor without the dairy.
-
Add Protein: Toss in some shredded rotisserie chicken or chickpeas for a satisfying protein boost that transforms the salad into a hearty meal.
-
Veggie Power: Include diced bell peppers or zucchini for extra color and nutrients, enhancing the salad’s crunch and visual appeal.
-
Herb Infusion: Mix in fresh herbs like basil or dill to elevate the flavor; these fragrant additions bring a garden-fresh taste to every bite.
-
Heat It Up: For a slight kick, add crushed red pepper flakes or a sprinkle of jalapeños to spice things up and awaken your taste buds.
-
Fruit Twist: Introduce sweetness with halved cherry tomatoes or diced cucumbers; they add a refreshing and juicy dimension to your salad.
Want more vibrant salads? Try my Quinoa Salad Bright or the delightful French Style Salad. Each recipe is bursting with flavor and perfect for any occasion!
What to Serve with Healthy Pea Bowtie Pasta Salad
Bring your picnic or gathering to life with these delightful pairings that enhance the flavors of this vibrant salad.
-
Grilled Chicken: Juicy, marinated grilled chicken adds heartiness while complementing the bright flavors of lemon and peas.
-
Caprese Skewers: These fresh mozzarella and tomato skewers offer a creamy contrast, enhancing the freshness of your salad beautifully.
-
Garlic Bread: The warm, buttery notes of garlic bread provide a satisfying crunch, perfect for balancing the lightness of the pasta salad.
-
Crisp White Wine: A chilled glass of Sauvignon Blanc or a light Pinot Grigio elevates each bite, bringing out the zesty lemon notes.
-
Fruit Salad: A refreshing mix of seasonal fruits acts as a sweet counterpoint, enhancing the overall lightness of the meal.
-
Lemon Sorbet: This light dessert refreshes the palate while tying the whole meal together with its zingy citrus flavor.
Delight in these pairings, creating an unforgettable feast that celebrates the beauty and flavors of each dish!
Storage Tips for Bowtie Pasta Salad
Fridge: Store your Healthy Pea Bowtie Pasta Salad in an airtight container in the refrigerator for up to 3 days to maintain freshness and flavor.
Freezer: While best enjoyed fresh, you can freeze the salad for up to 1 month. However, be aware that the texture of the peas and pasta may change, so it’s advisable to consume it fresh if possible.
Reheating: If you choose to freeze it, thaw overnight in the fridge and enjoy chilled. Reheating is not recommended as it may alter the vibrant flavors and textures of the salad.
Serving: For the best experience, serve your bowtie pasta salad chilled straight from the fridge, allowing the flavors to pop beautifully!
Bowtie Pasta Salad Recipe FAQs
What type of peas should I use for this salad?
Absolutely! Freshly shelled spring peas bring sweetness and a satisfying crunch to your Healthy Pea Bowtie Pasta Salad. If it’s off-season or you prefer convenience, frozen peas that have been fully defrosted are a great substitute. Just remember to check for added salt!
How should I store any leftovers?
Very important! Keep your Healthy Pea Bowtie Pasta Salad in an airtight container in the refrigerator for up to 3 days. This ensures it stays fresh and maintains its delicious flavors. If you’re like me and love snacking on leftovers, it’s still pretty tasty even the next day!
Can I freeze Bowtie Pasta Salad?
While this salad is best enjoyed fresh, you can freeze it for up to 1 month. To do this, transfer the chilled salad to a freezer-safe container, leaving some space for expansion. When you’re ready to enjoy, thaw it overnight in the fridge. However, beware that the texture of peas and pasta may change when frozen, so it’s more of a last resort!
What if my pasta becomes too soft while cooking?
Don’t worry! If your pasta is overcooked, which can happen quickly with bowtie pasta, you’ll have a mushier texture than desired. To avoid this, always cook it according to package instructions, tasting a minute or two early. You want it al dente—firm to the bite! If it does get soft, remember to toss it gently with your other ingredients so you enjoy as much texture as possible.
Is this salad suitable for vegans?
Very much so! You can easily make this Healthy Pea Bowtie Pasta Salad vegan by omitting the shredded Parmesan. For a cheesy flavor, substitute with nutritional yeast to keep that savory depth. It’s all about making this dish your own while ensuring it suits various dietary preferences!
Refreshing Bowtie Pasta Salad for Your Perfect Picnic
Ingredients
Equipment
Method
- In a medium saucepan, bring 2 cups of water to a rolling boil over high heat. Add the freshly shelled spring peas and cook for 60 seconds, then drain and transfer to an ice water bath for 1 minute.
- Cook the bowtie pasta in salted water according to package instructions, around 8-10 minutes until al dente. Drain and rinse under cold water before setting aside.
- In a large mixing bowl, combine cooled bowtie pasta, drained peas, and sliced green onions. Gently toss together.
- In a small bowl, whisk together olive oil, lemon zest, lemon juice, salt, and black pepper until emulsified.
- Pour the dressing over the salad mixture and gently toss. Adjust seasoning as needed.
- If desired, fold in shredded Parmesan cheese and let the salad chill in the refrigerator for at least 30 minutes.
- After chilling, give the salad a final toss and serve in a large bowl or individual plates.
Leave a Reply