
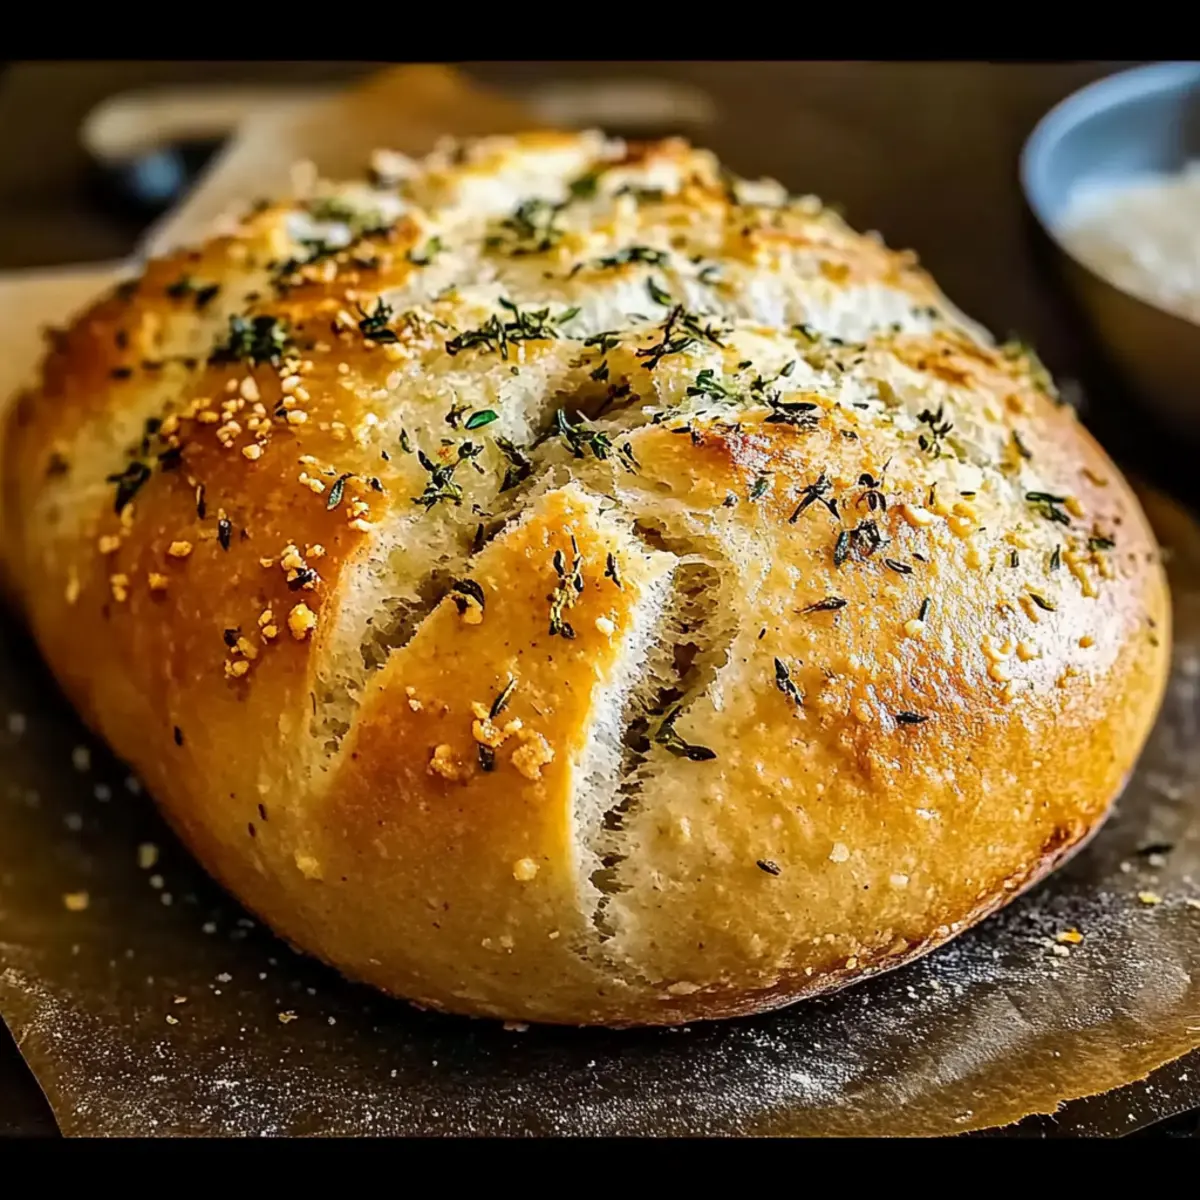
As I stood in my kitchen, the enticing scent of garlic and herbs wafted through the air, making my mouth water in anticipation. There’s something so rewarding about baking bread at home, and my Garlic Parmesan Herb Bread is no exception. This delightful recipe not only fills your space with the aroma of savory goodness but also offers an incredibly soft and fluffy texture that you just can’t resist. Perfect as a side dish, it complements everything from a piping hot bowl of spaghetti to a cozy soup. Plus, the preparation is straightforward, requiring only basic ingredients that you probably already have on hand. Who wouldn’t want to dive into this perfect homemade treat? Are you ready to create a loaf that will have your loved ones begging for seconds? Let’s get started!
Why is Garlic Parmesan Herb Bread so special?
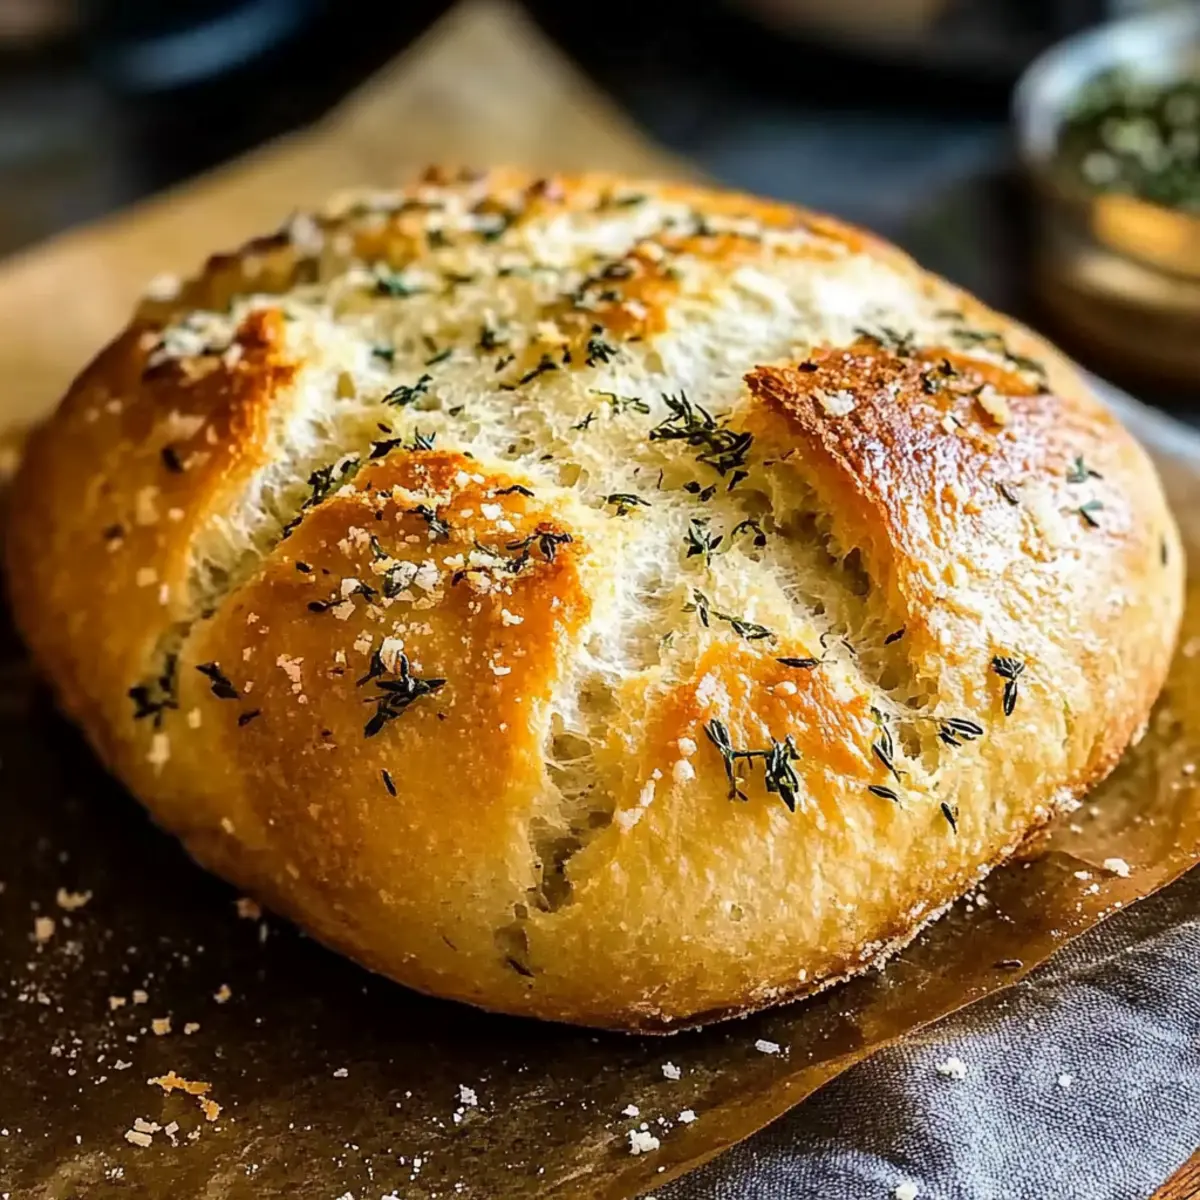
Aromatic Experience: The irresistible scent of baking garlic and fresh herbs transforms your kitchen into a cozy haven.
Versatile Sidekick: This bread pairs beautifully with everything from spaghetti to soups or even as gourmet garlic toast.
Easy to Make: With just a few common ingredients, you’ll whip up a comforting loaf without fuss.
Fluffy Texture: Every slice offers a soft and pillowy bite that will have you savoring each morsel.
Customization Fun: Don’t hesitate to add sun-dried tomatoes or experiment with different cheeses for a personalized twist.
Crowd Pleaser: Whether it’s a family dinner or a gathering with friends, everyone will fall in love with this flavorful bread! So, if you’re craving more delicious accompaniments, check out my Cheesy Garlic Chicken for a perfect pairing!
Garlic Parmesan Herb Bread Ingredients
• Prepare to tantalize your taste buds with these simple yet flavorful components!
For the Dough
- All-Purpose Flour – This is the backbone of your Garlic Parmesan Herb Bread, providing structure and texture.
- Yeast – Essential for leavening; either active dry yeast or instant yeast will work wonders here.
- Water – Use warm water to activate the yeast and hydrate the dough; make sure it’s cozy, not hot!
- Salt – Enhances the flavor of your bread; kosher salt is preferable for its balanced taste.
- Olive Oil – Adds moisture and keeps your bread tender; you can substitute with melted butter if desired.
For Flavor
- Garlic – Fresh garlic delivers aromatic flavor; for a milder twist, consider using roasted garlic.
- Parmesan Cheese – This provides a delightful nuttiness and saltiness; Pecorino Romano can be used as an alternative.
- Fresh Herbs – Enhance the aroma beautifully; substitute dried herbs at a ratio of 1 teaspoon for every tablespoon of fresh.
Enjoy crafting this homemade delight that beckons with its savory essence!
Step‑by‑Step Instructions for Garlic Parmesan Herb Bread
Step 1: Mixing Dry Ingredients
In a large mixing bowl, combine 3 cups of all-purpose flour, 2 teaspoons of yeast, 1 teaspoon of salt, and 2 tablespoons of your preferred fresh herbs. Stir with a wooden spoon until the mixture is well-blended. This step establishes the foundation of your Garlic Parmesan Herb Bread, so take a moment to ensure everything is evenly distributed.
Step 2: Incorporating Wet Ingredients
Add 1 cup of warm water and 2 tablespoons of olive oil to your dry mixture. Use your wooden spoon to mix until a shaggy dough forms and all ingredients are moistened. Don’t be alarmed if it looks a bit messy; this is the early stage of creating your fluffy bread.
Step 3: Kneading
Transfer the shaggy dough onto a lightly floured surface. Knead the dough by hand for about 10 minutes, or use a stand mixer with a dough hook on low speed until the dough becomes smooth and elastic. You’ll know it’s ready when it springs back when poked; this vital step ensures your Garlic Parmesan Herb Bread rises beautifully.
Step 4: First Rise
Place the kneaded dough into a greased bowl, making sure to coat the dough with a little oil as well. Cover the bowl with a clean kitchen towel or plastic wrap, and let it rise in a warm area until doubled in size, which should take about 1 hour. This step lets the yeast work its magic, creating air pockets and fluffiness.
Step 5: Shaping
Once the dough has risen, punch it down gently to release excess air. Shape the dough into a loaf or your desired form and place it in a greased loaf pan. This shaping allows you to create the perfect Garlic Parmesan Herb Bread that fits beautifully into your dinner table setting.
Step 6: Second Rise
Cover the shaped dough again and let it rise in a warm spot for another 30 to 45 minutes, or until it doubles in size once more. This important second rise helps develop the bread’s texture and flavor; you want it to look puffy and almost spilling over the edges of the pan.
Step 7: Baking
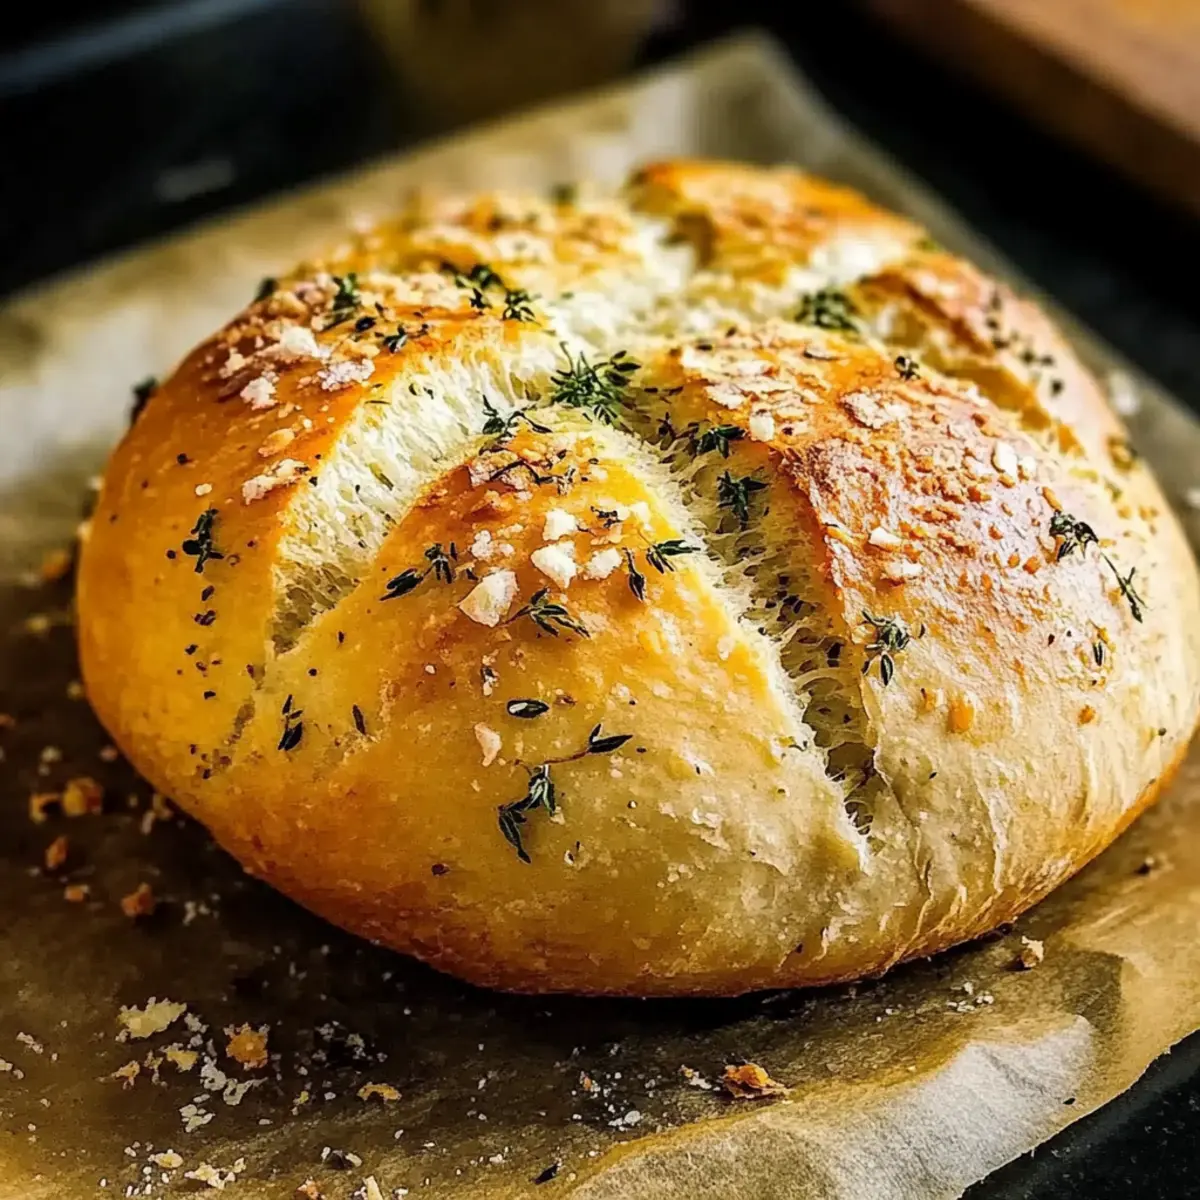
Preheat your oven to 375°F (190°C). Once the dough has sufficiently risen, bake it in the preheated oven for 25 to 30 minutes. Keep an eye out for a golden-brown crust that sounds hollow when tapped lightly on the bottom. This visual cue indicates that your Garlic Parmesan Herb Bread is perfectly cooked.
Step 8: Cooling
Remove the baked bread from the oven and let it cool in the pan for about 10 minutes. After that, transfer the loaf to a wire rack to cool completely. This final step is essential to ensure your bread finishes setting up and maintains its lovely texture, inviting you to slice into it with excitement.
Expert Tips for Garlic Parmesan Herb Bread
-
Use Fresh Garlic: Using fresh garlic instead of garlic powder enhances the flavor immensely; it gives the bread an aromatic richness that is simply irresistible.
-
Kneading Technique: Knead the dough until it becomes smooth and elastic; over-kneading can lead to a tough texture. It’s all about achieving that perfect balance for your Garlic Parmesan Herb Bread.
-
Warm Water Magic: Ensure your water is warm, not hot, to effectively activate the yeast; this is crucial for achieving the desired rise and fluffiness in the bread.
-
Steam for Crust: For a crustier exterior, place a pan of water in the oven while baking; this creates steam that helps develop a beautiful golden crust.
-
Baking Time Awareness: Watch your bread closely during the last few minutes of baking; every oven is different, and knowing when to pull it out ensures it won’t over-bake.
-
Cool Completely: Allow your bread to cool fully before slicing; this important step ensures the texture sets properly, making every slice a delightful treat.
Make Ahead Options
These Garlic Parmesan Herb Bread loaves are a wonderful addition to your meal prep routine! You can prepare the dough up to 24 hours in advance; simply follow the first rise instructions, then punch down the dough and shape it into a loaf or desired form. Wrap it tightly in plastic wrap and refrigerate. When you’re ready to bake, allow the dough to come to room temperature for about 30 minutes before proceeding with the second rise and baking. This method helps maintain the bread’s fluffy texture and savory flavors, ensuring that it tastes just as delicious when baked fresh! For even longer storage, you can freeze the shaped dough for up to three months; just thaw overnight in the refrigerator before baking.
What to Serve with Garlic Parmesan Herb Bread?
Imagine the warm, inviting aroma of freshly baked bread wafting through your home, ready to accompany your favorite meals.
-
Hearty Tomato Basil Soup: The rich flavors of this classic soup perfectly complement the savory garlic and herbiness of the bread, creating a delightful pairing.
-
Creamy Mushroom Risotto: Serve alongside this creamy dish for a luxurious dining experience; the bread is perfect for soaking up the delicious, velvety sauce.
-
Grilled Vegetable Salad: The freshness of grilled vegetables and the lightness of this salad balances the rich flavors of the bread beautifully, adding a vibrant touch to your plate.
-
Braised Short Ribs: Pair your golden loaf with tender, savory short ribs; the bread acts as a perfect vehicle for sopping up the luscious sauce.
-
Olive Tapenade: Spread a delicious olive tapenade on warm slices for a satisfying appetizer; the garlic and herbs in the bread enhance the bold flavors of the tapenade.
-
Fruity Red Wine: A glass of sweet, fruity red wine brings a delightful contrast to the savory notes of the bread, elevating your dining experience to new heights.
This Garlic Parmesan Herb Bread truly shines when served with these delectable accompaniments, making for a memorable meal.
Storage Tips for Garlic Parmesan Herb Bread
Room Temperature: Store your Garlic Parmesan Herb Bread in an airtight container or wrap it in a clean kitchen towel for up to 3 days. This helps maintain its soft texture and flavor.
Fridge: If you need to store it longer, the bread can be kept in the fridge for about 5 days, although it may dry out slightly. Wrap it tightly to minimize moisture loss.
Freezer: For extended storage, freeze the bread wrapped tightly in foil or a freezer-safe bag for up to 3 months. This will preserve its freshness; just remember to thaw it completely before slicing.
Reheating: To enjoy your Garlic Parmesan Herb Bread warm again, pop slices in the oven at 350°F (175°C) for about 10 minutes, or toast them for a delightful crispy texture.
Garlic Parmesan Herb Bread Variations
Feel free to sprinkle your creativity on this Garlic Parmesan Herb Bread, making it perfectly suited for your palate!
-
Herb Swap: Substitute fresh basil and parsley for rosemary and thyme to explore new flavor dimensions. The aromatic blend of basil and parsley introduces a fresh twist that’s bound to surprise your taste buds.
-
Savory Boost: Add sun-dried tomatoes or olives to the dough for an added savory twist. These ingredients will lend a Mediterranean flair and hearty texture that’s perfect for any occasion.
-
Cheese Variety: Experiment with different cheeses, like cheddar or gouda, for unique flavor profiles. Each cheese choice will create a different depth, making your bread uniquely yours.
-
Spice It Up: Incorporate red pepper flakes for a subtle heat that elevates the bread’s flavor. This touch of spice will complement the garlic beautifully, inviting every bite to dance on your palate.
-
Nutty Addition: Fold in some chopped walnuts or almonds for added crunch and earthiness. This unexpected twist will create a delightful contrast to the soft texture of the bread.
-
Sweeten the Deal: For a sweeter take, mix in some honey or maple syrup, and reduce the salt slightly. This will create a deliciously unique bread that’s perfect for breakfast or brunch.
-
Gluten-Free Option: Use a gluten-free flour blend instead of all-purpose flour for a safe alternative. Your Garlic Parmesan Herb Bread will still have a fluffy texture and flavorful taste, inviting everyone to enjoy it without worry.
-
Gourmet Garlic Toast: Slice the bread and spread a mixture of butter, garlic, and garlic powder on the top before toasting for a gourmet touch. Consider pairing it with my Scampi Bowls Garlic for a perfect match!
Let your kitchen become a creative haven while you explore these tasty variations!
Garlic Parmesan Herb Bread Recipe FAQs
What type of garlic should I use for the best flavor?
Absolutely, using fresh garlic is recommended for this recipe as it provides an aromatic flavor that enhances the bread. If you prefer a milder taste, you can opt for roasted garlic, which offers a sweet, caramelized depth while still giving that signature garlic essence.
How should I store Garlic Parmesan Herb Bread?
You can store your Garlic Parmesan Herb Bread at room temperature in an airtight container for up to 3 days. If you want to keep it fresh for longer, you can place it in the refrigerator for about 5 days, although it may dry out slightly. Be sure to wrap it tightly to minimize moisture loss.
Can I freeze Garlic Parmesan Herb Bread?
Absolutely! You can freeze Garlic Parmesan Herb Bread for up to 3 months. To do this, wrap the baked and cooled bread tightly in foil or place it in a freezer-safe bag. When you’re ready to enjoy it, simply thaw it at room temperature and reheat slices in the oven at 350°F (175°C) for about 10 minutes to restore its lovely texture.
What should I do if my dough doesn’t rise?
If your dough doesn’t seem to rise, it could be a sign that your yeast was inactive. This can happen if the water you used was too hot or too cold. Always ensure your water is warm to the touch but not hot, ideally around 110°F (43°C). If your yeast is older, consider proofing it before adding it to the dough. Mix the yeast with warm water and a pinch of sugar and wait about 10 minutes to see if it bubbles before mixing it in.
Are there any dietary considerations for Garlic Parmesan Herb Bread?
Yes, for those with gluten sensitivities, feel free to substitute all-purpose flour with a gluten-free flour blend. Just ensure it’s a 1:1 ratio flour. Additionally, if you have lactose intolerance, you can replace Parmesan with a non-dairy cheese or nutritional yeast to keep that savory flavor while adhering to dietary restrictions.
What’s the best way to enjoy leftover Garlic Parmesan Herb Bread?
The more the merrier! Leftover Garlic Parmesan Herb Bread can be enjoyed in various ways. Slice it up for gourmet garlic toast by spreading butter and garlic on top, or use it as a side with your favorite dip. You could even transform it into breadcrumbs for a delicious crunchy topping on salads or casseroles!
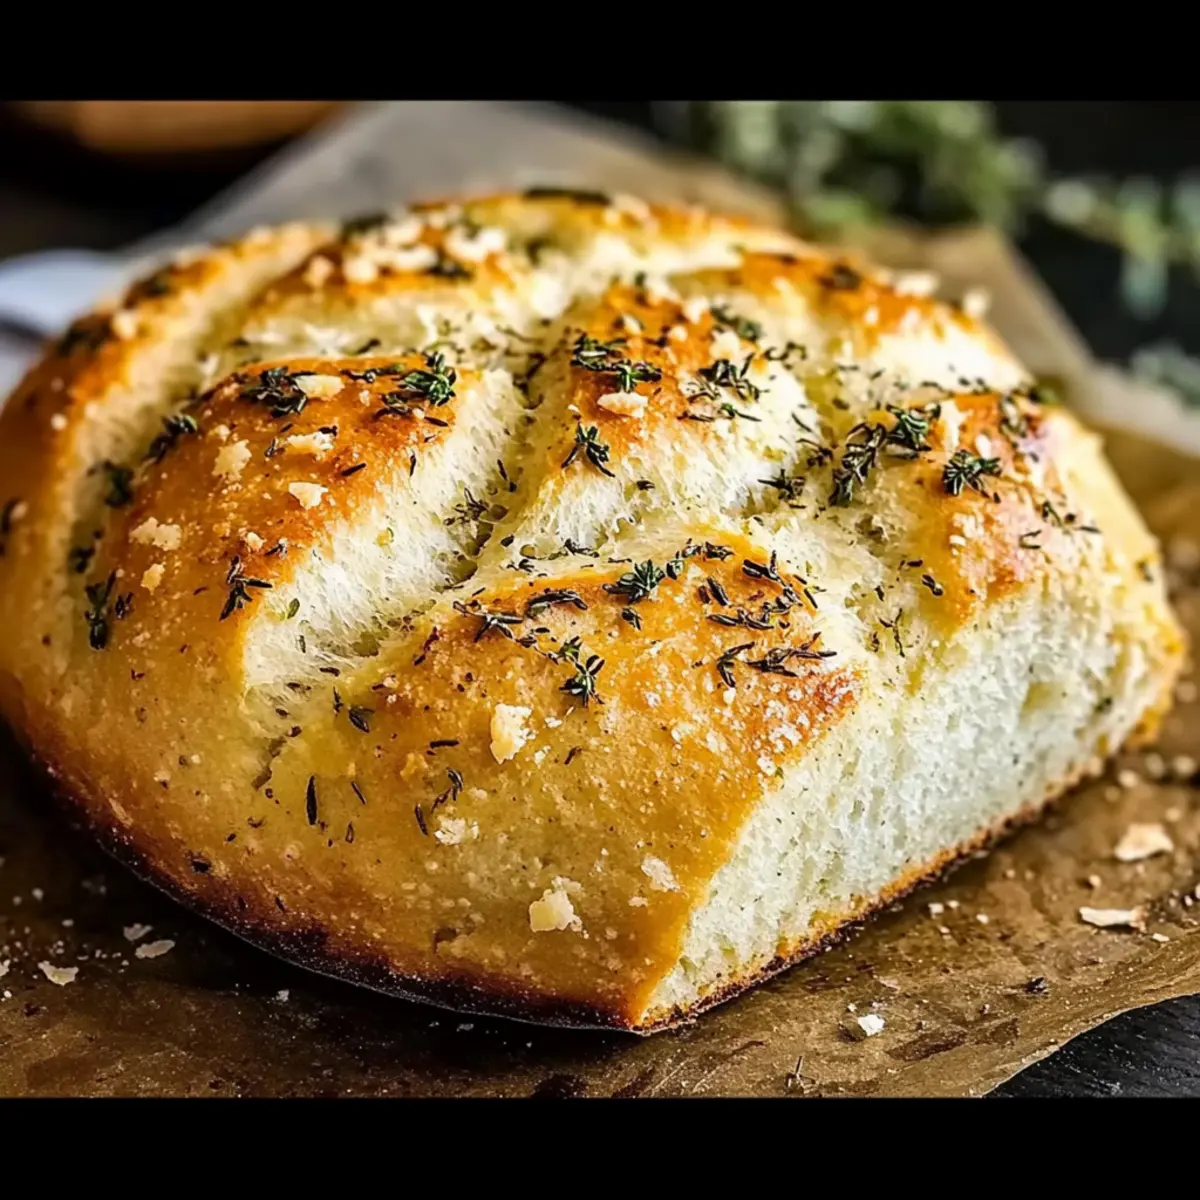
Irresistible Garlic Parmesan Herb Bread You’ll Want Daily
Ingredients
Equipment
Method
- In a large mixing bowl, combine 3 cups of all-purpose flour, 2 teaspoons of yeast, 1 teaspoon of salt, and 2 tablespoons of your preferred fresh herbs. Stir with a wooden spoon until blended.
- Add 1 cup of warm water and 2 tablespoons of olive oil to the dry mixture. Mix until a shaggy dough forms.
- Transfer the dough onto a lightly floured surface and knead for about 10 minutes until smooth and elastic.
- Place the kneaded dough in a greased bowl, cover it, and let it rise in a warm area for about 1 hour until doubled in size.
- Once risen, punch the dough down gently, shape it into a loaf, and place it in a greased loaf pan.
- Cover the shaped dough and let it rise again for 30 to 45 minutes until doubled.
- Preheat your oven to 375°F (190°C). Bake the dough for 25 to 30 minutes until golden-brown and hollow when tapped.
- Remove from the oven and let it cool in the pan for about 10 minutes. Then transfer to a wire rack to cool completely.
Leave a Reply