
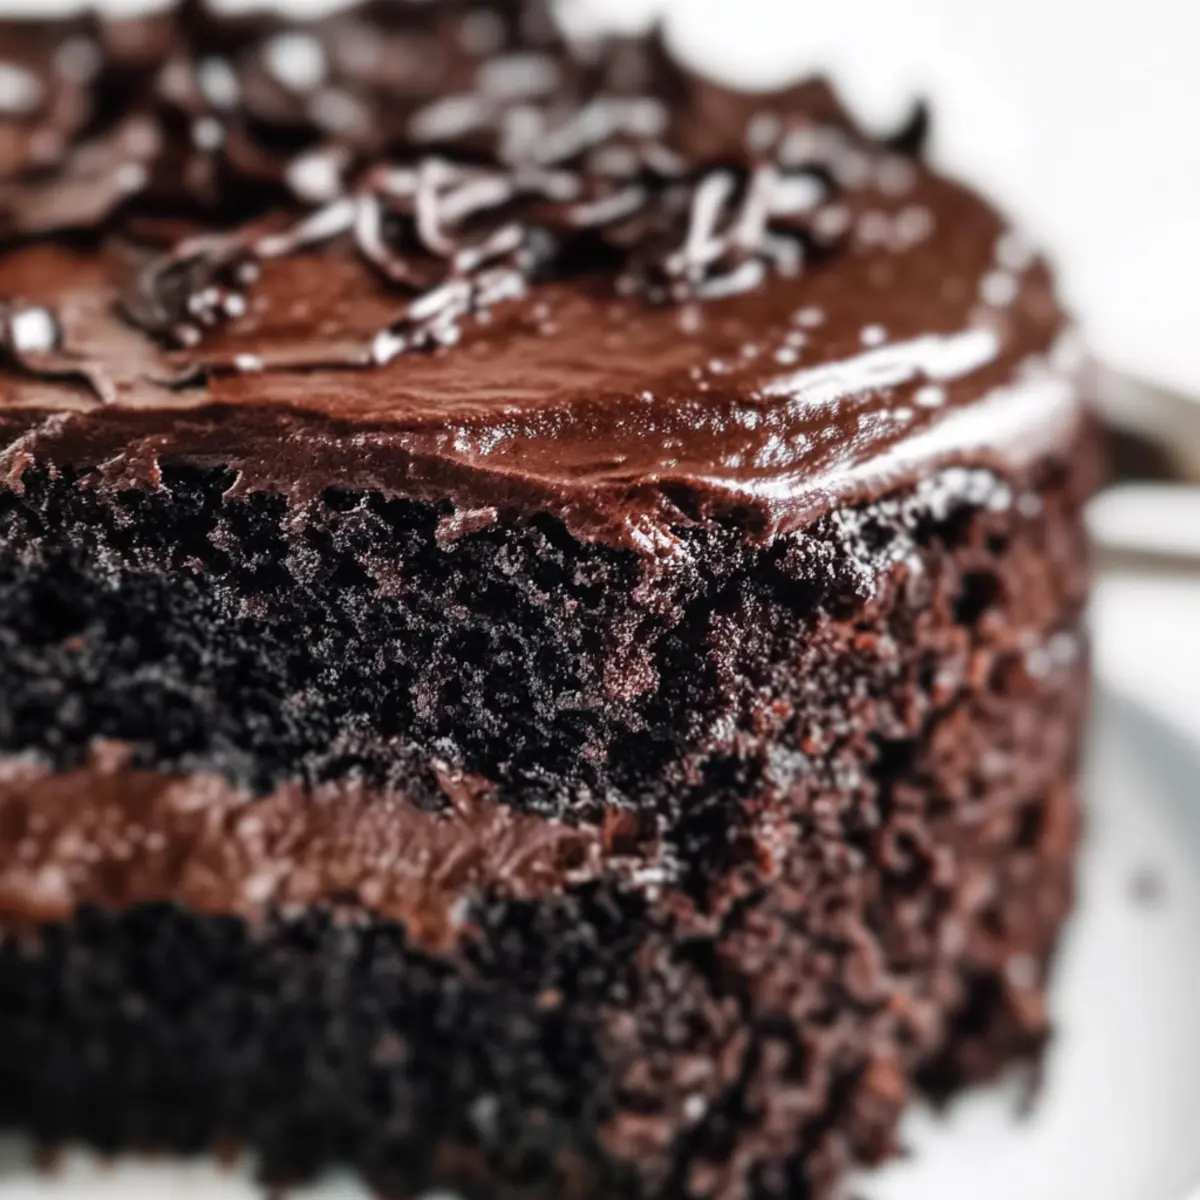
As I stood in my kitchen, the rich aroma of chocolate wafting through the air, I felt like I was transported back to New York City, where the Brooklyn Blackout Cake was born during World War II. This delectable dessert is a celebration of chocolate that’s perfect for any occasion—or simply because you deserve a treat. With its moist texture and layers of creamy chocolate filling, this Brooklyn Blackout Cake recipe promises to be a crowd-pleaser that’s both easy to make and indulgent in flavor. And the best part? You can customize it with different fillings if you want to switch things up! Are you ready to dive into this delightful chocolate experience that will make your taste buds dance?
Why Is Brooklyn Blackout Cake So Irresistible?
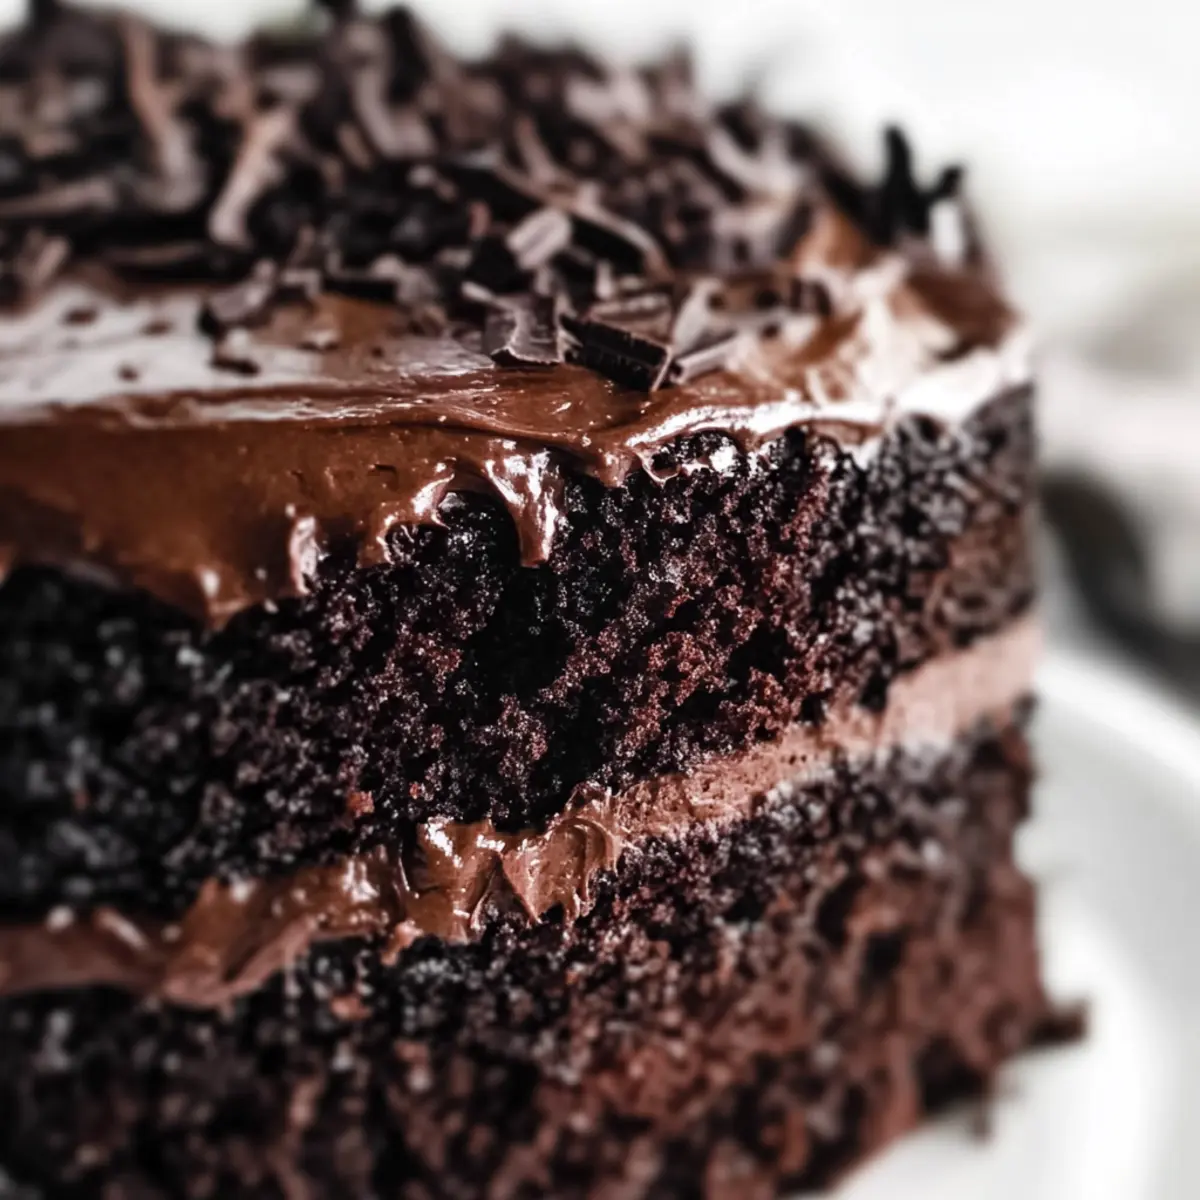
Decadent Chocolate Bliss: This cake is a true indulgence for chocolate lovers, with layers of rich cocoa and creamy filling that create a symphony of flavors.
Easy to Customize: Want a fruity twist? Try adding a layer of raspberry or a peanut butter filling! The options are endless and suited to your taste.
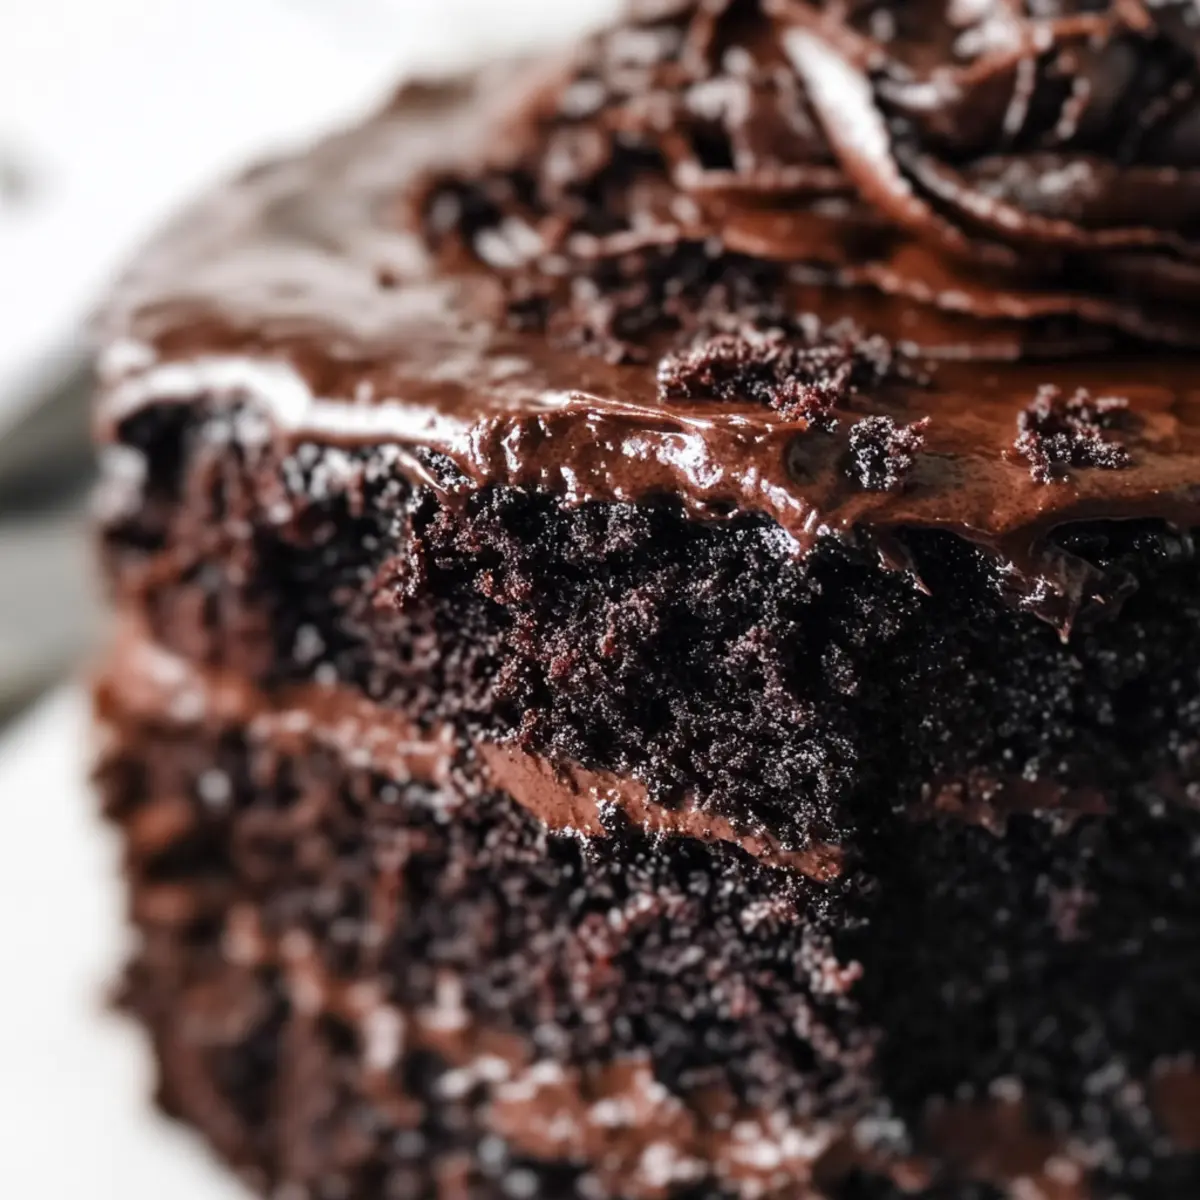
Moist & Velvety: Each bite delivers a moist, fudgy texture, reminiscent of a decadent brownie yet light enough to indulge in without hesitation.
Perfect for Any Occasion: Whether it’s a birthday, anniversary, or just a weekend treat, this cake is sure to impress family and friends, making it a delightful addition to your dessert table.
Quick to Prepare: With straightforward instructions, your delicious Brooklyn Blackout Cake will be ready in no time, allowing you to spend more time enjoying and less time baking.
Make sure to check out our Pumpkin Cheesecake Cookies for another crowd-pleasing dessert!
Brooklyn Blackout Cake Ingredients
For the Cake
- All-Purpose Flour – Provides structure to the cake; you can use gluten-free flour for a gluten-free masterpiece.
- Unsweetened Cocoa Powder – Delivers the intense chocolate flavor; substituting with carob powder gives a unique, nutty twist.
- Granulated Sugar – Adds sweetness; brown sugar can create a richer undertone in your Brooklyn Blackout Cake.
- Eggs – Bind the ingredients and enhance moisture; consider flax eggs for a vegan alternative.
- Milk – Moistens and helps dissolve dry ingredients; any plant-based milk works beautifully as a substitute.
- Baking Powder & Baking Soda – Essential leavening agents; always check to ensure they’re fresh for the best rise.
- Salt – Enhances flavor; opt for kosher salt for a milder, balanced taste.
- Butter – Adds richness and moisture; coconut oil serves as a wonderful dairy-free alternative.
For the Filling & Frosting
- Chocolate Filling – Keeps the cake decadent; try using a ganache for an extra layer of chocolate indulgence.
- Chocolate Icing – Frost your cake for a velvety finish; store-bought icing can save you time if needed!
With these ingredients, you’re set to create a delicious Brooklyn Blackout Cake that will leave everyone asking for seconds!
Step‑by‑Step Instructions for Brooklyn Blackout Cake Recipe
Step 1: Preheat the Oven and Prepare Pans
Begin by preheating your oven to 350°F (175°C). While it’s heating, grease two 9-inch round cake pans with butter or cooking spray to prevent sticking. You can also line the bottoms with parchment paper for added assurance. This preparation is crucial for a flawless release of your beautiful Brooklyn Blackout Cake.
Step 2: Combine Dry Ingredients
In a large mixing bowl, whisk together 2 cups of all-purpose flour, 1 cup of unsweetened cocoa powder, 2 cups of granulated sugar, 2 teaspoons of baking powder, 1 teaspoon of baking soda, and 1 teaspoon of salt. Mix well until the dry ingredients are fully combined and free of lumps. This step ensures that your cake has a deep chocolate flavor and a light texture when baked.
Step 3: Mix Wet Ingredients
In a separate bowl, whisk together 3 large eggs, 1 cup of milk, and 1 cup of melted butter until smooth. Make sure the butter is slightly cooled to avoid scrambling the eggs. Gradually add this wet mixture to the dry ingredients, stirring gently until just combined. Overmixing could result in a denser cake, so stop as soon as you see no dry flour.
Step 4: Divide and Bake the Batter
Carefully divide the batter evenly between the two prepared pans, smoothing the tops with a spatula. Place the pans in the preheated oven and bake for 30-35 minutes, or until a toothpick inserted in the center comes out clean or with a few moist crumbs. This step is key to achieving the perfect depth of flavor and texture for your Brooklyn Blackout Cake.
Step 5: Cool the Cakes
Once baked, remove the cake pans from the oven and let them cool on a wire rack for about 10 minutes. Carefully remove the cakes from the pans by running a knife around the edges and inverting them onto the rack. Allow them to cool completely before layering with your chosen chocolate filling and frosting; this prevents melting and messy layering.
Step 6: Assemble with Filling
Once your cakes are cool, it’s time to layer them. Place one cake layer on a serving platter and spread a generous amount of chocolate filling on top. You can use a rich ganache or a creamy chocolate frosting for an indulgent layer. Gently place the second cake layer on top, ensuring it’s centered for an even finish on your Brooklyn Blackout Cake.
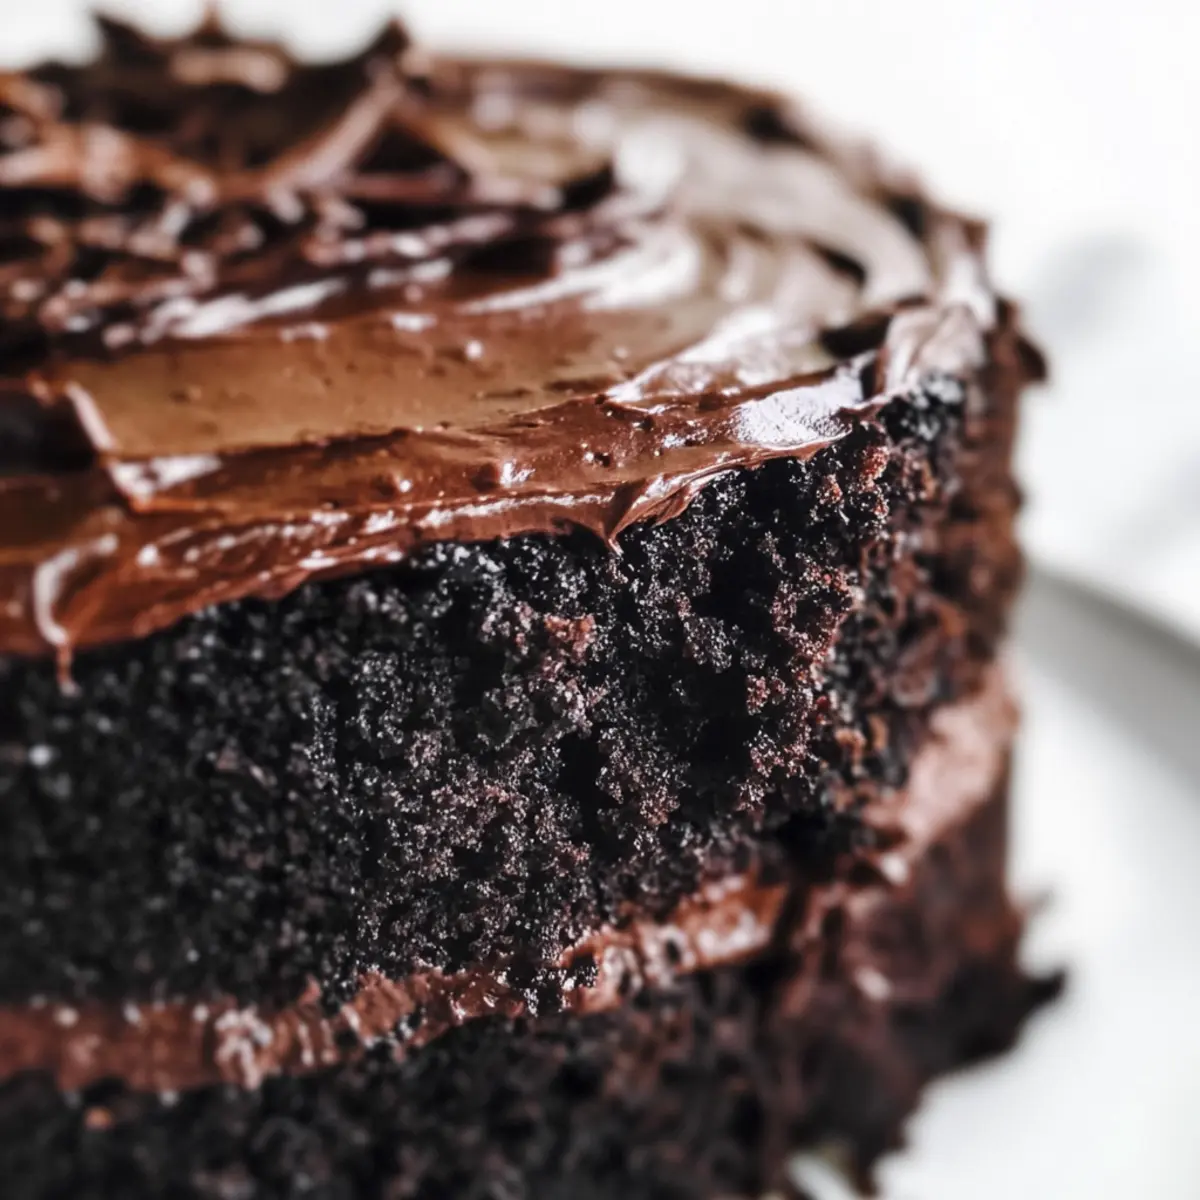
Step 7: Frost the Cake
Now it’s time to frost your cake! Use your favorite chocolate icing to cover the top and sides of the assembled cake. For a decorative finish, smooth out the icing or use a spatula to create swirls. This final touch makes your Brooklyn Blackout Cake not only delicious but visually stunning, perfect for any occasion or gathering.
Make Ahead Options
These Brooklyn Blackout Cake recipe preparations are perfect for busy home cooks looking to save time! You can prepare the cake layers up to 3 days in advance; just wrap them tightly in plastic wrap and refrigerate to prevent drying out. The chocolate filling can also be made ahead and stored in an airtight container for up to 2 days in the fridge. When you’re ready to serve, simply let the layers come to room temperature before frosting and assembling; this ensures the most delicious, fresh results. By prepping ahead, you’ll enjoy a rich, indulgent dessert with minimal effort on the day of your gathering!
How to Store and Freeze Brooklyn Blackout Cake
Room Temperature: Keep the cake covered at room temperature for up to 1 day. This is perfect if you’re planning to enjoy it quickly without any fuss.
Fridge: Store uneaten cake in an airtight container in the refrigerator for up to 5 days. This helps maintain moisture while keeping flavors fresh.
Freezer: For longer storage, wrap the cake tightly in plastic wrap and foil, then freeze for up to 3 months. Thaw overnight in the fridge when you’re ready to indulge in this delightful Brooklyn Blackout Cake recipe.
Reheating: If you prefer a warm slice, microwave a piece for about 10-15 seconds, or enjoy at room temperature to savor its rich chocolate flavor.
Brooklyn Blackout Cake Recipe Variations
Feel free to get creative with this delightful recipe, letting your taste buds guide you to new flavor territories!
-
Gluten-Free: Substitute all-purpose flour with a 1:1 gluten-free flour blend for a gluten-free indulgence anyone can enjoy.
-
Dairy-Free: Replace milk with almond, soy, or oat milk and use coconut oil instead of butter, ensuring every chocolate lover is included.
-
Raspberry Surprise: Spread raspberry filling between the cake layers for a sweet and tart contrast that beautifully complements the rich chocolate.
-
Peanut Butter Bliss: Add a layer of creamy peanut butter between the cake layers for a nutty, decadent twist that will have everyone asking for the recipe.
-
Minty Fresh: Incorporate peppermint extract into the batter or frosting to create a refreshing mint chocolate version that’s perfect for special occasions.
-
Nutty Delight: Fold in chopped walnuts or almonds into the batter for a delicious crunch and enhanced flavor profile.
-
Chocolate Ganache: Instead of traditional frosting, drizzle a luscious chocolate ganache over the top for an elegant finish that amplifies the cake’s richness.
-
Mini Cake Bites: Transform this cake into mini cakes using a muffin tin. Reduce baking time slightly for perfectly portioned treats, perfect for sharing at gatherings.
For another indulgent dessert to try, check out our Cinnamon Roll Coffee Cake or explore the delectable Blueberry Cheesecake Crumble for more sweet inspiration!
Expert Tips for the Best Brooklyn Blackout Cake
-
Room Temperature Ingredients: Ensure all ingredients are at room temperature for a smoother batter and better incorporation, leading to a lighter cake.
-
Don’t Overmix: Gently mix the batter until just combined to avoid a dense texture. Overmixing can lead to a tougher cake as gluten develops.
-
Check Freshness: Always check that your baking powder and baking soda are fresh; expired leavening agents can result in a flat cake that doesn’t rise properly.
-
Cool Before Layering: Allow your cakes to cool completely before adding filling and frosting. This prevents melting and makes layering easier and more visually appealing.
-
Customization Options: Feel free to experiment with different fillings to suit your taste! Try raspberry or peanut butter for a fun twist on the classic Brooklyn Blackout Cake recipe.
What to Serve with Brooklyn Blackout Cake
When preparing to enjoy a slice of this chocolate masterpiece, consider these delightful pairings that enhance every bite.
-
Whipped Cream: A dollop of freshly whipped cream adds a light, airy contrast to the cake’s dense texture, making each mouthful a creamy delight.
-
Vanilla Ice Cream: The classic pairing of vanilla ice cream with warm cake is always a winning combination. The cold, creamy scoop balances the cake’s rich chocolate flavors beautifully.
-
Fresh Berries: Strawberries or raspberries bring a burst of tartness that cuts through the sweetness of the cake, creating a refreshing contrast on your plate. Their vibrant colors also add visual appeal!
-
Espresso: A shot of espresso intensifies the chocolate experience. Sip it alongside your cake, and let the bitter notes complement the sweetness of every bite.
-
Chocolate Sauce: Drizzle warm chocolate sauce over the cake for extra indulgence. This creates a luscious, luxurious experience perfect for special occasions.
-
Nutty Biscotti: Serve alongside some crunchy biscotti or almond cookies. Their crunch pairs delightfully with the soft, moist cake, adding a fun texture variation.
-
Mint Tea: A soothing cup of mint tea acts as a gentle palate cleanser after each rich bite, leaving a refreshing note that lingers.
-
Port Wine: For an adult twist, pair your dessert with a glass of sweet port wine. The deep, fruity flavors enhance the chocolate without overpowering it.
With these pairings, your dessert experience will be elevated, inviting everyone to savor each component of this Brooklyn Blackout Cake recipe in style!
Brooklyn Blackout Cake Recipe FAQs
How do I choose the right cocoa powder for the Brooklyn Blackout Cake?
Using high-quality unsweetened cocoa powder is key to achieving that rich chocolate flavor. Look for brands that are labeled “Dutch-processed” for a smoother taste and deeper color. If you’re feeling adventurous, substituting half with carob powder can add a unique, nutty twist that still works beautifully in this recipe!
What’s the best way to store the Brooklyn Blackout Cake?
To maintain its deliciousness, store the uneaten cake in an airtight container at room temperature for up to 1 day. If you want to keep it longer, transition it to the refrigerator for up to 5 days, ensuring it remains covered well. This prevents it from drying out while preserving those delectable chocolate flavors.
Can I freeze the Brooklyn Blackout Cake?
Absolutely! Wrap individual slices or the whole cake tightly in plastic wrap, followed by aluminum foil. This double-wrapping method helps protect it from freezer burn. You can store it in the freezer for up to 3 months. When you’re ready to enjoy it, simply thaw it overnight in the fridge, and it will be just as scrumptious as when you first baked it!
What if my cake doesn’t rise properly?
If your cake turns out flat, it could be due to expired baking powder or baking soda. Always check their freshness before starting! Additionally, ensure you blend your wet and dry ingredients correctly; overmixing can lead to dense outcomes. If you’re accustomed to high-altitude baking, adjustments to leavening agents and ingredients may be necessary for a fluffy cake.
Are there any dietary concerns I should consider when making this recipe?
Yes! If you have dietary restrictions, this Brooklyn Blackout Cake is adaptable. For a gluten-free variation, simply swap the all-purpose flour for a gluten-free blend. If you’re aiming for a vegan cake, replace the eggs with flax eggs (1 tablespoon ground flaxseed + 2.5 tablespoons water = 1 flax egg) and use plant-based milk and coconut oil instead of butter. Enjoy it worry-free!
Can pets eat any parts of the Brooklyn Blackout Cake?
Chocolate is toxic to dogs and many other pets, so it’s best to keep this indulgent treat far from their reach. Always ensure that leftovers or ingredients aren’t accessible to your furry friends to avoid any health risks associated with chocolate consumption.
Delicious Brooklyn Blackout Cake Recipe for Chocolate Lovers
Ingredients
Equipment
Method
- Preheat the oven to 350°F (175°C) and grease two 9-inch round cake pans.
- In a large bowl, whisk together the dry ingredients: flour, cocoa powder, sugar, baking powder, baking soda, and salt.
- In another bowl, whisk the wet ingredients: eggs, milk, and melted butter until smooth. Combine with dry ingredients.
- Divide the batter evenly between the prepared pans and bake for 30-35 minutes.
- Cool the cakes on a wire rack for about 10 minutes before removing from pans.
- Layer with chocolate filling between the cakes, then frost with chocolate icing.
Leave a Reply