
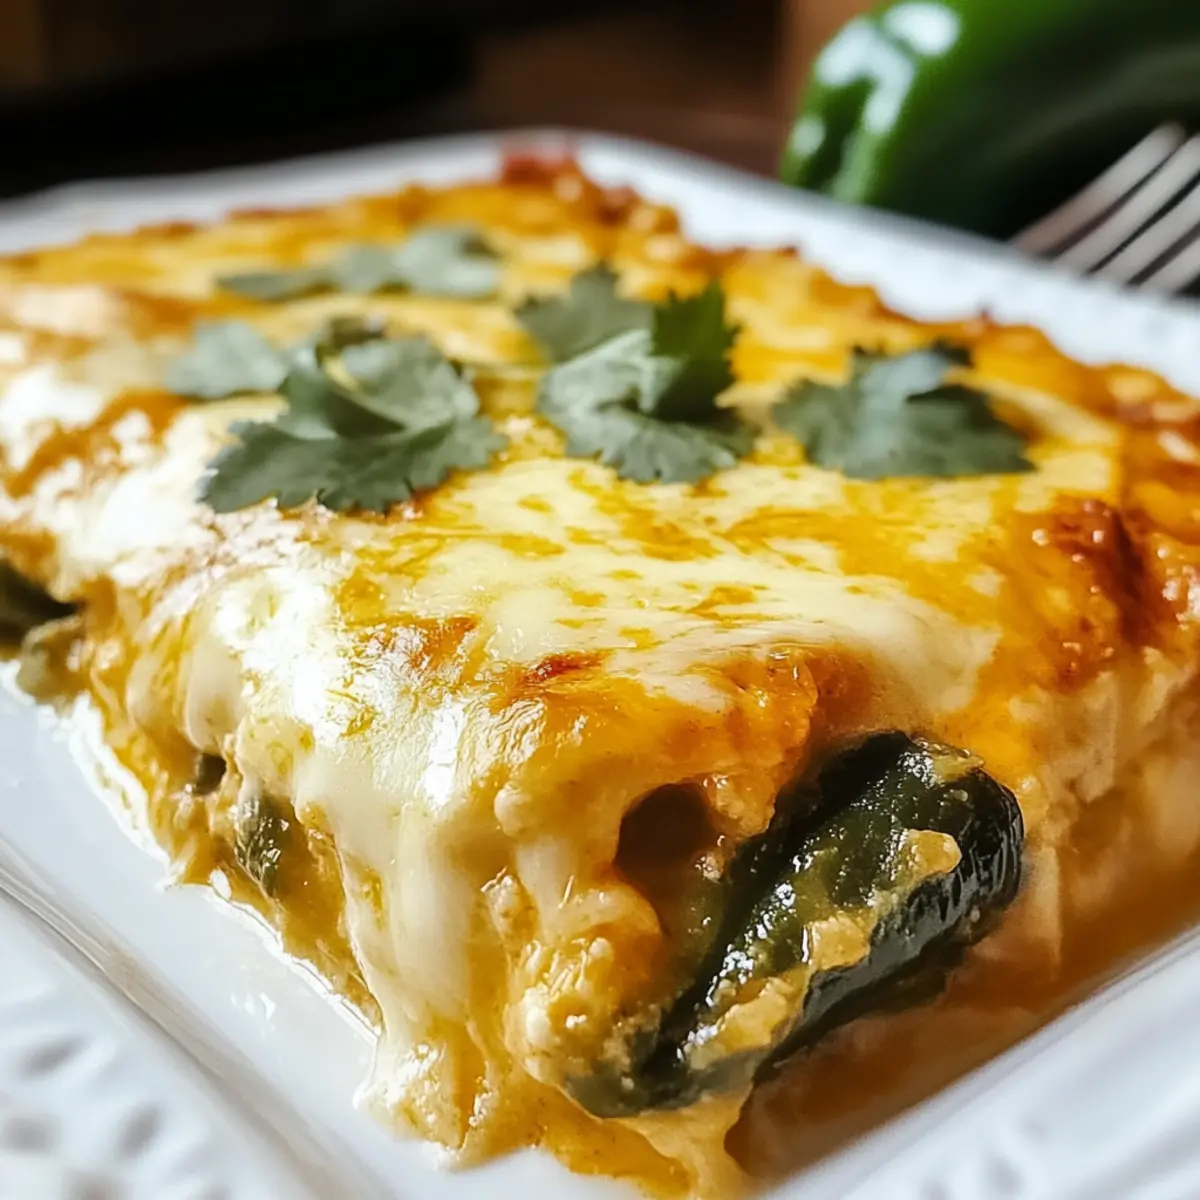
The tantalizing aroma of roasted chiles mingles with the rich scent of melting cheese, instantly transporting me back to cherished family gatherings. This Easy Chile Relleno Casserole brings that comforting warmth to your kitchen without the fuss, making it a perfect solution for busy weeknight dinners. Packed with creamy goodness, it’s a deliciously simple dish that promises to please everyone around the table. You’ll love how quickly you can whip it up, not to mention its make-ahead flexibility, making it a go-to for both family meals and casual get-togethers. Ready to dive into the world of flavorful casseroles? Let’s uncover how to create this delightful Mexican masterpiece that can easily become your new favorite!

Why is Chile Relleno Casserole a Must-Try?
Melt-in-your-mouth goodness: This casserole is a celebration of flavors, combining creamy cheese with smoky chiles for a dish that truly warms the heart.
Quick and Easy: With just a few basic ingredients and straightforward steps, you’ll have dinner ready in no time—perfect for busy evenings.
Versatile Options: Whether you prefer vegetarian adaptations or a spicy kick, this recipe allows for simple substitutions that cater to your taste.
Make-Ahead Convenience: Prepare it a day in advance and pop it in the oven when you’re ready, making it an incredibly flexible option for gatherings.
Crowd-Pleasing Appeal: Guaranteed to impress family and friends alike, it’s a comforting dish that invites seconds and smiles all around.
If you’re exploring more comfort food, consider trying my Eggs Benedict Casserole for a delightful brunch option or the mouthwatering Green Chile Casserole for another Mexican-inspired favorite!
Chile Relleno Casserole Ingredients
-
For the Casserole Base
• Whole roasted green chiles – Provides a smoky, flavorful base for the casserole. Note: Use 2-3 cans, look for no preservatives.
• Large eggs – Acts as a binder to create the perfect casserole texture. Ensure they are whisked well before mixing.
• All-purpose flour – Thickens the mixture for a comforting consistency. Substitution: Gluten-free flour blend for gluten-free versions.
• Kosher salt – Essential for seasoning, enhancing all flavors. Make sure to adjust if using fine salt.
• Milk – Contributes to the overall creaminess of the casserole. Substitution: Use cream for richer texture or non-dairy milk for lactose-free options. -
For the Cheese Mixture
• Monterey Jack cheese – Adds creaminess throughout the dish. Substitution: Pepper Jack for additional spice.
• Extra cheese – Generously sprinkled on top for a melty, golden finish. Use any preferred cheese, like cheddar, for variety.
Step‑by‑Step Instructions for Chile Relleno Casserole
Step 1: Prepare the Chiles
Rinse the whole roasted green chiles under cold water and gently pat them dry with a paper towel. With a sharp knife, carefully slice them open lengthwise to remove seeds, allowing for a milder flavor. Set aside, and preheat your oven to 350°F (175°C) so it’s ready for baking your Chile Relleno Casserole.
Step 2: Slice the Cheese
Cut the Monterey Jack cheese into evenly sized sticks or cubes, making it easy to incorporate into the casserole mixture. This step ensures that every bite of your Chile Relleno Casserole is filled with delightful pockets of cheese as it melts during baking.
Step 3: Mix the Egg Base
In a large mixing bowl, vigorously whisk together the large eggs, all-purpose flour, kosher salt, and milk until you achieve a smooth batter. This mixture serves as the foundation for your casserole, binding it all together as it bakes. Ensure there are no lumps, as a smooth consistency is key to a luscious final dish.
Step 4: Combine Chiles and Cheese
Gently fold the rinsed and prepared green chiles and cheese sticks into the egg mixture, ensuring they are evenly coated. Be careful not to break the chiles too much, aiming to keep them somewhat intact for a hearty bite in your Chile Relleno Casserole.
Step 5: Transfer to Baking Dish
Pour the flavorful mixture into a greased 9×13-inch baking dish, spreading it out evenly across the bottom. A glass or ceramic dish works best to prevent sticking. This step ensures an even bake and perfect presentation once it comes out of the oven.
Step 6: Add Extra Cheese
Generously sprinkle additional grated cheese on top of the casserole mixture. This layer will melt and create a beautiful, golden brown crust that enhances both the texture and flavor of your finished Chile Relleno Casserole.
Step 7: Bake to Perfection
Place the baking dish in your preheated oven and bake for 25–30 minutes, or until the top is bubbly and the cheese is golden brown. Keep an eye on the casserole; it’s done when it’s set in the center and has a lovely crust, signifying a comforting dish ready to serve.
Storage Tips for Chile Relleno Casserole
- Fridge: Store leftovers in an airtight container for up to 3 days. When ready to enjoy, reheat in the microwave or oven for a warm, comforting meal.
- Freezer: For longer storage, freeze the casserole for up to 2 months. Allow it to cool completely, then wrap tightly in foil or a freezer-safe container.
- Thawing: To reheat, thaw overnight in the refrigerator before baking. Bake at 350°F until heated through for the best texture and flavor.
- Make-Ahead: Prepare the casserole mixture a day in advance, cover, and refrigerate. Just remember to add the cheese before baking for a fresh, melty topping!
Chile Relleno Casserole Variations
Feel free to mix things up and adapt this recipe to suit your taste or dietary needs!
-
Vegetarian Delight: Replace chiles with sautéed zucchini or fresh spinach for a lighter version.
-
Gluten-Free Swap: Use a gluten-free flour blend in place of all-purpose flour for a gluten-free option without sacrificing texture.
-
Spicy Kick: Toss in some diced jalapeños or a splash of your favorite hot sauce for an exciting kick that’ll awaken your taste buds.
-
Creamy Addition: Fold in a cup of sour cream or cream cheese for an extra creamy texture that elevates the flavors beautifully.
-
Beans for Protein: Mix in some black beans or pinto beans for an added source of protein and creamy texture—perfect for a filling meal.
-
Cheesy Variation: Experiment with different cheeses! Try mixing in Pepper Jack for extra spice or even a sharp cheddar for a bold twist.
-
Herb Infusion: Add fresh herbs like cilantro or oregano to the egg mixture for a fresh burst of flavor that brightens each bite.
If you’re looking for more comforting casseroles, consider trying my Chicken Fajita Casserole or indulge in a rich Green Chile Casserole for more mouthwatering inspirations!
Expert Tips for Chile Relleno Casserole
-
Blend Well: Ensure the egg mixture is thoroughly whisked to prevent clumps and guarantee a smooth, uniform texture in your Chile Relleno Casserole.
-
Baking Time: Keep a close eye on the casserole as it bakes. If left too long, it may dry out; aim for a bubbly, golden-brown top for perfection.
-
Prevent Sticking: Use a generously greased glass or ceramic baking dish. This will help the casserole release easily without falling apart when served.
-
Flavor Boost: Add spices like cumin or chili powder to the egg mixture for an extra layer of flavor in your Chile Relleno Casserole.
-
Mix and Match: Feel free to customize ingredients! Substitute with different cheeses or add black beans for extra protein and creaminess to cater to your preferences.
What to Serve with Easy Chile Relleno Casserole
Pair your dish with these delightful options for a well-rounded meal that everyone will love.
-
Fresh Green Salad: A vibrant mix of greens adds a crisp, refreshing crunch that balances the richness of the casserole. Try tossing in avocados and citrus for extra zing!
-
Spanish Rice: Fluffy, seasoned rice makes for a classic and comforting side that complements the flavorful chiles wonderfully. Each bite enhances the Mexican essence of your meal.
-
Guacamole: Creamy and flavorful, this dip accentuates the spicy notes of the casserole. Plus, the creamy richness of avocados makes every bite irresistible!
-
Pico de Gallo: A fresh salsa brimming with diced tomatoes, onion, and cilantro brightens up the whole meal. The freshness cuts through the cheese’s richness, making it a perfect match.
-
Cornbread: Slightly sweet and fluffy, cornbread provides a delightful textural contrast and a hint of sweetness against the savory casserole. Serve it warm with a bit of butter for ultimate comfort!
-
Margaritas: Elevate your dinner with a refreshing margarita! The coolness and citrusy flavor enhance the whole dining experience, making it feel like a special occasion.
Make Ahead Options
These Easy Chile Relleno Casseroles are perfect for meal prep aficionados! You can prepare the casserole mixture up to 24 hours in advance by combining the eggs, flour, milk, salt, green chiles, and cheese, then refrigerate it until you’re ready to bake. To keep everything fresh and delicious, hold off on adding the extra cheese until just before baking. When you’re set to serve, simply sprinkle the remaining cheese on top and pop the dish into a preheated oven at 350°F for 25–30 minutes. This way, you’ll enjoy that homemade comfort food flavor without the last-minute rush!
Chile Relleno Casserole Recipe FAQs
What type of green chiles should I use?
Absolutely! For this casserole, I recommend using whole roasted green chiles from a can—typically 2-3 cans will do. Look for ones that contain no preservatives to ensure the best flavor and quality.
How should I store leftovers?
Leftovers of your Chile Relleno Casserole can be stored in an airtight container in the refrigerator for up to 3 days. When you’re ready to enjoy it again, simply reheat in the microwave or oven until warmed through.
Can I freeze the casserole?
Very! To freeze, allow your casserole to cool completely. Then wrap it tightly in foil or transfer it to a freezer-safe container. It can be stored for up to 2 months. To reheat, thaw it overnight in the fridge and bake at 350°F until heated through for the best results.
Why did my casserole not set properly?
If your casserole didn’t set, it might be due to underbaking or the egg mixture not being well combined. Always ensure the eggs, flour, salt, and milk are mixed thoroughly, and keep an eye on baking time for that golden, bubbly top. Aim for a baking time between 25-30 minutes as ovens can vary.
Is this recipe suitable for gluten-free diets?
Definitely! You can substitute the all-purpose flour with a gluten-free flour blend, and it will still turn out delicious. Just make sure to check that your cheese and any other ingredients you use are also gluten-free to maintain that dietary consideration.
Can I make this recipe in advance?
Yes! You can prepare the casserole mixture up to 24 hours in advance. Just cover it and refrigerate. When you’re ready to bake, sprinkle the cheese on top before popping it in the oven for a fresh and melty finish!

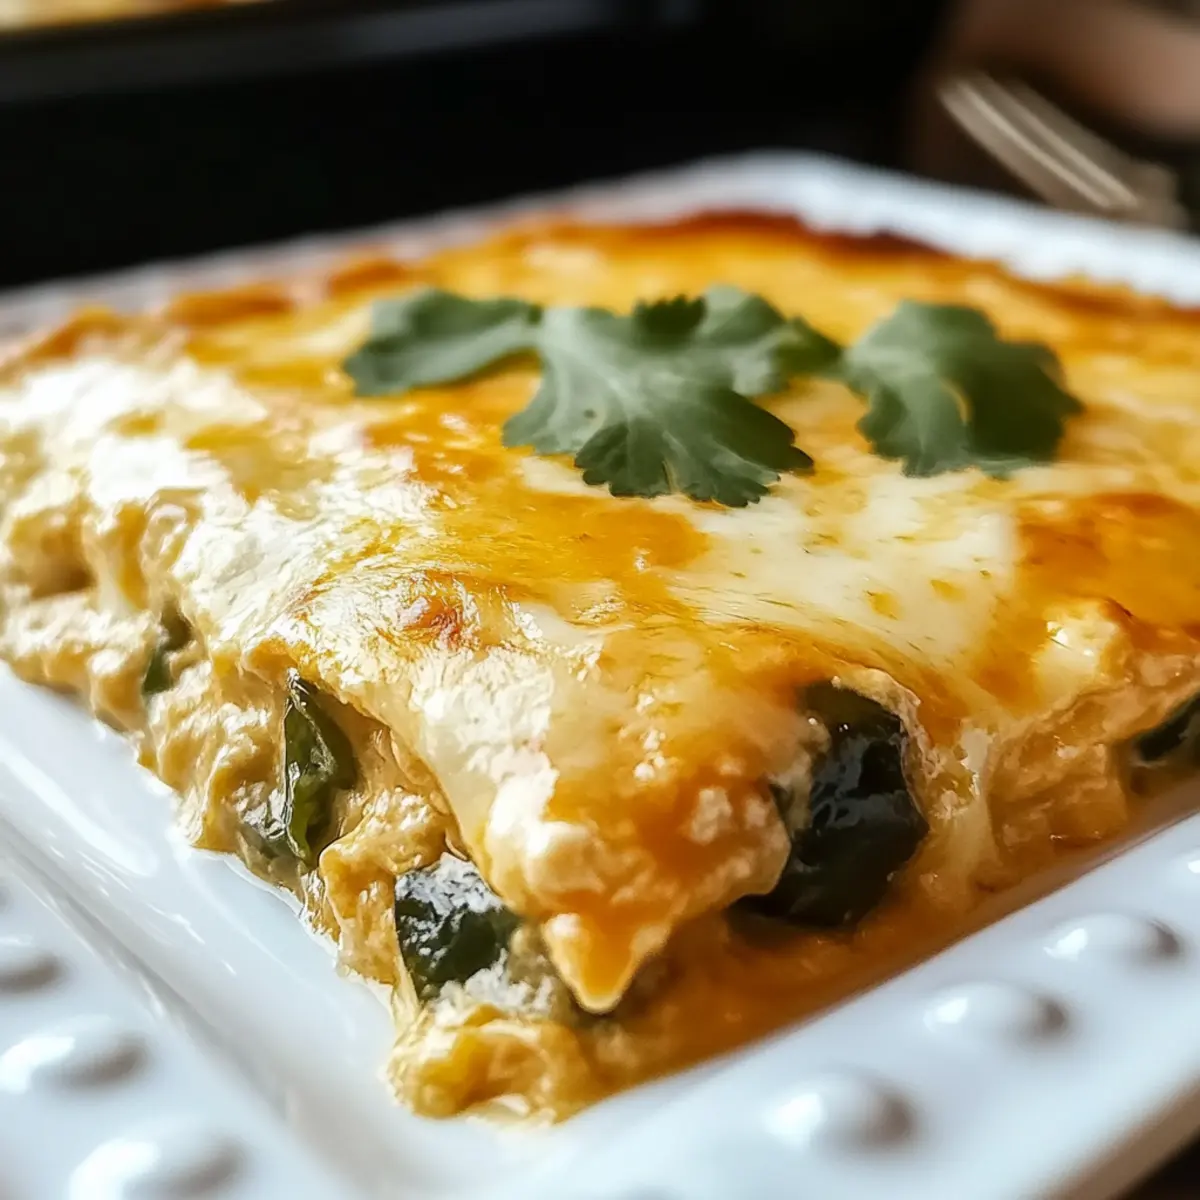
Melt-in-Your-Mouth Chile Relleno Casserole for Comfort Food Lovers
Ingredients
Equipment
Method
- Rinse the whole roasted green chiles under cold water and gently pat them dry. Slice them open lengthwise to remove seeds and set aside. Preheat the oven to 350°F (175°C).
- Cut the Monterey Jack cheese into evenly sized sticks or cubes.
- In a large mixing bowl, whisk together the large eggs, all-purpose flour, kosher salt, and milk until smooth.
- Gently fold the rinsed chiles and cheese sticks into the egg mixture.
- Pour the mixture into a greased 9x13-inch baking dish, spreading it evenly.
- Sprinkle additional grated cheese on top of the casserole mixture.
- Bake for 25-30 minutes until the top is bubbly and golden brown.
Leave a Reply