
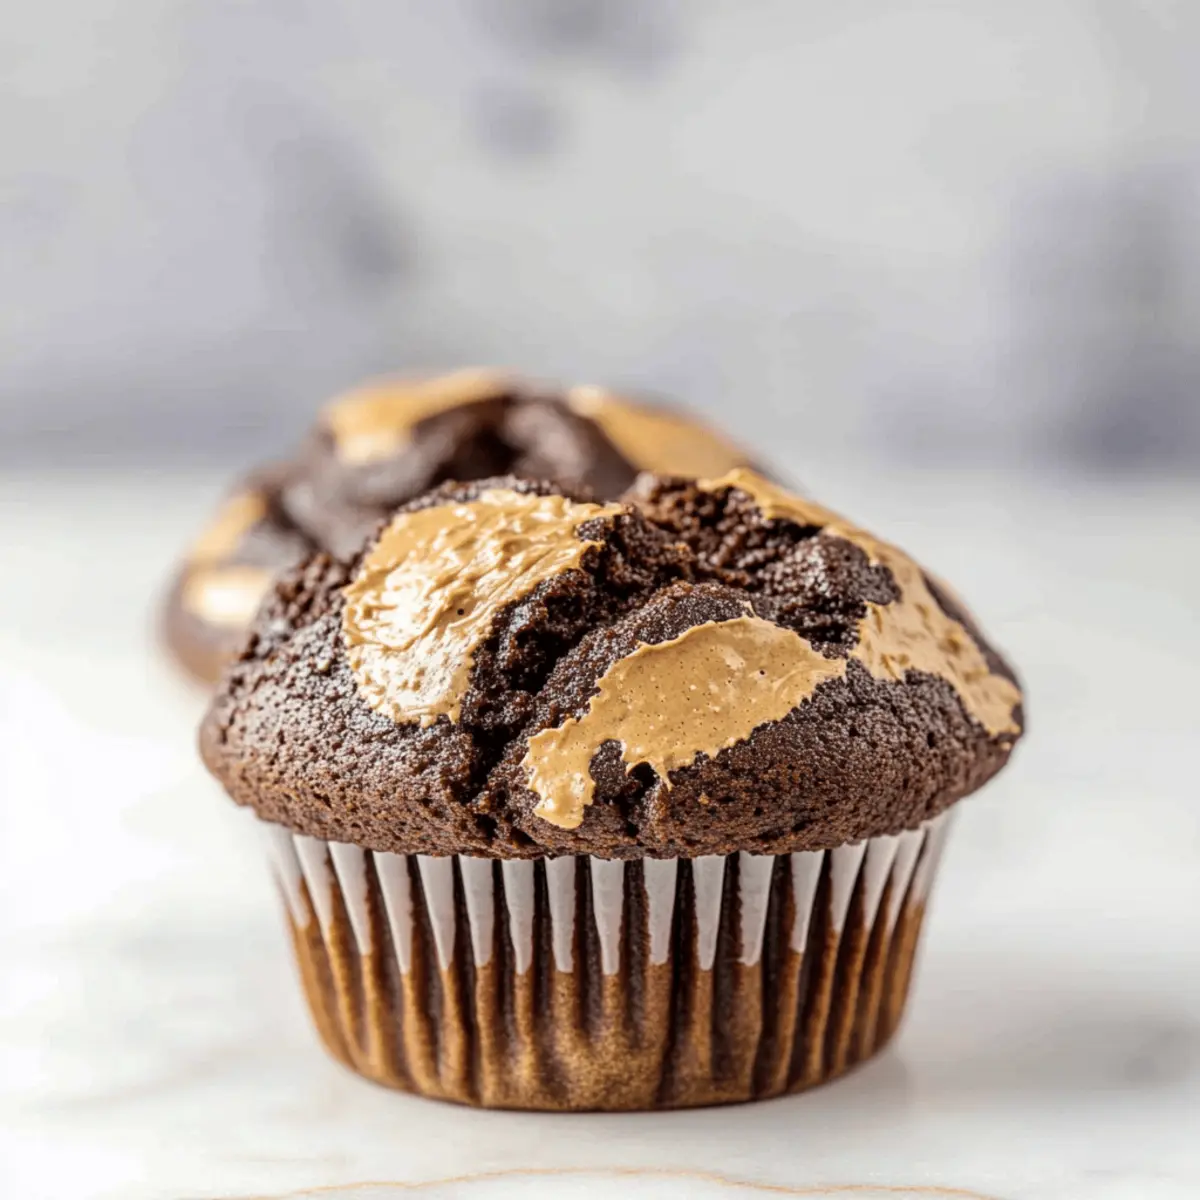
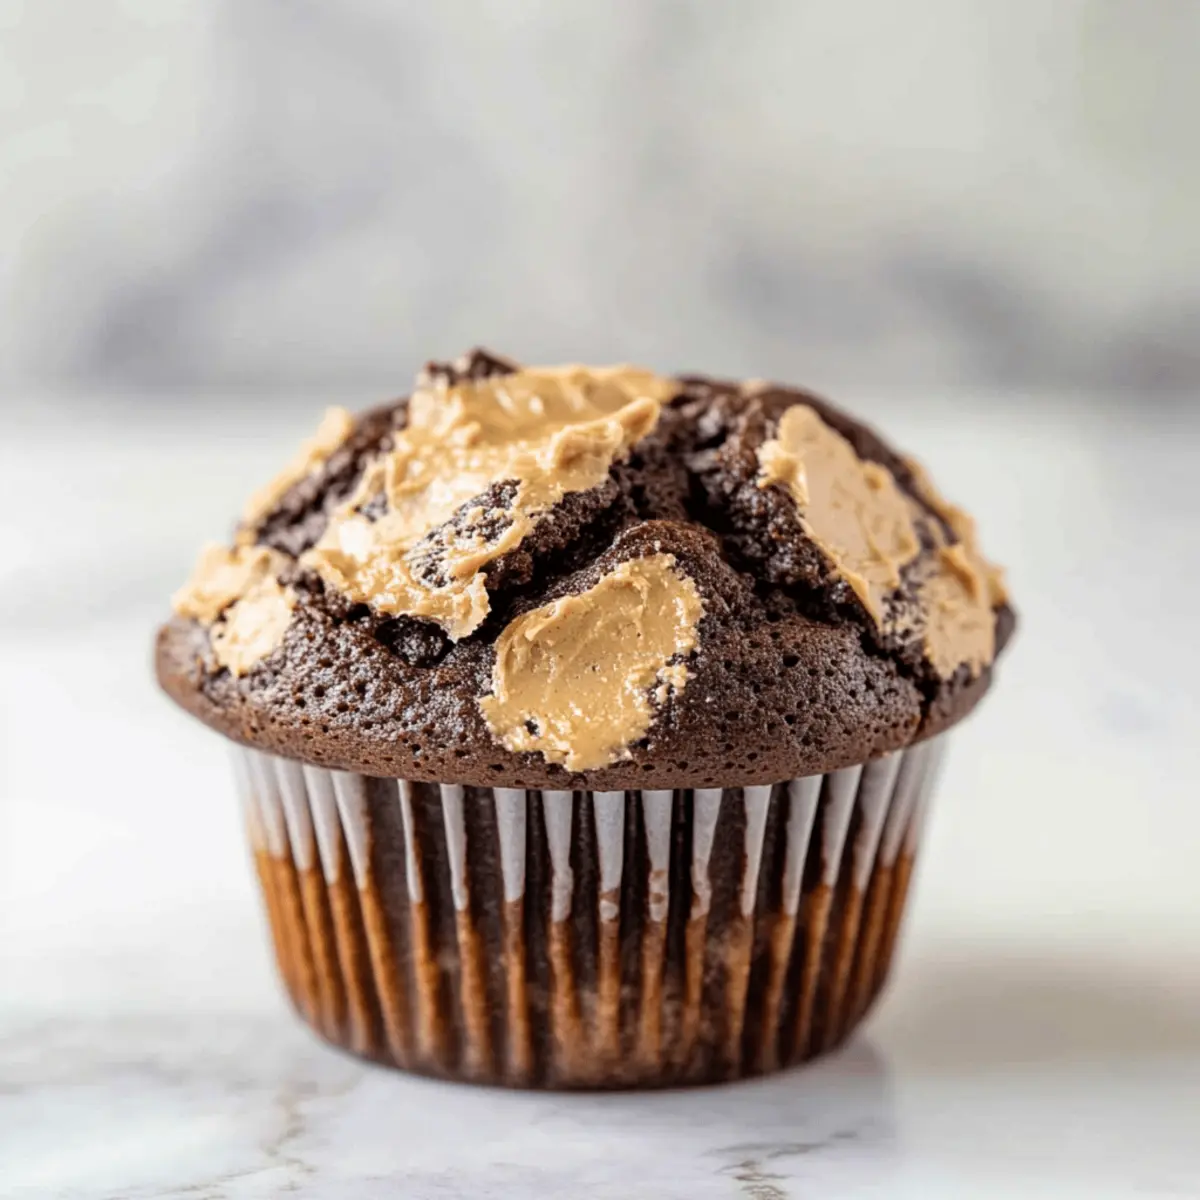
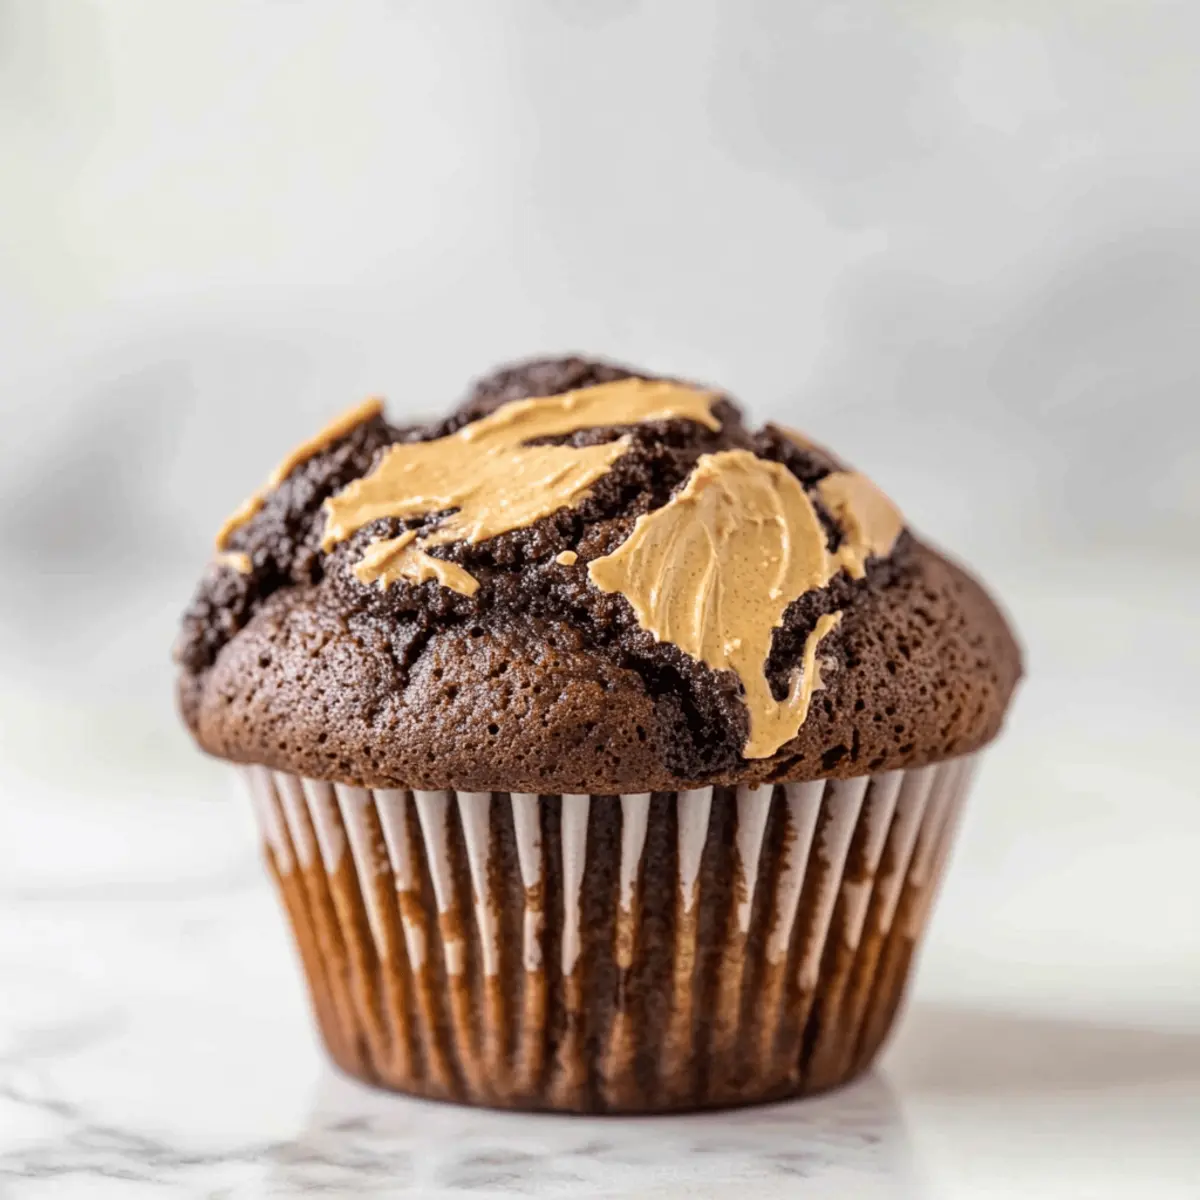
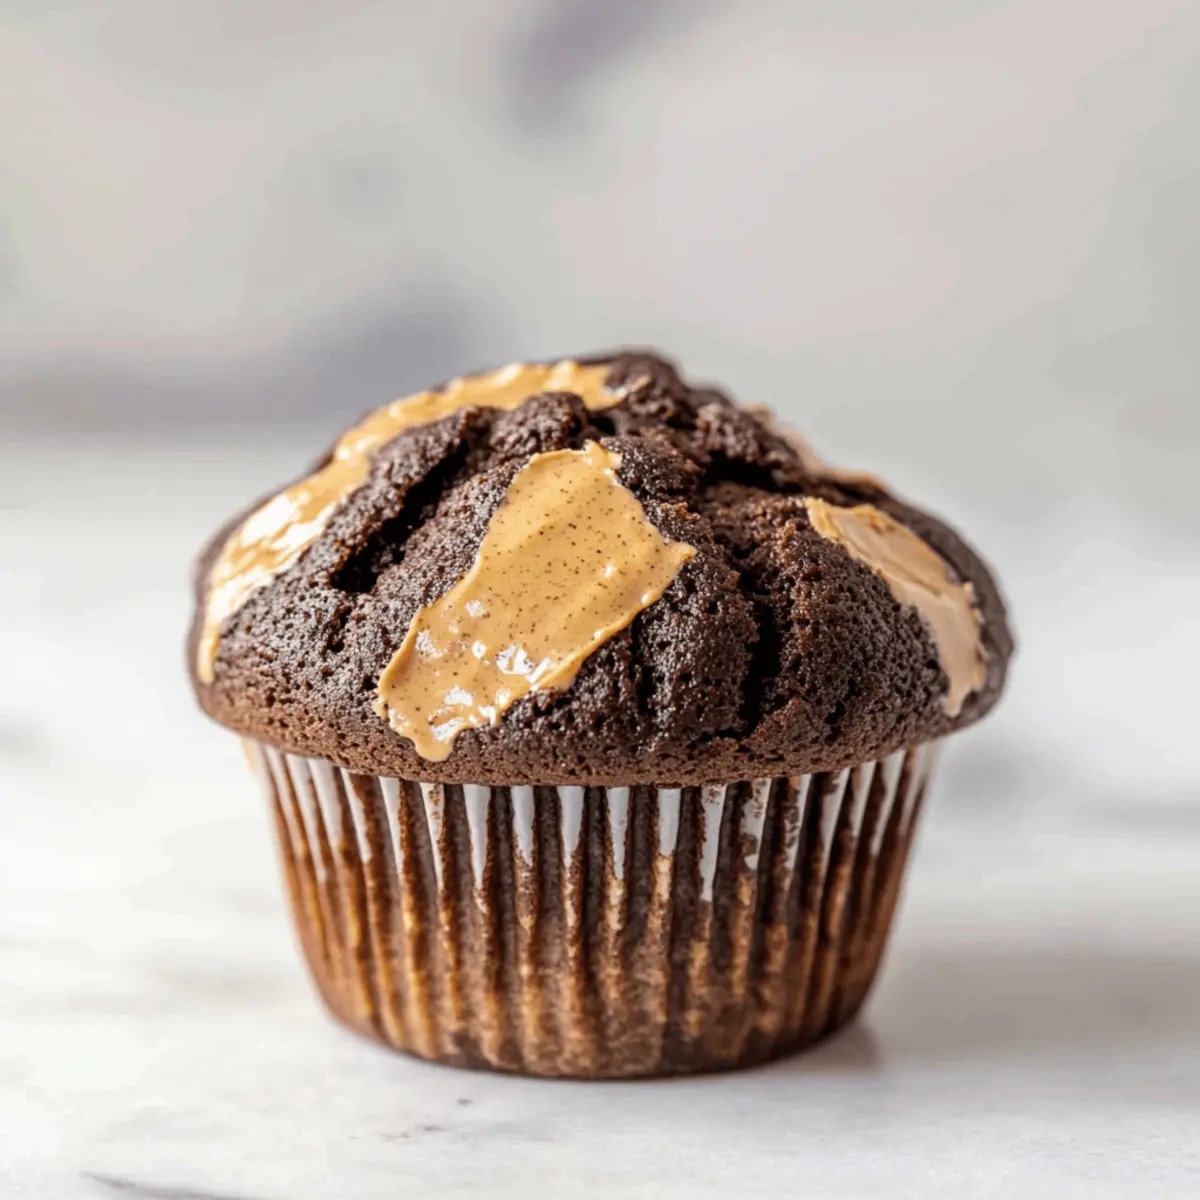
As the scent of chocolate wafts through the kitchen, I can’t help but feel like I’m reliving my favorite moments at the bakery. These Chocolate Peanut Butter Muffins are not just any baked goods; they’re rich, moist masterpieces crowned with bakery-style domes that promise to elevate your homemade treats. Perfect for breakfast or as a guilt-free snack, they offer the comforting indulgence we often crave—but without the fast food pitfalls. Plus, they come together quickly, making them a fantastic answer to those midday cravings or sweet tooth emergencies. Are you ready to dive into this delightful recipe and impress everyone around you?
Why are these muffins a game changer?
Decadent flavors: The luscious combination of rich chocolate and creamy peanut butter creates an indulgent taste that feels like a treat from your favorite bakery.
Quick and easy: With simple ingredient swaps and minimal prep time, you can whip up these muffins in no time, making them perfect for busy mornings or sudden sweet cravings.
Muffin perfection: The bakery-style dome adds an impressive touch that makes each bite as delightful to look at as it is to eat.
Customize your way: Feel free to mix in chocolate chips or substitute with almond butter for a delightful twist—these muffins are as versatile as they are tasty. Don’t forget to check out my Cheesecake Crumble Muffins for another delicious homemade option!
Crowd-pleaser: Whether serving them at brunch or prepping snacks for the week, these muffins are sure to please family and friends alike.
Chocolate Peanut Butter Muffin Ingredients
• Let’s gather the essentials for these scrumptious muffins!
For the Muffin Batter
- All-Purpose Flour – Provides the structure and stability of these delightful muffins. Can be substituted with gluten-free flour for a gluten-free version.
- Natural Unsweetened Cocoa Powder – Delivers a rich chocolate flavor that makes these muffins so satisfying. Use Dutch-process cocoa for a different taste profile.
- Granulated Sugar – Sweetens the muffins and balances the richness of the cocoa. Brown sugar may offer a moister texture.
- Baking Powder – Acts as the leavening agent to give your muffins that perfect rise. Ensure it’s fresh for the best results.
- Baking Soda – Works with buttermilk to help these muffins rise beautifully. Do not substitute with baking powder.
- Salt – Enhances the flavor of the muffins, bringing all the ingredients together. Adjust according to dietary needs, but be careful not to omit it.
- Large Eggs – Binds all the ingredients and adds moisture to the muffins. For an egg-free version, replace with flaxseed meal mixed with water.
- Buttermilk – Provides acidity that reacts with baking soda for a tender texture. Regular milk with a splash of vinegar can mimic buttermilk.
- Vegetable Oil – Keeps the muffins moist and tender for that perfect bite. Can be replaced with melted coconut oil or applesauce for a lighter option.
- Vanilla Extract – Adds depth of flavor, making every muffin irresistibly delicious. Use pure vanilla for a more robust taste.
- Creamy Peanut Butter – Infuses each muffin with flavor and richness. Substitutions could include almond butter or any nut butter if allergies are a concern.
These ingredients come together to create the ultimate Chocolate Peanut Butter Muffins that are bound to impress! Enjoy baking your heart out!
Step‑by‑Step Instructions for Decadent Chocolate Peanut Butter Muffins
Step 1: Prepare Batter
In a large mixing bowl, sift together the all-purpose flour, natural cocoa powder, granulated sugar, baking powder, baking soda, and salt. Whisk these dry ingredients until well combined, ensuring there are no lumps. This step is crucial for achieving the perfect texture in your Chocolate Peanut Butter Muffins.
Step 2: Mix Wet Ingredients
In a separate bowl, whisk together the large eggs, buttermilk, vegetable oil, vanilla extract, and creamy peanut butter until smooth and well combined. The mixture should be homogenous, giving it a shiny appearance. This blend of wet ingredients will create a rich, moist batter that elevates your muffins’ flavor profile.
Step 3: Combine
Gradually pour the wet mixture into the dry ingredients. Using a spatula, fold the ingredients together gently until just combined, being careful not to overmix. The batter should be slightly lumpy, as overmixing can lead to tough muffins. This is your time to shine—achieving the right consistency is key to your Chocolate Peanut Butter Muffins.
Step 4: Rest Batter
Cover the bowl containing your muffin batter with plastic wrap, and let it rest at room temperature for about 15 minutes. This short resting period allows the flour to hydrate fully and improves the overall texture of the muffins. As you wait, preheat your oven for that perfect baking environment!
Step 5: Preheat Oven
Set your oven to preheat at 425°F (220°C). This high temperature will facilitate quick rising when you first place your muffins in the oven, helping to create that delightful dome shape. Make sure your oven is fully preheated to achieve consistent baking results for your Chocolate Peanut Butter Muffins.
Step 6: Prepare Muffin Pan
Line a muffin pan with six paper liners, positioning them carefully to ensure even baking. Fill every other muffin liner with a generous amount of batter, allowing space for the muffins to rise beautifully. The arrangement helps achieve the signature bakery-style dome you’re aiming for in your Chocolate Peanut Butter Muffins.
Step 7: Fill Liners
Spoon the muffin batter into the prepared liners, filling each one almost to the top. The batter is thick and rich, so don’t shy away from filling them high—this will contribute to the lovely dome shape when baked. It’s the perfect moment to get your hands a little messy while creating these delicious treats!
Step 8: Bake
Immediately place the muffin pan in the preheated oven. Bake at 425°F (220°C) for the first five minutes, then reduce the temperature to 350°F (175°C) without opening the oven door. Continue baking for an additional 17–22 minutes, or until the muffins are risen and spring back when lightly touched.
Step 9: Cool
Once baked, remove the muffin pan from the oven and allow it to cool in the pan for about 5 minutes. Then, gently transfer the muffins to a wire rack to cool completely. This step allows excess moisture to escape and ensures your Chocolate Peanut Butter Muffins maintain their delicious texture.
How to Store and Freeze Chocolate Peanut Butter Muffins
Room Temperature: Store muffins in an airtight container at room temperature for up to 3 days to maintain their freshness and moistness.
Fridge: For longer storage, keep muffins in the refrigerator in a sealed container for up to a week; just be aware they may dry out slightly.
Freezer: Freeze the muffins by wrapping each one tightly in plastic wrap and placing them in a freezer bag for up to 3 months. Thaw at room temperature or pop them in the microwave for a quick reheat.
Reheating: To enjoy these delicious Chocolate Peanut Butter Muffins after freezing, reheat in the microwave for about 15 seconds or in a preheated oven at 350°F (175°C) for 10 minutes.
What to Serve with Chocolate Peanut Butter Muffins
As the aroma of warm muffins fills the air, it’s time to think about the perfect pairings that will elevate your treat into a delightful meal experience.
-
Fresh Fruit Salad: A vibrant mix of seasonal fruits adds a refreshing contrast, enhancing the rich flavors of the muffins. Juicy berries and citrus provide a burst of zest that balances sweetness.
-
Greek Yogurt Parfait: Creamy, tangy yogurt layered with granola and nuts offers a delightful crunch. It complements the muffins’ texture, making for a satisfying breakfast or snack.
-
Smoothies: Whip up a luscious smoothie with banana, spinach, and almond milk for a nutritious punch. The smooth texture works well with the muffins’ crumb, creating a well-rounded treat.
-
Coffee or Espresso: A warm cup of coffee or rich espresso pairs beautifully with the chocolate notes, cutting through the sweetness while enhancing your muffin experience. It’s the perfect beverage for a cozy afternoon break.
-
Creamy Hot Chocolate: For a sweet pairing, a mug of hot chocolate topped with whipped cream matches the chocolatey goodness of the muffins. It’s a comforting combination that feels indulgent.
-
Nutty Trail Mix: A handful of crunchy nuts and dried fruits adds texture and protein. This quick side is great for a on-the-go snack alongside your muffin for a filling treat.
-
Vanilla Ice Cream: A scoop of creamy vanilla ice cream served warm with the muffins makes for a decadent dessert. The melting ice cream adds a delightful contrast to the rich chocolate and peanut butter.
-
Almond Milk: Sipping on cool almond milk enhances the nutty flavor of the muffins while providing a lighter beverage option. It’s a refreshing choice that pairs well with the richness of your treat.
Chocolate Peanut Butter Muffins Variations
Ready to make these muffins your own? Let’s explore some delightful tweaks that will turn your Chocolate Peanut Butter Muffins into personalized masterpieces!
- Nutty Delight: Replace creamy peanut butter with almond butter for a deliciously different flavor.
- Chocolate Chunky: Fold in a handful of chocolate chips or chopped nuts for a delightful texture that pops with each bite.
- Fruity Twist: Add mashed bananas to the batter for a natural sweetness and extra moisture – a perfect way to use overripe bananas!
- Rich and Creamy: Swirl in some Nutella for a decadent touch that brings an entirely new layer of chocolatey goodness.
- Spicy Kick: Sprinkle a dash of cayenne pepper or chili powder into the batter for a surprising spice that complements the chocolate beautifully.
- Dairy-Free: Use plant-based milk instead of buttermilk and coconut oil in place of vegetable oil for a dairy-free version that’s just as moist.
- Citrusy Zing: Add the zest of an orange or lemon to the batter for a bright, fresh flavor that contrasts beautifully with chocolate.
- Snack Attack: Try making mini muffins for bite-sized treats perfect for lunchboxes or quick snacks throughout the day.
Feeling inspired? Don’t forget to check out my Cheesecake Crumble Muffins or add chocolate chips to your mix for an extra touch! There’s a world of delicious possibilities waiting for you in your kitchen!
Make Ahead Options
These Chocolate Peanut Butter Muffins are a dream for meal prep enthusiasts! You can prepare the batter up to 24 hours in advance; simply combine all the dry ingredients in one bowl and the wet ingredients in another, then refrigerate. When you’re ready to bake, allow the batter to sit at room temperature for about 15 minutes before filling the muffin liners. This helps restore the batter’s temperature and ensures your muffins rise beautifully. Additionally, once the muffins are baked and cooled, they can be stored in an airtight container at room temperature for up to 3 days or frozen for longer storage. Just reheat them briefly to enjoy their freshly-baked taste. This planning saves time and keeps your baked goods just as delicious!
Expert Tips for Chocolate Peanut Butter Muffins
-
Measure Flour Accurately: Use a kitchen scale to measure flour; too much can lead to dry muffins, while too little affects texture.
-
Rest the Batter: Allow the batter to rest for 15 minutes—it helps hydrate the flour and improves the crumb of your Chocolate Peanut Butter Muffins.
-
Avoid Overmixing: Gently fold wet and dry ingredients together. Overmixing can create dense muffins; a few lumps are perfectly fine.
-
Check Oven Temperature: Make sure your oven is preheated accurately; an uneven or cold oven can cause muffins to rise improperly.
-
Cooling Method: Let muffins cool in the pan for a few minutes first. This helps prevent sticking and retains moisture for tender muffins.
Chocolate Peanut Butter Muffins Recipe FAQs
How do I select ripe ingredients for my muffins?
Absolutely! When choosing ingredients, especially for the peanut butter, opt for a brand that has minimal additives—look for a creamy variety without added sugars or hydrogenated oils. For the eggs, ensure they are fresh; check the sell-by date on the carton. Using fresh buttermilk is key too. If you can smell any sourness, it’s time to toss it!
How should I store my Chocolate Peanut Butter Muffins?
To keep your muffins fresh, store them in an airtight container at room temperature for up to 3 days. If you expect to enjoy them longer, the refrigerator can extend their lifespan to a week; however, moisture may be lost. For the best results, place them in the fridge only if you plan to eat them beyond that duration.
Can I freeze Chocolate Peanut Butter Muffins?
Absolutely! Freezing is a fantastic option to maintain their taste and texture. First, wrap each muffin tightly in plastic wrap, then place them in a freezer bag or airtight container. They can be stored for up to 3 months. When you’re ready to enjoy them, thaw at room temperature or microwave for about 15 seconds to bring back that fresh-baked warmth.
What should I do if my muffins turn out dense?
If your muffins turn out denser than expected, there are a couple of things to check for next time. First, ensure you are accurately measuring your flour; using a kitchen scale can help avoid this issue. Remember to gently fold the wet and dry ingredients together to keep air in the batter. Lastly, letting the batter rest for 15 minutes allows for optimal hydration of the flour, which contributes to light, tender muffins.
Are there any allergy considerations for this recipe?
Yes, if you or someone you’re serving is allergic to peanuts, substitute the creamy peanut butter with almond butter or sunflower seed butter, both of which yield delicious results. Always check the labels of your ingredients for potential allergens, and if you’re baking for others, it’s a good idea to ask about their dietary needs first.
Irresistible Chocolate Peanut Butter Muffins for Anytime Treats
Ingredients
Equipment
Method
- In a large mixing bowl, sift together the all-purpose flour, cocoa powder, sugar, baking powder, baking soda, and salt. Whisk until well combined.
- In a separate bowl, whisk together the eggs, buttermilk, vegetable oil, vanilla extract, and peanut butter until smooth.
- Gradually pour the wet mixture into the dry ingredients. Fold together gently until just combined; do not overmix.
- Cover the bowl with plastic wrap and let it rest at room temperature for 15 minutes.
- Preheat your oven to 425°F (220°C).
- Line a muffin pan with paper liners and fill every other liner with batter.
- Spoon the batter into the prepared liners, filling each one almost to the top.
- Bake at 425°F (220°C) for 5 minutes, then reduce the temperature to 350°F (175°C) and continue baking for 17-22 minutes.
- Allow the muffins to cool in the pan for about 5 minutes before transferring to a wire rack to cool completely.
Leave a Reply