
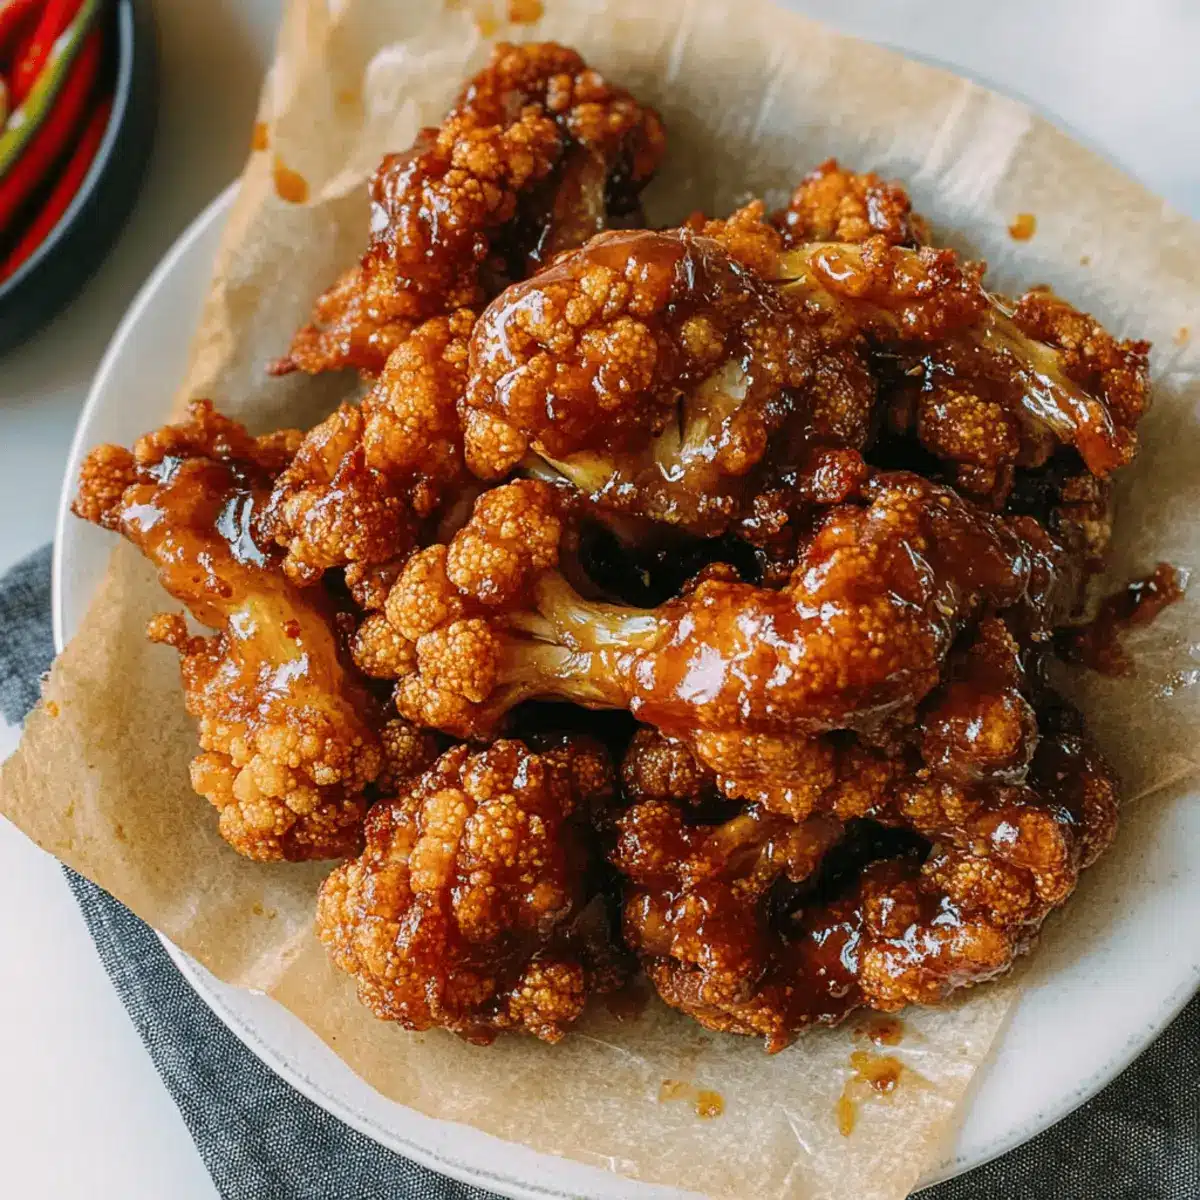
As I stood in my kitchen immersed in a flurry of aromas, the thought struck me: what if I could transform a beloved comfort food into a vibrant, vegan masterpiece? Enter my Korean Fried Cauliflower, a delightful twist that captures the satisfying crunch of fried chicken, but leaves behind the guilt. This dish promises both a quick prep time and a fabulous wow factor for your next gathering, making it a true crowd-pleaser! Tossed in a tangy soy garlic glaze, each bite combines a crispy exterior with tender, flavorful cauliflower — perfect for those shifting away from fast food. Trust me, this indulgent treat will have you feeling good about your choices. Curious how to whip up this delicious dish for yourself? Let’s dive in!
Why Choose Korean Fried Cauliflower?
Guilt-Free Indulgence: This recipe allows you to enjoy crispy fried goodness without compromising your values.
Vegan and Gluten-Free: Tailored for diet-conscious individuals, it caters to diverse dietary needs without skimping on flavor.
Quick and Easy Prep: Utilizing simple ingredients, this dish is perfect for busy weeknights.
Crowd-Pleasing Flavor: Impress your friends and family with this umami-packed glaze that keeps them coming back for more!
Customizable Options: Feel free to swap in your favorite veggies like broccoli for a tasty twist or explore different sauces! You can even find more ideas in my kitchen tips section!
Korean Fried Cauliflower Ingredients
• Get ready to create this delicious dish with an irresistible glaze!
For the Cauliflower
• Cauliflower – A large head gives the best texture and flavor.
• Canola or Peanut Oil – Ideal for frying to achieve that perfect crispy exterior.
For the Batter
• Potato Starch – Facilitates a light, crispy batter; cornstarch can be used for a gluten-free version.
• Cake Flour – Adds tenderness but can be swapped for all-purpose flour.
• Baking Soda – Helps create that airy lightness during frying.
• Salt – Essential for enhancing overall flavor; adjust to your taste.
• White Pepper – Imparts a gentle heat; black pepper is a good substitute.
• Water – Adjust the amount to get the ideal batter thickness.
• Sesame Oil – A splash adds a nutty dimension; it’s optional but recommended.
For the Glaze
• Shallot – Provides sweetness and complexity; onion makes a fine substitute.
• Garlic – Freshly minced gives a more robust flavor in the glaze.
• Dried Red Chili Peppers (optional) – For a kick of heat; simply omit if you prefer milder notes.
• Soy Sauce – The savoriness of this glaze; choose gluten-free soy sauce for a gluten-free option.
• Mirin – Sweetens and rounds out the glaze; rice vinegar with sugar works if needed.
• Rice Vinegar – Brightness in flavor; apple cider vinegar is a great alternative.
• Light Brown Sugar – Adds sweetness to balance flavors; white sugar is a suitable swap.
• Gochujang – Infuses depth and spiciness; reduce or skip for less heat.
• Dijon Mustard – Introduces a tangy element to the mix.
Gather these ingredients, and you’ll be just moments away from creating a stunning dish that not only satisfies your cravings but also aligns with your dietary choices!
Step‑by‑Step Instructions for Korean Fried Cauliflower
Step 1: Prep Cauliflower
Begin by washing a large head of cauliflower thoroughly under cool water. Cut it into palm-sized florets, ensuring each piece is uniform for even cooking. This step helps to guarantee that your Korean Fried Cauliflower will have the perfect texture when fried, allowing for a delightful crunch on the outside and tenderness within.
Step 2: Make Batter
In a large mixing bowl, whisk together potato starch, cake flour, baking soda, salt, and white pepper. Gradually add water and sesame oil while stirring until the batter is smooth and lump-free, achieving a consistency that can coat the cauliflower. This batter will be the key to the crispy exterior of your Korean Fried Cauliflower when it is fried.
Step 3: Fry (First Batch)
Heat canola or peanut oil in a deep pot to 325°F (163°C). Carefully coat each cauliflower floret in the batter, allowing any excess to drip off before gently lowering them into the hot oil. Fry in batches for 2-3 minutes or until golden brown and crispy. Use a slotted spoon to remove the pieces and drain them on a cooling rack to maintain their crispness.
Step 4: Prepare Glaze
In a saucepan over medium heat, sauté minced shallot and garlic in a little oil until fragrant and softened, about 2-3 minutes. If you like a spicy kick, add optional dried red chili peppers. Stir in soy sauce, mirin, rice vinegar, light brown sugar, gochujang, and Dijon mustard, allowing the mixture to simmer for 4-5 minutes. This will create a rich and flavorful glaze to coat your Korean Fried Cauliflower.
Step 5: Fry (Second Batch)
Once the first batch of cauliflower is nicely fried and drained, reheat the oil to 325°F (163°C). Carefully fry the cauliflower a second time, for just 1-2 minutes, until exceptionally crunchy. The double fry technique is crucial for achieving that wonderful texture, ensuring each piece remains light and crispy even after being coated in glaze.
Step 6: Coat Cauliflower
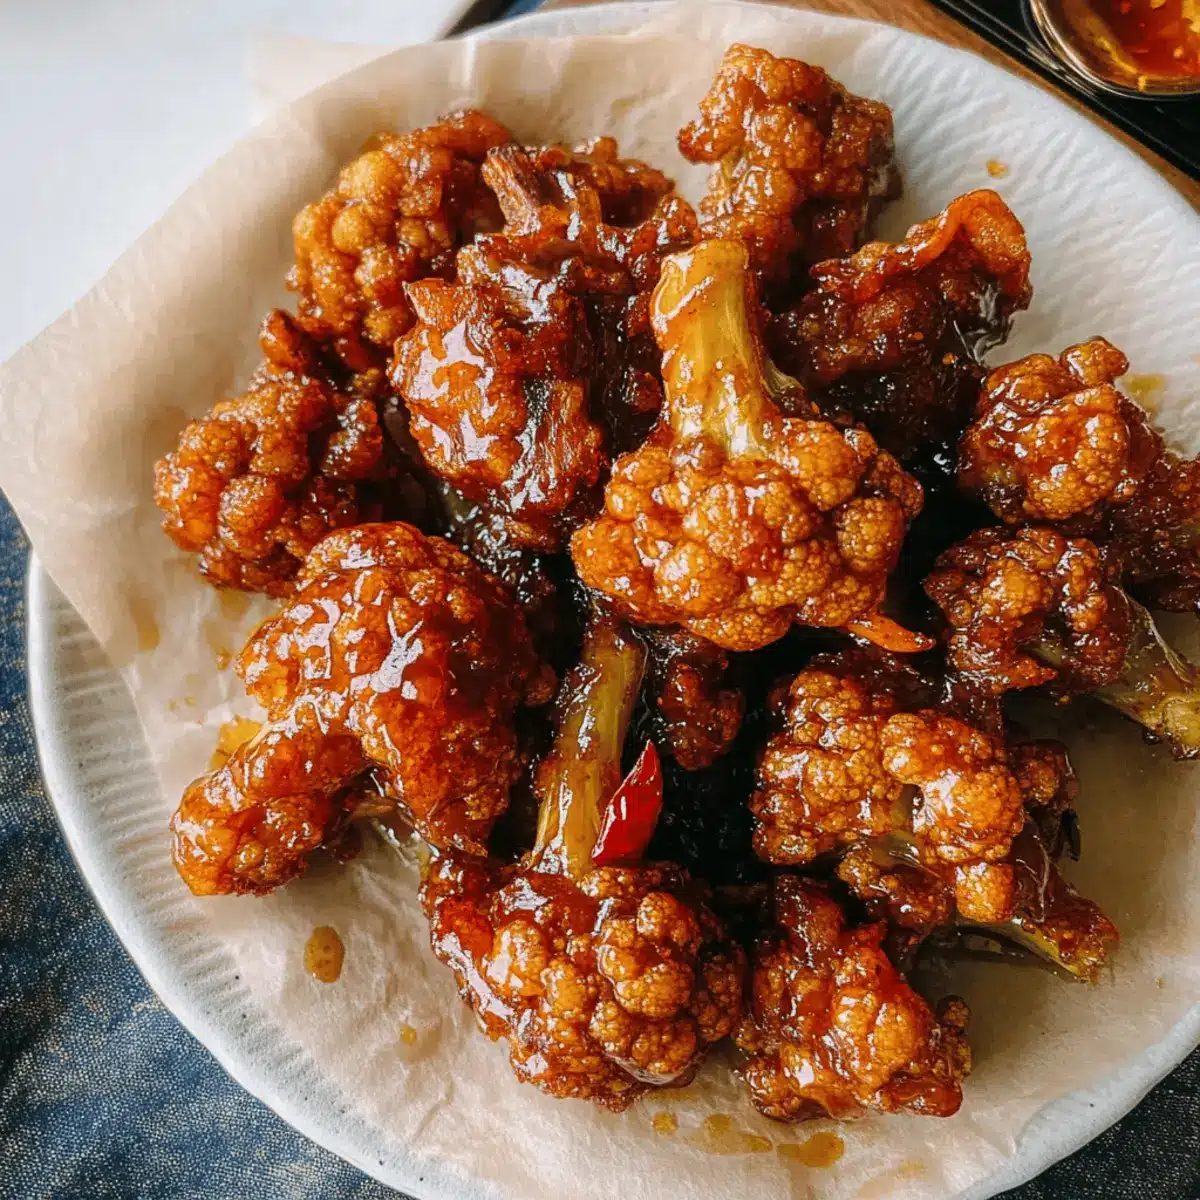
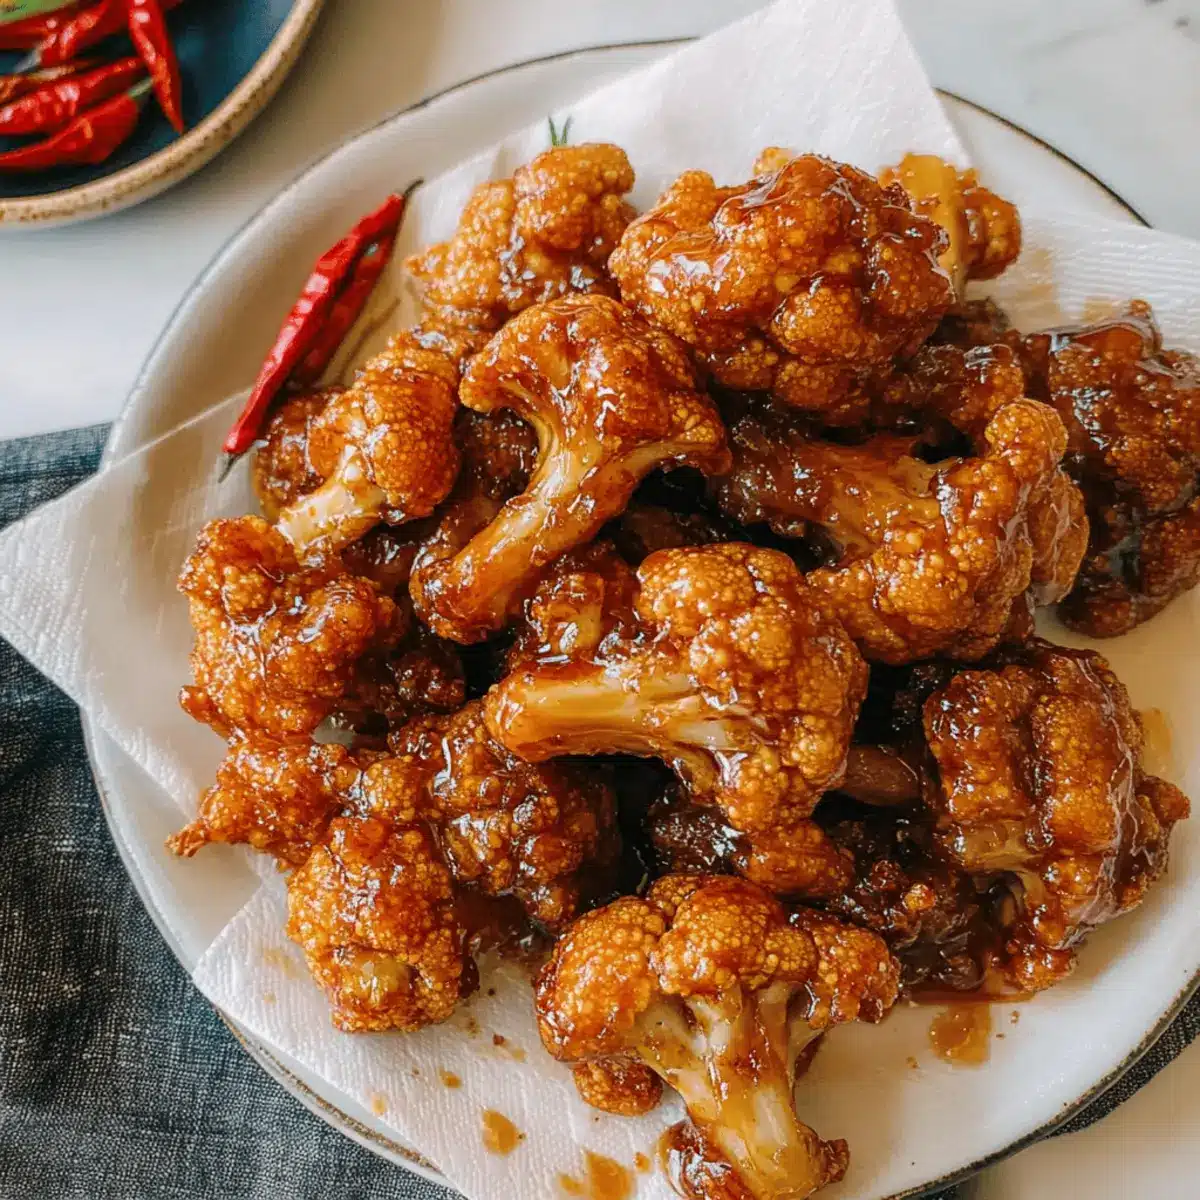
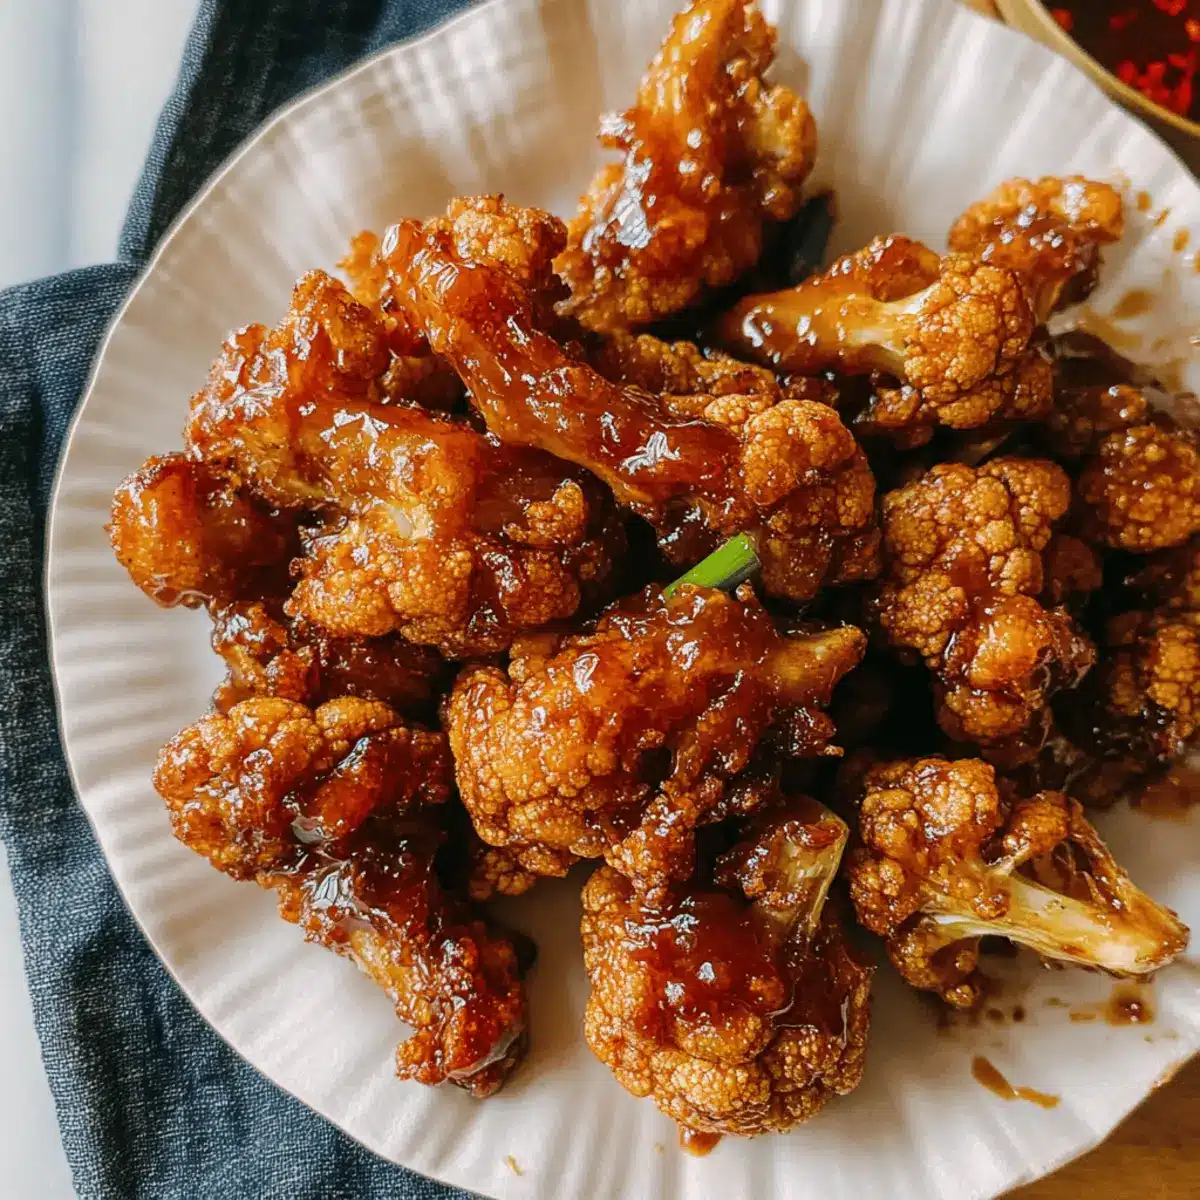
In a large mixing bowl, add your beautifully fried cauliflower and pour the prepared glaze over the top. Gently toss until every piece is generously coated, allowing the glaze to enhance the flavors. Serve your Korean Fried Cauliflower immediately while still hot for the best taste and texture, and watch as everyone enjoys this flavorful indulgence.
Korean Fried Cauliflower: Variations & Substitutions
Feel free to mix things up and make this dish truly yours with these fun and flavorful variations!
-
Vegetable Medley: Mix in broccoli or bell peppers for a vibrant veggie combo that adds different textures. These colors will not only brighten your plate, but they’ll also boost the nutritional value of your meal.
-
Air-Fried Option: Use an air fryer instead of frying for a healthier twist. Simply coat the cauliflower and pop it in the air fryer at 400°F (200°C) for about 10-15 minutes. You won’t miss the oil and still get that nice crunch!
-
Gluten-Free Upgrade: Swap cake flour for almond flour for a gluten-free spin while retaining that delicious batter. This change also gives your Korean Fried Cauliflower a nuttier flavor that complements the glaze beautifully.
-
Spice It Up: Add cayenne pepper or chili flakes to the batter for an extra kick. This special touch adds a delightful heat, making every bite unforgettable.
-
Different Sauces: Experiment with your favorite sauces, like a tangy sweet and sour sauce or sriracha mayo, for a new flavor profile. Each sauce creates a magical experience, identical to your favorite takeout!
-
Crispy Coating Enhancement: Top with panko breadcrumbs after the first fry for an even crunchier texture. The added layer will ensure every bite delivers that satisfying crunch you crave.
-
Vegan Mayonnaise Drizzle: For a creamy contrast, try drizzling vegan mayonnaise on top for a rich and delicious finish. It’s a fantastic way to enhance the comfort aspect of this dish!
-
Sweet & Spicy Glaze: Incorporate honey or maple syrup into the glaze for a delightful sweet undertone that balances the savory elements perfectly. This simple adjustment can transform your dish into a flavor bomb!
Curious for more exciting flavors and tips? Check out my collection of kitchen tips that can inspire your next culinary adventure!
How to Store and Freeze Korean Fried Cauliflower
-
Room Temperature: Enjoy your Korean Fried Cauliflower fresh for the best taste. If left out, it should not sit for more than 2 hours to maintain quality.
-
Fridge: Store any leftovers in an airtight container in the refrigerator for up to 1 day. To revive the flavor and texture, reheat in the oven at 350°F (175°C) for about 10 minutes.
-
Freezer: For longer storage, freeze the cooked cauliflower in a single layer on a baking sheet, then transfer to an airtight container or freezer bag. It can be frozen for up to 3 months.
-
Reheating: To restore crispiness when reheating from frozen, place the Korean Fried Cauliflower in the oven at 375°F (190°C) for 15-20 minutes until heated through and crispy again.
Tips for the Best Korean Fried Cauliflower
-
Watch the Temperature: Ensure your oil stays at 325°F (163°C) for perfect crispiness; too hot or too cool can lead to greasy cauliflower.
-
Batter Consistency: Aim for a smooth batter that clings to the cauliflower without being too thick or runny; a good mixture ensures a light, crispy coating.
-
Double Fry for Crunch: Frying the cauliflower twice is essential; the first fry cooks the inside, while the second fry creates a delightful crunch on the outside.
-
Avoid Overcrowding: Fry in small batches to maintain oil temperature and crispness; overcrowding can lead to steaming rather than frying.
-
Glaze Right Before Serving: Coat your Korean Fried Cauliflower in glaze right before serving to keep the batter crispy; waiting too long can make it soggy.
-
Customize Your Flavor: Feel free to adjust the gochujang and chili peppers according to your spice preference, making the dish uniquely yours!
What to Serve with Korean Fried Cauliflower
Imagine a table brimming with vibrant colors, flavors, and textures that elevate your Korean Fried Cauliflower to a stunning meal fit for any occasion.
-
Fluffy Jasmine Rice: The subtle sweetness and light texture of jasmine rice perfectly balance the bold flavors of the cauliflower’s glaze.
-
Creamy Avocado Salad: Fresh avocado adds a creamy contrast, enhancing the dish’s richness while providing a nutritious, vibrant touch.
-
Pickled Cucumber Salad: A tangy, crunch remedy, this salad cuts through the richness of the fried cauliflower, refreshing your palate with each bite.
-
Spicy Kimchi: The fermented, spicy notes of kimchi bring an exciting zing, creating a delightful harmony with the umami flavors of the glaze.
-
Crunchy Asian Slaw: A medley of cabbage, carrots, and sesame dressing adds freshness and crunch, making for a lively, colorful plate alongside your cauliflower.
-
Crispy Rice Cakes: These puffy, mildly flavored cakes provide a unique, satisfying crunch, adding an interesting twist to your meal experience.
-
Cold Soba Noodles: Tossed in a light soy sauce and sesame dressing, these chilled noodles create a refreshing counterpoint to the warm, fried cauliflower.
-
Chilled Green Tea: The soothing notes of green tea cleanse the palate while complementing the dish’s rich flavors, enhancing your dining experience.
-
Vegan Chocolate Mousse: For dessert, a light and rich vegan chocolate mousse completes your meal, providing a sweet endnote without the heaviness.
Make Ahead Options
These Korean Fried Cauliflower bites are perfect for meal prep enthusiasts! You can prepare the cauliflower florets and the batter up to 24 hours in advance. Simply wash and cut the cauliflower, and store it in an airtight container in the refrigerator to keep it fresh. You can also mix the batter (potato starch, cake flour, water, and seasonings) and refrigerate it until you’re ready to fry. When you’re ready to serve, heat your oil and follow the frying steps, ensuring to fry them twice for that unbeatable crispiness. This makes it easy to enjoy a delicious, homemade meal even on your busiest weeknights!
Korean Fried Cauliflower Recipe FAQs
What should I look for when selecting cauliflower?
When choosing cauliflower, opt for a large head that feels dense and solid. Look for a clean, white color with no dark spots or blemishes. If the leaves are vibrant and green, that’s a good sign! Avoid any that have dark spots or a yellowing appearance, as these are indicators of over-ripeness.
How should I store leftover Korean Fried Cauliflower?
For optimal taste, it’s best to enjoy your Korean Fried Cauliflower fresh. However, if you have leftovers, store them in an airtight container in the refrigerator for up to 1 day. To reheat, pop them in the oven at 350°F (175°C) for around 10 minutes to regain that delightful crispiness.
Can I freeze Korean Fried Cauliflower?
Absolutely! To freeze, first, allow the cooked cauliflower to cool completely. Arrange it in a single layer on a baking sheet and freeze it for about 1-2 hours. Once frozen, transfer the cauliflower to an airtight container or freezer bag. You can enjoy it for up to 3 months! Just remember to reheat from frozen at 375°F (190°C) for 15-20 minutes until crispy.
What if my batter is too thick for the Korean Fried Cauliflower?
If you notice that your batter is too thick, you can easily remedy this! Gradually add a little more water while mixing until you achieve a smooth, pourable consistency. It should coat the cauliflower without being runny. Aim for a texture that clings to the florets nicely while still allowing for airiness when fried.
Is this recipe suitable for people with allergies?
This Korean Fried Cauliflower recipe supports a vegan diet, but note that some ingredients, like gluten-containing flour or soy sauce, may not be suitable for everyone. For a gluten-free option, you can substitute cake flour with a gluten-free flour blend and ensure your soy sauce is gluten-free. Always check labels for potential allergens if you have food sensitivities.
Can I customize the heat level in the glaze?
Absolutely! If you’re looking to dial down the heat, simply omit the dried red chili peppers and reduce the amount of gochujang. On the flip side, if you like it spicy, you can add extra chili peppers or increase the gochujang for a nice kick. The recipe is wonderfully versatile, so make it your own!
Crispy Korean Fried Cauliflower You'll Crave Again and Again
Ingredients
Equipment
Method
- Prep Cauliflower: Wash the cauliflower thoroughly and cut into palm-sized florets.
- Make Batter: Whisk together potato starch, cake flour, baking soda, salt, and white pepper. Gradually add water and sesame oil until smooth.
- Fry (First Batch): Heat oil to 325°F; coat cauliflower florets in batter and fry for 2-3 minutes until golden brown.
- Prepare Glaze: Sauté shallot and garlic until fragrant. Add soy sauce, mirin, rice vinegar, sugar, gochujang, and mustard, simmer for 4-5 minutes.
- Fry (Second Batch): Fry the cauliflower a second time for 1-2 minutes until crunchy.
- Coat Cauliflower: Toss the fried cauliflower in the prepared glaze and serve immediately.
Leave a Reply