
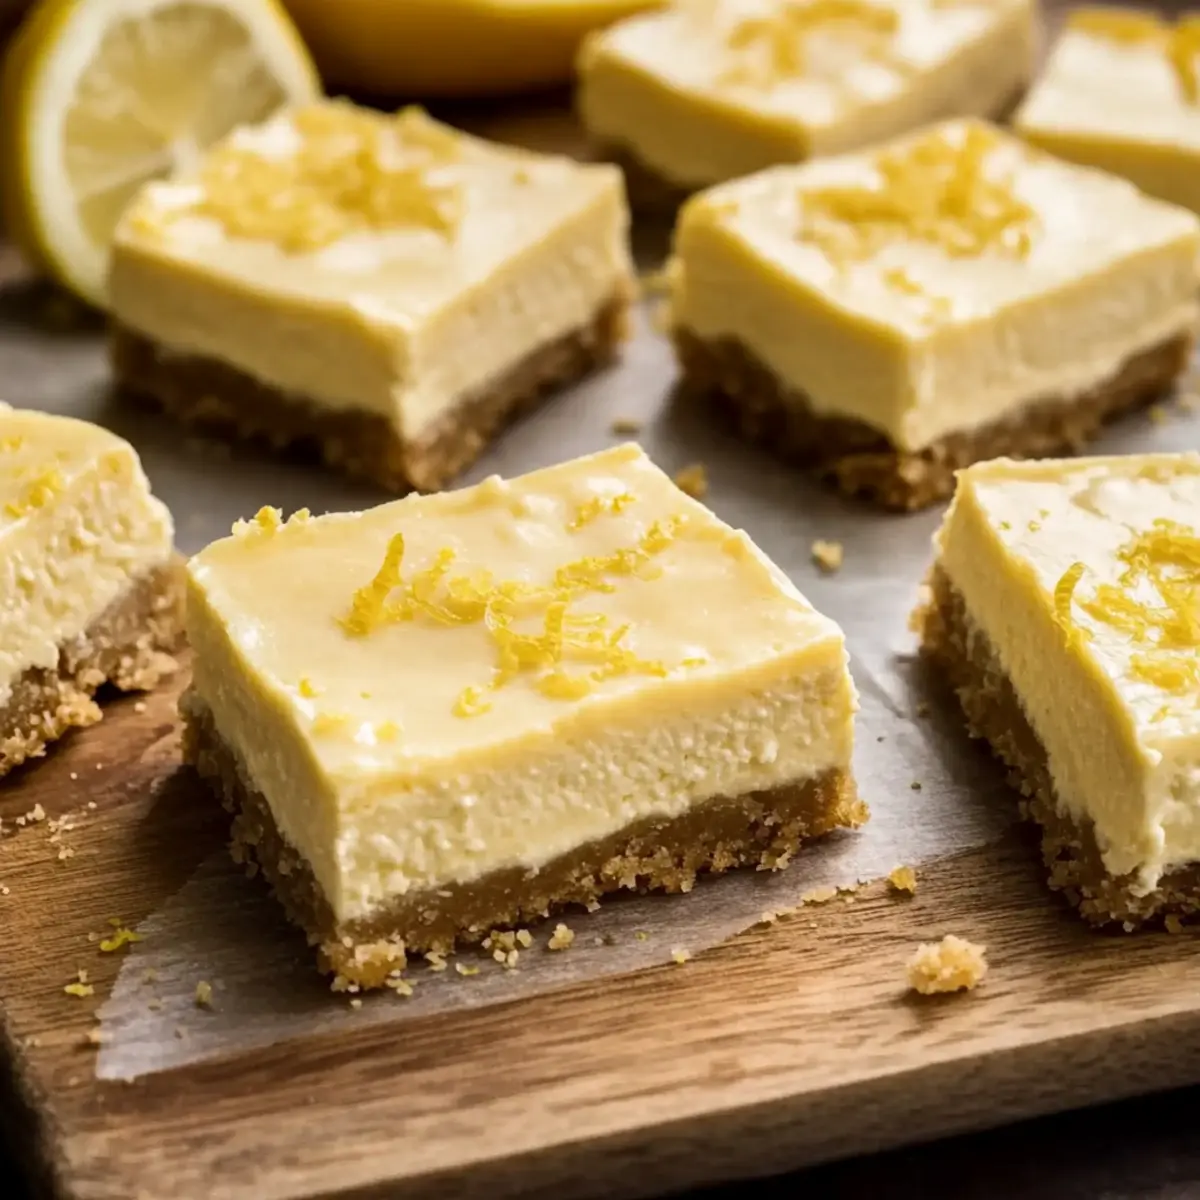
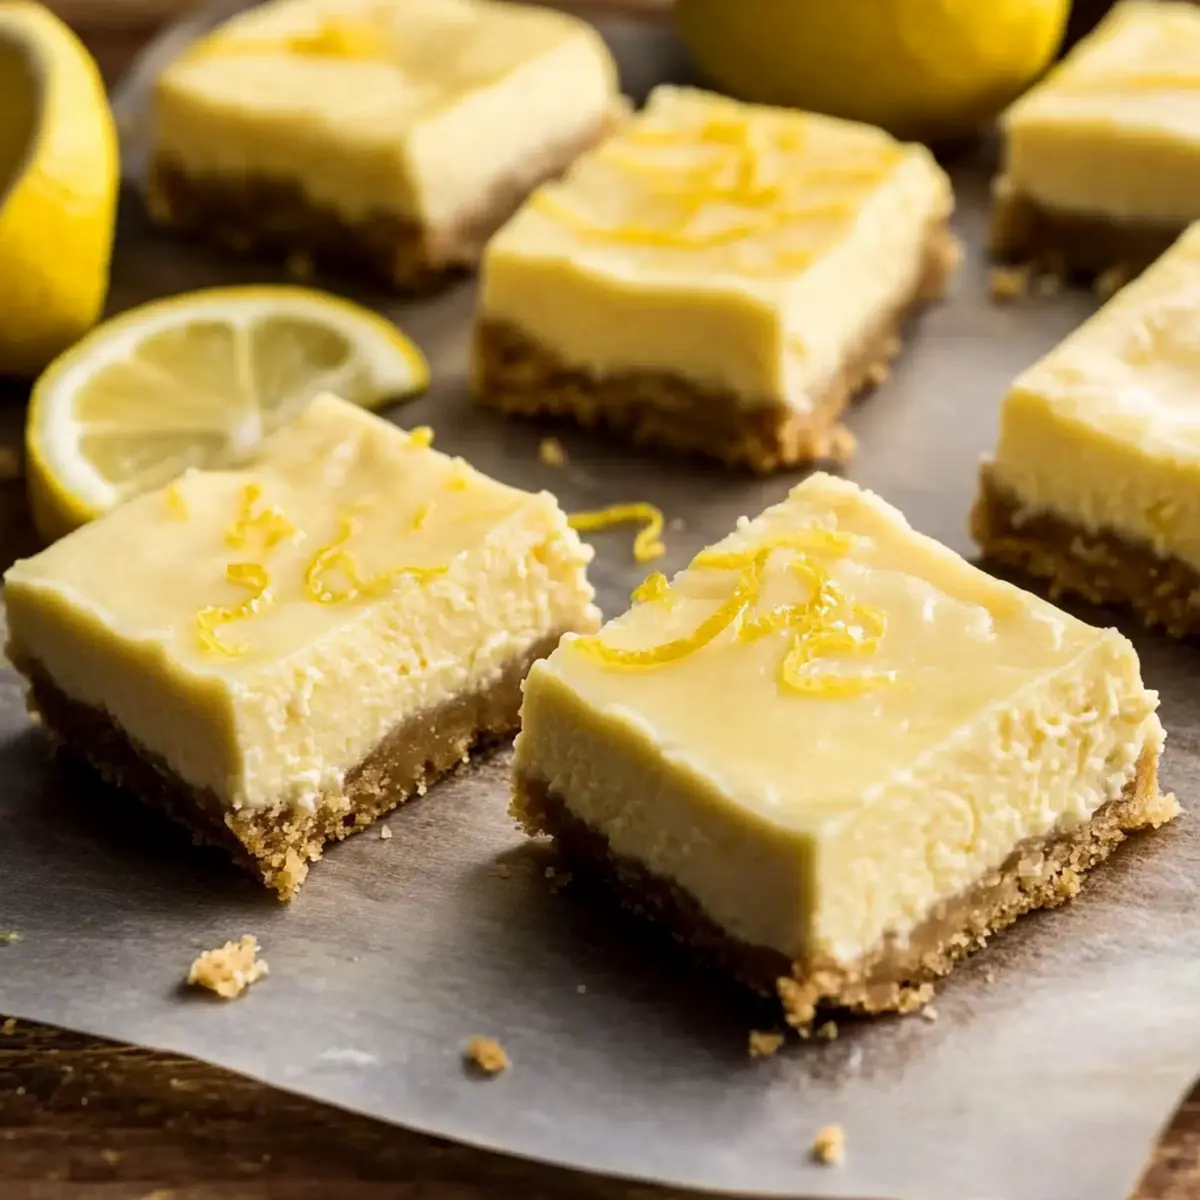
As I stood in my kitchen, the scent of freshly zested lemons filled the air, coaxing me back to warm afternoons spent savoring sweet, tart delights. That’s when I decided to whip up these Lemon Cheesecake Bars—a delectable fusion of creamy cheesecake and zesty lemon bars that is sure to brighten your day. Quick to prepare and irresistibly refreshing, these bars are perfect for gatherings or a quiet moment of indulgence. They bring together a light and velvety texture, balanced by a buttery crust, making them a must-try for any cheesecake aficionado. Ready to bring a burst of citrus sunshine into your dessert routine? Let’s dive into the recipe!
Why Make Lemon Cheesecake Bars?
Zesty, Creamy Bliss: Each bite of these Lemon Cheesecake Bars offers a delightful journey of flavors, where the tangy lemon zest perfectly complements the creamy cheesecake filling.
Quick & Easy: With just a handful of ingredients and straightforward steps, you can whip up these delightful bars in no time, making them a fantastic option for busy weeknights or unexpected guests!
Crowd-Pleasing Treat: Ideal for parties and gatherings, these bars are bound to be a hit, leaving everyone asking for seconds!
Versatile Flavor: While lemon shines bright in this recipe, feel free to explore with lime or orange for a fresh twist, similar to my Pumpkin Cheesecake Cookies or Blueberry Cheesecake Crumble.
Make-Ahead Convenience: These bars store well in the fridge, so you can prepare ahead and enjoy them when the craving strikes.
Lemon Cheesecake Bars Ingredients
For the Crust
• Flour – Provides structure; for a gluten-free version, swap in gluten-free flour.
• Powdered Sugar – Adds sweetness and smooth texture to the crust.
• Butter (softened) – Creates a rich, creamy crust; margarine can be used as a dairy-free substitute.
• Salt – Enhances overall flavor without making it salty.
For the Filling
• Cream Cheese (softened) – The main component for the cheesecake filling; ensures a creamy texture.
• Egg Yolks – Adds richness and helps set the filling.
• Whole Eggs – Provides stability and structure to the cheesecake filling.
• Sweetened Condensed Milk – Adds sweetness and creaminess; ensures the filling is smooth.
• Vanilla Extract – Enhances flavor depth; you can substitute with almond extract for a different profile.
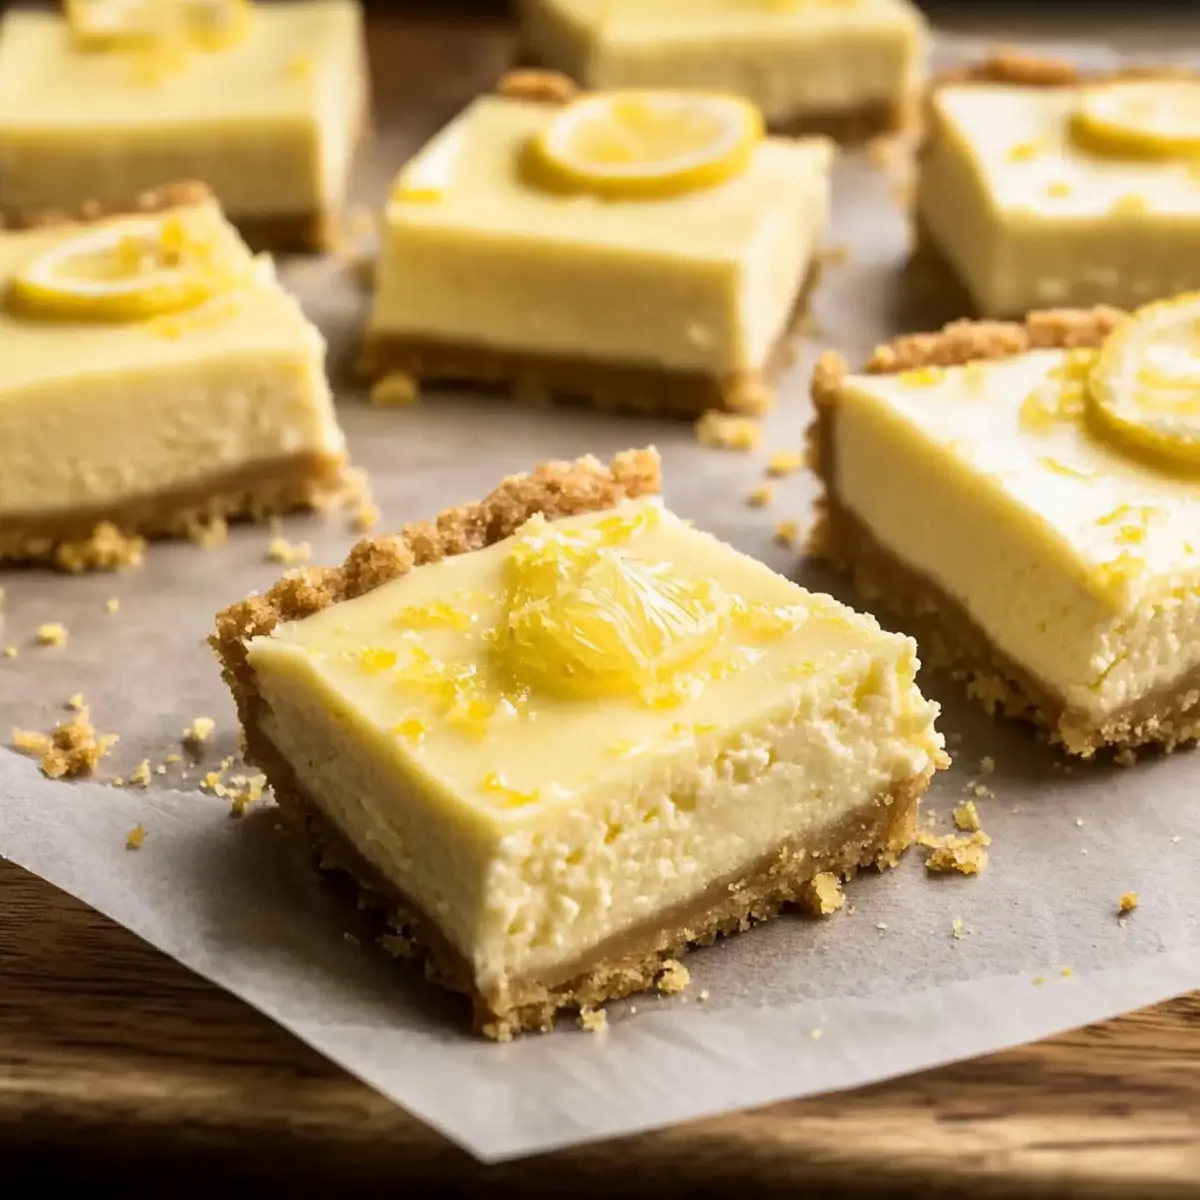
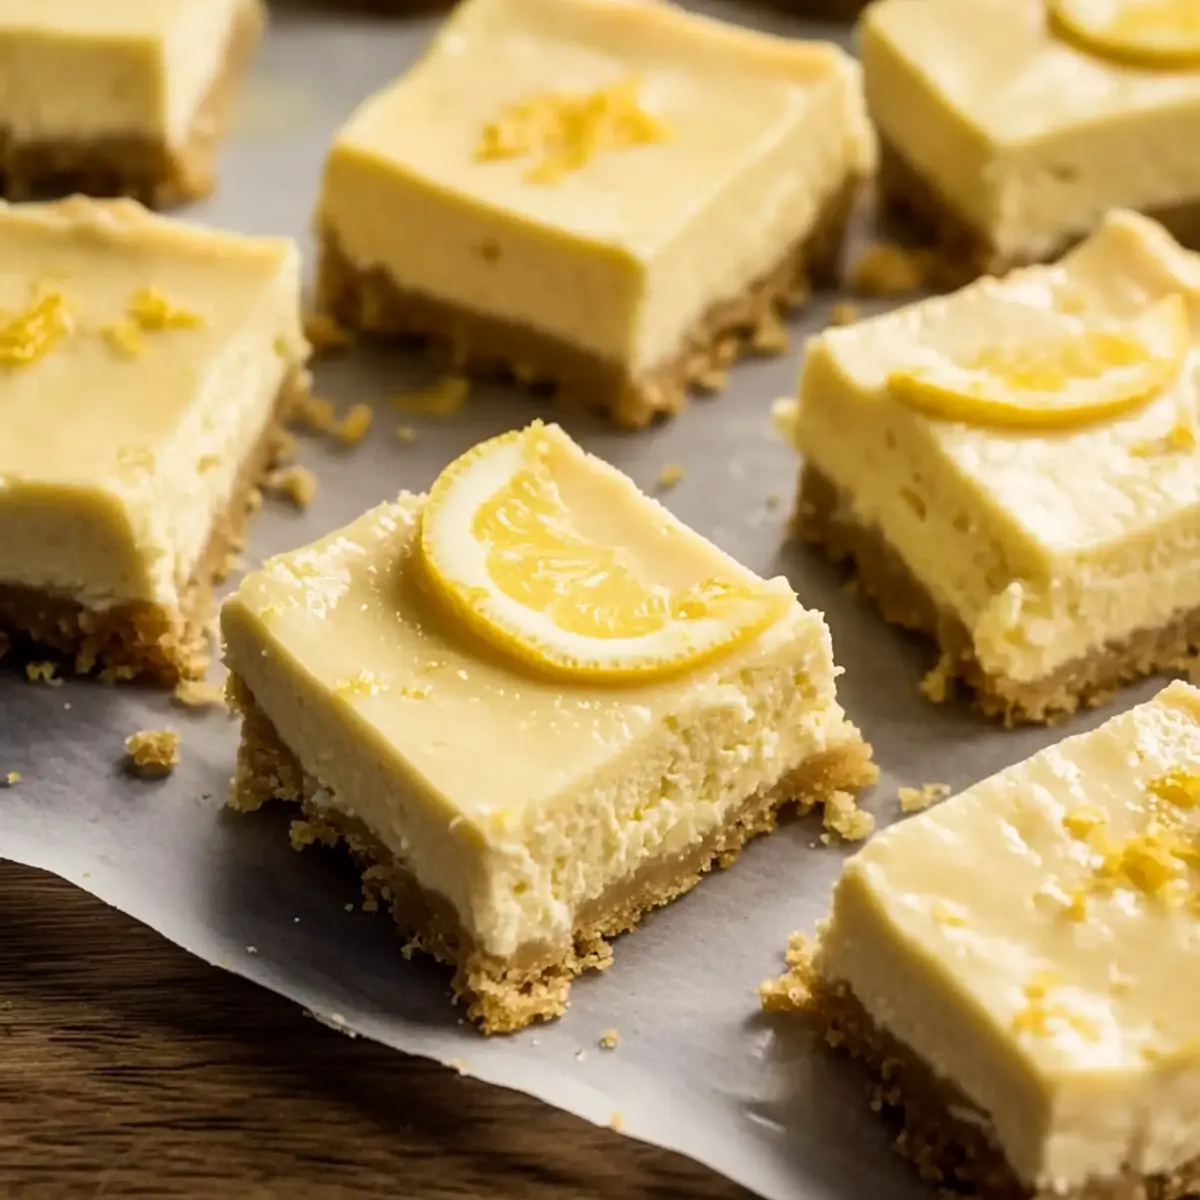
• Lemon Zest – Adds bright flavor notes; use fresh zest for best results.
• Lemon Juice – Provides acidity and tartness to balance the sweetness of the filling.
Dive into creating these delicious Lemon Cheesecake Bars that promise a perfect blend of tart and sweet!
Step‑by‑Step Instructions for Lemon Cheesecake Bars
Step 1: Prepare the Crust
Preheat your oven to 350°F (175°C). In a mixing bowl, combine flour, powdered sugar, softened butter, and a pinch of salt. Use a fork or pastry cutter to blend until the mixture resembles coarse crumbs. Press this crumbly dough evenly into the bottom of a greased 9×13 inch baking dish, creating a smooth, even layer.
Step 2: Bake the Crust
Place the crust in the preheated oven and bake for 15 minutes or until it turns lightly golden. Keep an eye on it—the color change is your signal that it’s ready. Once done, remove the crust from the oven and let it cool slightly while you prepare the filling.
Step 3: Mix Filling
In a large mixing bowl, add the softened cream cheese. Beat it with an electric mixer on medium speed until creamy and smooth, about 2 minutes. Gradually mix in egg yolks, whole eggs, sweetened condensed milk, vanilla extract, lemon zest, and lemon juice. Ensure everything is well combined and you achieve a silky mixture without lumps.
Step 4: Assemble and Bake Again
Pour the luscious cheesecake filling over the pre-baked crust, spreading it evenly with a spatula. Carefully return the baking dish to the oven and bake for an additional 35-40 minutes. The center should be set but still slightly jiggly—this ensures a creamy texture for your Lemon Cheesecake Bars.
Step 5: Cool and Serve
After baking, remove the dish from the oven and allow the bars to cool at room temperature for about 30 minutes. Then, refrigerate them for at least 2 hours until fully chilled. Once set, slice into bars and enjoy the bright, zesty flavors of this delightful dessert!
What to Serve with Lemon Cheesecake Bars
These zesty delights deserve the perfect accompanying dishes to enhance your dining experience.
-
Fresh Berries: A colorful medley of strawberries, blueberries, or raspberries brightens the plate while adding a burst of freshness that complements the creamy cheesecake.
-
Whipped Cream: Light, airy whipped cream provides a luscious contrast to the dense bars, enhancing each bite with a cloud-like sweetness. Consider a drizzle of honey as a delightful touch!
-
Iced Tea: A refreshing glass of iced tea, whether sweetened or herbal, balances the tartness of the lemon and offers a cool sip to cleanse your palate.
-
Chocolate Drizzle: A rich chocolate drizzle brings a touch of indulgence; its sweetness perfectly offsets the tangy lemon, creating an irresistible flavor combination.
-
Lemonade: A glass of tangy homemade lemonade echoes the bright flavors of the bars, making for a fun and lively pairing, especially on warm days.
-
Coconut Macaroons: The chewy sweetness of coconut macaroons contrasts beautifully with the smooth texture of the bars, adding a delightful twist to your dessert spread.
Make Ahead Options
These Lemon Cheesecake Bars are perfect for meal prep enthusiasts! You can prepare the crust up to 24 hours in advance, simply pressing it into the greased baking dish and covering it with plastic wrap until you’re ready to bake. The cheesecake filling can also be made ahead and stored in the refrigerator for up to 3 days. Just mix all the ingredients together and refrigerate in an airtight container. When you’re ready to enjoy your bars, pour the filling over the crust and bake as directed. This ensures your bars maintain that creamy texture while saving you precious time for busy weeknights!
Lemon Cheesecake Bars: Customization Options
Feel free to get creative and make these Lemon Cheesecake Bars uniquely yours with these delightful variations!
-
Gluten-Free: Replace regular flour with a high-quality gluten-free flour blend for a delicious gluten-free treat.
-
Dairy-Free: Swap cream cheese with a dairy-free alternative like cashew cream to create a luscious non-dairy version. This ensures every bite is just as creamy!
-
Sugar-Free: Use a sugar substitute in place of powdered sugar, making these bars a guilt-free indulgence without sacrificing flavor.
-
Fruit-Filled: Add a layer of fresh berries on top of the cheesecake before serving. Raspberries or blueberries add a pop of sweetness and color, echoing the freshness found in my Chocolate Chip Bars.
-
Citrus Twist: Substitute lemon juice with fresh lime or orange juice for a refreshing twist. Each fruit brings its own unique flavor depth that fascinates the palate.
-
Nutty Crust: Incorporate crushed nuts, like almonds or pecans, into your crust for an added crunch and flavor. This texture contrast elevates your dessert experience!
-
Extra Zest: Boost the lemon flavor by adding an extra teaspoon of lemon zest to the filling. This bold move enhances the citrus punch, making each bite even more vibrant.
-
Chocolate Drizzle: Drizzle melted white or dark chocolate over the cooled bars for a decadent touch that complements the tartness beautifully. It brings a delightful surprise to every bite!
Expert Tips for Lemon Cheesecake Bars
-
Softened Cream Cheese: Ensure your cream cheese is properly softened before mixing to prevent lumps and achieve a silky filling.
-
Don’t Rush the Cooling: Allow your bars to cool completely at room temperature before refrigerating. This helps set the texture and enhances flavors.
-
Watch the Bake Time: Keep an eye on bake time; the filling should be slightly jiggly in the center when you remove it from the oven for the best Lemon Cheesecake Bars.
-
Measure Accurately: Precise measurements for ingredients like lemon juice and zest can greatly affect taste. Too much acidity can overwhelm the sweetness.
-
Chill Before Slicing: For neat slices, refrigerate the bars for at least 2 hours. This allows the filling to firm up nicely, making for an easier cutting experience.
How to Store and Freeze Lemon Cheesecake Bars
Fridge: Store the bars in an airtight container in the refrigerator for up to one week. This keeps them fresh and chilled for a delightful treat whenever you desire.
Freezer: For longer storage, wrap the Lemon Cheesecake Bars tightly in plastic wrap, then foil, and freeze for up to 2 months. Thaw in the refrigerator before serving to maintain texture.
Reheating: These bars are best enjoyed cold, but if you prefer them slightly warmed, microwave for about 10-15 seconds. Enjoy the creamy goodness!
Lemon Cheesecake Bars Recipe FAQs
How do I choose ripe lemons for the recipe?
Absolutely! When selecting lemons, look for ones that are firm and heavy for their size, with a bright, smooth skin. Avoid lemons with dark spots or wrinkled skin. The juiciness and flavor will be perfect for your Lemon Cheesecake Bars if they are fresh and vibrant!
How should I store leftover Lemon Cheesecake Bars?
You can store your delicious bars in an airtight container in the refrigerator for up to one week. This ensures they stay fresh and zesty. They can also be made a day in advance for added convenience, perfect for busy schedules or gatherings!
Can I freeze Lemon Cheesecake Bars?
Certainly! To freeze your Lemon Cheesecake Bars, wrap them tightly in plastic wrap and then aluminum foil to prevent freezer burn. They can be stored in the freezer for up to 2 months. When you’re ready to enjoy them, simply thaw in the refrigerator for several hours or overnight. This helps retain their creamy texture when serving.
What should I do if the cheesecake filling is lumpy?
No worries! If your filling turns out lumpy, it may be due to cold cream cheese. Make sure your cream cheese is at room temperature before mixing; this helps achieve a smooth texture. If it’s already mixed and still lumpy, you can blend it again until smooth, ensuring all is well combined.
Are Lemon Cheesecake Bars safe for people with allergies?
While these bars are delicious, they contain common allergens like dairy and eggs. If you’re serving someone with allergies, I recommend using a dairy-free cream cheese and replacing eggs with a suitable egg substitute such as flax eggs or commercial egg replacer. Always verify ingredient labels to ensure safety for your guests.
What’s the best way to achieve a silky texture in my filling?
Great question! To achieve that creamy, silky filling for your Lemon Cheesecake Bars, make sure to start with softened cream cheese. Beat it until light and fluffy before gradually adding in the other ingredients. Combine everything on medium speed for about 2 minutes until completely smooth. This step is vital to prevent lumps and create that perfect, delightful texture!
Lemon Cheesecake Bars: A Refreshing Twist on Classic Delight
Ingredients
Equipment
Method
- Preheat your oven to 350°F (175°C). In a mixing bowl, combine flour, powdered sugar, softened butter, and a pinch of salt. Use a fork or pastry cutter to blend until the mixture resembles coarse crumbs. Press this crumbly dough evenly into the bottom of a greased 9x13 inch baking dish.
- Place the crust in the preheated oven and bake for 15 minutes or until it turns lightly golden. Once done, remove the crust from the oven and let it cool slightly while you prepare the filling.
- In a large mixing bowl, add the softened cream cheese. Beat it with an electric mixer on medium speed until creamy and smooth, about 2 minutes. Gradually mix in egg yolks, whole eggs, sweetened condensed milk, vanilla extract, lemon zest, and lemon juice.
- Pour the cheesecake filling over the pre-baked crust, spreading it evenly with a spatula. Bake for an additional 35-40 minutes until the center is set but still slightly jiggly.
- Allow the bars to cool at room temperature for about 30 minutes, then refrigerate for at least 2 hours until fully chilled. Slice into bars and enjoy!
Leave a Reply