
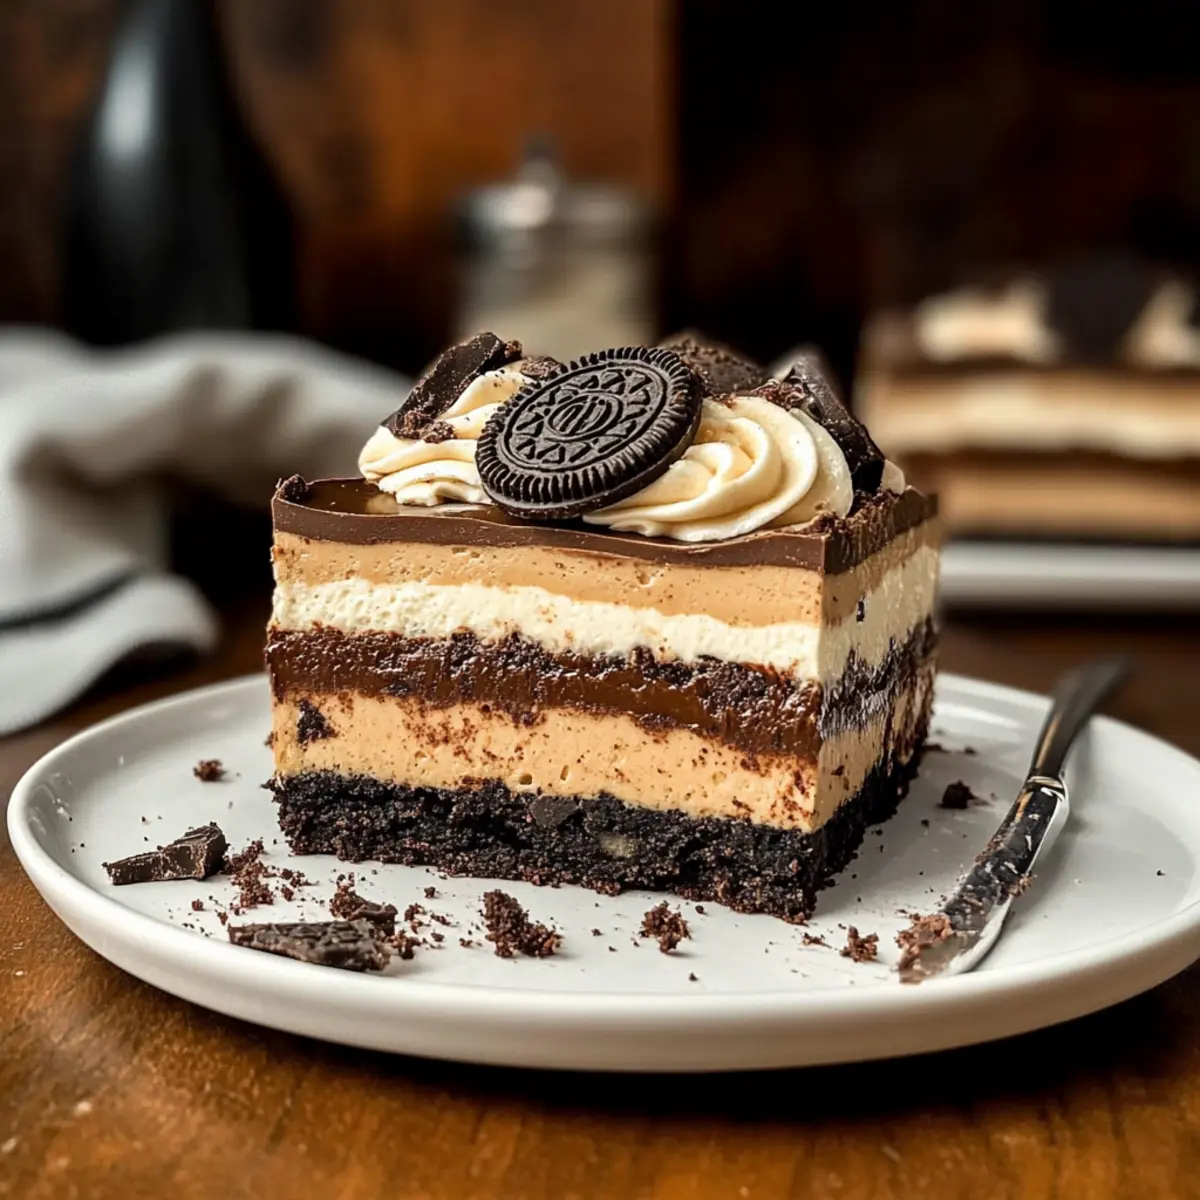
A delightful wave of nostalgia washed over me as I unwrapped a chilled slice of this No Bake Chocolate Peanut Butter Oreo Dessert, the perfect treat to satisfy a sweet tooth without heating up the kitchen. This easy dessert combines creamy peanut butter and rich chocolate, all layered beautifully over a crunchy Oreo crust. Not only does it offer an indulgent escape from fast food, but it also brings together friends and family during gatherings with its irresistible charm. With minimal prep time and no oven required, it’s perfect for those busy days when you still want to impress. Did I mention it’s a total crowd-pleaser? So, who’s ready to layer up some deliciousness and bring a little joy into their day?
Why Is This Dessert So Irresistible?
Simplicity at its Best: This No Bake Chocolate Peanut Butter Oreo Dessert requires no oven, making it a breeze to whip up even on the busiest days.
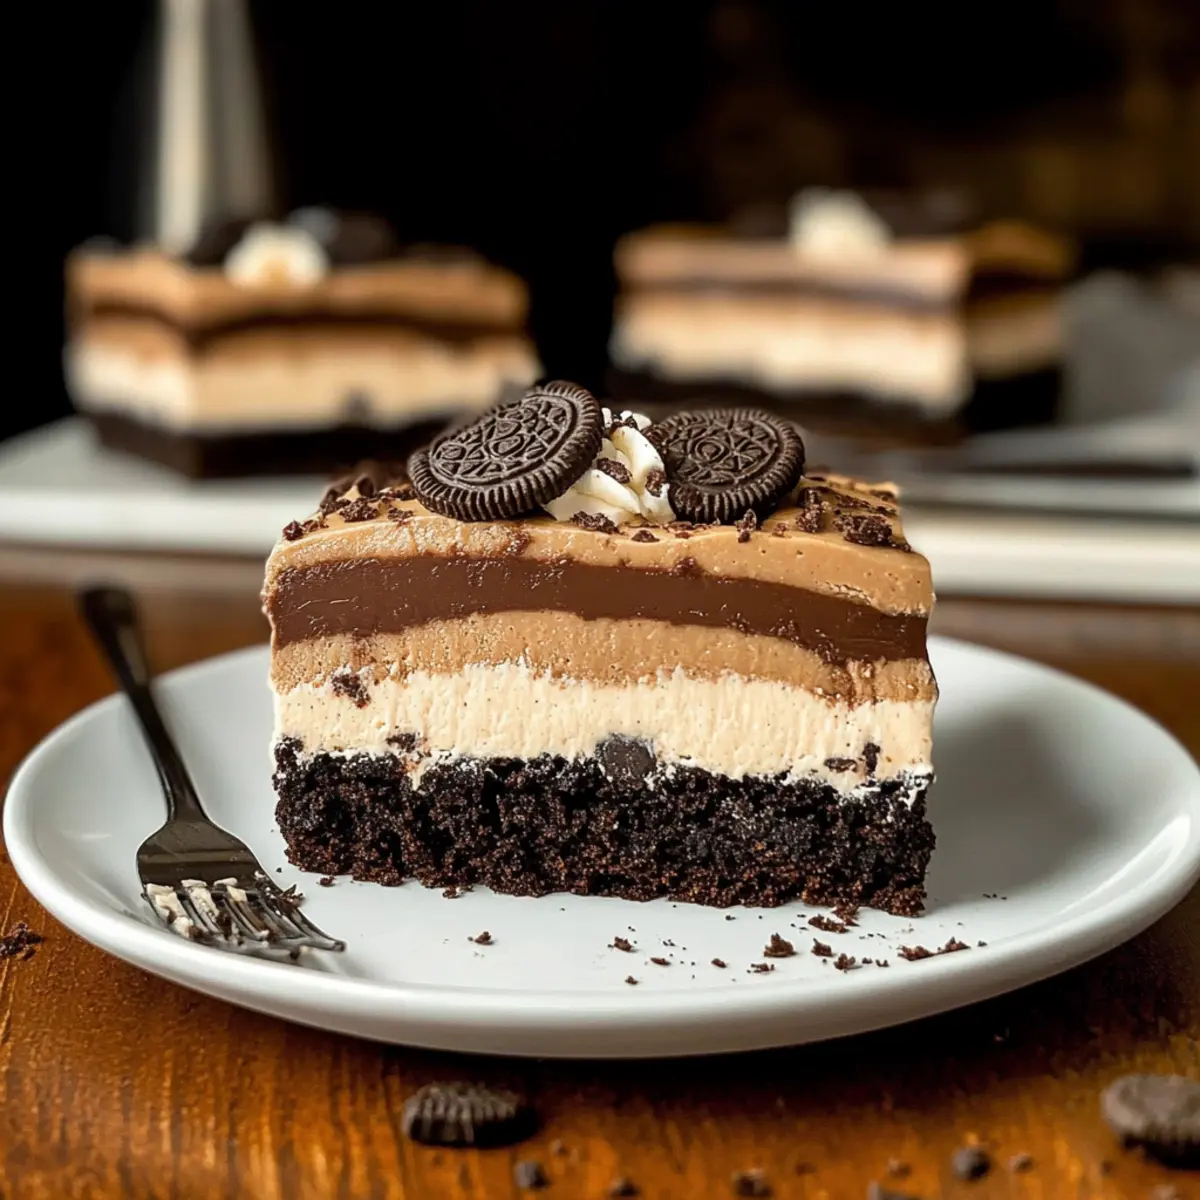
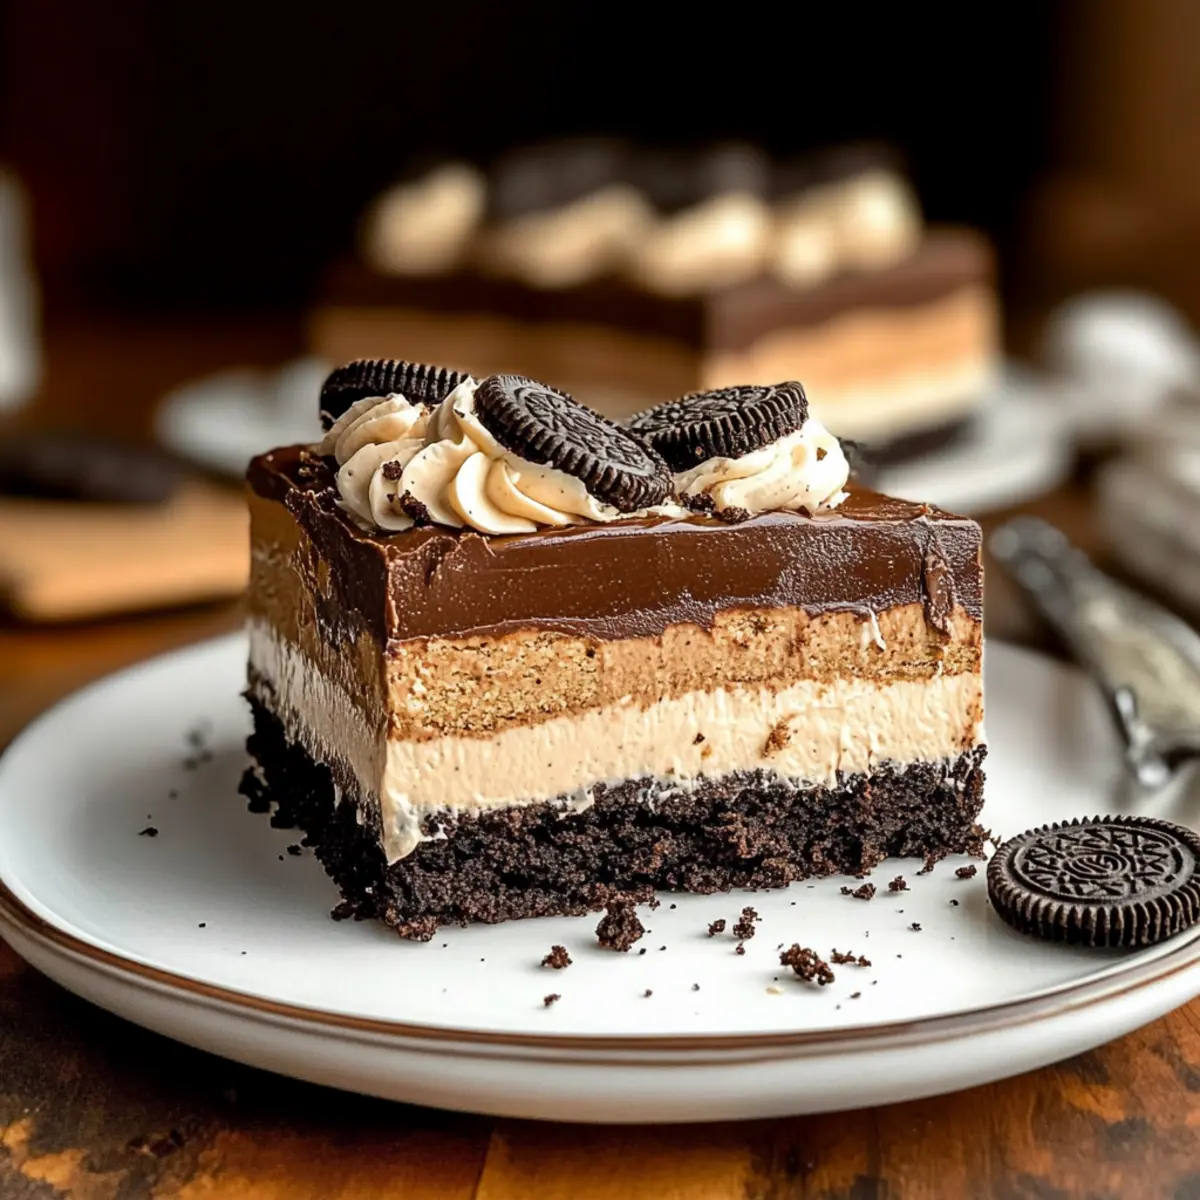
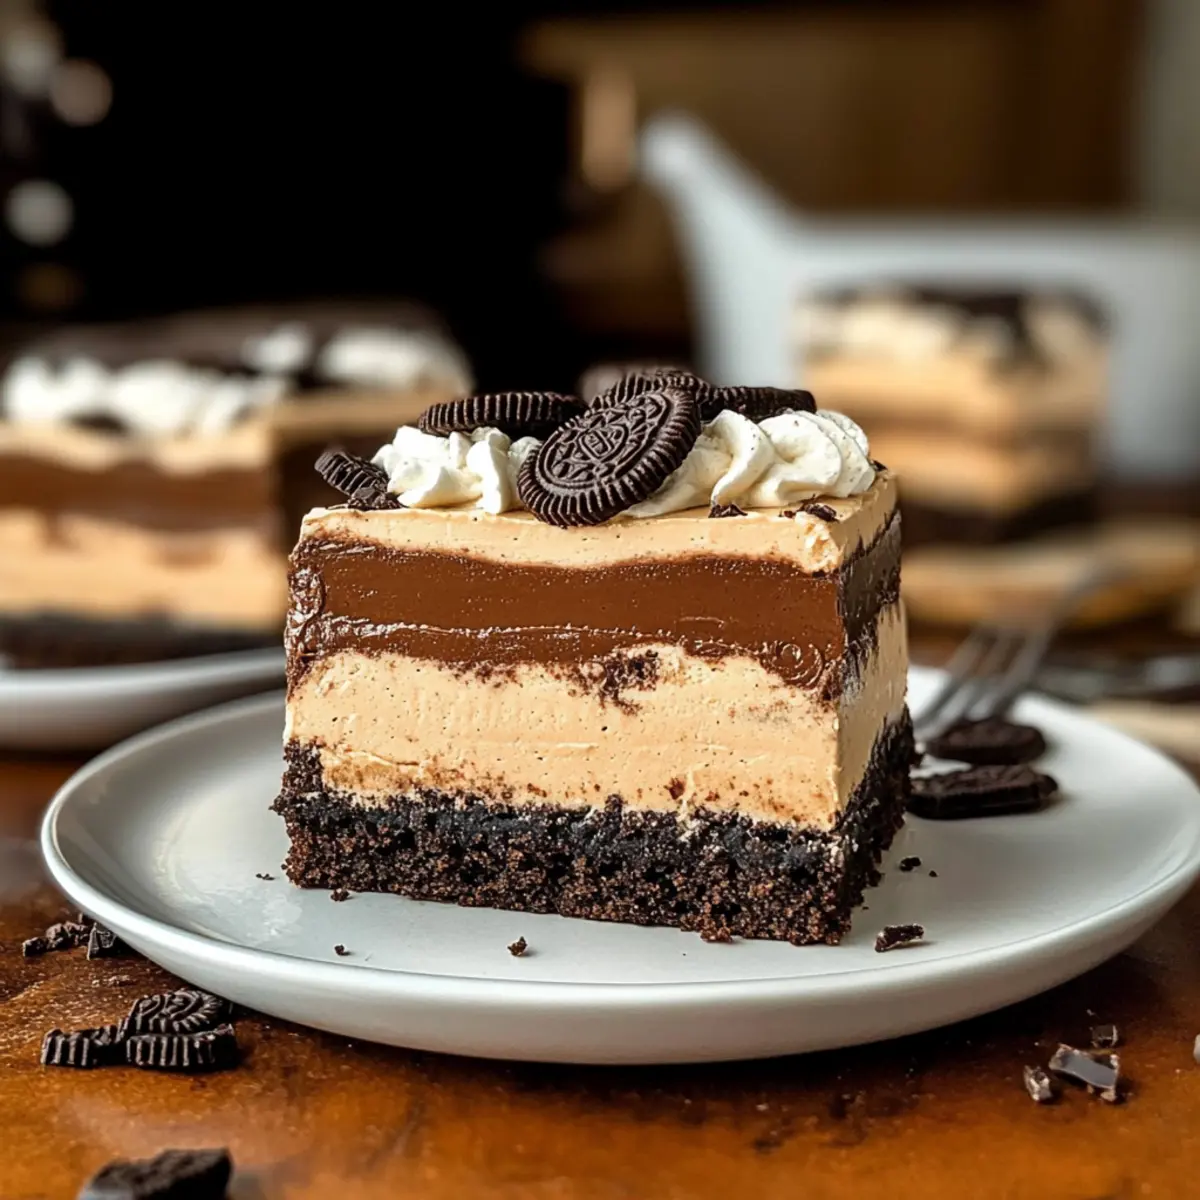
Flavor Explosion: A luscious blend of creamy peanut butter and rich chocolate layered over a crunchy Oreo crust creates a delightful treat that is hard to resist.
Impressive Presentation: With distinct layers, this dessert not only tastes amazing but also looks stunning on any dessert table, sure to impress your guests.
Versatile Options: Easily customize it to fit your preferences—try adding crushed candy bars or switching up the flavors of pudding for a fun twist. Just like with my Chocolate Peanut Butter treats or Peanut Butter Jelly recipes!
Perfect for Gatherings: Whether it’s a family picnic or a casual get-together, it’s an easy way to bring people together over something sweet.
Make Ahead Convenience: Prepare it in advance and let it chill, freeing up your time for other important tasks. You can even store leftovers easily, so it’s great for satisfying those late-night cravings!
No Bake Chocolate Peanut Butter Oreo Dessert Ingredients
• Get ready to scoop up the goodness with these delicious ingredients that make this layered masterpiece so irresistible!
For the Oreo Crust
- Oreos – The crunchy base that gives this dessert its delightful chocolatey flavor. Substitute with gluten-free Oreos for a gluten-free option.
- Butter – Helps bind the crust together and adds richness; melted is best for mixing.
For the Peanut Butter Layer
- Cream Cheese – Provides a creamy texture; ensure it’s at room temperature for easy blending.
- Instant Vanilla Pudding – The magical thickener adding sweetness; can swap with other flavors for variety.
- Creamy Peanut Butter – The star of this layer; for a different twist, use almond or cashew butter.
- Milk – Helps blend the layer smoothly; almond milk serves as a great dairy-free substitute.
For the Chocolate Layer
- Instant Chocolate Pudding – Creates a luscious chocolate layer; feel free to experiment with flavors.
- Milk – Combines with the chocolate pudding for creaminess; use cold milk for the best results.
- Milk Chocolate Chips – Adds an extra layer of richness; semi-sweet chips can be used if preferred.
For the Topping
- Whipped Topping – The final creamy layer for garnishing; try homemade whipped cream for a fresh taste.
- Crushed Oreos – A delicious sprinkle on top to finish it off with some crunch!
Get ready to layer up this No Bake Chocolate Peanut Butter Oreo Dessert, and watch your family and friends delight in every bite!
Step‑by‑Step Instructions for No Bake Chocolate Peanut Butter Oreo Dessert
Step 1: Prepare the Oreo Crust
Start by placing the Oreos in a food processor and pulse until finely crushed, resembling sand. In a greased 9×13 pan, spread one-third of the Oreo crumbs evenly across the bottom and pack down firmly using the back of a fork to create a solid crust. This step is vital for stability, so ensure it’s tightly packed.
Step 2: Create Peanut Butter Layer
In a mixing bowl, beat the cream cheese with a hand mixer until smooth and creamy, about 2 minutes. Gradually mix in the instant vanilla pudding and creamy peanut butter until combined. Slowly add milk until the mixture is smooth and spreadable. Carefully layer this peanut butter mixture over the prepared Oreo crust, smoothing it out for an even finish.
Step 3: Layer Again
Sprinkle the remaining one-third of the crushed Oreos over the peanut butter layer, ensuring an even distribution for that delightful crunch in your No Bake Chocolate Peanut Butter Oreo Dessert. Gently press the crumbs down to create a cohesive layer, enhancing the texture with each bite that follows.
Step 4: Make Chocolate Layer
In a clean mixing bowl, blend the cream cheese with the instant chocolate pudding until smooth, taking about 2 minutes. Melt the milk chocolate chips in a microwave-safe bowl (about 30 seconds on high, stirring until melted). Combine the cooled chocolate mix with the cream cheese mixture, then gradually add in milk. Spread this luxurious chocolate layer over the Oreo layer, smoothing it out evenly.
Step 5: Final Layer and Chill
Top the chocolate layer with the remaining crushed Oreos, providing a lovely finishing touch. Gently spread the whipped topping over the chocolate layer, creating a beautiful, creamy layer for your No Bake Chocolate Peanut Butter Oreo Dessert. Cover and chill in the refrigerator for 4-6 hours, allowing it to set well before slicing and serving.
Expert Tips for No Bake Chocolate Peanut Butter Oreo Dessert
Chill Time Matters: Allow the dessert to chill for at least 4-6 hours to ensure the layers set properly and hold their shape when cut.
Perfectly Packed Crust: Make sure to pack down your Oreo crust firmly. This step helps prevent a crumbly base, ensuring each slice holds together beautifully.
Cold Ingredients Required: Use cold milk for your pudding layers to achieve the best thickness and texture. If the layers seem runny, recheck your instant pudding use.
Room Temperature Cream Cheese: Ensure your cream cheese is at room temperature before mixing. This ensures a smooth blend without lumps, contributing to that creamy deliciousness.
Let Creativity Shine: Don’t hesitate to customize this No Bake Chocolate Peanut Butter Oreo Dessert with your favorite flavors—try adding crushed candy bars or your preferred pudding variant for a fun twist!
What to Serve with No Bake Chocolate Peanut Butter Oreo Dessert
Delight your guests and elevate your dessert experience with these perfect pairings for this creamy treat.
-
Fresh Berries: The tartness of strawberries or raspberries provides a refreshing contrast to the rich layers, cleansing the palate between bites.
-
Whipped Cream: Add a dollop of fresh whipped cream atop your dessert for extra creaminess, enhancing the texture and indulgence.
-
Coffee: A warm cup of coffee balances the sweetness of the dessert, creating a comforting and cozy experience perfect for any gathering.
-
Chocolate Drizzle: Enhance the chocolatey goodness by drizzling melted chocolate over the top for an extra decadent touch that everyone will love.
-
Ice Cream: A scoop of vanilla or coffee ice cream beside your slice brings a delightful temperature contrast and makes each bite even more luxurious.
-
Chocolate Milkshake: Serve a creamy chocolate milkshake for a nostalgic treat that amplifies the dessert’s flavors and creates a fun, indulgent vibe at your table.
These pairings will not only complement the No Bake Chocolate Peanut Butter Oreo Dessert but also add a festive touch to your gathering!
No Bake Chocolate Peanut Butter Oreo Dessert Variations
Feel free to get creative and personalize this delightful treat to suit your taste buds!
-
Dairy-Free: Substitute traditional milk and whipped topping with almond milk and coconut whipped cream for a delicious dairy-free version.
A light coconut flavor enhances the richness of peanut butter, creating an indulgent dessert that everyone can enjoy! -
Gluten-Free: Opt for gluten-free Oreos as the base to make this dessert suitable for those with gluten sensitivities.
This simple swap allows everyone at your gathering to indulge without worry, ensuring all can enjoy this sweet treat. -
Nut-Free: Swap out the peanut butter for sunbutter or soy nut butter for a nut-free version, safe for schools or allergies.
By making this small change, everyone can join in without compromising on texture or flavor. -
Chocolate Mint Twist: Add mint extract to the chocolate layer for a refreshing peppermint chocolate experience.
Picture the cool mint mingling with rich chocolate as you take a bite—perfect for mint chocolate aficionados! -
Texture Boost: Incorporate layers of crushed candy bars or chopped nuts within the layers for extra crunch and surprise.
Adding texture varieties creates exciting mini-explosions of flavor with each bite, making your dessert even more enticing! -
Fruity Layering: Replace the peanut butter layer with a fruit-flavored cream cheese mix using strawberry or lemon pudding.
This refreshing change gives a zingy twist to the classic dessert, providing a lovely burst of flavor layered between creaminess! -
Frozen Delight: Turn this dessert into a frozen treat by freezing and then serving slices as a decadent ice cream alternative.
The cool, creamy layers will be the highlight of any hot summer day, offering a refreshing escape from the heat! -
Decadent Caramel Drizzle: Drizzle caramel sauce atop the whipped topping layer for an added layer of sweetness and richness.
This decadent addition elevates your dessert to a whole new level, making it irresistible to caramel lovers!
As you make these adjustments, remember that the heart of this No Bake Chocolate Peanut Butter Oreo Dessert lies in its layers. Whether you stick to tradition or venture into new flavors, this dessert guarantees joy in every spoonful!
Storage Tips for No Bake Chocolate Peanut Butter Oreo Dessert
Fridge: Keep your dessert covered in the refrigerator for up to 5 days. This ensures it stays fresh and ready for a delightful treat whenever that sweet tooth strikes.
Freezer: For longer storage, you can freeze this No Bake Chocolate Peanut Butter Oreo Dessert for up to 2 months. Wrap it tightly in plastic wrap and aluminum foil to prevent freezer burn.
Thawing: When ready to serve, transfer it from the freezer to the fridge and let it thaw overnight for a smooth and creamy texture before indulging.
Reheating: Since this dessert is served chilled, there’s no need to reheat. Just slice and enjoy the chilled layers of chocolate and peanut butter bliss!
Make Ahead Options
These No Bake Chocolate Peanut Butter Oreo Desserts are perfect for meal prep enthusiasts! You can prepare the Oreo crust and peanut butter layer up to 24 hours in advance. Simply crush the Oreos, mix with melted butter, and press into your pan, then prepare the peanut butter filling and spread it over the crust. Cover and refrigerate. When you’re ready to serve, make the chocolate layer and assemble with the remaining crushed Oreos and whipped topping. Allow the dessert to chill for an additional 4-6 hours to ensure it sets and layers stay intact. This way, you can enjoy delicious, hassle-free dessert with less prep when it counts!
No Bake Chocolate Peanut Butter Oreo Dessert Recipe FAQs
How do I choose ripe ingredients for the No Bake Chocolate Peanut Butter Oreo Dessert?
Absolutely! Use fresh and quality ingredients for the best flavor. For the cream cheese, ensure it’s at room temperature to blend easily without lumps. If selecting Oreos, check that they aren’t expired and have no visible damage. If you’re using any dairy alternatives like almond milk, ensure they are fresh.
What is the best way to store the No Bake Chocolate Peanut Butter Oreo Dessert?
You can keep the dessert covered in the refrigerator for up to 5 days. Just make sure it’s well-wrapped to prevent it from absorbing any other smells from your fridge. This keeps it fresh and ready to enjoy anytime your sweet cravings hit!
Can I freeze the No Bake Chocolate Peanut Butter Oreo Dessert?
Yes, you can freeze this delectable dessert for up to 2 months! Wrap it tightly in plastic wrap and then in aluminum foil to prevent freezer burn. When you’re ready to enjoy it, simply thaw it overnight in the fridge before serving—this method ensures the creamy layers maintain their delightful texture!
What should I do if the pudding layers seem too runny?
If your pudding layers end up runny, make sure you’re using instant pudding as instructed and that your milk is cold. For thickening, you can try refrigerating the pudding mixture for about 30 minutes before layering it. This allows it to set up better for a luscious, creamy consistency in your No Bake Chocolate Peanut Butter Oreo Dessert!
Are there any dietary considerations I should keep in mind?
Yes! If you’re preparing this dessert for someone with allergies, be mindful of gluten and nuts. You can substitute regular Oreos with gluten-free Oreos and explore nut-free creamy spreads if peanut allergies are a concern. Additionally, using almond or cashew butter as alternatives to creamy peanut butter should also work well, catering to different dietary needs!
How can I make my No Bake Chocolate Peanut Butter Oreo Dessert even more delightful?
Very! You can enhance the dessert by mixing in crushed candy bars or chopped nuts into either the peanut butter or chocolate layers for added texture. Another option is to create a fruit-flavored layer using a fruit-based pudding mix for a fruity twist. Your creativity can bring new joys to this already beloved dessert!
No Bake Chocolate Peanut Butter Oreo Dessert You’ll Crave Forever
Ingredients
Equipment
Method
- Prepare the Oreo Crust: Place the Oreos in a food processor and pulse until finely crushed, resembling sand. In a greased 9x13 pan, spread one-third of the Oreo crumbs evenly across the bottom and pack down firmly using the back of a fork to create a solid crust.
- Create Peanut Butter Layer: In a mixing bowl, beat the cream cheese with a hand mixer until smooth and creamy, about 2 minutes. Gradually mix in the instant vanilla pudding and creamy peanut butter until combined. Slowly add milk until the mixture is smooth and spreadable. Layer this peanut butter mixture over the prepared Oreo crust.
- Layer Again: Sprinkle the remaining one-third of the crushed Oreos over the peanut butter layer, ensuring even distribution. Press the crumbs down to create a cohesive layer.
- Make Chocolate Layer: In a clean mixing bowl, blend the cream cheese with the instant chocolate pudding until smooth, about 2 minutes. Melt the milk chocolate chips in a microwave-safe bowl (about 30 seconds on high, stirring until melted). Combine the cooled chocolate mix with the cream cheese mixture and gradually add in milk. Spread this chocolate layer over the Oreo layer.
- Final Layer and Chill: Top the chocolate layer with the remaining crushed Oreos. Spread the whipped topping over the chocolate layer, cover, and chill in the refrigerator for 4-6 hours.
Leave a Reply