
As the rich aroma of chocolate wafted through my kitchen, I felt an undeniable tug toward nostalgia; it was time to whip up some Old Fashioned Chocolate Frosting. This creamy, indulgent delight is not just about satisfying a sweet tooth; in just 15 minutes, you can create a luscious topping that transforms any cake or cupcake into a memory-maker. With simple pantry staples at your fingertips, this frosting promises to be a quick yet elegant solution for those moments when only homemade will do. Plus, when you’re able to whip it up in a flash, there’s no need to reach for that store-bought stuff again. Have you ever felt the sweet satisfaction of spreading a homemade frosting over your favorite dessert? Let’s dive into this classic—and trust me, you won’t want to miss out on the joy it brings!
Why Choose Old Fashioned Chocolate Frosting?
Nostalgic Flavors: This frosting brings back memories of classic family gatherings, making your desserts even more special.
Quick Preparation: You can have this delectable treat ready in just 15 minutes, leaving you time to enjoy the baking process.
Simple Ingredients: With just a few pantry staples, you can create a luscious topping that rivals any store-bought option.
Versatile Use: Whether you’re frosting a vanilla cake or adding a layer to brownies, this frosting is the perfect match for your favorite desserts.
Kid-Friendly Fun: Get the little ones involved; they’ll love helping spread this rich frosting on their treats.
For more dessert inspiration, check out my Chocolate Peanut Butter or Salted Caramel Chocolate recipes!
Old Fashioned Chocolate Frosting Ingredients
• Let’s gather the essentials to create this rich and creamy frosting!
For the Frosting
- Butter – Adds creaminess and richness; substitute with margarine for a dairy-free option.
- Cocoa Powder – Provides the classic chocolate flavor; use Dutch-processed cocoa for a smoother taste.
- Powdered Sugar – Sweetens and thickens the frosting; consider substituting half with a sweetener for a lower-sugar version.
- Milk – Achieves the desired consistency; use non-dairy milk if necessary.
- Vanilla Extract – Enhances flavor; no substitutions are necessary for the best results.
Now that you have the ingredients lined up, get ready to create your very own Old Fashioned Chocolate Frosting that will elevate any dessert!
Step‑by‑Step Instructions for Old Fashioned Chocolate Frosting
Step 1: Cream the Butter
In a large mixing bowl, beat 1 cup of softened butter using an electric mixer on medium speed until it becomes creamy and light, roughly 2-3 minutes. The butter should have a smooth texture with no lumps remaining. This initial step is crucial as it forms the base of your Old Fashioned Chocolate Frosting, giving it a rich mouthfeel.
Step 2: Add Cocoa Powder
Gradually sift in ½ cup of cocoa powder into the creamed butter, mixing on low speed to prevent a cocoa cloud. Continue mixing until fully absorbed, about 1-2 minutes. The mixture will darken and have a rich chocolate aroma, which signals that your frosting is beginning to take shape.
Step 3: Incorporate Powdered Sugar
Slowly add 3-4 cups of powdered sugar, one cup at a time, alternately pouring in 2-4 tablespoons of milk. Stir on low until incorporated, increasing speed to medium until smooth. Repeat this process until all ingredients are combined, and the frosting reaches a thick, spreadable consistency; this should take about 5 minutes.
Step 4: Add Vanilla Extract
Pour in 1 teaspoon of vanilla extract and mix on low speed until it’s just combined, about 30 seconds. The vanilla adds depth to the flavor profile of your Old Fashioned Chocolate Frosting, enhancing its richness without overpowering it. Make sure to scrape down the sides of the bowl for even mixing.
Step 5: Adjust the Consistency
At this stage, check the frosting’s consistency. If it’s too thick, add more milk by the teaspoon until it’s smooth and spreadable, mixing briefly after each addition. Alternatively, if it’s too thin, add more powdered sugar gradually. The frosting should be velvety and hold its shape well when spread on your favorite desserts.
Step 6: Frost Your Desserts
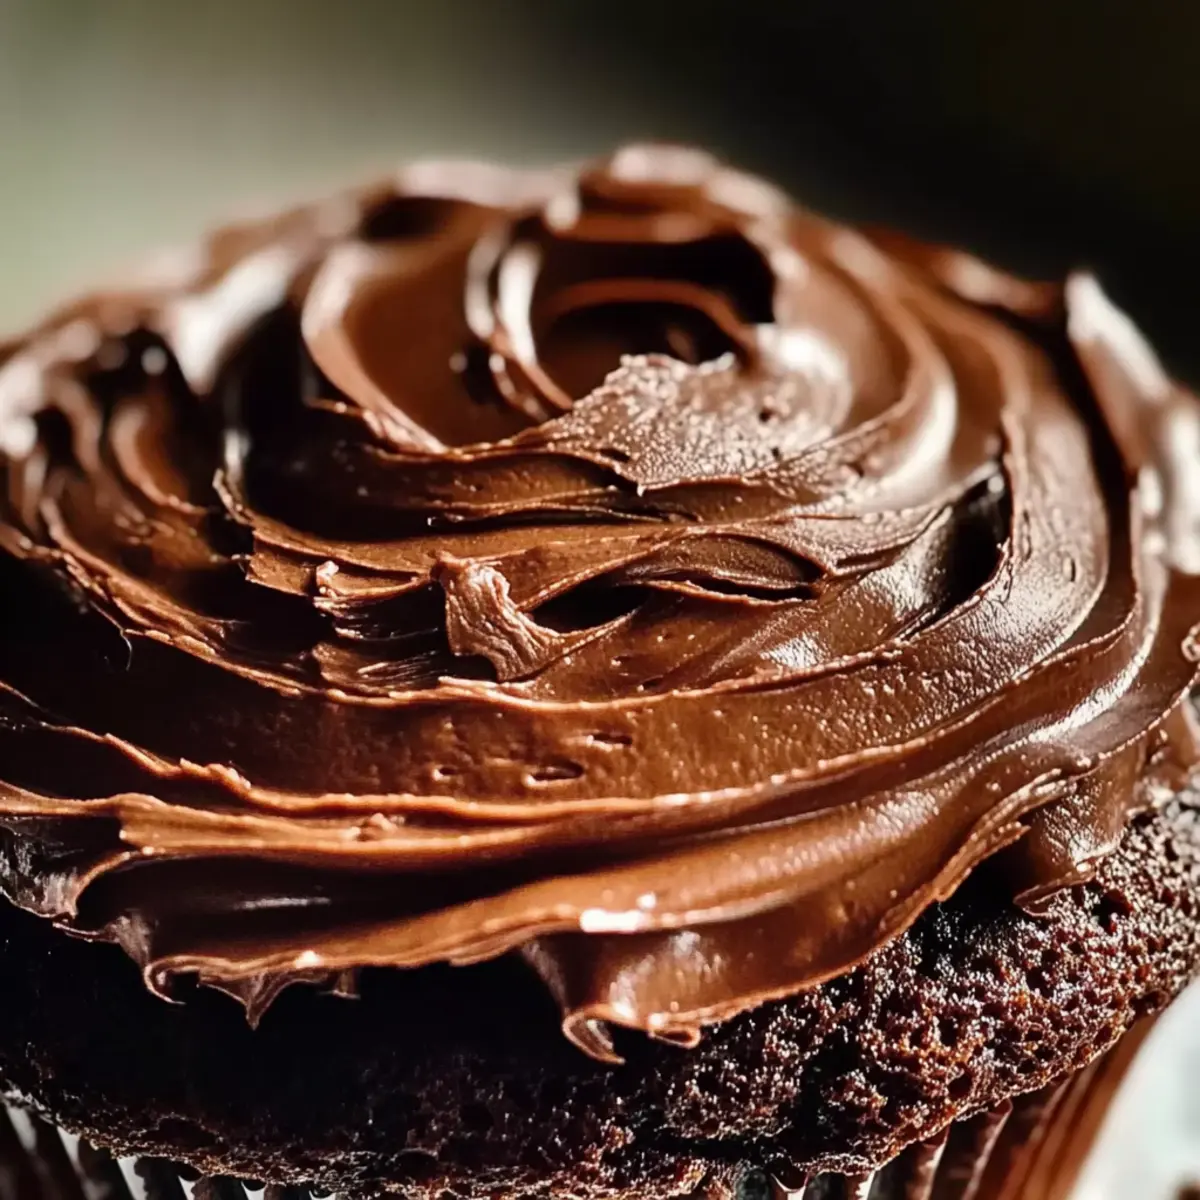
Once your Old Fashioned Chocolate Frosting is at the perfect consistency, use a spatula or a butter knife to spread the frosting generously over cooled cakes or cupcakes. Aim for an even layer with a beautiful swirl for an inviting look. This delightful frosting pairs perfectly with any chocolate or vanilla dessert!
Step 7: Store Any Leftovers
If you have any leftover frosting, transfer it to an airtight container. It can be stored at room temperature for up to two days or in the refrigerator for up to one week. Before using again, simply rewhip the frosting on low speed to restore its creamy consistency, making it ready to enjoy once more.
How to Store and Freeze Old Fashioned Chocolate Frosting
Room Temperature: Store leftover frosting in an airtight container at room temperature for up to 2 days; this keeps it fresh and ready for your next dessert.
Fridge: If you need to keep it longer, refrigerate the frosting in an airtight container for up to 1 week. Before using, allow it to come to room temperature and rewhip for a creamy texture.
Freezer: For longer storage, freeze the Old Fashioned Chocolate Frosting in a freezer-safe container for up to 2 months. Thaw in the fridge overnight before rewhipping.
Reheating: Rewhip chilled or thawed frosting on low speed to restore its fluffy consistency, making it perfect for spreading on your favorite treats.
Old Fashioned Chocolate Frosting Variations
Feel free to get creative and put your own spin on this delightful frosting!
-
Minty Fresh: Add a few drops of peppermint extract for a refreshing twist that brightens up the chocolate flavor.
-
Mocha Madness: Stir in a splash of brewed espresso or instant coffee granules for a wonderful mocha frosting that coffee lovers will adore. It adds depth and enhances the chocolate, making your desserts even more irresistible.
-
Dark Chocolate Delight: Swap out some of the powdered sugar for additional cocoa powder to create a richer, darker chocolate frosting that’s truly decadent. Embrace the boldness; the intensified chocolate flavor will impress every chocolate aficionado.
-
Nutty Indulgence: Mix in a spoonful of nut butter, like almond or hazelnut, for a creamy richness with a nutty flavor twist. This elegant addition will remind you of your favorite candy bar, adding a delightful texture too.
-
Spicy Kick: For those who like a little extra heat, add a pinch of cayenne pepper or cinnamon. The warmth will complement the chocolate beautifully, bringing a surprising yet delightful edge to the flavor profile.
-
Coconut Bliss: Substitute milk with coconut milk and add shredded coconut for a tropical flair that pairs deliciously with chocolate. This combination will transport you to a sunlit beach with every scrumptious bite!
-
Tasty Toppings: Elevate the frosting by adding crushed cookies or candies, like toffee bits or crushed Oreos, to the mix. This will introduce delightful textures and flavors, making your frosting even more mouthwatering.
For more dessert ideas, you might enjoy my Maraschino Cherry Chocolate or Oatmeal Chocolate Chip treats!
Make Ahead Options
These Old Fashioned Chocolate Frosting preparations are perfect for busy home cooks looking to save time without compromising on flavor! You can prepare the frosting up to 3 days in advance. Simply follow the recipe until step 6, then store the finished frosting in an airtight container in the refrigerator. Before serving, let it sit at room temperature for about 30 minutes to soften and then rewhip it briefly to restore that velvety texture. To prevent the frosting from absorbing any odors from the fridge, ensure it’s sealed well. This way, you’ll always have luscious, homemade frosting on hand, ready to elevate your desserts with minimal effort!
What to Serve with Old Fashioned Chocolate Frosting?
As you prepare to add this delightful frosting to your desserts, consider these scrumptious pairings that take your treats to the next level.
-
Classic Vanilla Cake: The light flavor of vanilla perfectly balances the rich chocolate, creating a beautiful harmony in every bite.
A light and fluffy vanilla cake acts as the perfect canvas for your Old Fashioned Chocolate Frosting, showcasing its rich flavors while keeping the dessert feeling balanced and sweet. -
Decadent Brownies: Enhancing fudgy brownies with this creamy frosting creates a truly indulgent dessert experience.
The deeply chocolatey nature of brownies combined with the velvety texture of the frosting makes for an irresistible treat that’s sure to satisfy any sweet tooth. -
Chocolate Cupcakes: These delightful morsels are perfect for frosting and provide a double dose of chocolate goodness.
Top moist chocolate cupcakes with your homemade frosting for a party-ready dessert that is sure to impress; their decadent taste will keep everyone coming back for more! -
Fresh Strawberry Shortcake: Sweet strawberries and whipped cream elevate the chocolate frosting, creating a luxurious finish.
The juicy, fresh strawberries add a refreshing contrast to the rich frosting, making this an elegant dessert choice for warm-weather gatherings. -
Coffee or Espresso: A nice cup of coffee offers a flavorful kick that complements the sweetness of the frosting, creating balance.
The rich, bold flavors of coffee or espresso enhance the chocolate notes, making every bite feel even more indulgent—perfect for dessert lovers looking for a little extra with their sweet treat. -
Mint Chocolate Chip Ice Cream: This fun pairing adds coolness and a refreshing twist to the rich chocolate experience.
Frost your cake with the Old Fashioned Chocolate Frosting and serve it alongside mint chocolate chip ice cream for a refreshing contrast that delights the taste buds. -
Chocolate Cream Pie: Pour chocolate frosting over a rich cream pie for an extra layer of indulgence.
The creamy and chocolatey nature of both the pie and frosting creates a symphony of flavors that chocolate lovers will adore! -
Zesty Lemon Bars: The tartness of lemon bars offers a lively contrast to rich chocolate frosting, making for a decadent combination.
The bright, zesty flavors of lemon combined with the deep chocolate create a delightful balance that surprises and delights the palate.
Expert Tips for Old Fashioned Chocolate Frosting
-
Room Temperature Butter: Make sure your butter is at room temperature to create a smooth and fluffy frosting without lumps.
-
Gradual Mixing: Incorporate the cocoa powder and powdered sugar slowly to avoid mess and ensure even mixing for a perfect texture.
-
Milk Adjustments: If your frosting is too thick, add milk in small increments; conversely, adding sugar will thicken it if too runny.
-
Flavor Boost: For added depth, consider a pinch of salt or extra vanilla extract to elevate the flavor of your Old Fashioned Chocolate Frosting.
-
Avoid Overmixing: Mix just until combined to retain fluffiness; overmixing can lead to a denser frosting.
-
Cooling Desserts: Always frost cakes or cupcakes that are completely cooled to prevent the frosting from melting and losing its shape.
Old Fashioned Chocolate Frosting Recipe FAQs
How do I select the best cocoa powder for Old Fashioned Chocolate Frosting?
Absolutely! For the richest flavor, I recommend using Dutch-processed cocoa powder. It has a darker color and a smoother taste, creating a more decadent frosting. If you can find high-quality cocoa, it can make a noticeable difference in flavor. Avoid cocoa powders with a lot of additives, and stick with pure options whenever possible.
How should I store Old Fashioned Chocolate Frosting?
Sure thing! Store any leftover frosting in an airtight container at room temperature for up to 2 days to keep it fresh. If you need to store it longer, refrigerate it for up to 1 week. Before using chilled frosting, let it come to room temperature and give it a quick rewhip to restore its creamy consistency.
Can I freeze Old Fashioned Chocolate Frosting?
Yes, you can! For longer-term storage, freeze the frosting in a freezer-safe container for up to 2 months. To do this, scoop the frosting into a container, leaving some space for expansion, and seal it tightly. When you’re ready to use it, thaw it in the fridge overnight and then rewhip it lightly on low speed until creamy.
What do I do if my frosting is too thick?
If your Old Fashioned Chocolate Frosting ends up too thick, don’t worry! Gradually add milk, one teaspoon at a time, mixing briefly after each addition until the desired consistency is reached. This allows you to control the thickness easily. If it’s too runny, simply sprinkle in more powdered sugar, mixing until it thickens up. Remember, aim for that perfect spreadable texture!
Are there any dietary considerations with this frosting?
Very much! If you have a dairy allergy, you can substitute the butter with margarine or a dairy-free buttery spread. Additionally, make sure to check the powdered sugar, as some brands may include cornstarch, which is generally gluten-free. As with all recipes, feel free to tweak ingredients to meet your dietary needs. Enjoy the frosting without worry!
How can I elevate the flavor of my Old Fashioned Chocolate Frosting?
Absolutely! For a flavor boost, consider adding a pinch of salt to counterbalance the sweetness, or for a deeper chocolate flavor, incorporate a splash of brewed espresso or a dash of peppermint extract for a refreshing twist. Always remember to adjust these additions to your taste preference for the best result!
Decadent Old Fashioned Chocolate Frosting in 15 Minutes
Ingredients
Equipment
Method
- Cream the Butter: Beat the butter until creamy and light for about 2-3 minutes.
- Add Cocoa Powder: Gradually sift in cocoa powder, mixing on low speed until fully absorbed.
- Incorporate Powdered Sugar: Slowly add powdered sugar alternately with milk, until smooth and thick.
- Add Vanilla Extract: Mix in vanilla extract until just combined.
- Adjust the Consistency: Check frosting consistency, add milk or sugar as necessary.
- Frost Your Desserts: Spread frosting generously over cooled cakes or cupcakes.
- Store Any Leftovers: Transfer leftover frosting to an airtight container to store.
Leave a Reply