
After a long day, there’s nothing quite like coming home to the savory aroma of a delicious meal in the oven. That’s where my Sheet Pan Chicken Pitas with Herby Ranch come to the rescue! With just a few simple ingredients, you can whip up a quick dinner that’s not only full of flavor but also customizable to suit your tastes. These pitas are an absolute game-changer for those busy weeknights when you crave something wholesome without the hassle. Plus, they’re perfect for families, with minimal cleanup required. Whether you stick to the classic recipe or mix in your favorite veggies or proteins, there’s so much room for creativity here. Ready to make mealtime magical? Let’s dive into this easy chicken recipe that will leave you and your loved ones coming back for seconds!
Why are Sheet Pan Chicken Pitas a must-try?
Simplicity is Key: This recipe requires minimal effort—just toss and roast!
Customizable Goodness: Swap ingredients based on your pantry; think shrimp or tofu for protein and a variety of veggies.
Flavor Explosion: The blend of spices and creamy herby ranch creates a taste sensation that’s both comforting and exciting.
Quick Cleanup: One sheet pan means less mess and hassle, leaving you with more time to unwind after dinner.
Crowd-Pleasing: Perfect for families or dinner parties, everyone can build their own, ensuring that no one is left out.
Sheet Pan Chicken Pitas Ingredients
For the Chicken
- Boneless, Skinless Chicken Breasts – The primary protein; swap with chicken thighs for added juiciness.
- Brown Sugar – Adds sweetness and helps caramelize the chicken; honey or maple syrup are excellent substitutes.
- Smoked Paprika – Delivers a fabulous smoky flavor; use regular paprika if you prefer less depth.
- Garlic Powder – Enhances the dish with savory notes; feel free to swap in fresh garlic for vibrant flavor.
- Onion Powder – Adds depth; you can replace it with finely chopped fresh onion if desired.
- Cayenne Pepper – Adds a touch of heat; omit or adjust according to your spice tolerance.
- Kosher Salt – Elevates the overall taste; adjust based on your dietary needs.
- Olive Oil – Used for cooking the chicken; avocado oil can be a healthy alternative.
- Lemon – Provides freshness and tanginess; lime can be substituted for a different citrus note.
For the Herby Slaw
- Plain Yogurt – The creamy base for your herby slaw; non-dairy yogurt options like coconut are great alternatives.
- Fresh Dill – Contributes a fresh, herby flavor; feel free to mix in parsley or chives for variety.
- Green Cabbage – Adds a satisfying crunch; coleslaw mix or a different cabbage type works well here.
For Assembling the Pitas
- Pitas – Soft and warm wraps for your filling; gluten-free pitas ensure everyone can enjoy.
- Avocado – Adds creaminess and healthy fats; substitute with your favorite fresh toppings for added flair.
These delicious Sheet Pan Chicken Pitas are sure to be a family favorite, bringing joy and flavor to your dining table!
Step‑by‑Step Instructions for Sheet Pan Chicken Pitas
Step 1: Preheat Oven & Prepare Chicken
Start by preheating your oven to 425ºF (220ºC). In a large mixing bowl, combine the boneless, skinless chicken breasts with brown sugar, smoked paprika, garlic powder, onion powder, cayenne pepper, kosher salt, olive oil, and slices of lemon. Toss until the chicken is well coated in the flavorful mixture, ensuring every piece shines with the seasoning.
Step 2: Roast Chicken
Spread the seasoned chicken and lemon slices evenly on a baking sheet, ensuring they are in a single layer for even cooking. Place the sheet pan in the preheated oven and roast for 15 minutes. After this, take the pan out and toss the chicken to ensure even cooking, then return it to the oven, roasting for an additional 4–7 minutes until the chicken is nicely golden and cooked through to an internal temperature of 165ºF (74ºC).
Step 3: Make the Slaw
While the chicken roasts, prepare the herby slaw in a separate bowl. Whisk together plain yogurt, chopped fresh dill, parsley, lemon juice, olive oil, and a pinch of salt until combined. Fold in the shredded green cabbage, mixing thoroughly. Allow the slaw to sit for 10–15 minutes, letting the flavors meld and the cabbage soften a bit for the perfect crunch when assembled in the pitas.
Step 4: Prepare Pitas
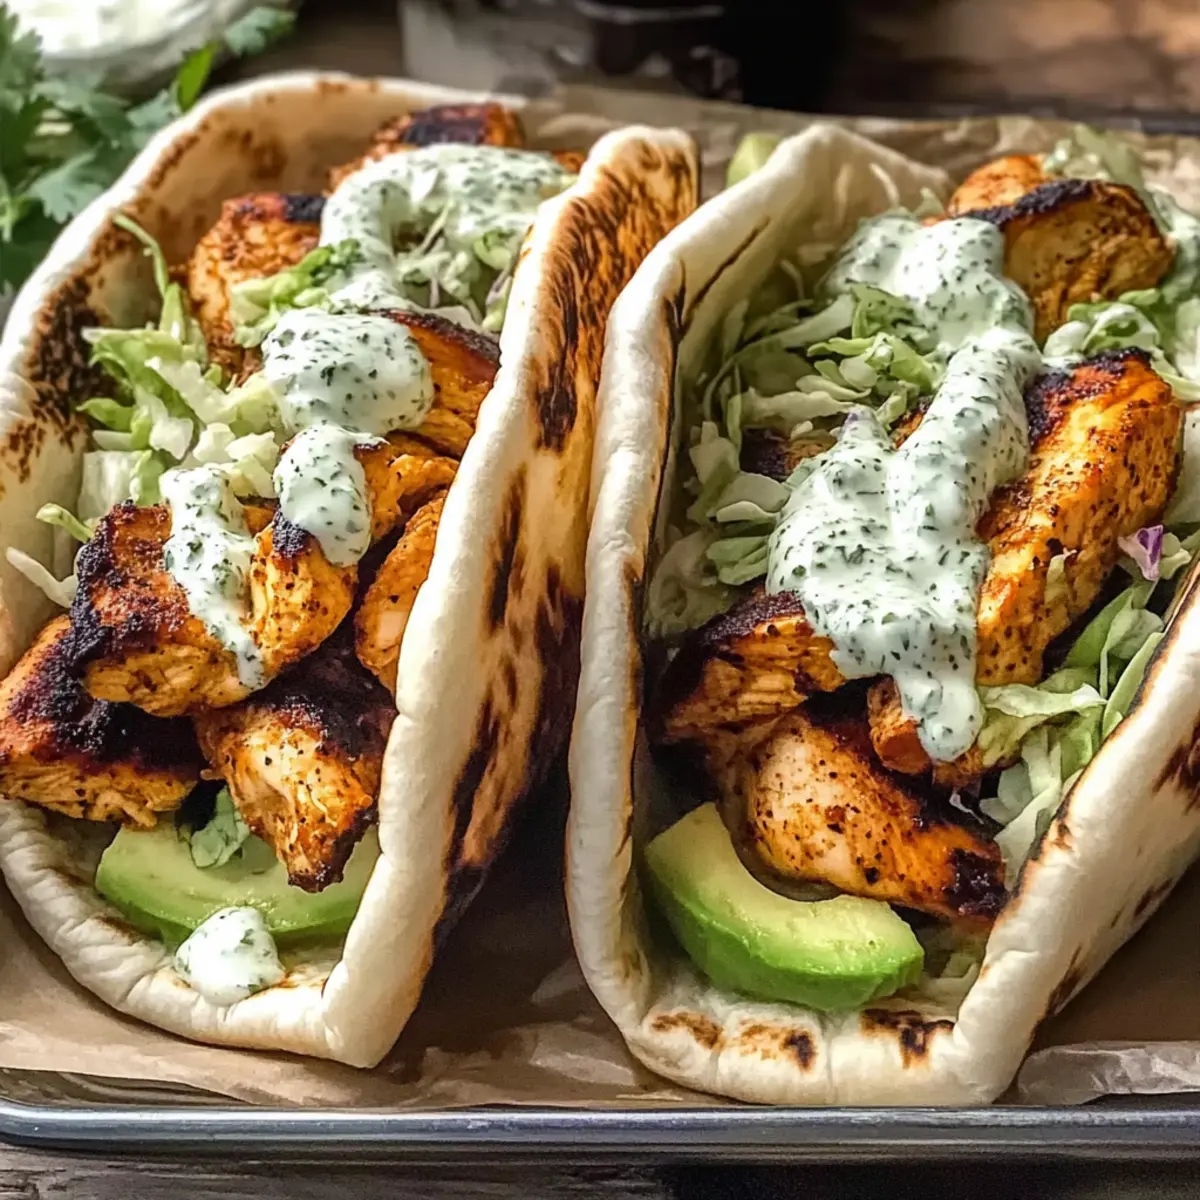
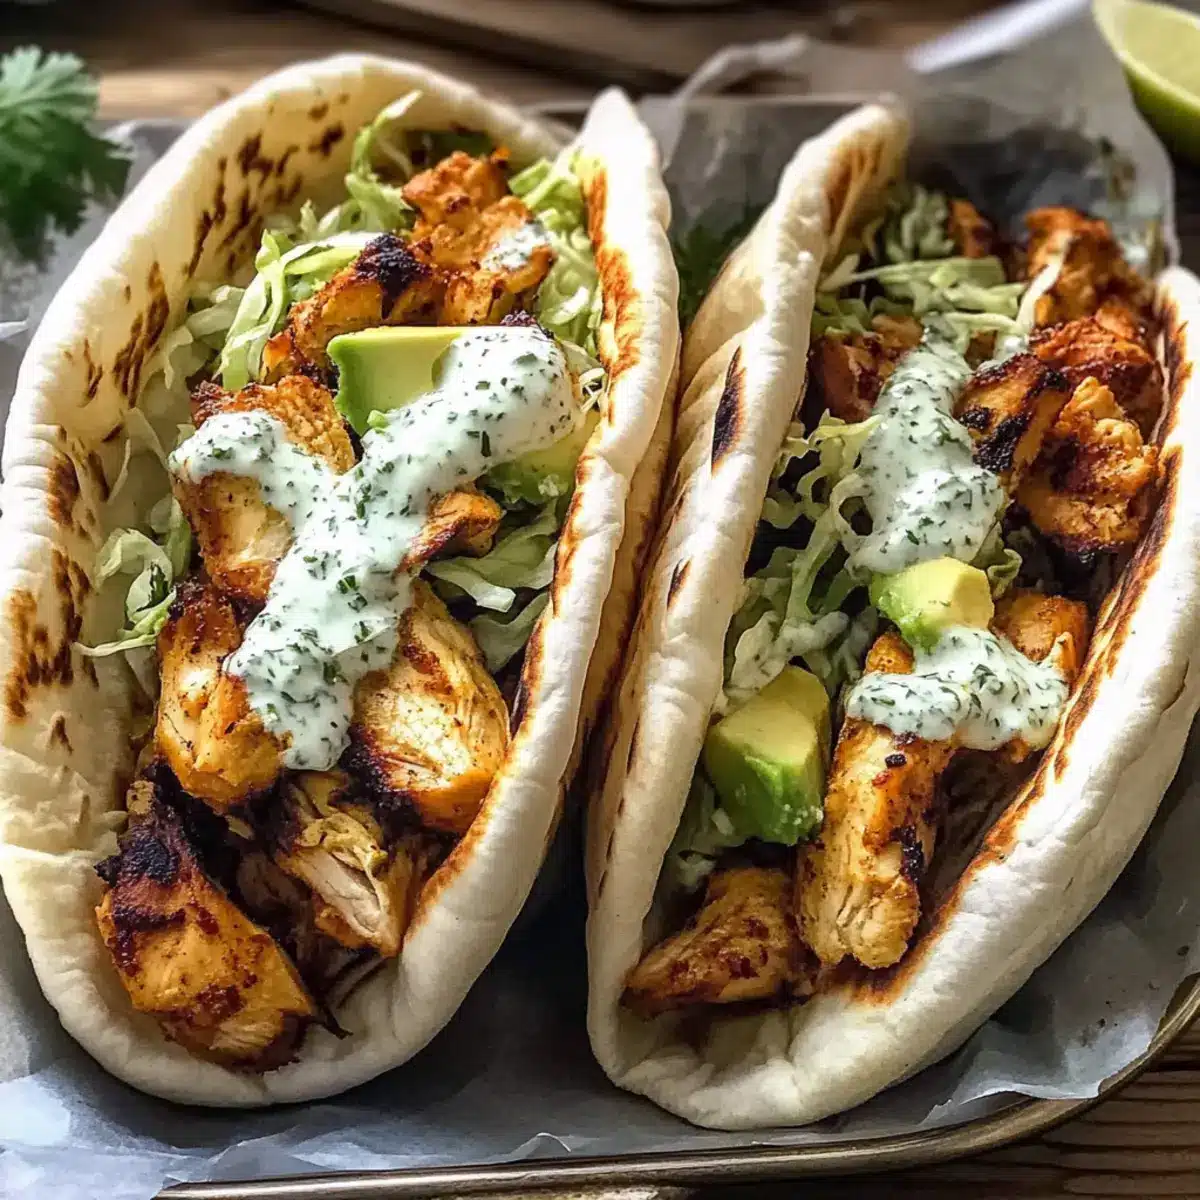
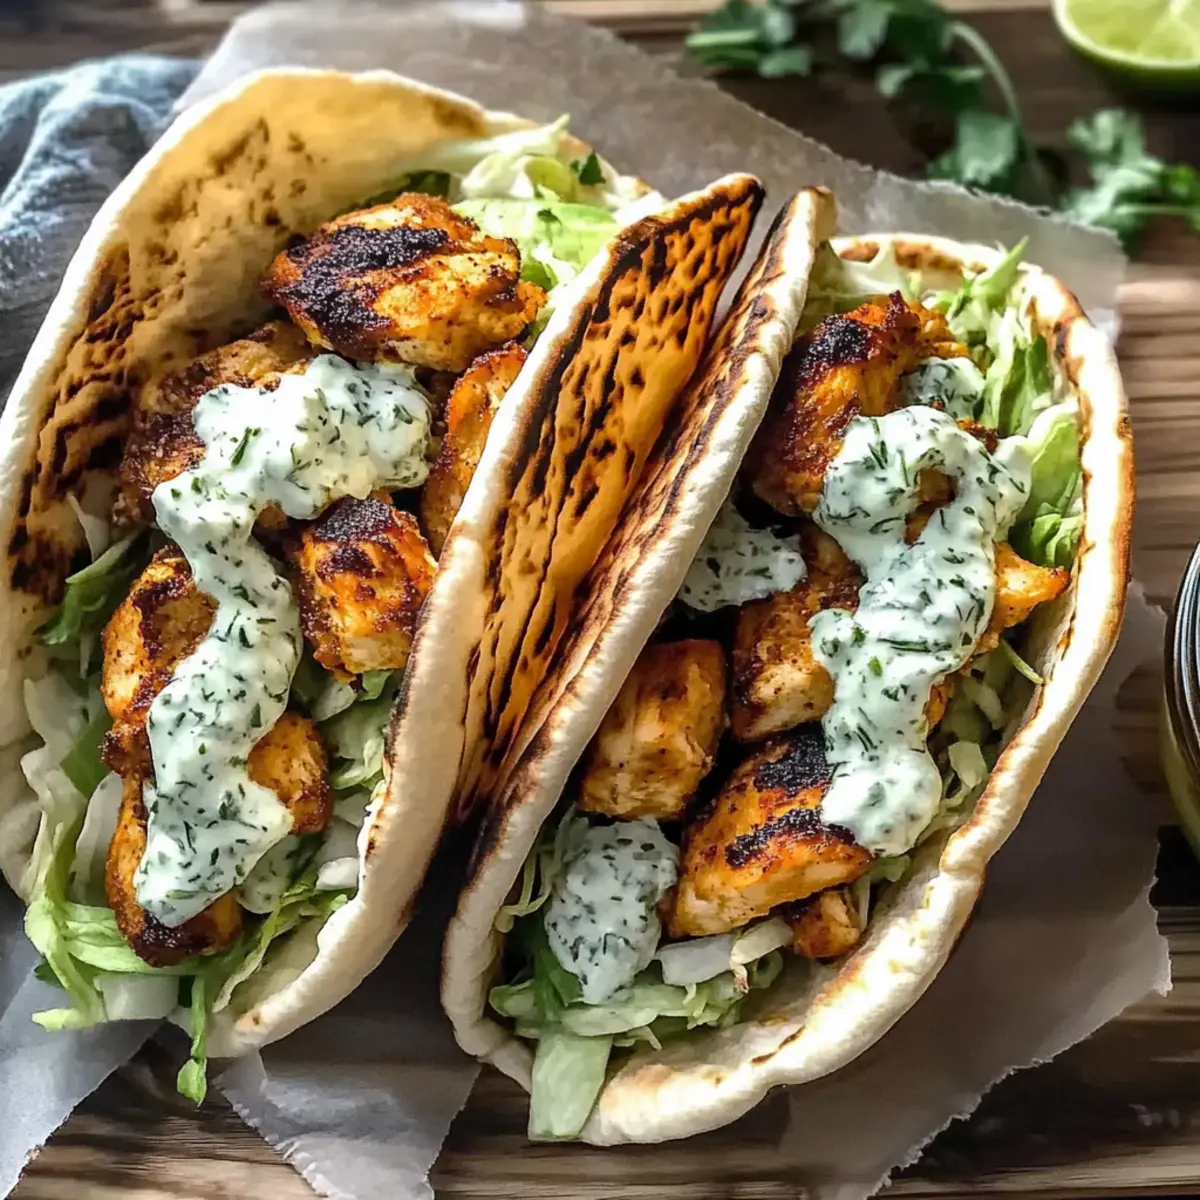
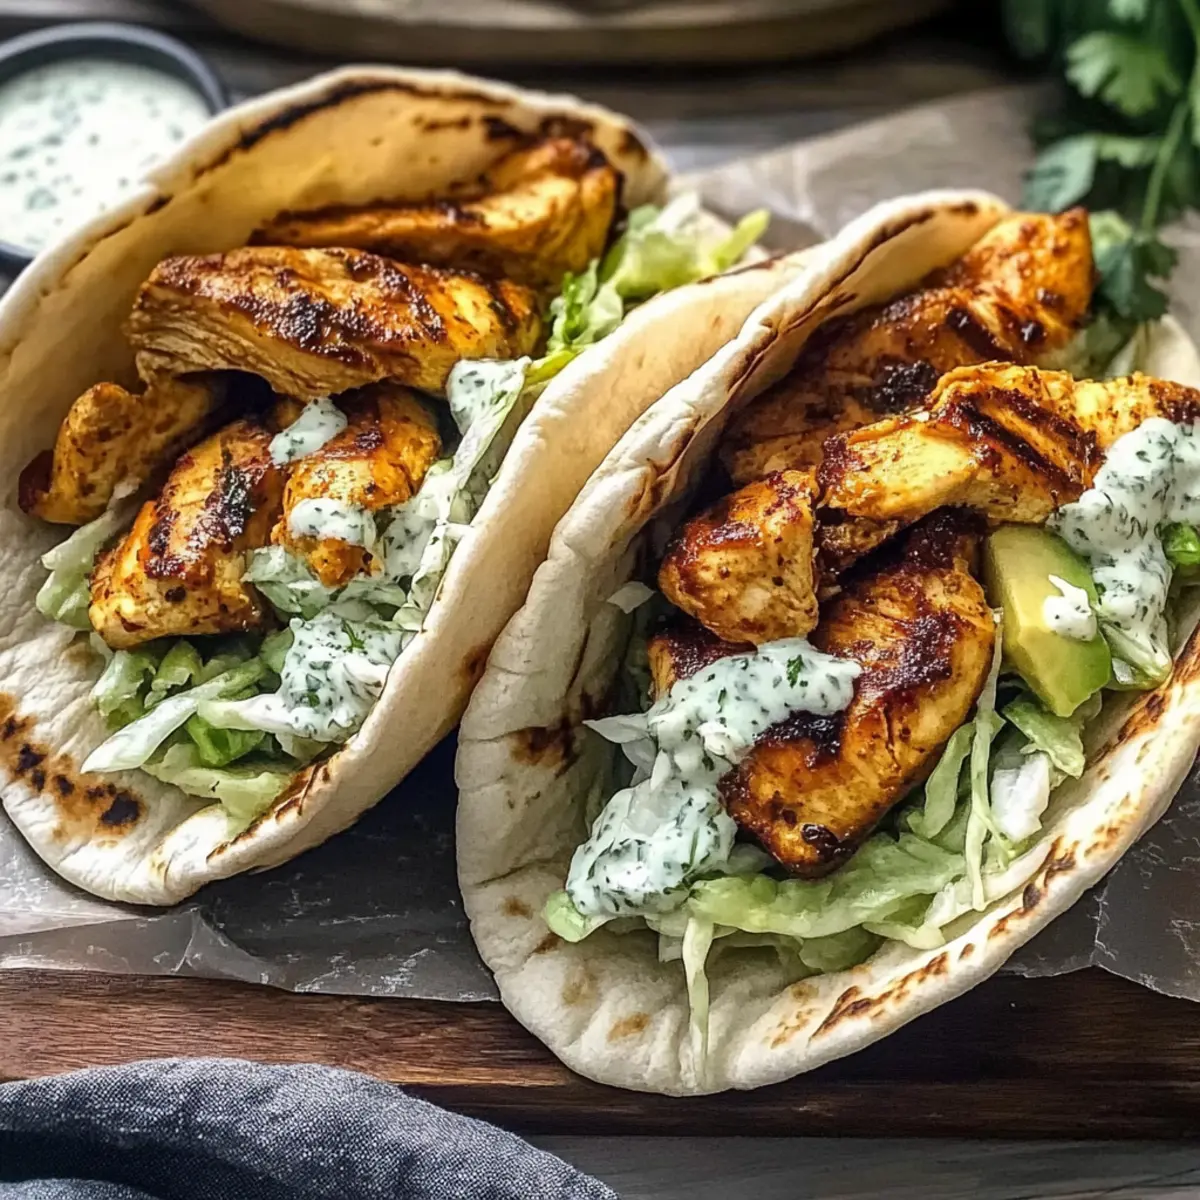
As the chicken finishes roasting, warm your pitas in the oven for a couple of minutes until soft and pliable. Once the chicken is ready, take it out of the oven, letting it rest for a minute or two. When warmed, fill each pita with a generous serving of the herby slaw, topped with slices of the roasted chicken and creamy avocado, creating a delicious, satisfying meal ready to be enjoyed!
Make Ahead Options
These Sheet Pan Chicken Pitas are ideal for busy home cooks looking to simplify mealtime! You can marinate the chicken up to 24 hours in advance, ensuring the flavors deeply penetrate for a more delicious bite. Simply toss the chicken with the seasonings and refrigerate in an airtight container. The herby slaw can also be prepared and stored in the fridge for up to 3 days; just be sure to keep it separate from the pitas to maintain its freshness and crunch. When you’re ready to serve, roast the marinated chicken directly from the fridge, assemble the pitas with the slaw and avocado, and you’ll enjoy a quick, restaurant-quality dinner with minimal effort!
Expert Tips for Sheet Pan Chicken Pitas
-
Prep Ahead: Cut and marinate the chicken earlier in the day to deepen the flavors and save time during dinner preparation.
-
Herb Variations: Feel free to experiment with different herbs in the slaw; cilantro or basil can add a delightful twist to your sheet pan chicken pitas.
-
Oven Temperature Check: Always ensure your oven is properly preheated. Cooking from a cold oven can lead to unevenly roasted chicken.
-
Taste Testing: Before roasting, taste the seasoning on the chicken. Adjust salt or spice levels in your mixture to suit your family’s preferences.
-
Easy Cleanup: Line your baking sheet with parchment paper for an even simpler cleanup process, allowing you to enjoy your pitas without the hassle.
Sheet Pan Chicken Pitas Variations
Feel free to get creative and make this recipe your own with these delightful twists and substitutions!
-
Chicken Thighs: Swap boneless breasts for thighs for added tenderness and juiciness.
-
Dairy-Free Slaw: Use coconut yogurt instead of regular yogurt for a vegan-friendly slaw that still tastes creamy and rich.
-
Veggie-Packed Slaw: Add shredded carrots or bell peppers for extra color and crunch, inviting a rainbow of flavors to your dish.
-
Gluten-Free Pitas: Opt for gluten-free pitas to cater to dietary needs without sacrificing taste. Everyone can join in on the fun!
-
Spicier Kick: Increase the cayenne pepper for more heat, or toss in sliced jalapeños when roasting the chicken for an added spicy flair.
-
Herb Variety: Replace dill with fresh basil or cilantro for a completely different herb profile that brightens up your slaw and elevates the dish.
-
Zesty Citrus: Try substituting lemon with lime juice in both the chicken marinade and the slaw for a refreshing citrus twist.
-
Protein Change-Up: Swap chicken for shrimp or firm tofu for a delightful twist while keeping things quick and easy. Both options are sure to please!
Experiment with your favorites or try them all! And for more delicious chicken ideas, check out my Cheesy Garlic Chicken or Sheet Pan Cashew Chicken recipes to keep the creativity flowing in your kitchen!
Storage Tips for Sheet Pan Chicken Pitas
Fridge: Store leftover chicken and slaw in separate airtight containers; they’ll stay fresh for up to 3 days. This prevents sogginess in the pitas.
Freezer: For long-term storage, freeze cooked chicken in a single layer, then transfer to a freezer-safe bag for up to 3 months. Thaw in the refrigerator before reheating.
Reheating: To enjoy your Sheet Pan Chicken Pitas, reheat the chicken in the oven at 350ºF (175ºC) for about 10-15 minutes until warmed through. Serve fresh slaw on the side.
Assembly: Wait to assemble the pitas until just before serving to maintain the freshness of the ingredients and avoid sogginess.
What to Serve with Sheet Pan Chicken Pitas
These delightful, customizable pitas are perfect for creating a well-rounded meal that everyone will love.
- Crispy Sweet Potato Fries: The natural sweetness and crispy texture make these fries a fantastic companion, enhancing the flavor of the zesty chicken.
- Garlic Roasted Broccoli: Tender, garlic-infused broccoli adds a healthy, crunchy side that complements the savory chicken beautifully.
- Mediterranean Chickpea Salad: Bursting with fresh veggies and a tangy dressing, this salad brings brightness and freshness to your plate, balancing the rich flavors of the pitas.
- Zesty Quinoa Salad: Packed with protein and a tangy citrus dressing, this salad adds a soft texture and vibrant flavors alongside your chicken pitas.
- Creamy Coleslaw: A classic pairing, the crunch of coleslaw provides a delightful contrast and ties in well with the herby ranch flavor.
- Cucumber Yogurt Dip: Cool and creamy, this dip gives a refreshing contrast to the spicy chicken, perfect for dipping your leftover pita pieces.
- Sparkling Lemonade: The brightness of this drink enhances the entire meal, offering a refreshing, tangy sip between bites.
- Chocolate Chip Cookies: End your meal on a sweet note with warm, gooey cookies—an irresistible treat for both kids and adults alike!
Sheet Pan Chicken Pitas Recipe FAQs
How should I select the chicken for this recipe?
Absolutely! For the best flavor and texture, I recommend using boneless, skinless chicken breasts. If you prefer a juicier option, chicken thighs work beautifully as well. When selecting chicken, look for pieces that are plump and pink without any dark spots—these usually indicate freshness.
What’s the best way to store leftover Sheet Pan Chicken Pitas?
Very! To keep your leftovers fresh, store the roasted chicken and the herby slaw in separate airtight containers in the fridge. They should last for about 2 to 3 days. This separation helps prevent the pitas from getting soggy, so you can enjoy the vibrant flavors anew when you reassemble them.
Can I freeze the cooked chicken for later use?
Absolutely! To freeze your cooked chicken, cool it completely first. Then, lay the pieces in a single layer on a baking sheet and pop them in the freezer for about 1–2 hours until frozen solid. Afterward, transfer the chicken to a freezer-safe bag or container, making sure to remove as much air as possible. You can store it for up to 3 months! Thaw in the refrigerator overnight before reheating for best results.
What if my chicken comes out dry?
Don’t worry! If your chicken ends up dry, it generally means it was overcooked. To avoid this next time, make sure to use a meat thermometer. Chicken should reach an internal temperature of 165ºF (74ºC). Resting the chicken for 5 minutes after roasting also helps the juices redistribute, keeping it moist and tender.
Is this recipe suitable for dietary restrictions?
Very! This recipe is wonderfully adaptable. You can easily make it dairy-free by substituting plain yogurt with a non-dairy alternative like coconut yogurt. If you have gluten sensitivities, opt for gluten-free pitas. And feel free to mix and match the vegetables and proteins to accommodate any specific dietary needs or preferences!
Sheet Pan Chicken Pitas for Easy, Flavor-Packed Dinners
Ingredients
Equipment
Method
- Preheat your oven to 425ºF (220ºC). In a large mixing bowl, combine chicken breasts with brown sugar, smoked paprika, garlic powder, onion powder, cayenne pepper, kosher salt, olive oil, and lemon slices. Toss until coated.
- Spread the seasoned chicken and lemon slices on a baking sheet in a single layer. Roast for 15 minutes, toss chicken, then return to oven for an additional 4-7 minutes until golden and cooked through.
- While chicken roasts, prepare herby slaw by whisking together yogurt, dill, parsley, lemon juice, olive oil, and salt. Fold in cabbage and let sit for 10-15 minutes to meld flavors.
- Warm pitas in the oven for a couple of minutes. Fill each pita with herby slaw, topped with roasted chicken slices and avocado.
Leave a Reply