
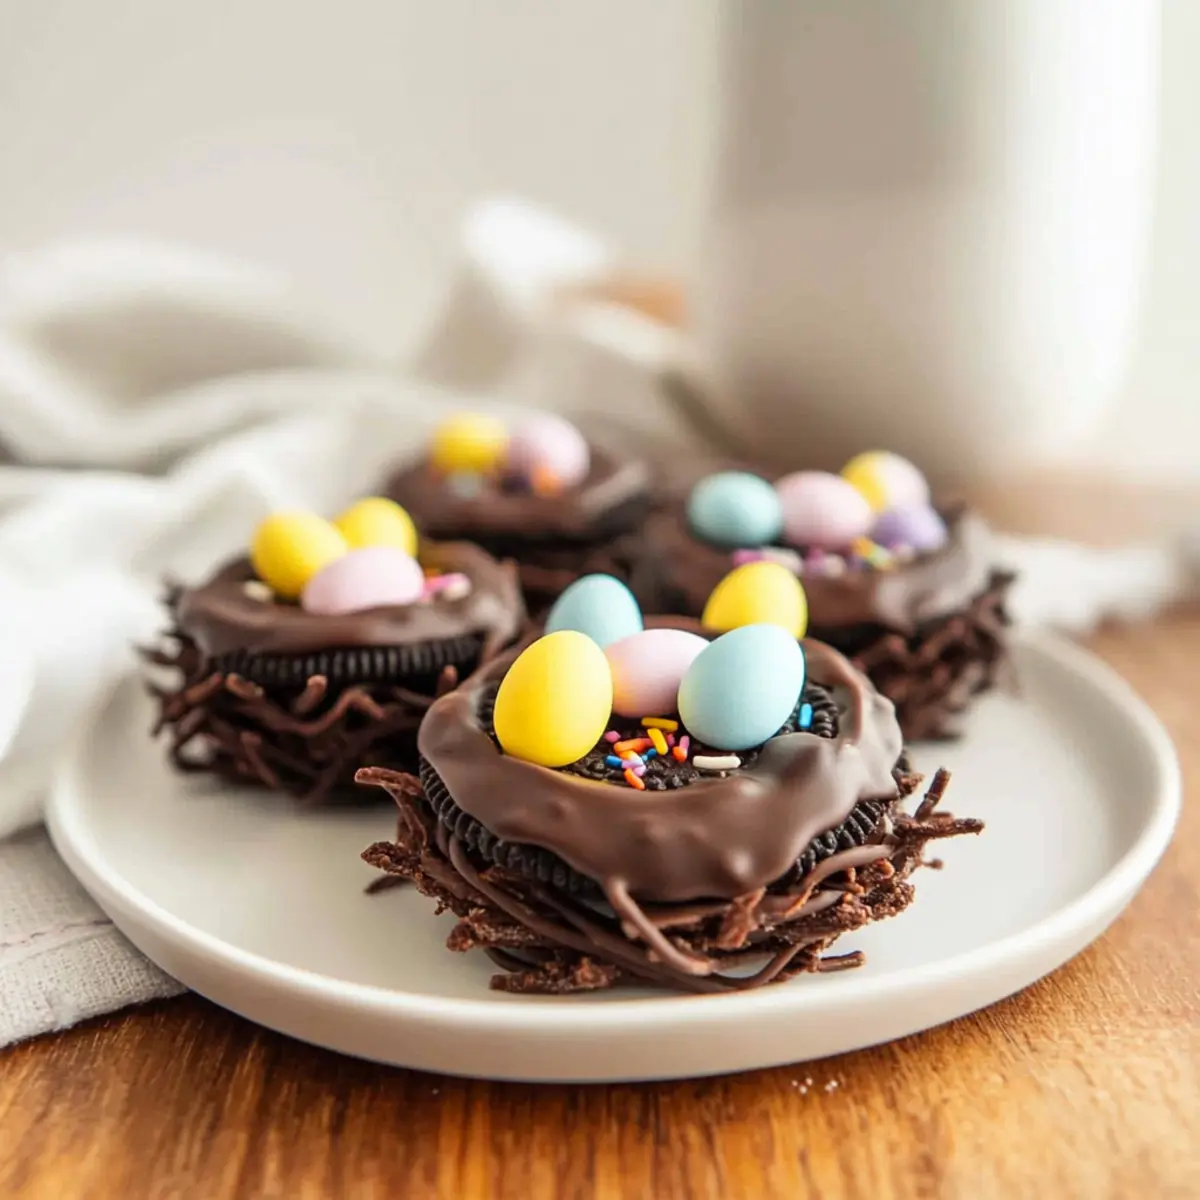
As I sift through my pantry for fun Easter activities, I come across a treasure trove of Oreo cookies, and a light bulb goes off: why not create No-Bake Chocolate Covered Oreo Easter Nests? This delightful treat not only adds a festive touch to any gathering but also requires minimal effort—perfect for those busy days leading up to the holiday. With a crunchy Oreo base enveloped in luscious melted chocolate and topped with colorful mini eggs, these nests are sure to impress family and friends alike. Plus, they’re easy to prepare ahead of time, making your Easter celebrations stress-free. Curious about how to whip up these delightful treats? Let’s dive into the delicious details!
Why Are These Oreo Nests So Irresistible?
Effortless Preparation: These no-bake delights come together in no time, perfect for anyone seeking a quick and easy dessert solution.
Festive Fun: Bursting with color and creativity, they’re not just treats; they’re a festive centerpiece for your Easter table.
Versatile Flavors: You can personalize your nests using any Oreo flavors or candy decorations to truly make them your own.
Crowd-Pleasing Appeal: Everyone from kids to adults will appreciate the crunchy, chocolaty goodness that brings smiles all around!
Make Ahead Convenience: Prepare them in advance and store them in an airtight container, allowing you to enjoy the festivities without the last-minute rush.
These Chocolate Covered Oreo Easter Nests will surely become a favorite at your holiday gatherings!
Chocolate Covered Oreo Easter Nests Ingredients
Get ready to create these delightful nests with everything you need!
For the Base:
- Oreo cookies – The crunchy foundation; feel free to experiment with any Oreo flavor!
For the Coating:
- Dark chocolate melting wafers – This ensures a smooth, rich coating; avoid chocolate chips unless mixed with coconut oil for better melting.
For the Topping:
- Mini milk chocolate eggs – A festive touch of sweetness; substitute with any small candies for decoration if preferred.
- Chocolate sprinkles – Adds color and crunch; consider other colored sprinkles for variety.
These Chocolate Covered Oreo Easter Nests are sure to bring joy to your Easter celebrations!
Step‑by‑Step Instructions for Chocolate Covered Oreo Easter Nests
Step 1: Prep the Baking Sheet
Begin by lining a baking sheet with parchment paper to create a non-stick surface for your Chocolate Covered Oreo Easter Nests. This step is crucial as it will prevent the nests from sticking and allow for easy removal once the chocolates have set. Make sure the parchment is smooth and covers the entire surface.
Step 2: Melt the Chocolate
In a microwave-safe bowl, add your dark chocolate melting wafers, ensuring they are in an even layer. Heat the wafers in the microwave in 30-second bursts, stirring between each interval until melted and completely smooth, which should take about 1-2 minutes in total. This melted chocolate will be the luscious coating for your Oreo nests.
Step 3: Coat the Oreos
Carefully dip each Oreo cookie into the melted chocolate. Use a fork to flip the cookie, ensuring it is fully submerged and coated on all sides. Allow the excess chocolate to drip off back into the bowl before proceeding. Each Oreo should be thickly coated, giving it a delightful finish that complements the crunchy cookie base.
Step 4: Remove Excess Chocolate
After dipping, gently tap your fork against the bowl’s edge to remove any excess chocolate from the Oreo coating. This step is essential for achieving a neat and tidy finish on your Chocolate Covered Oreo Easter Nests. Visualize the chocolate coating as glossy and smooth, enhancing the overall appeal of your treats.
Step 5: Decorate
While the chocolate is still wet, transfer the coated Oreos to the lined baking sheet. Here’s where the fun begins! Add colorful chocolate sprinkles for extra texture and visual appeal, then gently press mini chocolate eggs into the center of each cookie to create the nest effect. Aim for a balanced distribution of toppings for a festive look.
Step 6: Freeze to Set
Once decorated, place the baking sheet in the freezer for about 30 minutes. This chilling time allows the chocolate on your Chocolate Covered Oreo Easter Nests to harden completely, resulting in a perfect crunch when bitten into. After 30 minutes, check to ensure the coating is fully set and firm to the touch.
Step 7: Serve or Store
After the chocolate has hardened, your delightful nests are ready to serve! Enjoy them immediately or transfer them to an airtight container for later. If storing, they can remain at room temperature for a week or be refrigerated for up to two weeks. These Chocolate Covered Oreo Easter Nests are perfect for sharing at gatherings or enjoying as a sweet snack.

Make Ahead Options
These Chocolate Covered Oreo Easter Nests are perfect for busy home cooks looking to save time! You can prepare the nests up to 24 hours in advance by completing the first five steps, then store the coated Oreos on the lined baking sheet in the refrigerator. Cover them gently with plastic wrap or wax paper to prevent drying out or any odors from absorbing. When you’re ready to finish, simply freeze them for 30 minutes until the chocolate sets. These treats not only maintain their delightful crunch and flavor but are also just as delicious when made ahead, making your Easter festivities stress-free and enjoyable!
Expert Tips for Chocolate Covered Oreo Easter Nests
-
Quality Matters: Use high-quality dark chocolate melting wafers, like Ghirardelli, for a smooth and glossy finish that enhances your Chocolate Covered Oreo Easter Nests.
-
Be Quick with Toppings: Work swiftly when decorating; the chocolate hardens quickly, so have your sprinkles and mini eggs ready to add right after coating.
-
Avoid Chocolate Chips: Do not use regular chocolate chips unless you mix them with coconut oil, as it helps them melt better and achieve the right consistency for coating.
-
Keep it Tidy: Gently tapping off excess chocolate from the Oreos will ensure a clean, professional-looking finish on your nests, making them extra appealing.
-
Storage Tips: For longer-lasting freshness, store your nests in the fridge to maintain texture; they can last for up to two weeks in an airtight container.
How to Store and Freeze Chocolate Covered Oreo Easter Nests
Room Temperature: Keep these delicious nests in an airtight container at room temperature for up to one week to maintain their delightful crunch.
Fridge: For longer storage, refrigerate your Chocolate Covered Oreo Easter Nests in an airtight container where they can last for up to two weeks, keeping them fresh and tasty.
Freezer: If you want to make them ahead of time, freeze the nests in a freezer-safe container with parchment paper between layers. They will stay good for up to three months.
Reheating: There’s no need to reheat after freezing; just let them thaw in the fridge before serving to enjoy their delicious texture!
What to Serve with Chocolate Covered Oreo Easter Nests
Elevate your Easter gatherings by complementing these delightful treats with flavorful sides and drinks that enhance their sweetness.
-
Fresh Fruit Salad: A vibrant mix of seasonal fruits adds a refreshing contrast to the rich chocolate, balancing flavors beautifully. The natural sweetness of strawberries, blueberries, and kiwi creates a colorful touch that brightens any table.
-
Vanilla Ice Cream: Creamy vanilla pairs perfectly with the crunchy nests, providing a classic dessert experience. The cold creaminess of ice cream melds delightfully with the chocolate, inviting you to savor each bite.
-
Homemade Hot Chocolate: Cozy up your dessert spread with a cup of rich hot chocolate. A warm beverage enhances the festive feel, inviting warmth and indulgence into your celebrations.
-
Chocolate Dipped Strawberries: Elevate the chocolate theme by adding these sweet, juicy gems. Their tartness balances the sweetness of the nests, making each combination a heavenly bite.
-
Nutty Trail Mix: A crunchy trail mix with nuts and chocolate bits adds texture and variety. Its salty-sweet essence rounds out the dessert table, providing a satisfying crunch to accompany the nests.
-
Flavored Sparkling Water: Refreshing and light, flavored sparkling water offers a bubbly counterpart, cleansing the palate between bites of chocolatey goodness. Choose fruity flavors like raspberry or lime for an extra festive feel.
These pairings will make your Chocolate Covered Oreo Easter Nests even more enjoyable, creating an unforgettable dessert experience this holiday!
Chocolate Covered Oreo Easter Nests Variations
Feel free to get creative with this recipe; there’s so much you can do to make it your own!
-
Flavor Variations: Experiment with different Oreo flavors, like peanut butter or mint, for a unique twist.
-
White Chocolate Coating: Swap dark chocolate melting wafers for white chocolate for a sweeter, visually striking alternative. It’s a delightful contrast!
-
Colorful Sprinkles: Use vibrant themed sprinkles or pastel-colored ones for an eye-catching design that enhances the festive appeal. Let your creativity shine!
-
Candy Decoration: Instead of just chocolate eggs, try using jelly beans or colorful gummy candies for a fruity burst in every bite.
-
Nutty Crunch: Add crushed nuts or granola to the chocolate coating for an extra layer of texture. This twist gives a satisfying crunch that complements the Oreo base.
-
Spicy Kick: For the adventurous, sprinkle a dash of cayenne or chili powder into the melted chocolate for a surprising heat that balances the sweetness.
-
Sunflower Seed Butter: For a nut-free variation, use sunflower seed butter to coat the Oreos before dipping in chocolate—this lends a unique flavor!
-
Layering Nests: Instead of flat nests, stack two or three coated Oreos to create mini nests for a playful twist. Each bite will be even more indulgent!
If you’re looking to master the art of cookies, you might enjoy trying out my Oatmeal Chocolate Chip or Bakery Style Oreo recipes too!

Chocolate Covered Oreo Easter Nests Recipe FAQs
What kind of Oreos should I use for the nests?
Absolutely! You can use any Oreo flavor that you like — classic, peanut butter, mint, or even seasonal varieties. The base flavor will influence the final taste, allowing you to customize your nests to your preference.
How do I store the Chocolate Covered Oreo Easter Nests?
For optimal freshness, store your nests in an airtight container. They can stay at room temperature for up to one week. If you want them to last longer, refrigerate them, and they will be good for up to two weeks!
Can I freeze Chocolate Covered Oreo Easter Nests?
Yes, you can definitely freeze these sweet treats! Place them in a freezer-safe container, with pieces of parchment paper between layers to prevent sticking. They can last up to three months in the freezer. When you’re ready to enjoy, simply let them thaw in the fridge.
What should I do if the chocolate coating is too thick?
If you find that your chocolate coating is too thick and isn’t going on smoothly, try mixing in a tiny bit of coconut oil or vegetable oil. This can help achieve a thinner, more manageable consistency. If you’re using chocolate chips, adding coconut oil is essential since they don’t melt as evenly.
Are these nests suitable for anyone with allergies?
Be sure to check for allergies when making these treats! The key ingredients are Oreos and chocolate, which may contain allergens like gluten or dairy. If you’re making these for someone with allergies, there are gluten-free Oreo options and dairy-free chocolate available that can help you manage dietary restrictions.
How long do the decorated nests need to set?
Once decorated, the nests should be placed in the freezer for about 30 minutes to allow the chocolate to harden completely. After this setting period, they will be ready to enjoy or be stored for later!

Delightful Chocolate Covered Oreo Easter Nests for Easy Spring Fun
Ingredients
Equipment
Method
- Line a baking sheet with parchment paper to prevent sticking.
- Melt dark chocolate melting wafers in a microwave-safe bowl in 30-second bursts until smooth.
- Dip each Oreo into the melted chocolate, ensuring it's fully coated.
- Tap excess chocolate from the coated Oreos against the bowl edge.
- Transfer coated Oreos to the baking sheet and decorate immediately with sprinkles and mini eggs.
- Freeze for about 30 minutes to set the chocolate.
- Serve immediately or store in an airtight container.
Leave a Reply