
On a particularly warm afternoon, I found myself rummaging through the pantry, dreaming of something sweet and cool but not too heavy. That’s when I stumbled upon the perfect solution: Gluten-Free Frozen Vanilla Yogurt Bites. These delightful treats are creamy and refreshing, offering a guilt-free way to satisfy that sweet tooth. With their quick prep time and no-bake ease, they’re the ultimate indulgence for anyone looking to escape the clutches of fast food. Made with wholesome ingredients like oats, dates, and almond butter, these bites are not just delicious; they’re also a healthy snack option for the whole family. Why settle for store-bought when you can whip up something so delightful at home? Ready to learn how to make these easy frozen delights? Let’s dive in!
Why Choose Frozen Vanilla Yogurt Bites?
Quick Prep: These Frozen Vanilla Yogurt Bites take just minutes to prepare, making them perfect for those busy afternoons when you crave a refreshing treat.
No-Bake Delight: With no baking involved, you can easily whip them up without the hassle of preheating an oven or complicated kitchen tasks.
Healthy Ingredients: Made with wholesome ingredients like oats and almond butter, these bites satisfy your sweet tooth while providing nourishing benefits, unlike typical store-bought snacks.
Endless Variations: Feel free to get creative! Substitute almond butter with peanut butter or try different fruits for a personalized twist on these delectable bites.
Family Friendly: These treats are not only gluten-free, but they’re also a nutritious option for kids and adults alike. Serve them with a smoothie, and you’ve got a balanced breakfast!
Meal Prep Magic: Ideal for making ahead of time, just store them in the freezer for tasty moments whenever the craving strikes.
Frozen Vanilla Yogurt Bites Ingredients
• Discover everything you need for delightful, guilt-free Frozen Vanilla Yogurt Bites!
For the Base
• Oats – Use rolled oats for optimal texture; ensure they’re certified gluten-free for a safe treat.
• Pitted Dates – These add sweetness and help bind ingredients; soak them in warm water to soften for best results.
• Almond Butter – Provides creaminess; swap for peanut butter or sunflower seed butter if you need a nut-free version.
• Flaxseed – Offers a nutritional boost; ground flaxseed works wonders but chia seeds are a great substitute.
For Sweetness
• Honey – Brings natural sweetness; opt for maple syrup for a vegan alternative.
• Maple Syrup – Use as additional sweetness; adjust the quantity based on the yogurt you’ll choose.
For Creaminess
• Coconut Oil – Keeps it moist and helps bind; use it melted and cooled, or replace with olive oil if preferred.
• Greek Yogurt – Adds a rich, creamy layer; choose plain or flavored, or use coconut yogurt for a dairy-free option.
For Flavor
• Ground Cinnamon – Optional for a warm touch; omit if you prefer a more neutral flavor profile.
• Vanilla Extract – Essential for that aromatic sweetness; pure vanilla extract is recommended for the best taste.
For Decoration
• Sprinkles – For a fun finishing touch; feel free to skip for a more health-conscious treat.
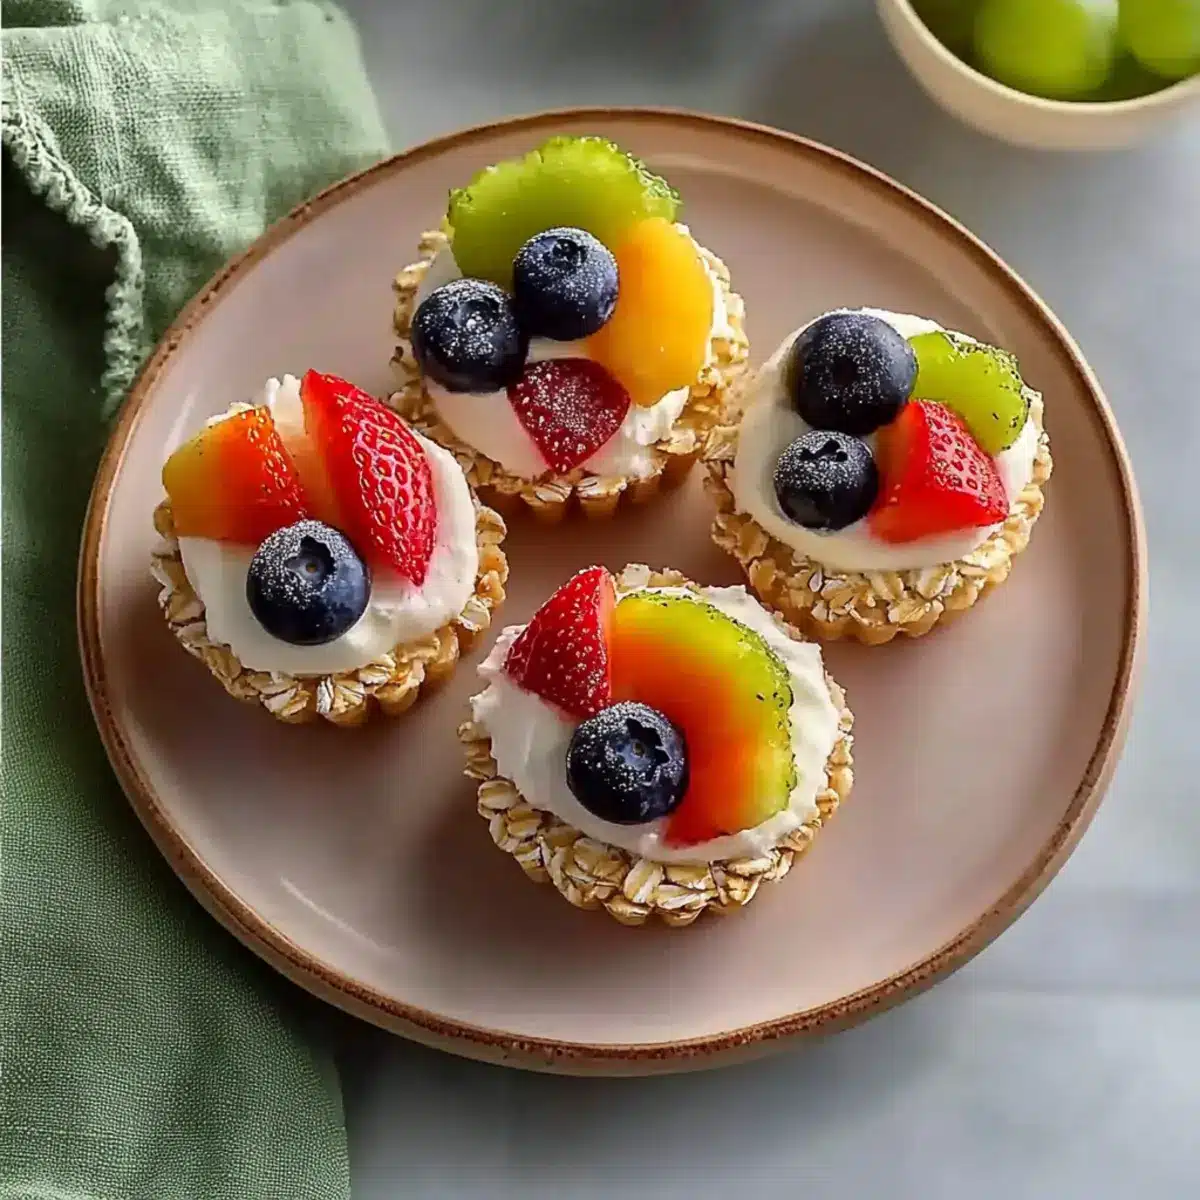
• Sliced Strawberries and Blueberries – Adds freshness and flavor; substitute with your favorite berries like raspberries or blackberries.
Step‑by‑Step Instructions for Frozen Vanilla Yogurt Bites
Step 1: Soak Dates
Begin by soaking the pitted dates in warm water for 5-10 minutes until they soften and become plump. This process helps them blend smoothly into your base mixture. Once they’ve softened, drain the water and set the dates aside. This simple preparation ensures a sweet and sticky integration into your Frozen Vanilla Yogurt Bites.
Step 2: Blend Base Ingredients
In a food processor, combine the rolled oats, soaked dates, almond butter, ground flaxseed, honey, maple syrup, melted coconut oil, ground cinnamon, and 1 teaspoon of vanilla extract. Pulse the mixture until it becomes crumbly but holds together when pressed. This should take about 30 seconds, creating a well-combined base for your bites.
Step 3: Prepare Muffin Tin
Prepare a muffin tin by lining it with paper liners or lightly greasing each cup with cooking spray. This step ensures easy removal later. Firmly press 1 tablespoon of the oat mixture into each muffin cup, making sure it’s packed tightly to form a solid base. A solid foundation is key to your Frozen Vanilla Yogurt Bites holding shape.
Step 4: Whisk Yogurt Mixture
In a separate bowl, whisk together the Greek yogurt and the remaining vanilla extract until smooth and creamy. This may take about a minute and will create a lovely, rich layer that balances the dessert. Spoon the yogurt mixture over each oat base in the muffin tin, smoothing the tops with a spatula or the back of a spoon for an even surface.
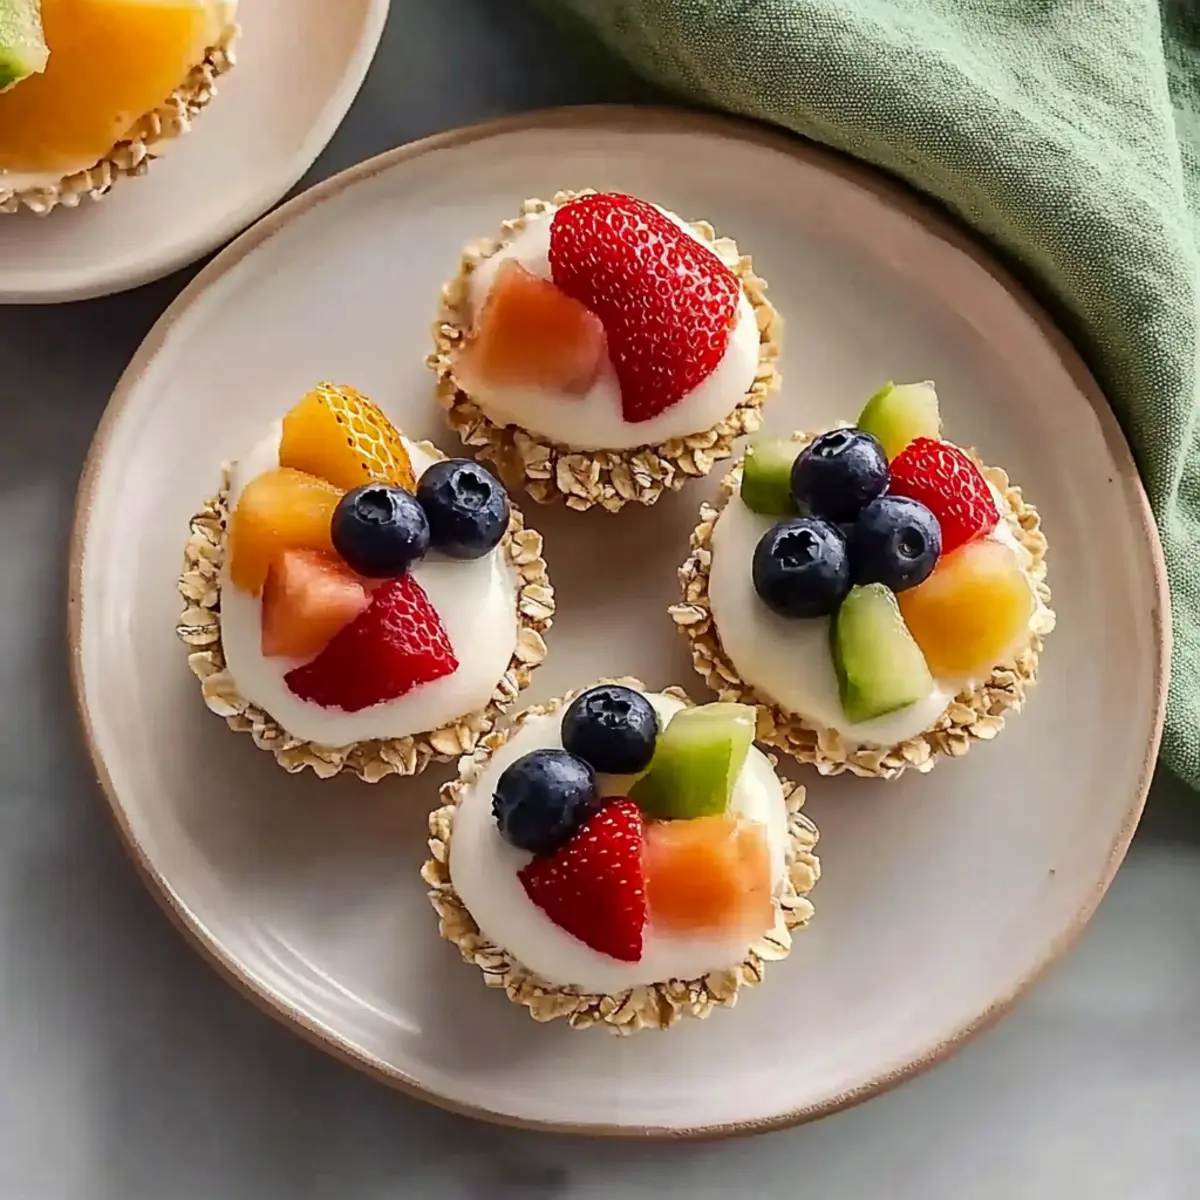
Step 5: Add Toppings
Carefully divide the sliced strawberries and blueberries on top of each yogurt layer. Lightly press them in to keep them nestled into the yogurt. If desired, add sprinkles for a touch of fun. This colorful addition not only enhances the visual appeal but also elevates the flavor profile of your Frozen Vanilla Yogurt Bites.
Step 6: Freeze Until Solid
Transfer the muffin tin to the freezer, allowing the yogurt bites to freeze for 2-3 hours until solid. This freezing time is crucial for achieving a firm texture. Once they are set, gently remove the bites from the muffin tin and transfer them to an airtight container. Layer parchment paper between each layer to prevent sticking, ensuring they’re ready whenever you crave a refreshing treat.
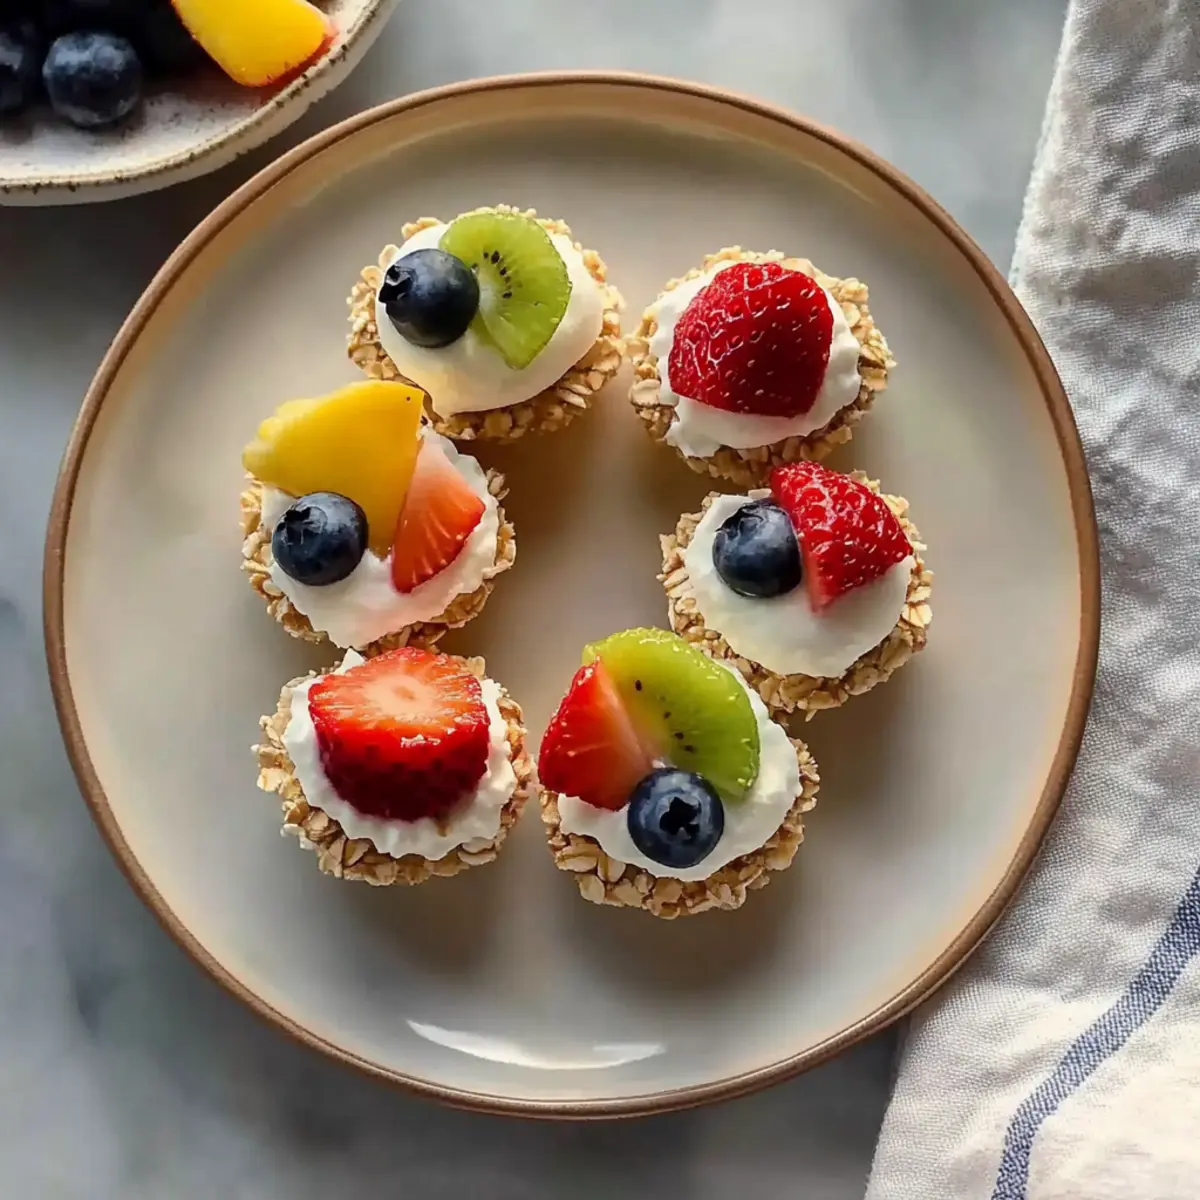
Step 7: Enjoy at the Right Temperature
Before enjoying your Frozen Vanilla Yogurt Bites, let them sit at room temperature for 1-2 minutes. This brief thawing period enhances the creamy texture, making each bite even more delightful. Now you’re ready to savor these healthy, guilt-free treats, perfect for those warm days or as a quick snack!
How to Store and Freeze Frozen Vanilla Yogurt Bites
Room Temperature: Store these bites at room temperature for no more than 1-2 hours to prevent melting and maintain their texture.
Fridge: If you decide to store them in the refrigerator, keep your Frozen Vanilla Yogurt Bites in an airtight container for up to 3 days for best flavor and freshness.
Freezer: For longer storage, tightly wrap each bite in parchment paper before placing them in an airtight container. They can be kept in the freezer for up to 3 months.
Reheating: When ready to enjoy, allow the Frozen Vanilla Yogurt Bites to sit at room temperature for 1-2 minutes before indulging for the ideal creamy texture.
Make Ahead Options
These Gluten-Free Frozen Vanilla Yogurt Bites are perfect for meal prep! You can prepare the oat base and even top them with yogurt and fruit up to 24 hours in advance. Simply follow all the initial steps and freeze them right away. If you want to maximize freshness, consider adding the toppings right before serving to keep their vibrant flavors intact. To maintain quality, ensure the bites are stored in an airtight container with parchment paper between layers; they will stay delightful for up to three months in the freezer. When you’re ready to enjoy a bite, let them sit at room temperature for 1-2 minutes for the best texture. With these make-ahead options, you’ll have a tasty, healthy treat ready whenever you need it!
What to Serve with Gluten-Free Frozen Vanilla Yogurt Bites
These delightful treats are perfect for pairing with refreshing sides and drinks that enhance their creamy, fruity goodness.
-
Fresh Fruit Salad: A mix of vibrant seasonal fruits adds a refreshing crunch, elevating the yogurt bites with natural sweetness and vibrant colors.
-
Creamy Smoothie: Blend up your favorite fruits with yogurt for a luscious drink that complements the texture of the yogurt bites, creating a delightful breakfast option.
-
Nutty Granola: The crunchy texture of homemade or store-bought granola pairs beautifully, providing a satisfying contrast that adds even more wholesome flavor.
-
Herbal Iced Tea: A lightly sweetened herbal iced tea brings a refreshing and fragrant note, making it a perfect beverage to enjoy on a warm day alongside these frozen bites.
-
Coconut Whipped Cream: Light and airy coconut whipped cream drizzled over the bites enhances their tropical vibe, adding a luscious finish that makes each bite even more indulgent.
-
Chocolate Dipping Sauce: For a fun twist, offer a rich chocolate dipping sauce for extra sweetness; the combination of creamy yogurt and chocolate creates a deliciously decadent treat.
Enjoying these Frozen Vanilla Yogurt Bites is like treating yourself to a mini-vacation on a warm day, so indulge and let the flavors carry you away!
Frozen Vanilla Yogurt Bites: Endless Variations
Customize your Frozen Vanilla Yogurt Bites and let your imagination run wild with these delightful twists!
-
Nut-Free: Substitute almond butter with sunflower seed butter for a nut-free option that retains the creamy texture.
-
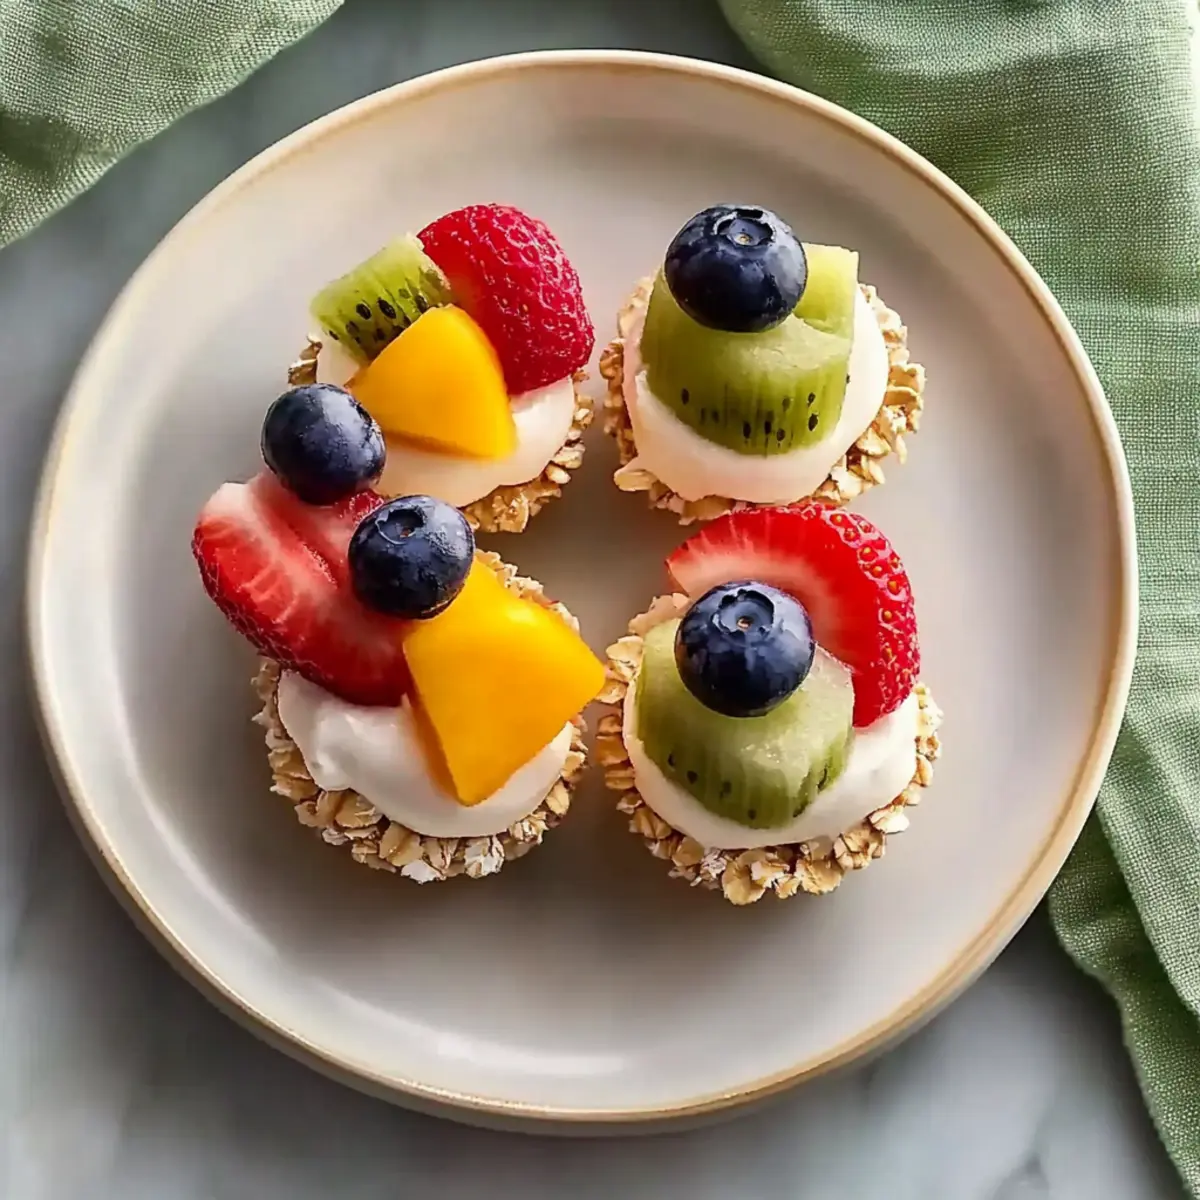
Fruit Medley: Swap strawberries and blueberries for seasonal fruits like diced mango or peaches for a tropical twist. Imagine the burst of flavor each bite will bring!
-
Vegan Delight: Replace honey with agave syrup and use coconut yogurt instead of Greek yogurt for a completely vegan treat that everyone can enjoy.
-
Chocolate Lover’s Dream: Mix in cacao nibs or mini dark chocolate chips for a decadent chocolatey surprise that pairs wonderfully with the tangy yogurt.
-
Cinnamon Swirl: Add a swirl of cinnamon or pumpkin spice into your yogurt layer for a warm, cozy flavor that’s perfect for a fall-inspired treat.
-
Crunchy Texture: Fold in chopped nuts or granola into the yogurt before scooping it onto the oat base for an added crunchy bite. Think about the lovely textures that will enhance every experience!
-
Spicy Kick: For those who appreciate a little heat, sprinkle a bit of cayenne pepper into your yogurt mix for an unexpectedly exciting flavor. A touch of spice can make the sweetness come alive!
For more delicious twists, try making Roll Protein Bites or check out my Garlic Chicken Bites for an even broader range of flavor options.
Expert Tips for Frozen Vanilla Yogurt Bites
-
Pack Tightly: Ensure the oat base is pressed firmly into the muffin tins to prevent them from crumbling during removal.
-
Thaw for Creaminess: Let the bites sit at room temperature for 1-2 minutes before serving for an ultra-creamy texture.
-
Use Silicone Molds: Silicone muffin molds make it easier to pop out the frozen bites without breaking them apart.
-
Soak Dates Properly: Soak your pitted dates well to avoid a dry mixture; softer dates bind better for successful Frozen Vanilla Yogurt Bites.
-
Adjust Sweetness: Taste the yogurt layer before freezing; feel free to adjust the sweetness with honey or maple syrup according to your preference.
Gluten-Free Frozen Vanilla Yogurt Bites Recipe FAQs
How do I select the right oats for this recipe?
I always recommend using rolled oats that are certified gluten-free to ensure your Frozen Vanilla Yogurt Bites are safe for those with gluten sensitivities. Look for oats that are clearly labeled, and avoid those that may be processed in facilities that handle gluten.
What’s the best way to store Frozen Vanilla Yogurt Bites?
These delightful bites should be stored in the freezer for up to 3 months. To keep them fresh and avoid sticking together, layer them in an airtight container with parchment paper between each layer. This way, you’ll have easy access to a refreshing treat whenever the craving strikes!
Can I freeze these yogurt bites?
Absolutely! After assembling your Frozen Vanilla Yogurt Bites, place the muffin tin in the freezer for 2-3 hours until they are fully solid. Once frozen, pop them out and store them in a labeled airtight container in the freezer. Just remember, they can be stored for up to three months, making them a fantastic grab-and-go snack!
What if the oat base is crumbly when I remove the bites from the tin?
If your Frozen Vanilla Yogurt Bites crumble, it could be due to not packing the oat base tightly enough into the muffin tin. Make sure to press it down firmly during assembly. If you encounter this issue, try using a silicone muffin mold next time; they make removal much easier!
Are these yogurt bites safe for kids and allergies?
Yes! These Frozen Vanilla Yogurt Bites are a family-friendly treat. However, if allergies are a concern, ensure you select nut-free alternatives like sun butter and substitute any possible allergens with suitable ingredients. Always check your yogurt and add-ins for dietary restrictions to keep everyone safe!
What’s the best way to soak dates?
To soften the pitted dates for your recipe, soak them in warm water for about 5-10 minutes. Once they have swelled and become pliable, drain them before adding to your mixture. This step ensures they blend smoothly, helping to bind the ingredients together and enhance the taste of your Frozen Vanilla Yogurt Bites!
Frozen Vanilla Yogurt Bites: Guilt-Free Indulgence for Summer
Ingredients
Equipment
Method
- Soak the pitted dates in warm water for 5-10 minutes until softened, then drain.
- In a food processor, blend oats, soaked dates, almond butter, flaxseed, honey, maple syrup, coconut oil, cinnamon, and vanilla until crumbly.
- Grease a muffin tin or line with paper liners, then press the oat mixture into each cup.
- In a bowl, whisk Greek yogurt with remaining vanilla extract until smooth and fluffy.
- Spoon yogurt mixture over the oat bases, then add sliced strawberries and blueberries on top.
- Freeze the muffin tin for 2-3 hours until solid.
- Remove bites from the tin and store in an airtight container with parchment paper between layers.
- Let sit at room temperature for 1-2 minutes before serving for improved creaminess.
Leave a Reply