
As I pulled a batch of Hibiscus Lemon Bars from the oven, their vibrant pink hue caught my eye, promising a delightful adventure for the senses. With the perfect balance of tartness from fresh lemons and the floral notes of hibiscus, these gluten-free and vegan treats are a refreshing addition to any table. Not only are they quick to whip up in under an hour, but their stunning appearance makes them an impressive conversation starter for spring and summer gatherings. Whether you’re a seasoned home cook or just looking to elevate your baking game, these Hibiscus Lemon Bars are sure to become a cherished favorite. Ready to make a dessert that truly captures the essence of the season?
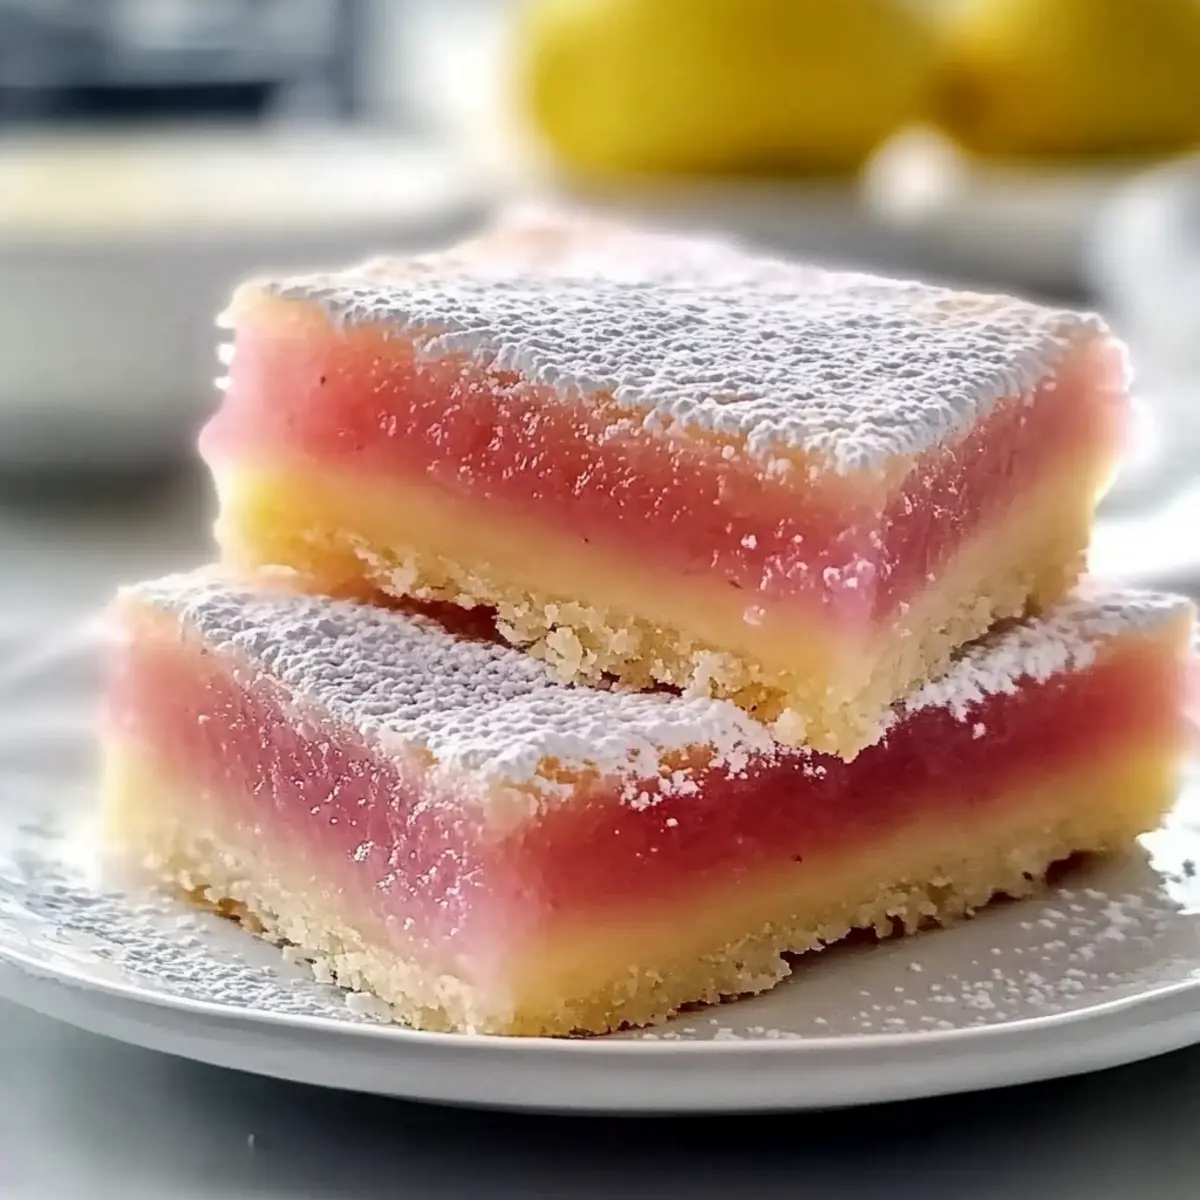
Why Are Hibiscus Lemon Bars So Popular?
Unique Flavor: The fusion of tart lemons and sweet, floral hibiscus creates a vibe that is both refreshing and aromatic.
Diet-Friendly: With gluten-free and vegan options, everyone can indulge in these delightful bars.
Quick to Make: In just under an hour, you can create a dessert that impresses both in taste and presentation.
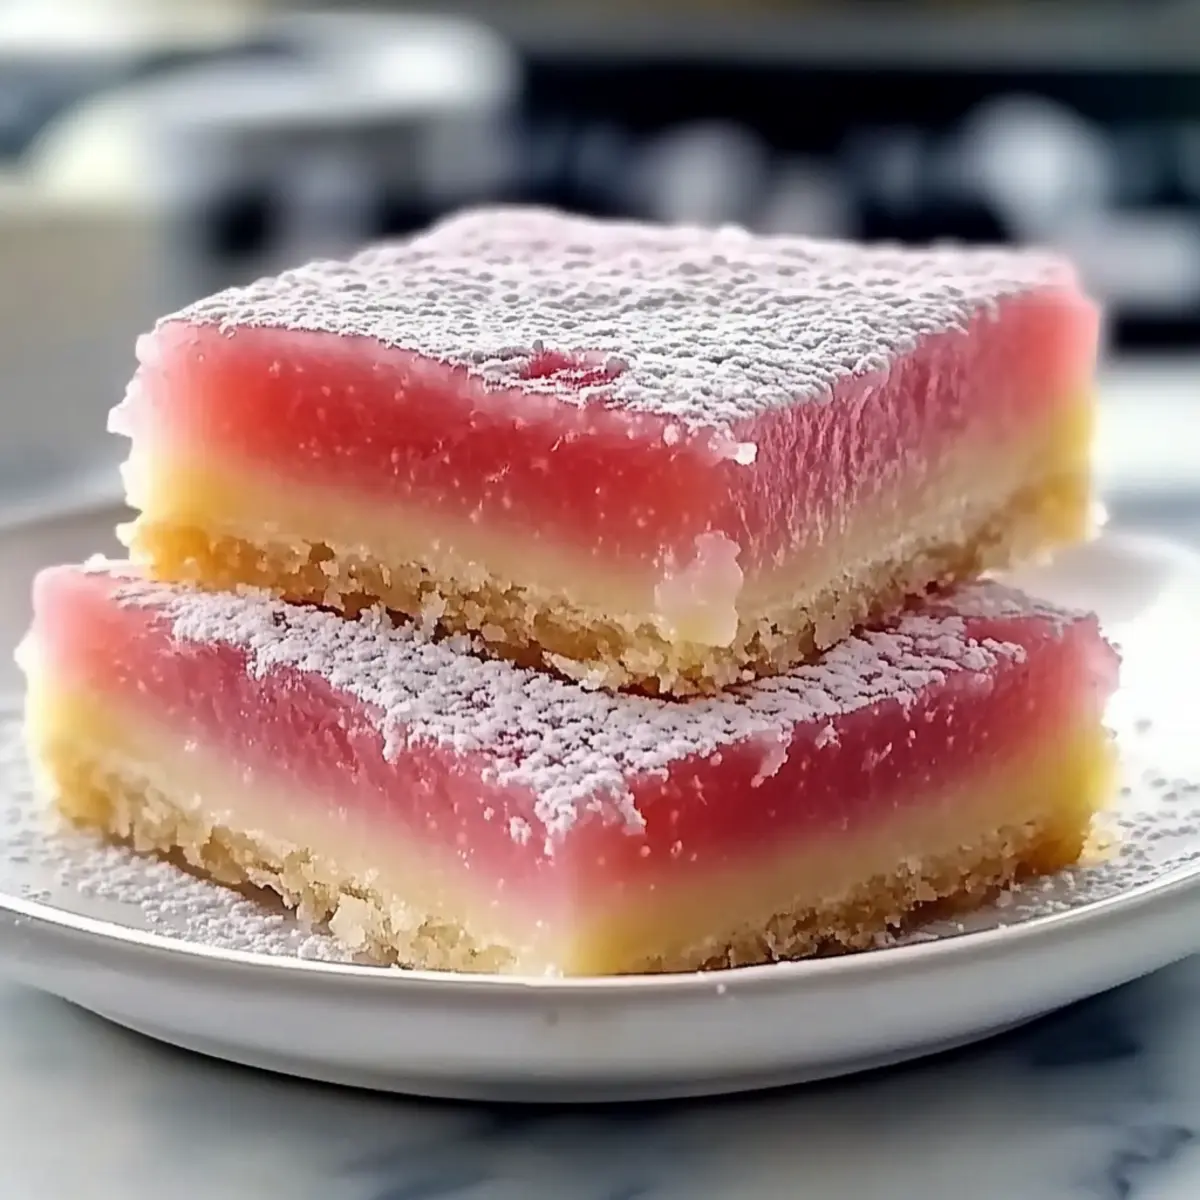
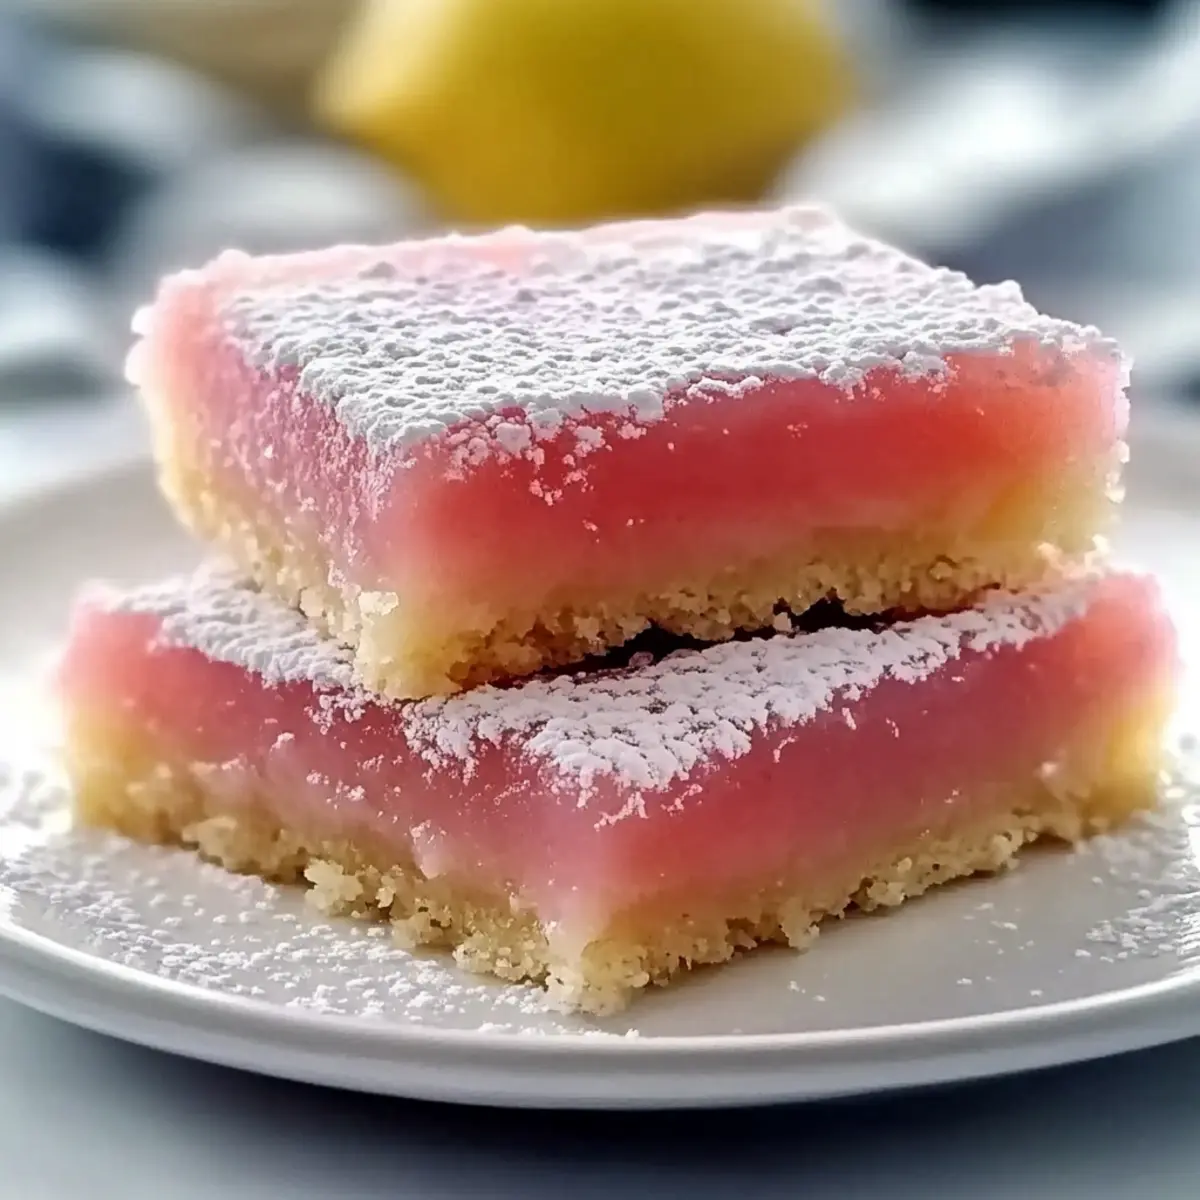
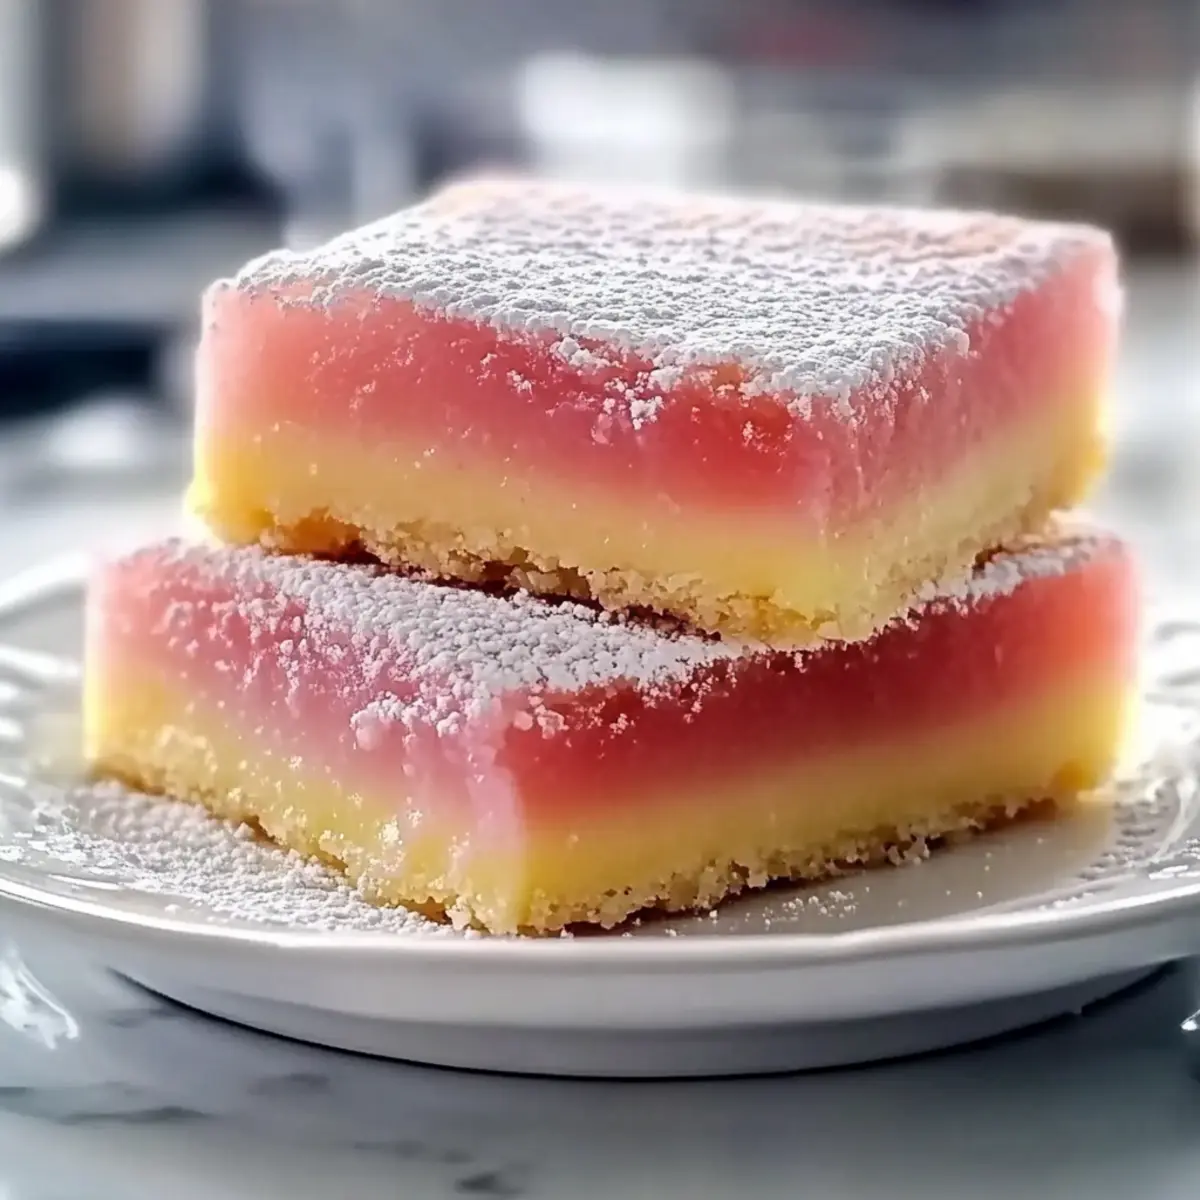
Eye-Catching: Their vibrant pink hue is perfect for spring and summer gatherings, making them a show-stopping sweet treat.
Versatile Options: Feel free to experiment with variations, or pair them with a dollop of whipped cream or fresh berries for added elegance! Looking for more delicious bars? Check out my Chocolate Chip Bars and Gooey Salted Caramel recipes!
Hibiscus Lemon Bars Ingredients
For the Crust
• Butter – Enhances richness and structure; substitute with vegan butter for a dairy-free option.
• Granulated Sugar – Provides sweetness; can use coconut sugar for a lower glycemic alternative.
• Vanilla Bean Paste – Deepens flavor; replace with pure vanilla extract (½ tsp) if needed.
• All-Purpose Flour – Forms the crust and thickens the filling; for gluten-free Hibiscus Lemon Bars, use a gluten-free flour blend.
For the Filling
• Dried Hibiscus Flowers – Adds unique floral flavor and stunning color; use hibiscus tea or powdered hibiscus if flowers aren’t available.
• Fresh Lemon Juice – Introduces a tangy brightness; always use fresh juice for the best flavor profile.
• Eggs – Provide a silky custard texture; substitute with a flaxseed mixture (1 Tbsp flaxseed meal mixed with 2.5 Tbsp water) for a vegan option.
Optional Garnish
• Confectioner’s Sugar – Lightly dust on top for a sweet finish; can skip if desired for a less sweet treat.
Step‑by‑Step Instructions for Hibiscus Lemon Bars
Step 1: Preheat Oven
Begin by preheating your oven to 350°F (175°C). While the oven warms up, grab a greased 9×9 inch baking pan and set it aside, ready for the buttery crust that will form the base of your Hibiscus Lemon Bars.
Step 2: Cream Base
In a mixing bowl, beat together the softened butter, granulated sugar, and vanilla bean paste until the mixture is light and fluffy, about 3 to 4 minutes. This step is crucial for creating a tender crust, so keep mixing until you see a pale, airy consistency forming.
Step 3: Combine Dry Ingredients
Gradually add the all-purpose flour and a pinch of salt into the creamed mixture. Mix gently until just combined; be careful not to overwork the dough. The texture should be crumbly but cohesive enough to hold together when pressed into the pan.
Step 4: Form Crust
Press the dough evenly into the bottom of the prepared baking pan using your fingers or the bottom of a glass. Once the crust has a smooth surface, refrigerate it for about 15 minutes to keep it firm while baking.
Step 5: Bake Crust
Place the crust in the preheated oven and bake for approximately 15 minutes, or until the edges are lightly golden. The crust should remain somewhat soft, as it will firm up further once the filling is added.
Step 6: Steep Hibiscus
While the crust is baking, combine the fresh lemon juice and dried hibiscus flowers in a small saucepan. Heat over low to medium heat for about 15 minutes, allowing the hibiscus to steep and infuse its vibrant color and flavor into the lemon juice. After steeping, strain the liquid to remove the flowers.
Step 7: Whisk Filling
In a clean bowl, whisk together the eggs and sugar until frothy and well combined. Gradually mix in the strained hibiscus-infused lemon juice, stirring until the mixture is smooth and uniformly blended, ready to pour over the baked crust.
Step 8: Bake Bars
Pour the filling evenly over the pre-baked crust in the pan. Return it to the oven and bake for 20 to 25 minutes, or until the center is set and no longer jiggles when gently shaken. The bars should look slightly puffed and will firm up as they cool.
Step 9: Cool & Serve
Once baked to perfection, remove the Hibiscus Lemon Bars from the oven and let them cool in the pan. After about an hour, dust the top with confectioner’s sugar, slice into squares, and serve. These bars are best enjoyed chilled to savor their delightful texture and flavor!
What to Serve with Hibiscus Lemon Bars?
These delightful treats are just the beginning of a refreshing spring or summer spread.
-
Whipped Cream: A dollop of lightly sweetened whipped cream adds creaminess, balancing the tartness of the bars perfectly.
-
Fresh Berries: Complement with a medley of strawberries, raspberries, and blueberries for a burst of color and flavor; the juiciness enhances the floral notes.
-
Mint Tea: Pairing with a refreshing glass of mint tea creates a soothing experience full of herbal aromas, perfect for warm afternoons.
-
Sparkling Rosé: The effervescence of chilled sparkling rosé elevates the dessert, making every bite feel special and celebratory.
-
Coconut Sorbet: For a dairy-free option, a scoop of creamy coconut sorbet cools down the palate and adds a tropical twist.
-
Honey Drizzle: A light drizzle of honey gives a hint of sweetness that complements the fruity tartness beautifully, enhancing each bite.
-
Lemon-Lavender Infused Drink: Create a refreshing drink by infusing lemonade with lavender; this pairs well with the hibiscus theme while adding floral depth.
Make Ahead Options
These Hibiscus Lemon Bars are a fantastic option for busy cooks looking to save time! You can prepare the crust up to 24 hours in advance by storing it tightly wrapped in the refrigerator; this will keep it fresh and ready for the filling. The hibiscus-infused lemon juice can be steeped and prepared up to 3 days ahead, simply refrigerate it in an airtight container until you’re ready to complete the recipe. When it’s time to finish the Hibiscus Lemon Bars, just whisk together the eggs and sugar with the prepared juice, pour over the crust and bake. This way, your floral-infused treat will be just as delightful with minimal effort!
How to Store and Freeze Hibiscus Lemon Bars
Room Temperature: Keep Hibiscus Lemon Bars at room temperature for up to 2 days in an airtight container to maintain their delightful texture and flavor.
Fridge: If you’re planning to savor them longer, store in the fridge for up to 4-5 days. This will keep the bars fresh while preserving their vibrant taste.
Freezer: For longer storage, freeze cut bars on a baking sheet until solid, then transfer to a freezer-safe container or bag. They can be stored for up to 2 months.
Reheating: When ready to enjoy, thaw the frozen Hibiscus Lemon Bars in the fridge overnight, and serve chilled or allow them to come to room temperature for the best experience.
Hibiscus Lemon Bars Variations
Feel free to let your creativity flow and make these Hibiscus Lemon Bars your own with these delightful twists!
-
Gluten-Free: Substitute all-purpose flour with a gluten-free flour blend to accommodate dietary needs without sacrificing taste.
-
Vegan: Replace eggs with a flaxseed mixture (1 Tbsp flaxseed meal mixed with 2.5 Tbsp water) and use vegan butter for a completely dairy-free dessert.
-
Flavor Boost: Add a pinch of cardamom or chamomile to the filling for an aromatic twist that enhances the floral essence.
-
Mini Bars: Bake tiny versions in muffin tins for bite-sized snacks; they’re perfect for gatherings or as an elegant treat with tea.
-
Sweetener Swap: Use coconut sugar instead of granulated sugar for a lower glycemic alternative that adds a hint of caramel flavor.
-
Citrus Twist: Mix in a splash of orange juice along with the lemon juice for a vibrant, multi-citrus experience that’s refreshingly juicy.
-
Garnish Variations: Top with fresh berries or whipped coconut cream for an extra special finishing touch that complements the flavors beautifully.
Don’t forget, if you love quick and sweet treats, check out my Chocolate Chip Bars and Gooey Salted Caramel recipes for further inspiration!
Expert Tips for Hibiscus Lemon Bars
• Fresh Ingredients: Always use fresh lemon juice and quality dried hibiscus flowers for vibrant flavor—frozen or bottled lemon juice won’t give the same zing.
• Proper Cooling: Be patient! Let the Hibiscus Lemon Bars cool completely before slicing. This ensures clean edges and a firm texture to enjoy.
• Watch the Jiggle: If the center jiggles excessively when pulled from the oven, give it a bit more time. It should be just set for the best texture.
• Substitution Savvy: If using alternatives like flax eggs or gluten-free flour, ensure to follow the recommended ratios for optimal results.
• Storage Tips: Store any leftovers in an airtight container at room temperature for up to 2 days or refrigerated for longer freshness.
Hibiscus Lemon Bars Recipe FAQs
How do I choose the best dried hibiscus flowers?
Absolutely! When selecting dried hibiscus flowers, look for vibrant, deep red petals without any dark spots or an off smell. Freshness is key to ensuring maximum flavor. If you’re opting for hibiscus tea, choose brands that use whole flowers for the best infusion.
What is the best way to store Hibiscus Lemon Bars?
Very! For optimal freshness, keep your Hibiscus Lemon Bars in an airtight container at room temperature for up to 2 days. If you’d like to extend their shelf life, refrigerate them for about 4-5 days, ensuring they stay cool and delightful.
Can I freeze Hibiscus Lemon Bars?
Absolutely! To freeze your Hibiscus Lemon Bars, start by cutting them into squares. Place the cut bars on a baking sheet in a single layer and freeze until solid, about 1 hour. Then, transfer them to a freezer-safe container or bag. They can be stored for up to 2 months. When you’re ready to enjoy, simply thaw them in the fridge overnight!
What should I do if the filling is too jiggly after baking?
If your filling jiggles excessively after baking, it likely needs more time in the oven. Just return the bars to the oven for an additional 5-10 minutes, checking them frequently. The center should be just set without any excessive movement when you gently shake the pan.
Can I use a substitute for eggs in these bars?
Yes! For a vegan version, you can substitute each egg with a flaxseed meal mixture. Simply mix 1 tablespoon of flaxseed meal with 2.5 tablespoons of water for each egg and let it sit for about 5 minutes to thicken before adding it to your filling. It’s a great way to achieve that silky custard texture without eggs!
Are Hibiscus Lemon Bars safe for pets?
While hibiscus is generally safe for humans, it’s best to avoid sharing your Hibiscus Lemon Bars with pets. The sugar, citrus, and potential allergens (like flour) may not be suitable for them and could cause digestive issues. Always err on the side of caution with your furry friends!
Hibiscus Lemon Bars: A Refreshing Floral Delight to Savor
Ingredients
Equipment
Method
- Preheat your oven to 350°F (175°C) and grease a 9x9 inch baking pan.
- Beat together the softened butter, granulated sugar, and vanilla bean paste until light and fluffy, about 3-4 minutes.
- Gradually add the all-purpose flour and a pinch of salt, mixing gently until just combined.
- Press the dough into the bottom of the prepared baking pan and refrigerate for about 15 minutes.
- Bake the crust for approximately 15 minutes or until the edges are lightly golden.
- Combine the fresh lemon juice and dried hibiscus flowers in a saucepan over low to medium heat and steep for about 15 minutes.
- In a clean bowl, whisk together the eggs and sugar until frothy, then mix in the strained hibiscus-infused lemon juice.
- Pour the filling evenly over the pre-baked crust and bake for 20-25 minutes until the center is set.
- Let the bars cool in the pan for about an hour, dust with confectioner’s sugar, slice into squares, and serve.
Leave a Reply