
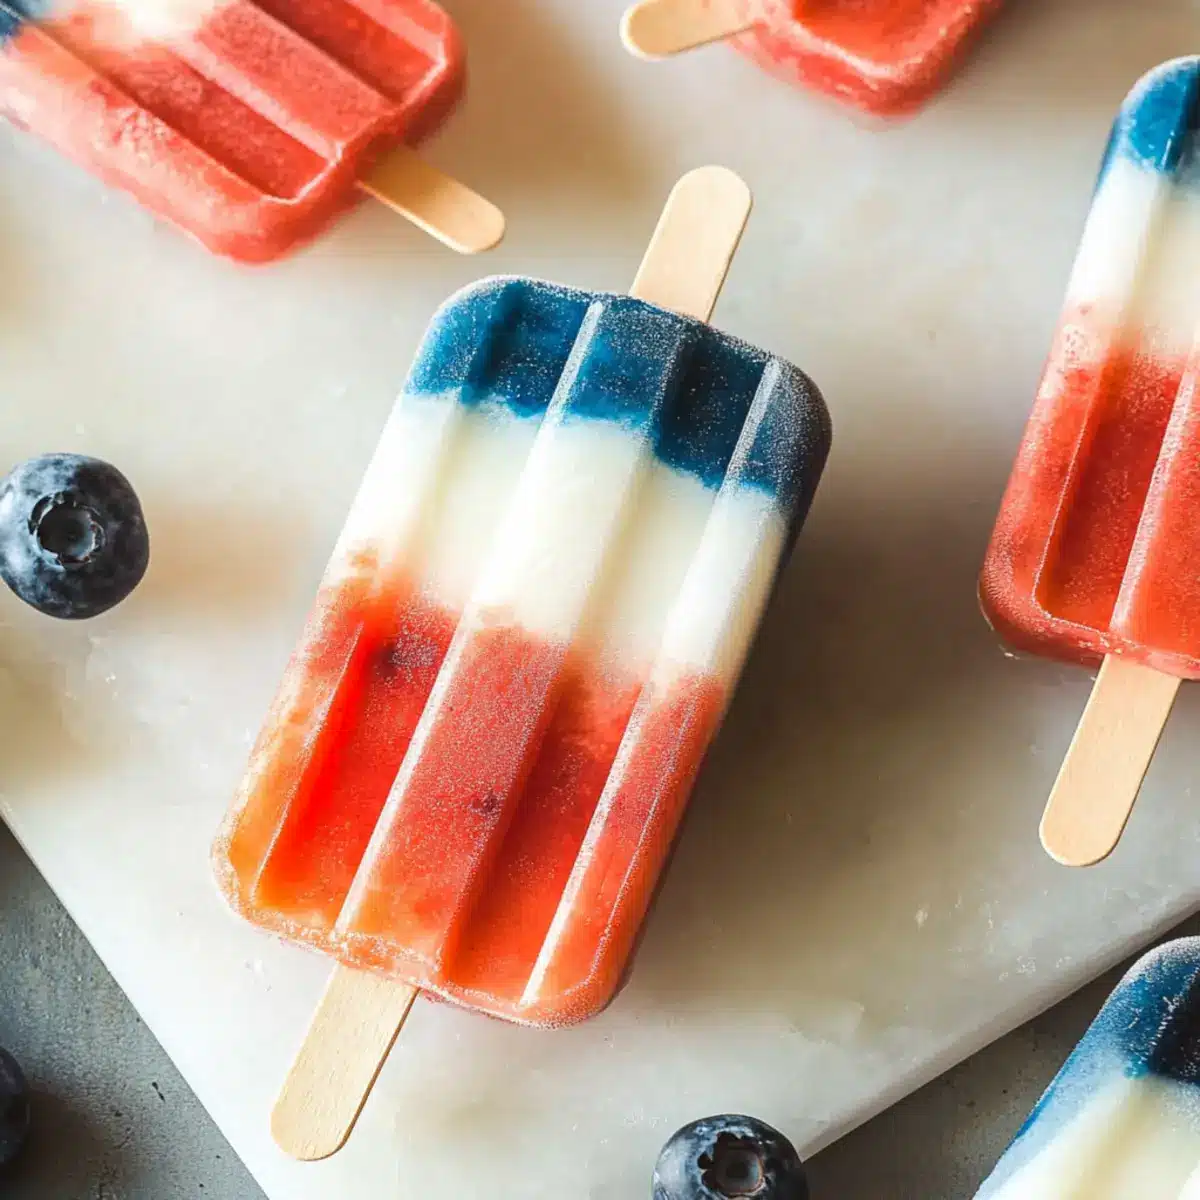
The sun blazes overhead, and the joy of summer beckons us to indulge in refreshing treats that cool us down. My Festive Red, White & Blue Popsicles are not only a visual delight but also an easy-to-make dessert that celebrates the vibrant flavors of the season. With the sweet notes of strawberries, a creamy coconut layer, and tangy blueberries, these no-bake goodies are perfect for any outdoor celebration, whether it’s the Fourth of July or simply a sunny day in your backyard. The best part? They’re gluten-free and come together with minimal effort, making them a sure hit with family and friends. Ready to add a splash of color and fun to your summer gatherings? Let’s dive into this delightful recipe!
Why Make Festive Popsicles Today?
Simplicity and Fun: These popsicles are incredibly easy to prepare, using just a handful of ingredients that you likely already have on hand.
No-Bake Wonder: As a no-bake treat, they save you from turning on the oven, perfect for those scorching summer days.
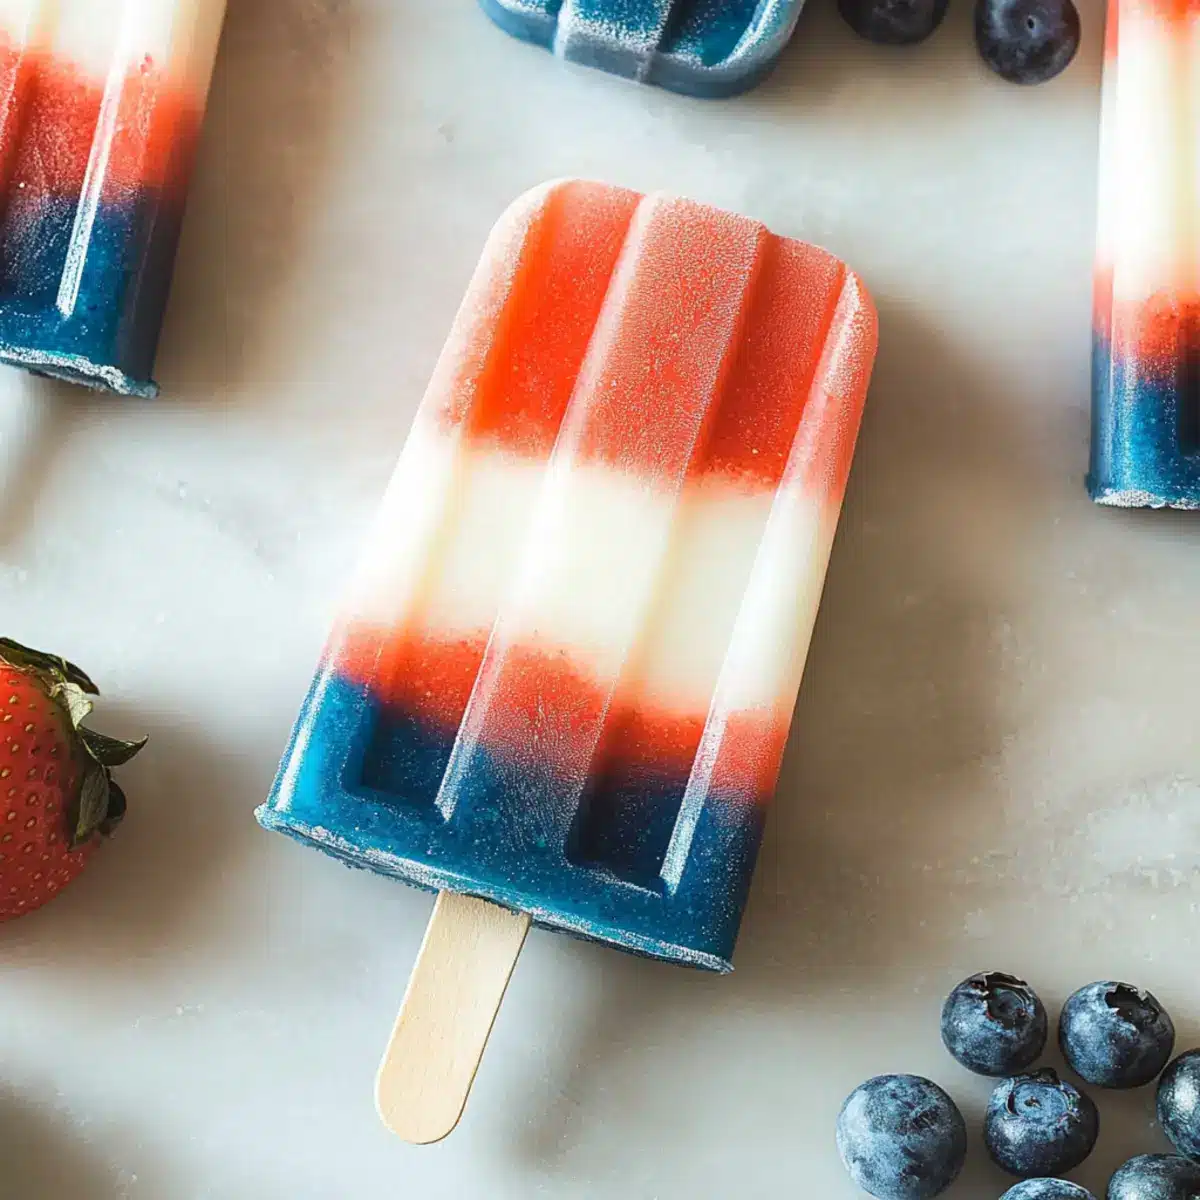
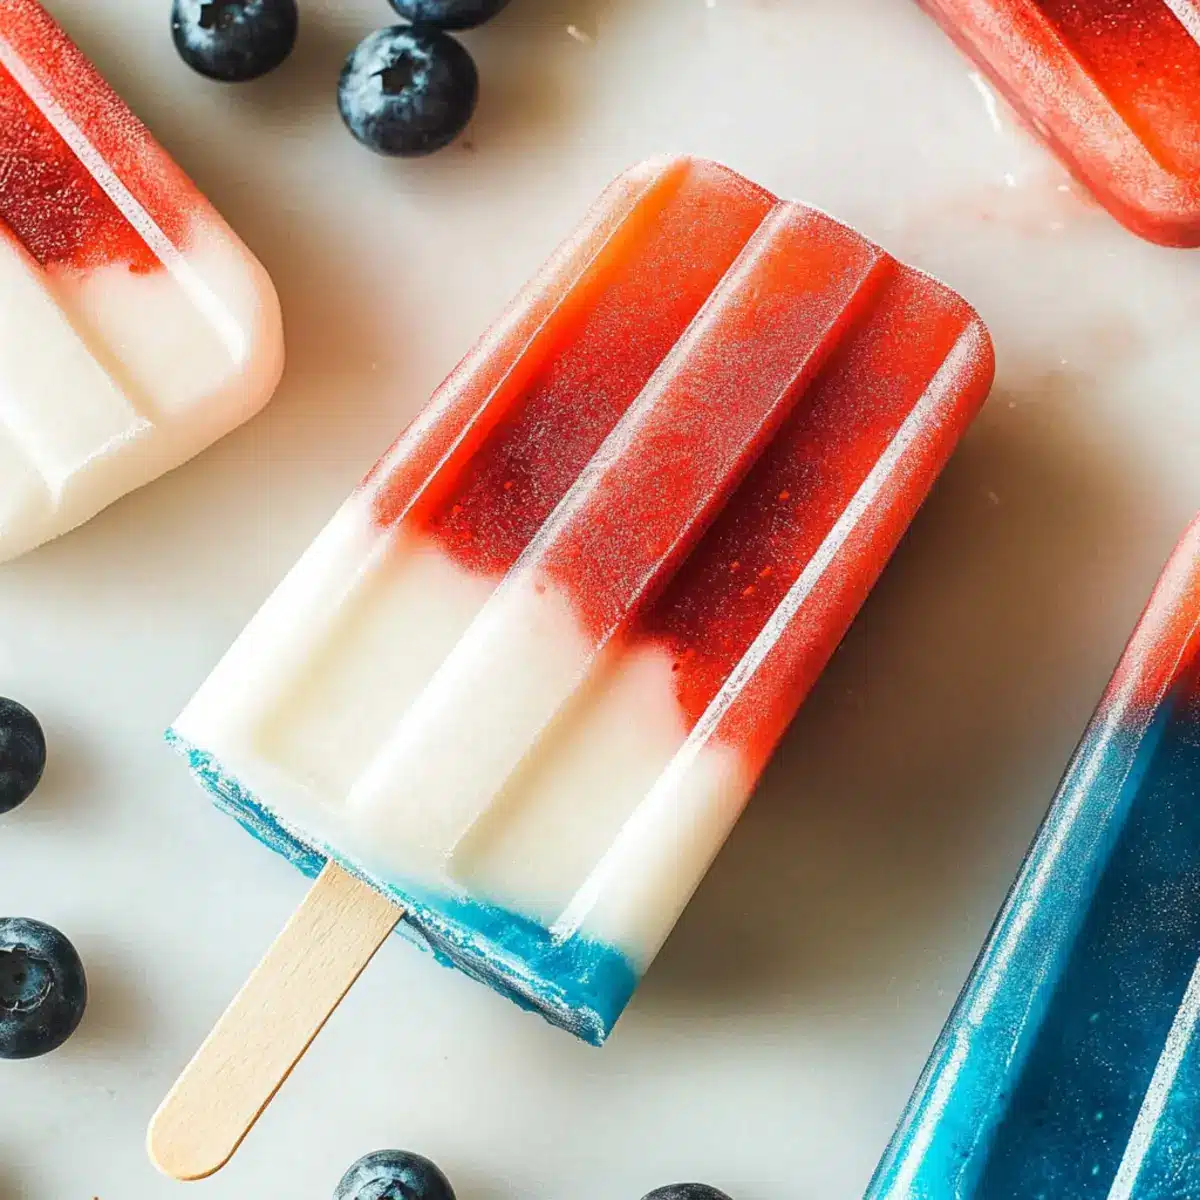
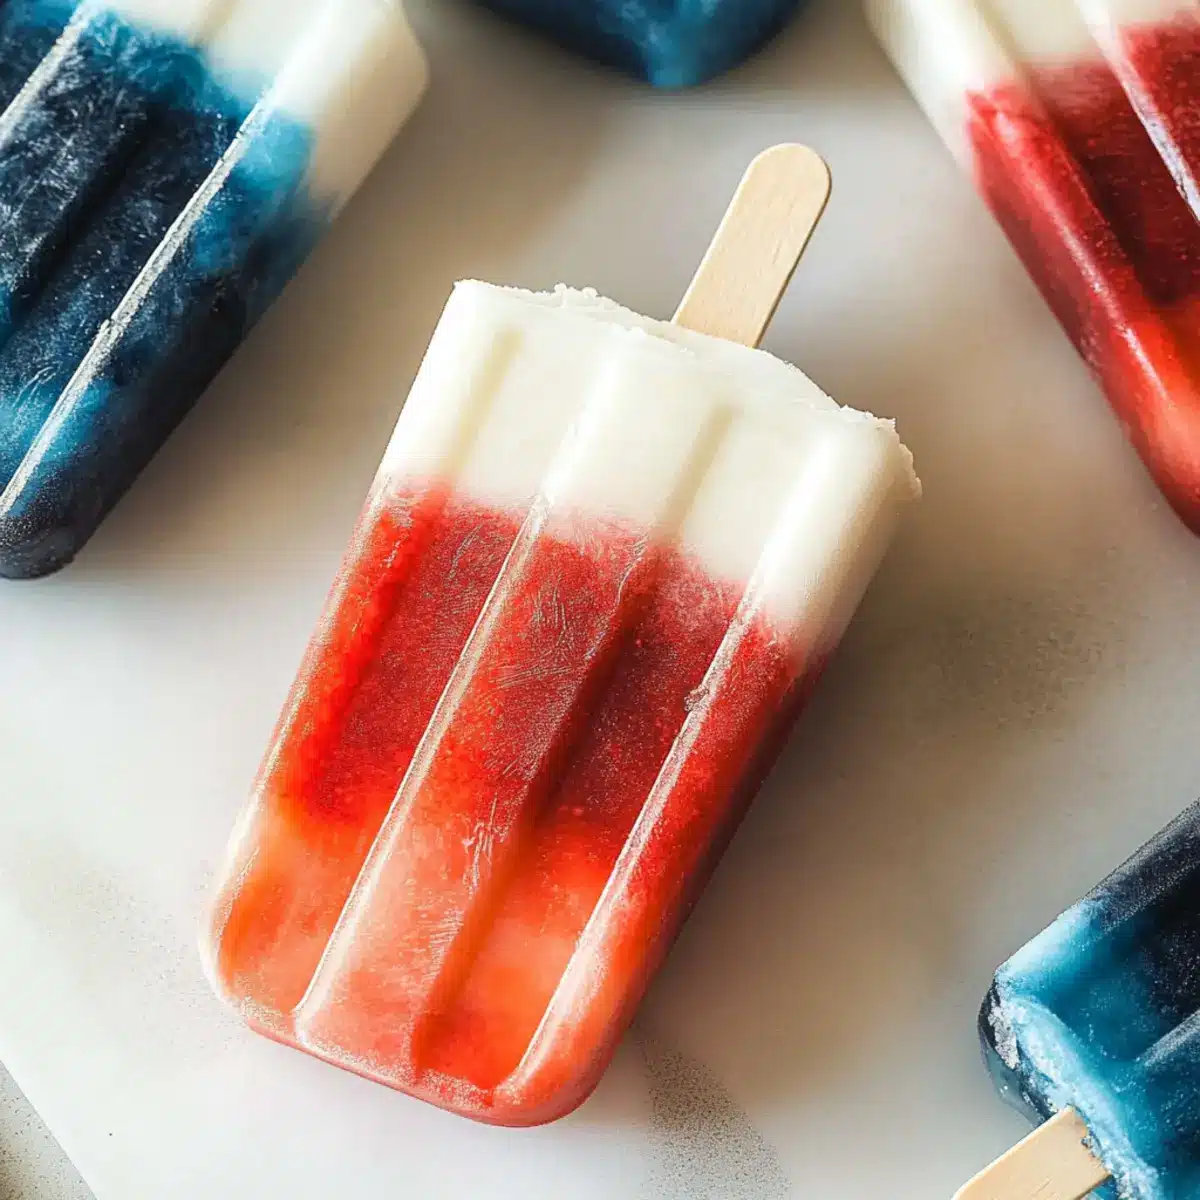
Festive and Colorful: Their vibrant layers of red, white, and blue not only look stunning but also evoke a sense of celebration, making them ideal for holidays like the Fourth of July.
Health-Conscious Delight: With fresh fruit and creamy coconut, these gluten-free popsicles are both nutritious and indulgent, offering a guilt-free dessert option.
Crowd-Pleasing Treat: Kids and adults alike will love these refreshingly fruity popsicles, ensuring they become the star of any summer gathering! For more festive inspiration, check out these Baked Pears Cheese or Cajun White Chicken recipes!
Festive Red, White & Blue Popsicle Ingredients
For the Red Layer
- Strawberries – Provides the red layer; adds sweetness and vibrant color. Substitute with raspberries for a different berry flavor.
- Honey or Maple Syrup – Sweetener for the popsicles; adjust to taste. Use agave syrup for a vegan option.
- Lemon Juice – Enhances flavor and adds brightness; good for balancing sweetness. Fresh lemon juice recommended.
For the White Layer
- Coconut Milk – Creamy base for the white layer; ensures a smooth texture. Use almond or cashew milk for nut alternatives.
- Vanilla Extract – Adds depth and flavor; optional but recommended for enhanced taste.
For the Blue Layer
- Blueberries – Forms the blue layer; offers sweetness and a slight tartness. Substitute with blackberries if desired.
- Honey or Maple Syrup – Sweetener for the blueberries; use the same as in the red layer for consistency.
- Lemon Juice – Enlivens the flavor; helps to balance the sweetness in this layer as well.
These Festive Red, White & Blue Popsicles are as delightful to eat as they are to behold!
Step‑by‑Step Instructions for Festive Red, White & Blue Popsicles
Step 1: Prepare the Red Layer
Start by hulling 2 cups of fresh strawberries and placing them in a blender. Add 2 tablespoons of honey and juice from half a lemon to brighten the flavor. Blend until you achieve a smooth consistency. Carefully pour the strawberry mixture into popsicle molds, filling each about one-third full. Freeze the molds for 45-60 minutes, or until the red layer is firm to the touch.
Step 2: Make the White Layer
While the red layer firms up, whisk together 1 cup of coconut milk, 2 tablespoons of honey, and a splash of vanilla extract in a mixing bowl until well combined. Once the strawberry layer is solid, remove the molds from the freezer and slowly spoon the coconut mixture over the red layer, filling another third of each mold. Return the molds to the freezer for an additional 45-60 minutes until this layer is set.
Step 3: Create the Blue Layer
Next, prepare the blue layer by blending 2 cups of blueberries with 2 tablespoons of honey and lemon juice from half a lemon until smooth. Remove the popsicle molds from the freezer and gently spoon the blueberry mixture over the white layer, filling the molds to the top. Place the molds back in the freezer to freeze completely for at least 4 hours, or until the popsicles are solid.
Step 4: Final Freeze and Serve
After the popsicles have frozen solid, to easily remove them, run the molds under warm water for a few seconds. Gently pull on the popsicle sticks to release the popsicles without breaking them. Serve your beautifully layered Festive Red, White & Blue Popsicles immediately or store them in an airtight container in the freezer for up to 2 weeks to enjoy later.
Expert Tips for Festive Red, White & Blue Popsicles
-
Layering Patience: Allow each layer to freeze completely before adding the next to maintain vibrant colors and prevent mixing.
-
Blend Fresh: Use fresh berries for the best flavor and texture; if using frozen, ensure they’re fully thawed and blended smoothly.
-
Sweetness Balance: Adjust the amount of honey or maple syrup based on your berry sweetness; taste as you go for a perfect blend.
-
Easy Release: Soak the molds in warm water for a few seconds before pulling the popsicles out; this prevents breaking and keeps them intact.
-
Creative Spins: Feel free to experiment with different fruits or flavors; try peaches for red or yogurt for the white layer for a fun twist!
Make Ahead Options
These Festive Red, White & Blue Popsicles are perfect for busy home cooks looking to save time while still impressing guests! You can prepare the red layer (the strawberry mixture) up to 24 hours in advance; simply blend the ingredients and pour them into the molds, then freeze. The coconut layer can also be prepped a day ahead. When you’re ready to finish the popsicles, simply spoon the chilled coconut mixture over the strawberry layer and freeze again for another 45-60 minutes. Finally, blend the blueberry layer right before serving for the freshest taste. By prepping these layers ahead of time, you’ll ensure every bite is just as delicious and vibrant while giving you more time to enjoy your summer festivities!
Festive Red, White & Blue Popsicles Variations
Customize these delightful popsicles to suit your taste and creativity! There are countless ways to make this recipe uniquely yours.
-
Berry Swap: Use raspberries instead of strawberries for a tart twist in the red layer. They offer a lovely contrast and vibrant color.
-
Nut Milk: Try using almond or cashew milk instead of coconut milk for a nutty flavor and texture. This will give an unexpected creaminess that complements the fruity layers beautifully.
-
Yogurt Boost: Substitute the white layer with greek yogurt for added protein and a tangy flavor. It not only thickens the layer but enhances the nutritional value too!
-
Extra Citrus: Add a splash of orange juice to the strawberry or blueberry layers for a citrusy zing. It brightens up the flavor, turning every bite into a zesty delight.
-
Mint Infusion: Blend in a handful of fresh mint leaves with the berries. This refreshing herb adds an aromatic undertone that enhances the fruitiness of your popsicles!
-
Peach Perfection: Switch the red layer with peach puree for a summery twist. Sweet, juicy peaches bring a new flavor profile that’s perfect for summertime.
-
Chocolate Drizzle: After freezing, drizzle with some melted dark chocolate before serving. This indulgent addition creates a lovely contrast between the rich, smooth chocolate and fruity popsicle.
-
Make It Spicy: Sprinkle a hint of cayenne pepper or finely chopped jalapeños in the blueberry layer for a surprising kick. It’s a bold choice that will create a fun,
spicy-sweet combination!
Feel free to explore these variations or invent your own! If you’re looking for more creative inspiration, check out my Cajun White Chicken or Contessa Pear Blue recipes for tasty ideas to enjoy all season long.
What to Serve with Festive Red, White & Blue Popsicles
Nothing beats a summer gathering as the sun shines brightly and laughter fills the air; add these colorful popsicles for a refreshing treat!
-
Fruit Salad: A medley of fresh fruits provides a light, refreshing crunch that complements the creamy popsicles.
-
Mint Lemonade: The zesty, refreshing taste of mint lemonade enhances the popsicles’ fruity flavors, while keeping everyone cool and hydrated.
-
Grilled Chicken Skewers: Juicy, tender chicken skewers with a hint of spice create a satisfying balance against the popsicles’ sweetness.
-
Veggie Platter with Hummus: Crisp, colorful vegetables paired with creamy hummus offer a savory contrast perfect for light snacking.
-
Cheese Board: Featuring a selection of cheeses and crackers, this savory option contrasts with the sweet popsicles, making it a delightful pairing.
-
Ice Cream Floats: A fizzy drink with a scoop of ice cream provides a nostalgic, fun twist that echoes the playful spirit of summer treats!
How to Store and Freeze Festive Red, White & Blue Popsicles
Fridge: Store these popsicles in the fridge for up to 2 days if they’re not fully frozen, but it’s best to keep them in the freezer for freshness.
Freezer: Place your popsicles in an airtight container in the freezer, where they can last for up to 2 weeks without losing flavor.
Serving: When you’re ready to enjoy your popsicles, let them sit at room temperature for a couple of minutes before serving, making it easier to pull them from the molds.
Reheating: There’s no need for reheating, but if they’re hard to remove, warm the molds briefly under running water to loosen the popsicles.
Festive Red, White & Blue Popsicles Recipe FAQs
How do I select ripe strawberries and blueberries?
Absolutely! Look for strawberries that are bright red, firm, and free of dark spots or mold—these are signs of freshness. Blueberries should be plump and have a rich color; avoid any that are wrinkled or have greenish hues.
What’s the best way to store leftover popsicles?
For sure! Cover the popsicles with plastic wrap or place them in an airtight container to prevent freezer burn. They can be stored in the freezer for up to 2 weeks while maintaining their flavor and texture.
Can I freeze these popsicles for a longer period?
Yes, indeed! Pop them in an airtight container in the freezer, and they can last for up to 3 months, though for the best quality, I recommend using them within 2 weeks. Just be sure to label the container with the date!
What should I do if my popsicles are hard to remove from the molds?
No worries! Simply run warm water over the outside of the popsicle molds for about 10-15 seconds. Just enough to loosen them, then gently pull on the sticks to release the popsicles without breaking them.
Are these popsicles safe for kids and those with allergies?
Definitely! Each ingredient can be tailored to suit dietary needs. For a vegan option, substitute honey with agave syrup, and ensure to check for any allergies related to coconut milk or the fruits used. Always a good idea to consult with parents regarding allergies if serving to kids.
Can I use other fruits or dairy alternatives?
The more, the merrier! You can happily substitute strawberries with raspberries for the red layer or try using almond or cashew milk instead of coconut milk for a different flavor. Important to remember is to keep the consistency and sweetness balanced by adjusting the syrups used.
Delicious Festive Red, White & Blue Popsicles for Summer Fun
Ingredients
Equipment
Method
- Prepare the Red Layer: Blend hulled strawberries, honey, and lemon juice until smooth; pour into molds, fill one-third full, and freeze for 45-60 minutes.
- Make the White Layer: Whisk coconut milk, honey, and vanilla extract until well combined; spoon over the red layer and freeze for another 45-60 minutes.
- Create the Blue Layer: Blend blueberries, honey, and lemon juice until smooth; spoon over the white layer and freeze completely for at least 4 hours.
- Final Freeze and Serve: Run molds under warm water for a few seconds to release popsicles. Serve immediately or store in an airtight container.
Leave a Reply