
On a sun-drenched afternoon, I found myself wandering through a lush orchard, where plump, juicy blackberries hung from the vines, begging to be picked. The thought of making my own blackberry jam was irresistible—especially after discovering how simple it can be with this Blackberry Jam Recipe. With just two ingredients, fresh blackberries and sugar, you can create a velvety-smooth spread that’s perfect for elevating your breakfast or adding a touch of sweetness to desserts. The best part? This jam not only lets you savor the rich summer flavors year-round but also finds a special place in your kitchen with its delightful homemade charm. So, are you ready to turn those ripe blackberries into a jar of joy? Let’s dive into this easy canning adventure together!
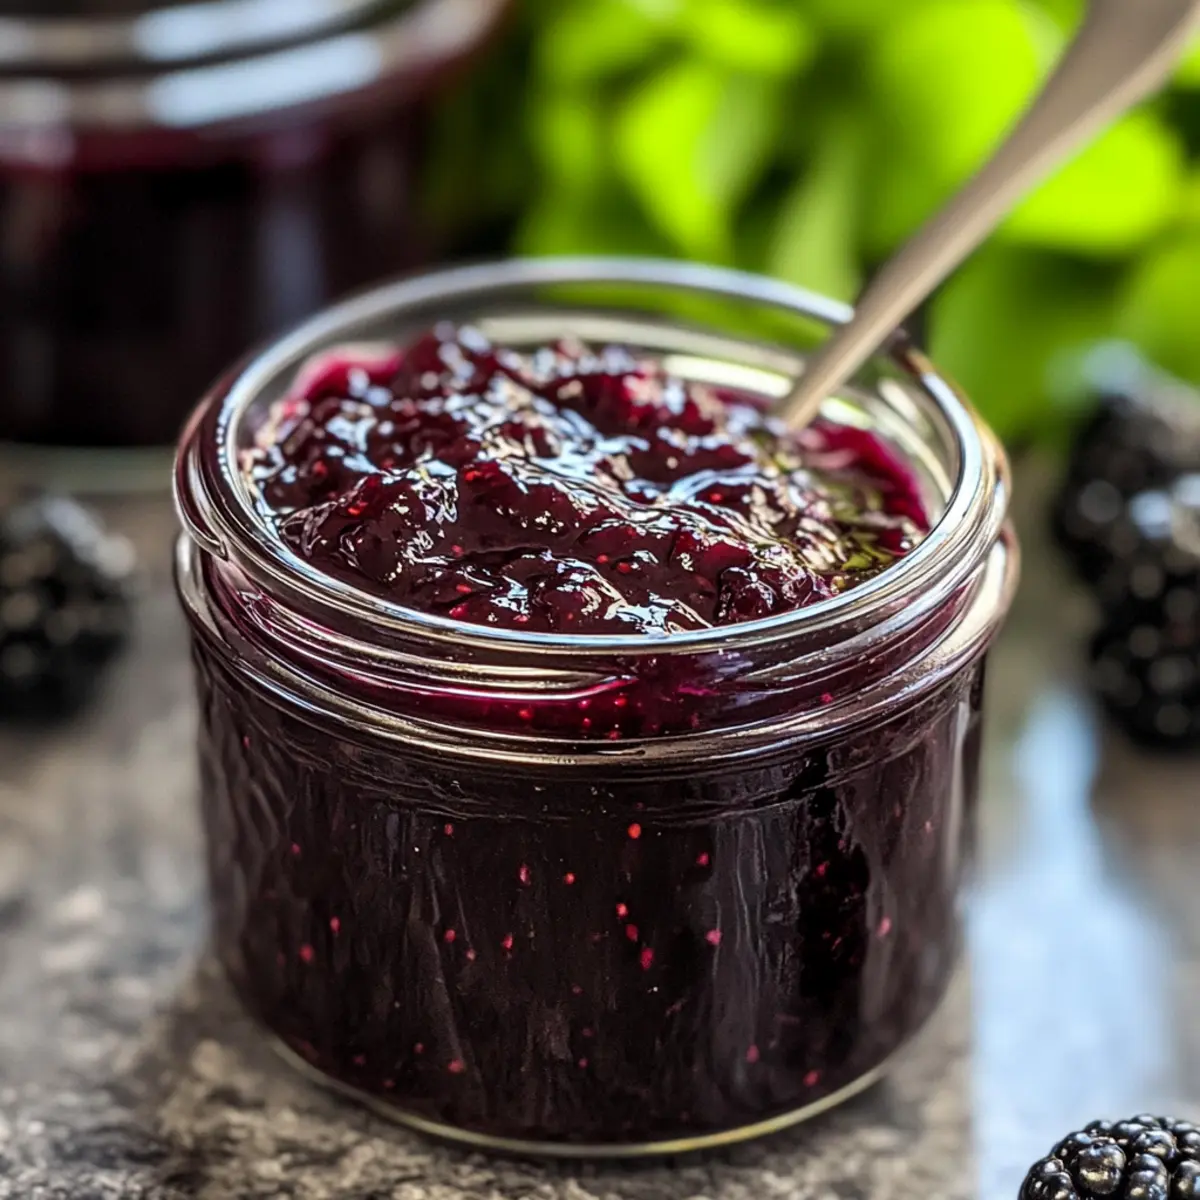
Why is homemade blackberry jam special?
Simplicity at Its Best: With only two ingredients—fresh blackberries and sugar—this recipe keeps it easy, making it perfect for novice cooks.
Rich, Fruity Flavor: The natural sweetness from ripe blackberries shines through, offering a taste that’s far superior to store-bought jams.
Versatile Uses: Spread it on warm toast, drizzle over pancakes, or even dollop onto vanilla ice cream for a delightful treat.
Canning Made Simple: This jam can be preserved for a whole year, letting you enjoy the taste of summer long after the harvest season—for storage tips, check out our guide!
Nostalgic Connections: Making this jam allows you to participate in a cherished tradition that connects generations through the joy of homemade goodness.
Blackberry Jam Ingredients
• Here’s what you need for this delightful Blackberry Jam Recipe!
For the Jam
- Blackberries – Fresh blackberries provide natural sweetness and pectin, making them essential for achieving that perfect consistency.
- Granulated Sugar – Acts as a preservative and sweetener, crucial for maintaining texture; avoid substitutes for best results.
For Storage
- Sterilized Jars – Ensure jars are heated to 215°F for 20 minutes to kill any bacteria for safe long-term storage.
Step‑by‑Step Instructions for Quick & Easy 2-Ingredient Blackberry Jam
Step 1: Rinse the Blackberries
Start by rinsing about 4 cups of fresh blackberries under cold running water to remove any dirt or debris. Gently place the berries into a large pot, ensuring they are not crushed. This initial step is vital for achieving a clean and fresh taste in your homemade blackberry jam.
Step 2: Add Sugar and Let Sit
Evenly sprinkle around 2 cups of granulated sugar over the rinsed blackberries. Allow the mixture to sit for about 30 minutes, giving the berries time to release their natural juices. This process will create a sweet berry syrup, which is crucial for the right consistency in your blackberry jam recipe.
Step 3: Simmer the Mixture
After the resting period, place the pot on the stove over low heat. Stir the mixture gently, allowing it to simmer for about 20 minutes. You’ll notice the blackberries begin to break down and the sugar melting into a thick syrup, indicating the jam is starting to form beautifully.
Step 4: Cook in Batches for Desired Thickness
Once simmered, turn off the heat and allow the jam to cool slightly. Then, return the mixture to the heat and repeat the simmering process about 5 to 7 times, stirring occasionally to prevent sticking. This step is key for achieving your preferred jam thickness, so keep an eye on the texture as it develops.
Step 5: Prepare Your Jars
To store your homemade blackberry jam safely, preheat your oven to 215°F and arrange clean jars inside. Bake them for 20 minutes to sterilize and kill bacteria. This step is crucial for long-term preservation, ensuring your delicious jam stays fresh and safe for up to a year.
Step 6: Fill and Seal the Jars
Once the jam has reached your desired thickness, carefully pour the hot jam directly into the sterilized jars. Be sure to leave a little headspace at the top. Seal the jars tightly with lids, then invert them for about 1 hour to create a vacuum seal, ensuring freshness and longevity for your beautifully made blackberry jam.
Step 7: Store Your Jam
After inverting, store your canned blackberry jam in a cool, dark place if sealed properly. If you haven’t canned all of it, keep the remaining jam in the fridge, where it will last up to one month. Enjoy this luscious jam on toast, pancakes, or as a delightful topping on your favorite desserts!
Make Ahead Options
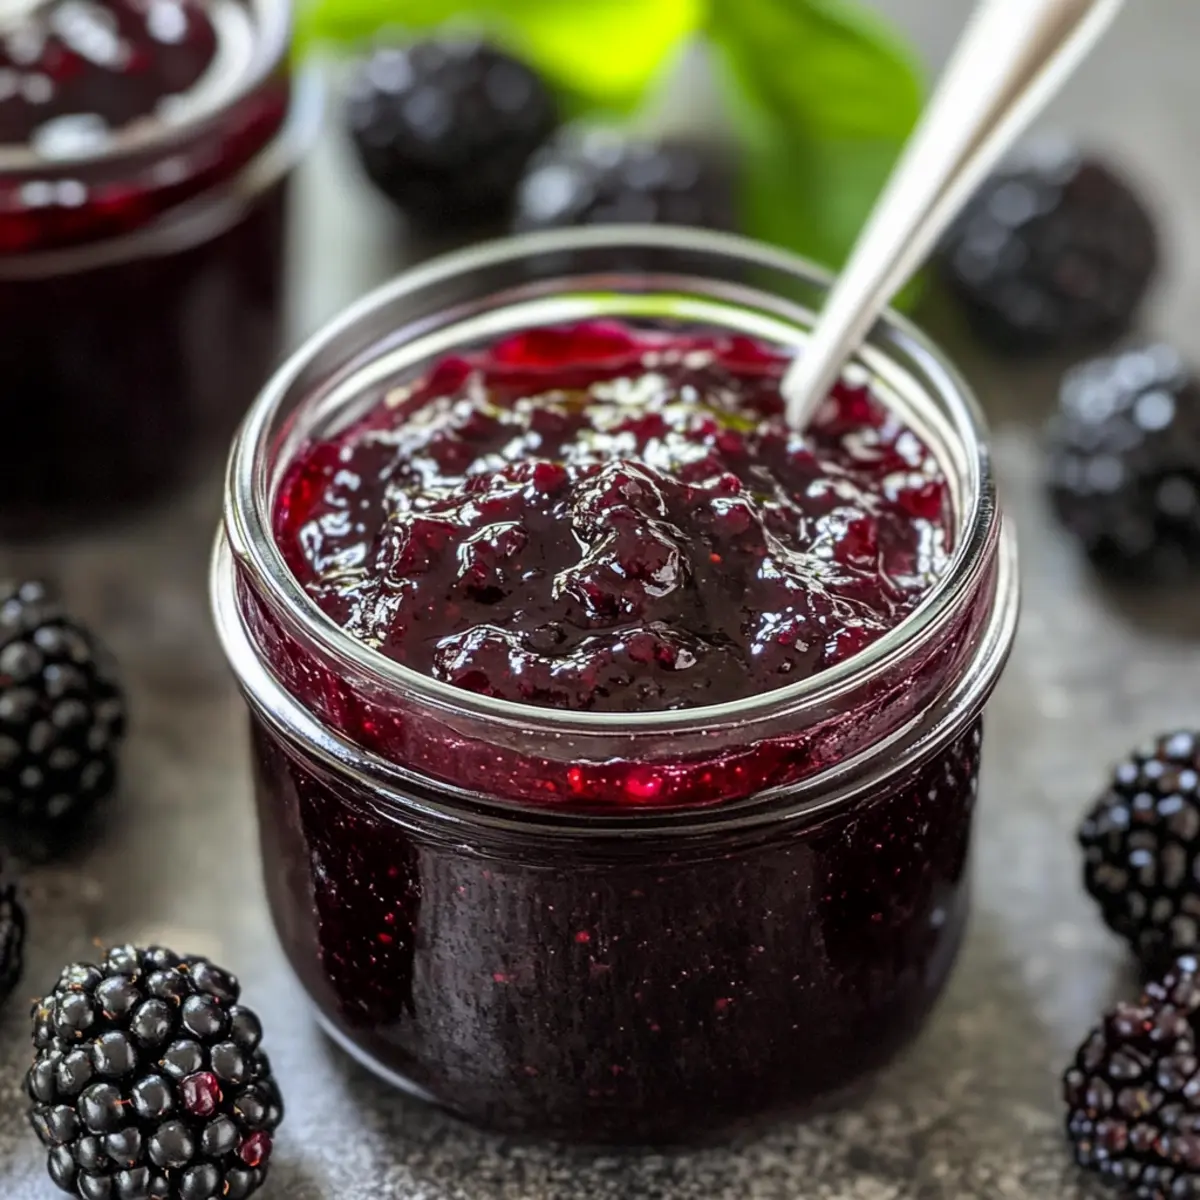
Making this delightful Blackberry Jam Recipe can easily be streamlined through meal prep! You can wash and prepare the blackberries up to 24 hours in advance by storing them in an airtight container in the refrigerator to maintain their freshness. Additionally, you can measure out the sugar ahead of time and keep it handy. When you’re ready to make the jam, simply combine the prepared berries and sugar, then follow the cooking instructions to simmer and thicken. This method saves you valuable time on busy days, and your homemade jam will turn out just as delicious! If you find yourself with leftover jam, remember to refrigerate it where it will stay fresh for up to one month.
What to Serve with Quick & Easy 2-Ingredient Blackberry Jam
There’s something magical about pairing your homemade delight with complementary flavors and textures to create a truly memorable meal.
-
Warm Sourdough Bread: The crusty exterior and soft interior of sourdough enhance the jam’s tangy sweetness, creating an irresistible contrast. Spread the jam generously for a delightful breakfast experience.
-
Fluffy Pancakes: Topping pancakes with this blackberry jam infuses them with a burst of fruity flavor, elevating your brunch to gourmet status. The sweet, syrupy goodness is simply irresistible.
-
Vanilla Ice Cream: Drizzling blackberry jam over a scoop of vanilla ice cream creates a sweet, creamy dessert that balances richness and tang perfectly. It’s a refreshing treat that feels indulgent yet comforting.
-
Creamy Greek Yogurt: Swirl this jam into Greek yogurt for a nutritious breakfast or snack. The tartness of the yogurt complements the jam’s sweetness, adding a delightful creaminess.
-
Savory Biscuits: Serve warm biscuits with a dollop of blackberry jam for a perfect blend of sweet and savory. Their buttery richness pairs beautifully with the jam’s fruity notes.
-
Charcuterie Board: Incorporate the jam into a charcuterie board alongside cheeses and meats. The sweet-tart flavor contrasts beautifully with savory elements, creating a memorable tasting experience.
-
Herbal Iced Tea: A glass of refreshing herbal iced tea serves as a cooling drink to balance the sweet, fruity taste of the jam. Its floral notes harmonize wonderfully with the blackberry’s richness.
-
Muffins: Spread over freshly baked muffins, this blackberry jam adds a deliciously moist sweetness, bringing a burst of flavor to your morning routine.
-
Cheesecake: Drizzle over cheesecake to create a beautiful presentation and add a fruity twist to every creamy bite. The combination offers a divine playing of textures and flavors.
How to Store and Freeze Blackberry Jam
Fridge: Store opened jars of blackberry jam in the refrigerator, where it will remain fresh for up to 1 month. Ensure the jar is tightly sealed to maintain flavor.
Pantry: Unopened, canned blackberry jam can be stored in a cool, dark pantry for up to 1 year. Check for any signs of spoilage before consumption.
Freezer: If you want to freeze your jam, pour it into airtight containers, leaving some headspace at the top. It can be frozen for up to 6 months while maintaining its delicious taste.
Reheating: To use frozen blackberry jam, thaw it overnight in the fridge or warm it gently on the stovetop. Stir well before serving to restore its velvety texture.
Expert Tips for the Best Blackberry Jam
-
Choose Fresh Berries: Selecting ripe, fresh blackberries ensures your jam will have the best flavor and texture. Avoid overripe or mushy berries to maintain consistency.
-
Don’t Rush Simmering: Taking time to simmer the mixture helps the flavors meld and thickens the jam properly. Stir occasionally to prevent burning—patience pays off!
-
Check Thickness Carefully: Remember that the jam will thicken further as it cools, so aim for a slightly thinner consistency while cooking. This trick helps avoid overly thick jam later.
-
Use Correctly Sterilized Jars: Proper sterilization is critical for the longevity of your blackberry jam. Baking jars at 215°F for 20 minutes is essential to kill any bacteria.
-
Experiment with Sweetness: While granulated sugar is essential for the preservation of this blackberry jam recipe, you can adjust quantities slightly to suit your taste—just know that less sugar may affect shelf life.
Blackberry Jam Recipe Variations
Feel free to explore these delightful twists and make this jam truly yours!
-
Mixed Berries: Combine blackberries with raspberries or strawberries for a mixed berry jam that’s bursting with flavor.
-
Spice it Up: Add a pinch of cinnamon or ginger during simmering for a warm, aromatic twist that makes each bite an adventure.
-
Citrus Zing: Stir in the zest of a lemon or orange to brighten the flavor profile and create a refreshing citrus jam.
-
Vanilla Infusion: For a luxurious touch, add a splash of vanilla extract while cooking for an elegant, fragrant jam that elevates your usual spread.
-
Small Batches: If you want to try different flavors without a commitment, make smaller batches with different berry combinations. This way, you can discover new favorites!
-
Seedless Option: Prefer a smoother texture? Simply press the cooked jam through a fine-mesh sieve for a delightful seedless version you’ll love.
-
Sweetness Adjustment: Feel free to customize the sweetness to your taste by slightly adjusting the sugar; just remember that too little could affect preservation.
Creating your own variations allows you to suit your palate while exploring new tastes. If you’re in the mood for something different, consider our Cottage Cheese Spinach dip as another way to enjoy your home kitchen creations! And don’t forget to check out our fresh take on the Barefoot Contessa Pear salad for a delicious pairing!
Blackberry Jam Recipe FAQs
How do I select the best blackberries for the jam?
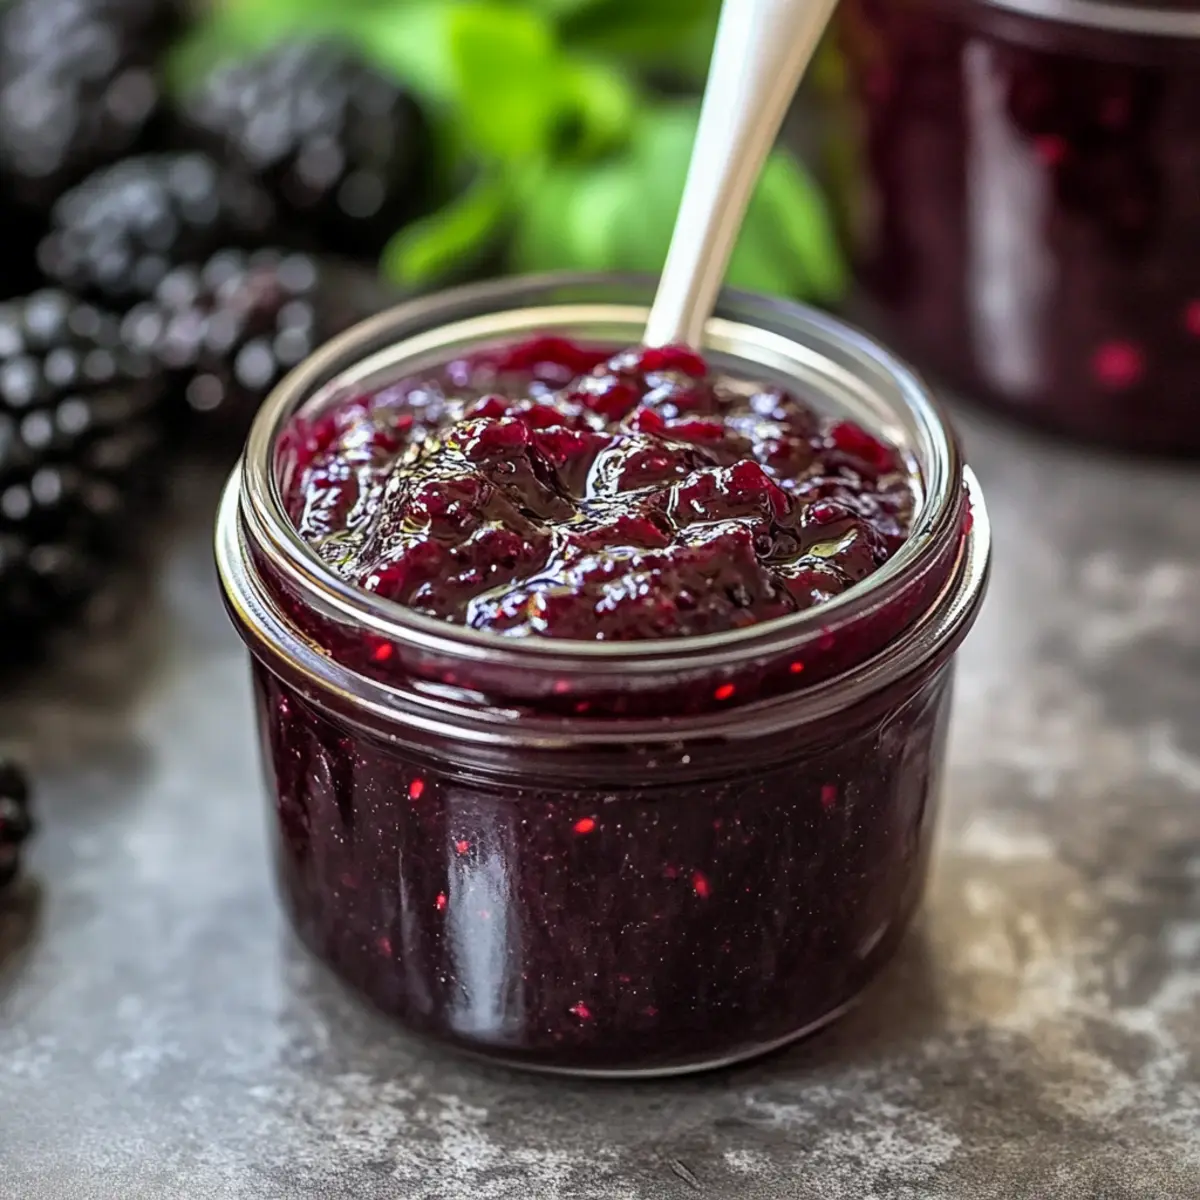
Absolutely! Look for blackberries that are plump, firm, and glossy. They should be deep purple to black in color, indicating ripeness. Avoid any with dark spots all over, as these may be overripe or beginning to spoil. If you can find organic options, even better!
What is the best way to store the blackberry jam?
Canned blackberry jam should be stored in a cool, dark pantry and can last up to one year if stored properly after sealing. For opened jars, keep them in the refrigerator, where they will stay fresh for about 1 month. Always ensure that the lids are tightly sealed to maintain the optimal flavor and sweetness.
Can I freeze blackberry jam?
Very! To freeze your blackberry jam, pour it into airtight containers, leaving about ½ inch of headspace at the top to allow for expansion. Seal the containers tightly and place them in the freezer, where your jam will keep for up to 6 months. To enjoy it later, simply thaw in the fridge overnight or warm gently on the stovetop.
What should I do if my jam is too thin?
If your jam turns out thinner than desired, no worries! You can quickly fix this. Simply pour the jam back into a pot and simmer it on low heat for another 10-15 minutes, stirring frequently to prevent burning. As you cook, keep checking the thickness—remember, it will thicken further as it cools, so aim for a slightly thinner texture while cooking.
Is this blackberry jam recipe safe for infants or those with allergies?
It’s essential to consider allergies, as blackberries can cause reactions in some individuals. Additionally, it’s not recommended for infants under one year due to the sugar content. Always consult a pediatrician if you’re uncertain. For anyone with sugar-related dietary restrictions, please consult your healthcare provider for advice before indulging in this blackberry jam recipe.
I noticed some seeds in my jam; can I make it seedless?
Absolutely! If you’d prefer a seedless blackberry jam, after cooking, pour the jam through a fine-mesh sieve into a clean bowl. Use a spatula to press the mixture through, leaving the seeds behind. This process may take a few extra minutes, but the smoother texture of your jam will be worth it!
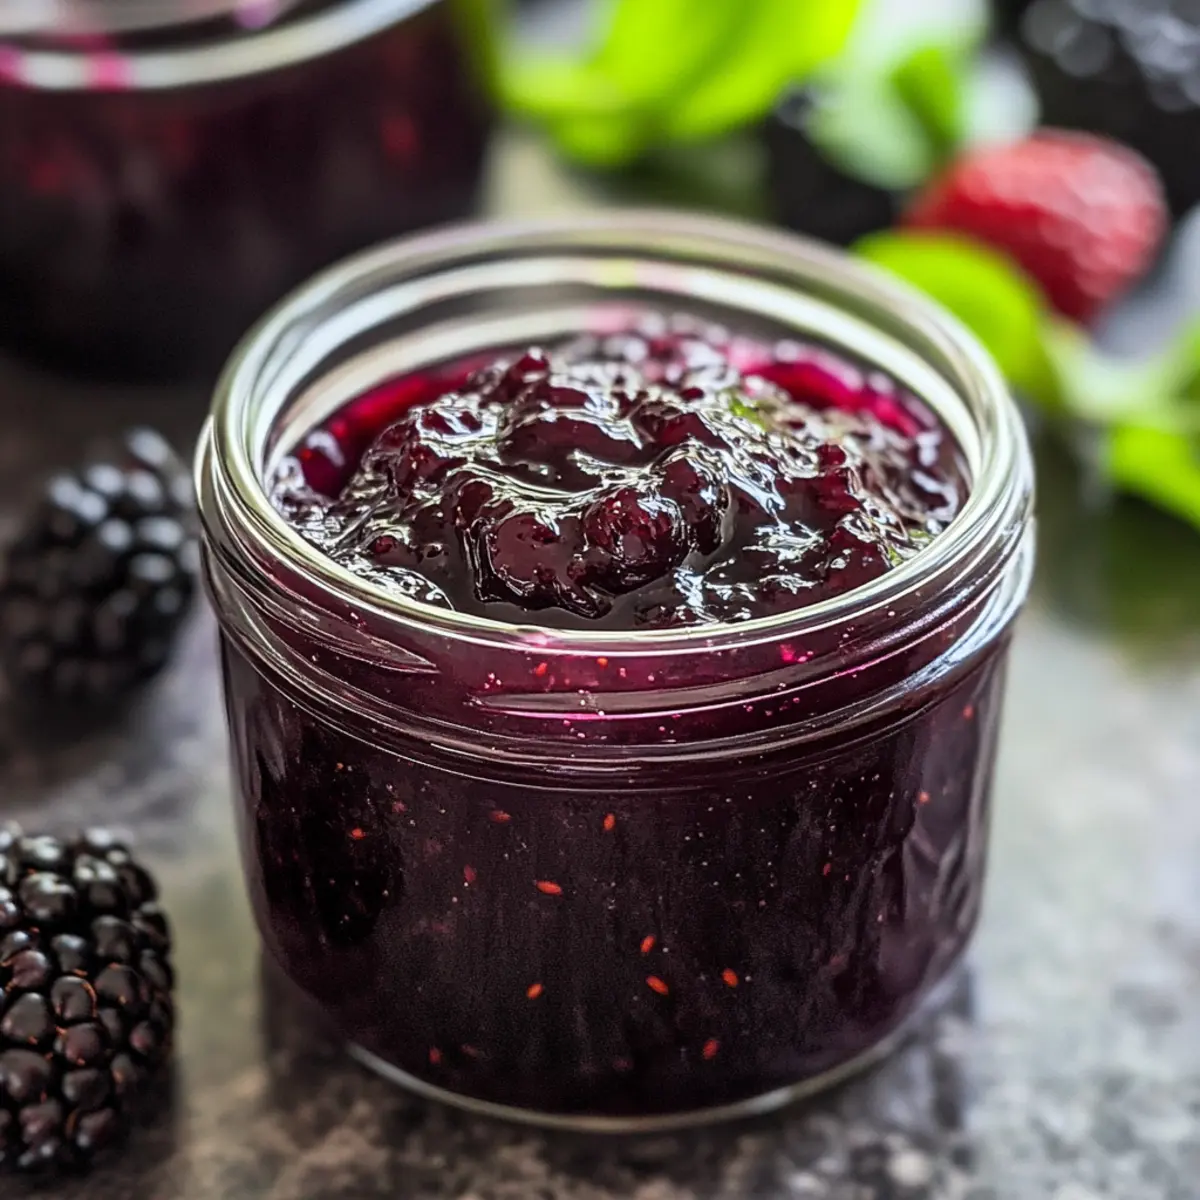
Irresistibly Sweet Blackberry Jam Recipe in Just 2 Ingredients
Ingredients
Equipment
Method
- Rinse the blackberries under cold running water and place them into a large pot.
- Sprinkle the granulated sugar over the blackberries and let sit for 30 minutes.
- Simmer the mixture on low heat for about 20 minutes, stirring gently.
- Turn off the heat and allow the jam to cool slightly. Then simmer again 5 to 7 times for desired thickness.
- Preheat your oven to 215°F and sterilize the jars by baking them for 20 minutes.
- Pour the hot jam into the sterilized jars and seal tightly, then invert for about 1 hour.
- Store sealed jars in a cool, dark place or refrigerate any opened jars.
Leave a Reply