
In the midst of a busy week, the last thing I want is to grab another uninspiring snack. That’s when I whip up my go-to Garlic Herb Nut Mix, a delight that elevates snacking with its satisfying crunch and aromatic flavor. This easy recipe, requiring just three simple ingredients, not only fits beautifully into a healthy low-carb lifestyle but also makes meal prep a total breeze. Each handful of this nut mix is packed with energy, perfect for those moments when you need a quick boost without the regrets that come from fast food. So, whether you’re entertaining guests or simply looking to enjoy a guilt-free snack at home, this nut mix has you covered! Who’s ready to turn snacking into something special?
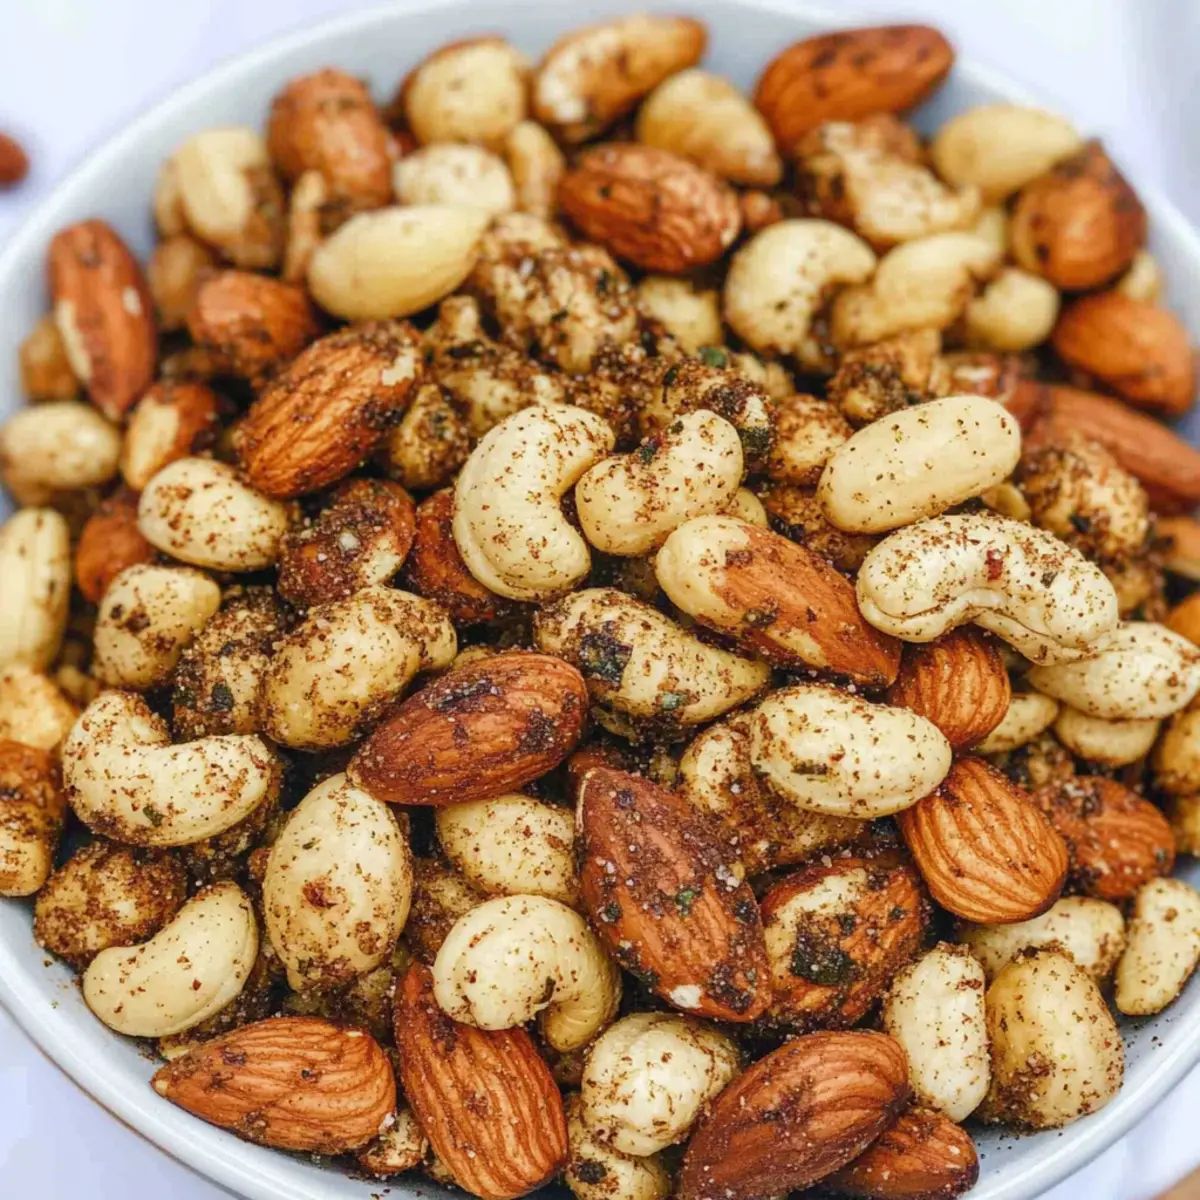
Why is Garlic Herb Nut Mix a Game Changer?
Simplicity: With just three ingredients, this snack comes together in a flash, perfect for busy weeknights.
Flavor Explosion: The garlic and herb seasoning infuses each nut with a savory punch that’s hard to resist!
Guilt-Free Indulgence: Low-carb and packed with healthy fats, indulge without worrying about your diet.
Versatile Treat: Enjoy it on its own, toss it into salads, or sprinkle over yogurt for an unexpected twist.
Meal Prep Magic: Make a big batch ahead of time—store it in an airtight container for quick, grab-and-go snacking throughout the week.
Elevate your snack game and experience the satisfaction that comes with this unique mix, transforming everyday munching into something truly spectacular!
Garlic Herb Nut Mix Ingredients
For the Nut Base
• Almonds – Provide a crunchy texture and healthy fats; feel free to use any nuts you love.
• Cashews – Add creaminess and sweetness to balance the savory elements; substitute with your favorite nut for varied flavor.
• Peanuts – Contribute a classic nutty flavor and robust crunch; can be omitted or replaced with more of your chosen nut.
For the Seasoning
• Garlic Herb Seasoning – Infuses the mix with aromatic, savory flavors; a salt-free blend works well for this Garlic Herb Nut Mix.
• Olive Oil – Acts as a binder and enhances roasting for flavor depth; can be swapped for avocado or coconut oil if desired.
• Salt – Enhances overall flavor; use to taste or omit for a low-sodium option.
Step‑by‑Step Instructions for Garlic Herb Nut Mix
Step 1: Preheat the Oven
Begin by preheating your oven to 350°F (175°C). This temperature is ideal for roasting the nuts, ensuring they become perfectly crunchy and fragrant. An oven thermometer can help you confirm accuracy. While the oven heats, gather your ingredients and equipment—a large mixing bowl and a baking sheet.
Step 2: Combine the Ingredients
In a large mixing bowl, add your selection of almonds, cashews, and peanuts. Drizzle in the olive oil, sprinkle the garlic herb seasoning, and add salt according to your preference. Use a wooden spoon or spatula to thoroughly toss everything together, ensuring that the nuts are evenly coated with the savory seasonings.
Step 3: Spread on Baking Sheet
Once your nut mixture is well combined, spread it evenly onto a baking sheet. Make sure the nuts are in a single layer to promote even roasting. You might want to line the baking sheet with parchment paper for easy cleanup. This step is crucial for achieving that delightful crunch we love in our Garlic Herb Nut Mix.
Step 4: Roast the Nuts
Place the baking sheet in the preheated oven and roast for 20-25 minutes. Remember to stir the nut mix halfway through the roasting time; this guarantees even cooking and prevents burning. Keep a close eye during the last few minutes, as the nuts should turn golden brown and fragrant—a sign they’re ready.
Step 5: Cool and Serve
Once roasted, carefully remove the baking sheet from the oven and allow the Garlic Herb Nut Mix to cool on the sheet for about 10 minutes. This cooling period lets the flavors enhance and the nuts to crisp up even more. After cooling, transfer the nut mix to a serving bowl or an airtight container for storage.
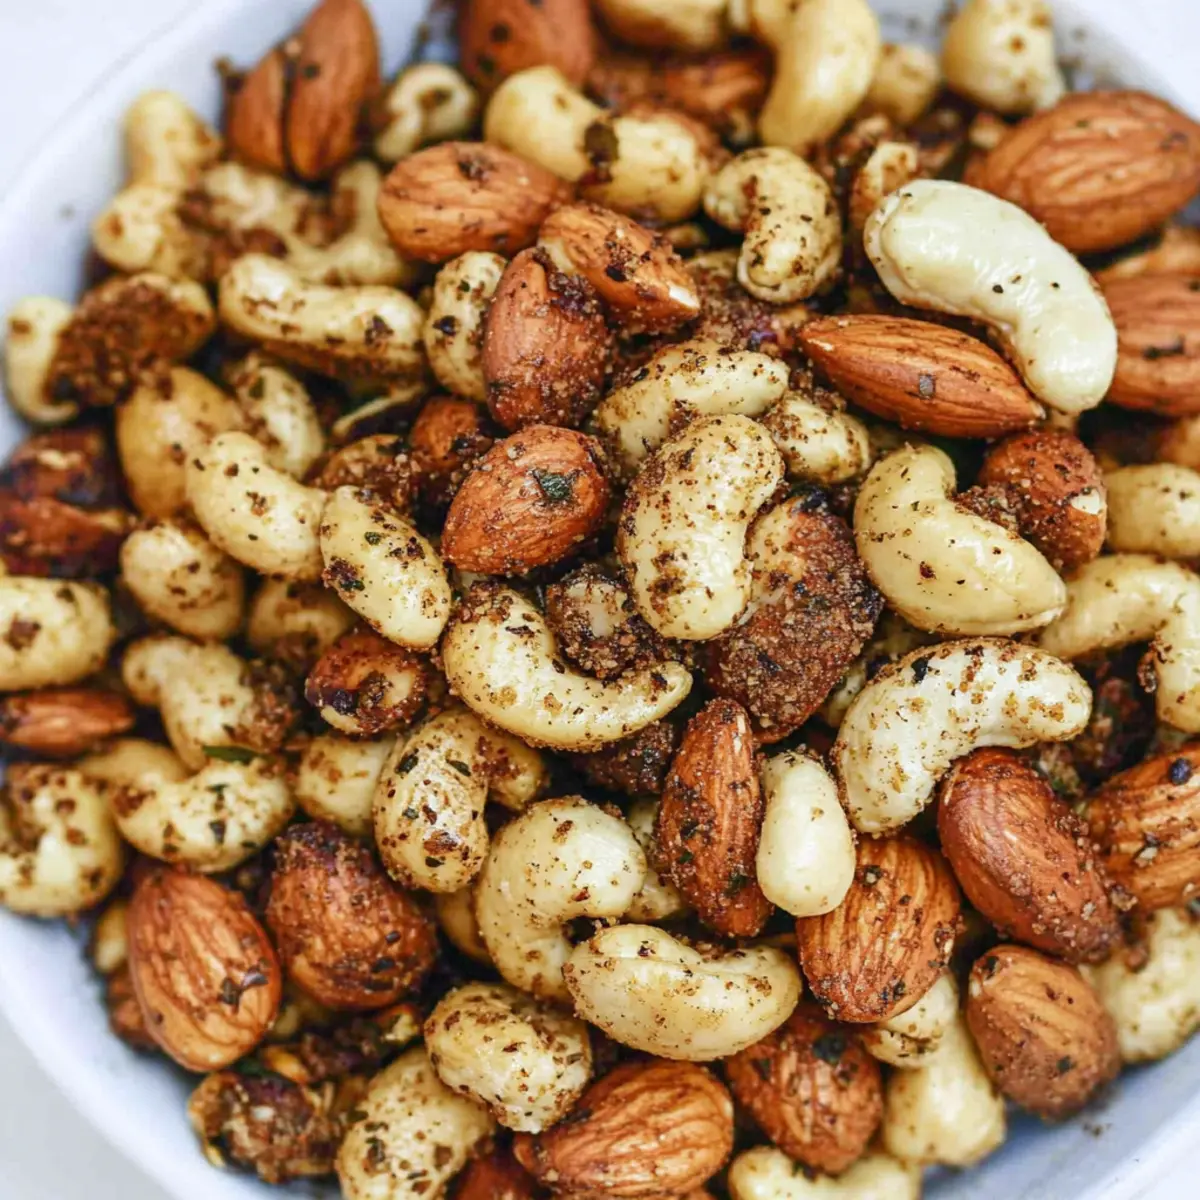
Garlic Herb Nut Mix Variations & Substitutions
Feel free to customize your nut mix and enhance the flavors or swap ingredients to suit your taste buds!
-
Nut variety: Swap almonds for walnuts or pecans for a richer flavor and a new crunch.
-
Herb additions: Add dried herbs like rosemary or thyme for an aromatic boost that elevates the flavor profile.
-
Seeds: Incorporate sunflower or pumpkin seeds for added nutrition and a delightful crunch that complements the nuts well.
-
Sweetener: Drizzle a touch of honey or maple syrup for a hint of sweetness that balances the savory notes in your mix.
-
Spice it up: Add a pinch of cayenne or chili powder for some heat, turning this nut mix into a zesty, flavorful snack.
-
Citrus zest: Grate some lemon or lime zest into the mix for a fresh and uplifting twist—perfect for brightening up your snack time!
-
Garlic levels: Adjust the amount of garlic herb seasoning based on personal preference; more garlic means more flavor!
-
Oil options: For a different flavor profile, substitute olive oil with avocado oil or melted coconut oil, giving your nut mix a unique character.
If you love the versatility of nuts, try exploring delicious recipes like these: Cheesy Garlic Chicken, Garlic Mushroom Pasta, or even a savory touch with Chicken Scampi Garlic for your next meal!
How to Store and Freeze Garlic Herb Nut Mix
Airtight Container: Store your Garlic Herb Nut Mix in an airtight container at room temperature for up to 2 weeks to maintain freshness and crunch.
Refrigeration: For longer shelf life, keep the nut mix in the refrigerator, where it can last up to 1 month. Just make sure it’s sealed well to avoid moisture.
Freezer Storage: If you want to keep it even longer, freeze the nut mix in a freezer-safe bag or container for up to 3 months. Thaw in the fridge before serving.
Reheating: If you prefer to enjoy the nuts warm, stir-fry in a skillet over low heat for a few minutes or microwave for about 20 seconds to regain that crunchy texture before snacking.
Make Ahead Options
These Garlic Herb Nut Mix snacks are fantastic for meal prep lovers! You can combine the nuts with olive oil, garlic herb seasoning, and salt up to 24 hours in advance, allowing the flavors to meld beautifully while keeping your snack game strong. Just store the mixture in an airtight container in the refrigerator until you’re ready to roast. When it’s time to enjoy, simply spread the nut mix on a baking sheet and roast at 350°F (175°C) for 20-25 minutes, stirring halfway through. This not only saves you time during the busy week but also ensures you have a delicious and nutritious snack on hand, just waiting to be savored!
Expert Tips for Garlic Herb Nut Mix
- Stir Occasionally: Make sure to stir the nuts halfway through roasting to prevent burning and promote even cooking, essential for a perfect Garlic Herb Nut Mix.
- Adjust Seasoning: Don’t hesitate to tweak the garlic herb seasoning to match your palate—add more herbs or garlic for a stronger taste that suits your preference.
- Monitor Cooking Time: Keep an eye on the nuts during their final minutes in the oven; they can go from perfectly roasted to burnt very quickly without supervision.
- Single Layer Spreading: Spread the nut mixture in a single layer on the baking sheet to ensure every nut receives the right amount of heat, leading to that delightful crunch.
- Cooling Time: Allow the nut mix to cool on the baking sheet to enhance the flavors and crispness before transferring to a storage container.
What to Serve with Garlic Herb Nut Mix
Imagine turning an everyday snack into an aromatic journey of flavors and textures, perfect for any occasion.
- Cheese Platter: Pair with a variety of cheeses for a delightful contrast; the creamy richness balances the nutty crunch beautifully.
- Fresh Veggies: Serve with sliced cucumbers, bell peppers, or cherry tomatoes to add color and crispness alongside the nut mix.
- Fruit Salsa: A tangy fruit salsa will enhance the savory notes, while refreshing flavors create a vibrant and tasty contrast.
- Wine Selection: Enjoy with a chilled white wine, like Sauvignon Blanc, to bring out the nutty flavors and elevate your snacking experience.
- Sweet Treats: Complement with dark chocolate squares for a sweet and savory combination that will tantalize your taste buds.
- Dips Galore: Serve alongside creamy hummus or a zesty tzatziki to add a cooling element to your crunchy nut mix.
- Spiced Popcorn: Pair with lightly spiced popcorn to explore delightful crunchiness in different flavors; it’s a fun twist to your snack lineup.
Garlic Herb Nut Mix Recipe FAQs
How do I choose the best nuts for this mix?
Absolutely! When selecting your nuts, aim for fresh, whole varieties without dark spots or an off smell. Almonds, cashews, and peanuts work wonderfully together, but feel free to substitute with walnuts or pecans based on your taste preferences. Always give them a quick check for any signs of rancidity before using.
How should I store my Garlic Herb Nut Mix?
The best way to keep your Garlic Herb Nut Mix fresh is by storing it in an airtight container at room temperature for up to 2 weeks. If you prefer longer-lasting freshness, transfer it to the refrigerator, where it can last up to 1 month. Just ensure it’s adequately sealed to prevent any moisture.
Can I freeze the Garlic Herb Nut Mix?
Yes, you can definitely freeze this nut mix! To do so, place it in a freezer-safe bag or container, making sure to remove excess air. It’ll stay good for up to 3 months in the freezer. When you’re ready to enjoy it, simply thaw in the fridge overnight or on the counter for a quick snack.
What if I accidentally over-roast the nuts?
Very good question! If you find that your nuts are over-roasted and have lost their desired crunch, you might still salvage some by tossing them in a bit of olive oil and seasoning, then re-roasting at a lower temperature for a few more minutes. Just keep a close eye on them to avoid burning!
Is this recipe suitable for a gluten-free diet?
Absolutely! The Garlic Herb Nut Mix is completely gluten-free as it features no grains or gluten-containing products. However, always check the labels of your seasoning to ensure there are no hidden gluten ingredients, especially if you have severe allergies.
Can my pets share this nut mix?
While nuts can be healthy for humans, they aren’t always safe for pets. It’s best to avoid sharing this mix with your furry friends, especially since some nuts, like macadamias, are toxic to dogs. Stick to pet-specific treats to ensure their safety!
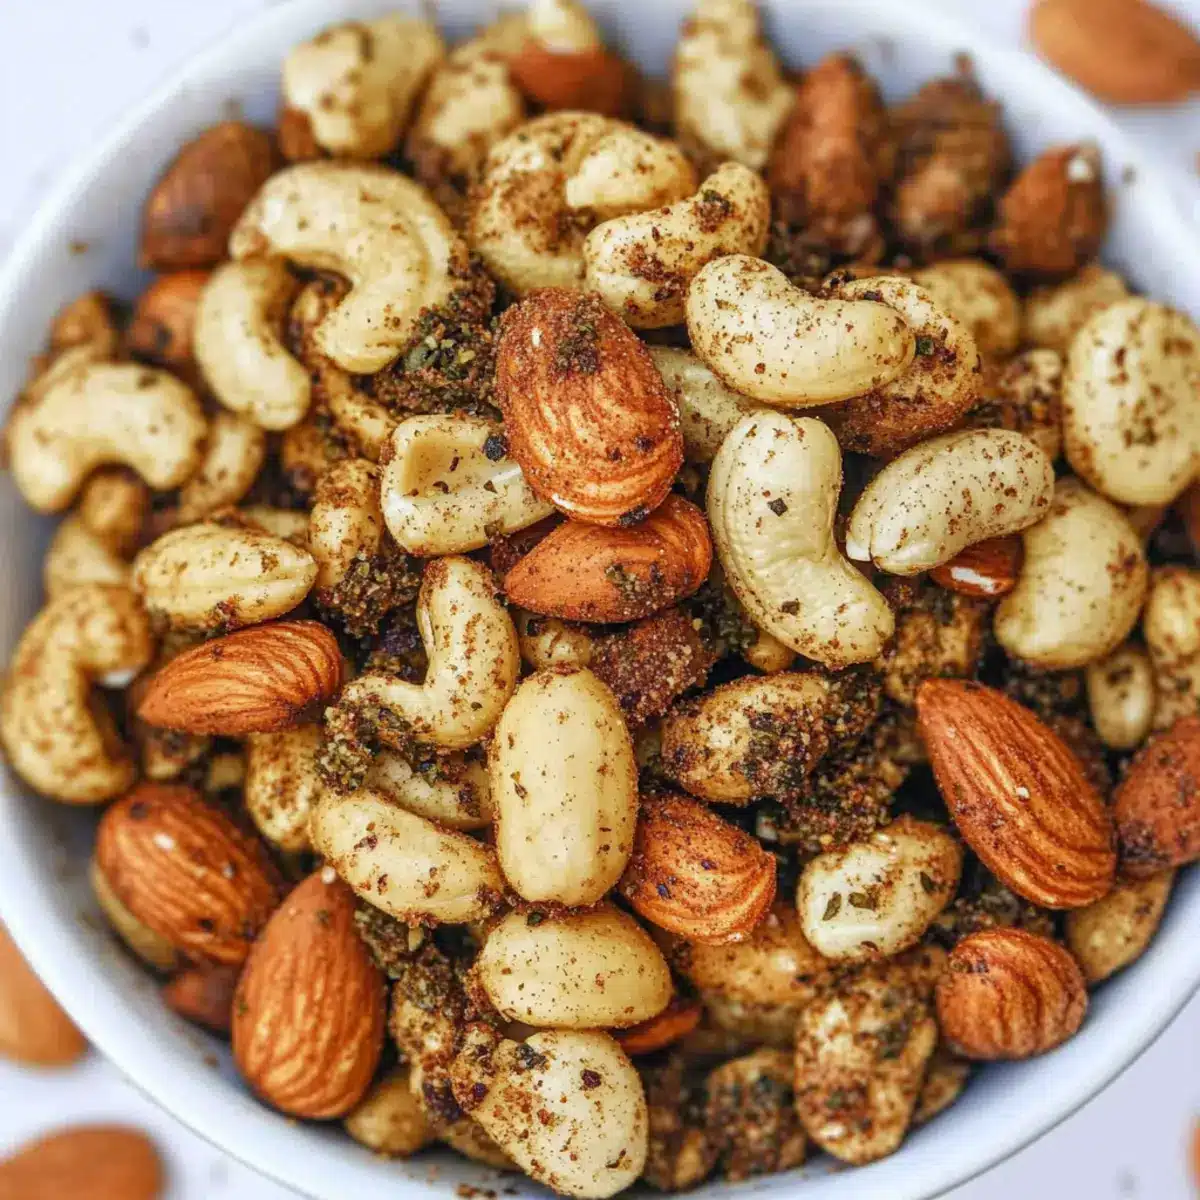
Garlic Herb Nut Mix: Your Easy Crunchy Snack Upgrade
Ingredients
Equipment
Method
- Preheat your oven to 350°F (175°C).
- In a large mixing bowl, add almonds, cashews, and peanuts. Drizzle olive oil, sprinkle garlic herb seasoning, and add salt. Toss everything together.
- Spread the nut mixture evenly onto a baking sheet in a single layer.
- Roast for 20-25 minutes, stirring halfway through.
- Allow to cool on the baking sheet for about 10 minutes before transferring to a serving bowl or airtight container.
Leave a Reply