
As the aroma of fresh herbs wafts through my kitchen, I can’t help but smile at the joy of transforming simple ingredients into something truly magical. Today, I’m excited to share my recipe for Simple Flavorful Chive Salt—a delightful blend that’s perfect for elevating your culinary creations. This homemade seasoning not only preserves the vibrant flavors of chives, allowing a taste of garden goodness all year round, but it’s also incredibly quick to whip up. Imagine sprinkling this emerald-green salt over your favorite roasted vegetables or a fluffy plate of scrambled eggs, adding bursts of flavor that impress family and friends alike. Ready to bring a touch of herbal magic to your meals? Let’s dive into this effortless recipe!
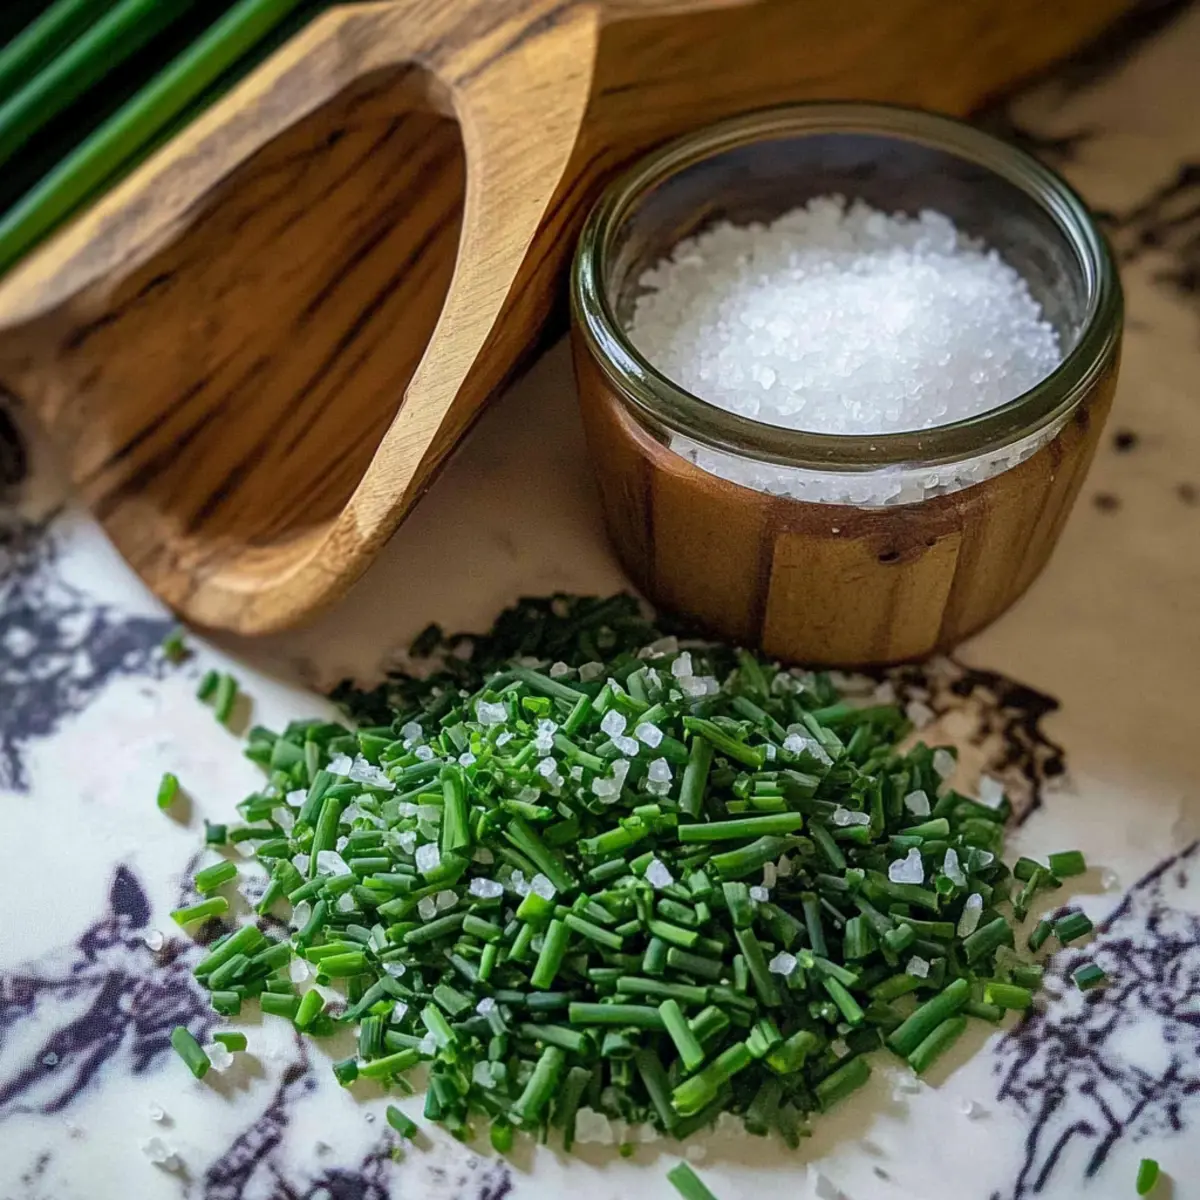
What makes chive salt so special?
Freshness: This recipe uses only fresh chives, ensuring maximum flavor and aroma in every sprinkle. Versatile: Perfect for enhancing a wide range of dishes—from scrambled eggs to grilled meats—making it a go-to seasoning in your kitchen. Quick & Easy: With just a few simple steps, you can create this vibrant seasoning in no time. Gifting Potential: Package your chive salt in a charming jar, making it a thoughtful homemade gift for friends and family. Finally, it’s a fantastic way to preserve your chive harvest, just like my recipe for Gooey Salted Caramel Chocolate Chip Cookie Bars preserves indulgent flavors!
Flavorful Chive Salt Ingredients
• For the Chive Mixture
- Chopped Fresh Chives – Using fresh chives from your garden ensures the ultimate flavor and fragrance.
- Coarse Sea Salt – This is a key ingredient for both flavor and preservation; kosher salt works as a good substitute.
• For Drying
- Dehydrator or Oven – Either method can be used to dry the mixture; choose the one that suits your kitchen setup best.
With these simple ingredients, you’re just moments away from creating your own Flavorful Chive Salt that will enhance all your culinary delights!
Step-by-Step Instructions for Flavorful Chive Salt
Step 1: Harvest & Prep Chives
Begin by cutting fresh chives from your garden, snipping them at the base with clean scissors. Aim for vibrant, green stalks, as these will lend the most flavor to your flavorful chive salt. Rinse them gently under cool water and then pat them dry with a clean kitchen towel to remove excess moisture.
Step 2: Wilt Chives
Once prepped, lay the chives out in a single layer on a clean kitchen towel or a plate. Allow them to wilt for up to 8 hours at room temperature. This process reduces moisture content, crucial for achieving a long-lasting chive salt, creating a more concentrated flavor that sings in every sprinkle.
Step 3: Blend
After the chives have wilted, transfer them to your blender along with the coarse sea salt. Blend the mixture on a low setting, pausing to scrape down the sides as needed. Process until you achieve a beautifully vibrant green color, approximately 30 seconds to 1 minute, ensuring an even consistency that’s perfect for your flavorful chive salt.
Step 4: Dry Mixture
Spread the blended chive and salt mixture evenly onto a dehydrator tray or a parchment-lined baking sheet. If using a dehydrator, set it to 95–115°F and let it dry for 4–6 hours. Alternatively, if using the oven, preheat to the lowest setting (around 170°F) and prop the oven door open; dry for 1.5–2 hours, stirring every 30 minutes, until the mixture is crisp and fully dry.
Step 5: Cool & Store
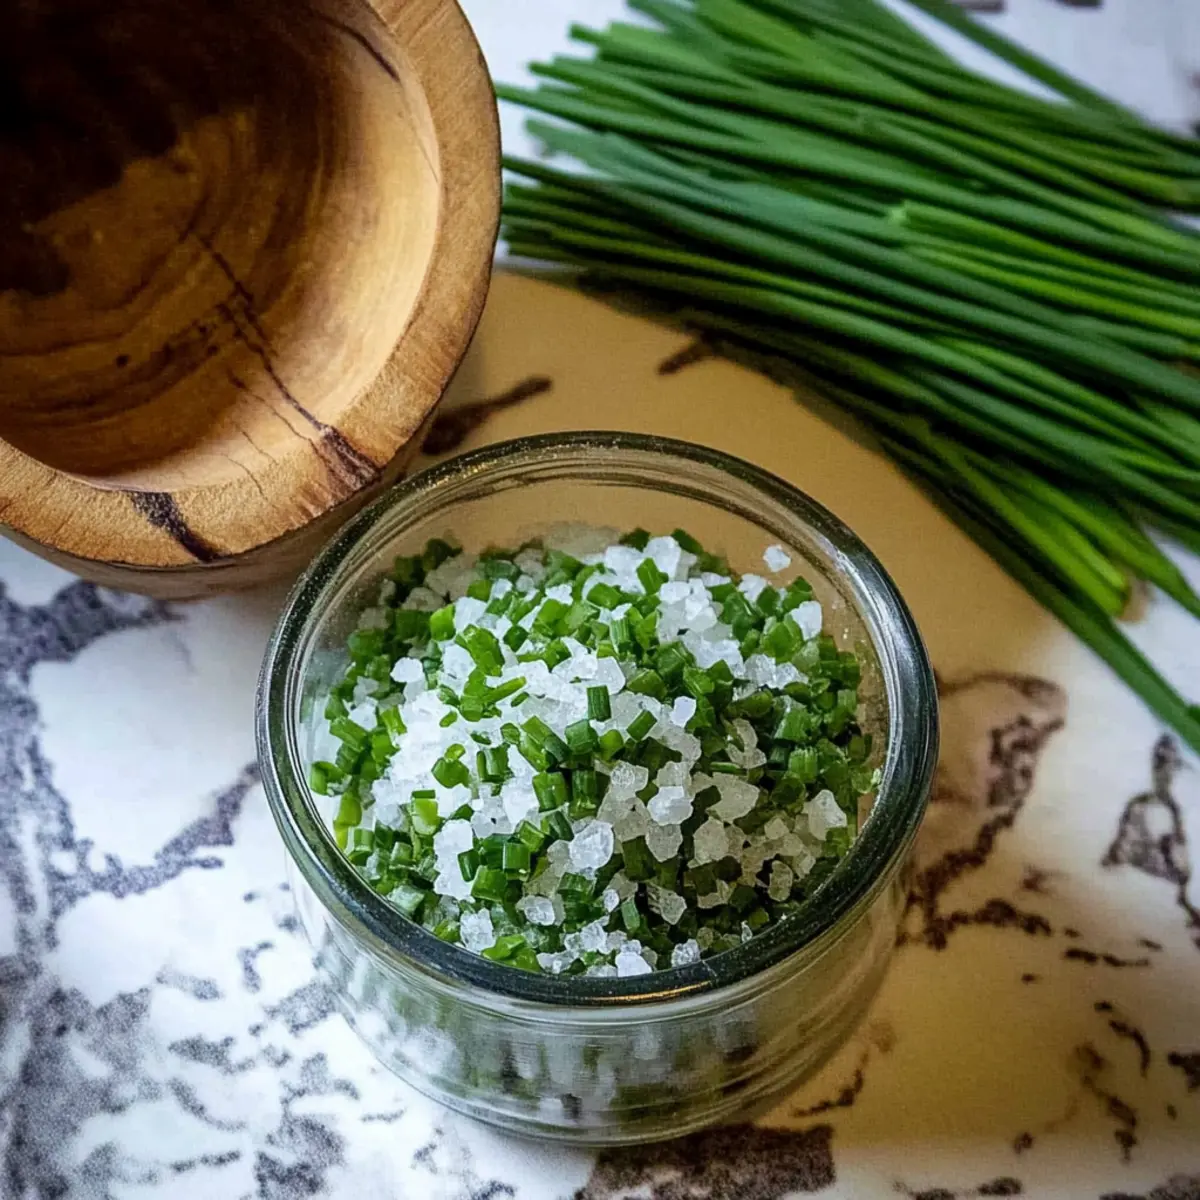
Once dried, remove the tray from the dehydrator or oven and allow the chive salt to cool completely at room temperature. This step is essential to prevent condensation inside your storage container. Once cooled, transfer the crisp, vibrant mixture to an airtight jar, ensuring it remains free from moisture and clumping, ready to elevate your dishes whenever you need a touch of flavor.
Make Ahead Options
Making your Flavorful Chive Salt ahead of time is a fantastic way to save precious minutes during busy weeknight meals. You can prepare the chive-salt mixture up to 24 hours in advance by following the initial steps of harvesting and wilting your chives. Simply blend the wilted chives and coarse salt, then spread the mixture onto a dehydrator tray or baking sheet to dry. You can refrigerate the mixture in an airtight container until you’re ready to finish the drying process—up to 3 days—to maintain its vibrant flavor. Finally, when you’re ready to use it, complete the drying (either in a dehydrator or oven) and store your homemade chive salt in a cool, dry place, ensuring it’s just as delicious when you sprinkle it over your favorite dishes!
How to Store and Freeze Flavorful Chive Salt
Room Temperature: Store your flavorful chive salt in an airtight container in a cool, dry place; it will maintain its flavors for up to two years.
Fridge: While refrigeration is not necessary, it can extend freshness. Just ensure it’s in an airtight jar to avoid moisture.
Freezer: If you want to keep it longer, you can freeze your chive salt in a sealed container for up to six months without significant flavor loss.
Reheating: When ready to use, simply sprinkle directly onto your dishes; no need for reheating as this seasoning adds flavor immediately!
Flavorful Chive Salt Variations
Feel free to unleash your creativity and customize your chive salt to suit your taste and dietary needs!
- Dairy-Free: Use this seasoning on vegan dishes like avocado toast or roasted chickpeas for a fresh flavor burst.
- Garlic Kick: Blend in a couple of dried garlic flakes to your chive salt for an aromatic twist that brings depth to your dishes.
- Spicy Fusion: Add a pinch of red pepper flakes for a zesty heat that will elevate grilled meats and roasted veggies alike.
- Herb Medley: Blend with other fresh herbs like dill or parsley, creating a colorful herb-infused salt that’s perfect for fish or salads. Experiment to find your ideal combination!
- Lemon Zest: Incorporate a teaspoon of dried lemon zest for a refreshing citrus note that enhances the flavors in seafood or pasta dishes.
- Smoky Addition: Try adding smoked sea salt into the mix for a unique, barbecue-inspired version that’s perfect for grilling season.
- Umami Boost: Mix in a bit of nutritional yeast for a savory kick, perfect for sprinkling on popcorn or roasted nuts.
- Substitutes for Chives: If fresh chives aren’t available, substitute with green onions or shallots for a similar flavor profile, opening the door to delightful alternatives!
Don’t stop at just chive salt! Discover more flavor-enhancing ideas with my recipes for Chinese Salt Pepper that adds a delightful zing to your dishes, or check out my guide on how to make Instant Pot Greek Chicken and Rice for another savory sensation!
What to Serve with Simple Flavorful Chive Salt
Imagine creating a symphony of flavors on your plate that dance harmoniously with the vibrant burst of chive salt, elevating every dish it touches.
-
Creamy Scrambled Eggs: These fluffy eggs pair beautifully with chive salt, enhancing their richness with a delightful herbal twist.
-
Roasted Vegetables: Sprinkle the salt over a medley of roasted veggies for added depth, their natural sweetness perfectly balancing the salty herbaceousness.
-
Grilled Chicken: Using chive salt as a seasoning transforms simple grilled chicken into a flavorful standout, creating an irresistible charred crust with a hint of zest.
-
Baked Potatoes: A pinch of this vibrant salt on your favorite baked potato not only makes it mouthwatering but adds a lovely pop of color.
-
Herbed Cheese Spread: Blend chive salt into cream cheese for a delectable spread; it’s wonderful on crackers or fresh bread, adding an aromatic finish.
-
Garden Salad: Toss a touch of chive salt in your salad to elevate fresh greens and veggies, unifying their flavors and adding a lovely crunch.
-
Refreshing Cucumber Salad: A sprinkle of chive salt brings out the cool and crisp nature of cucumbers, making it a refreshing side dish.
-
Homemade Bread: Mix a bit of this savory salt into your bread dough for an unexpected flavor twist, ensuring each slice bursts with herbal goodness.
Expert Tips for Flavorful Chive Salt
• Fresh Ingredients: Always use fresh chives; dried or wilting chives won’t provide the vibrant flavor your flavorful chive salt deserves.
• Moisture Matters: Make sure to wilt and dry the chives thoroughly before blending to avoid clumping, ensuring your salt stays free-flowing.
• Texture Preference: If you prefer a finer salt, blend longer or use a food processor for a more even texture compared to a blender.
• Watch the Drying: Keep an eye on the drying process, especially in the oven, to prevent over-drying or discoloration of your flavorful chive salt.
• Storage Tips: Store your chive salt in a cool, dry place in an airtight container to preserve its vibrant color and flavor for longer.
Flavorful Chive Salt Recipe FAQs
What type of chives should I use?
Absolutely, for the best results, always use fresh chives! Look for vibrant, green stalks free of any yellowing or dark spots. These ensure a robust flavor that elevates your flavorful chive salt and enhances your culinary creations.
How should I store flavorful chive salt?
I recommend storing your flavorful chive salt in an airtight container in a cool, dry place like a pantry or cupboard; it can last up to two years without losing flavor. If you’d like to extend its freshness, you can refrigerate it in an airtight jar.
Can I freeze chive salt for long-term storage?
Yes, you can freeze your chive salt! To do this, simply transfer it into a sealed container or freezer bag and label it. It will maintain its flavor for up to six months. When you’re ready to use it, just sprinkle it directly on your dishes without any need for thawing.
What if my chive salt clumps together?
No worries! Clumping can happen if moisture gets in. Ensure your chives are thoroughly dried before blending to prevent this. If clumping occurs, just break it up with a fork or give it a quick spin in the blender to restore its texture. You can also add a few grains of uncooked rice to the container to absorb moisture.
Is chive salt safe for pets?
Chives belong to the allium family and can be harmful to pets, particularly cats and dogs, in large quantities. If you have furry friends, it’s best to keep flavored chive salt out of their reach to avoid any health risks.
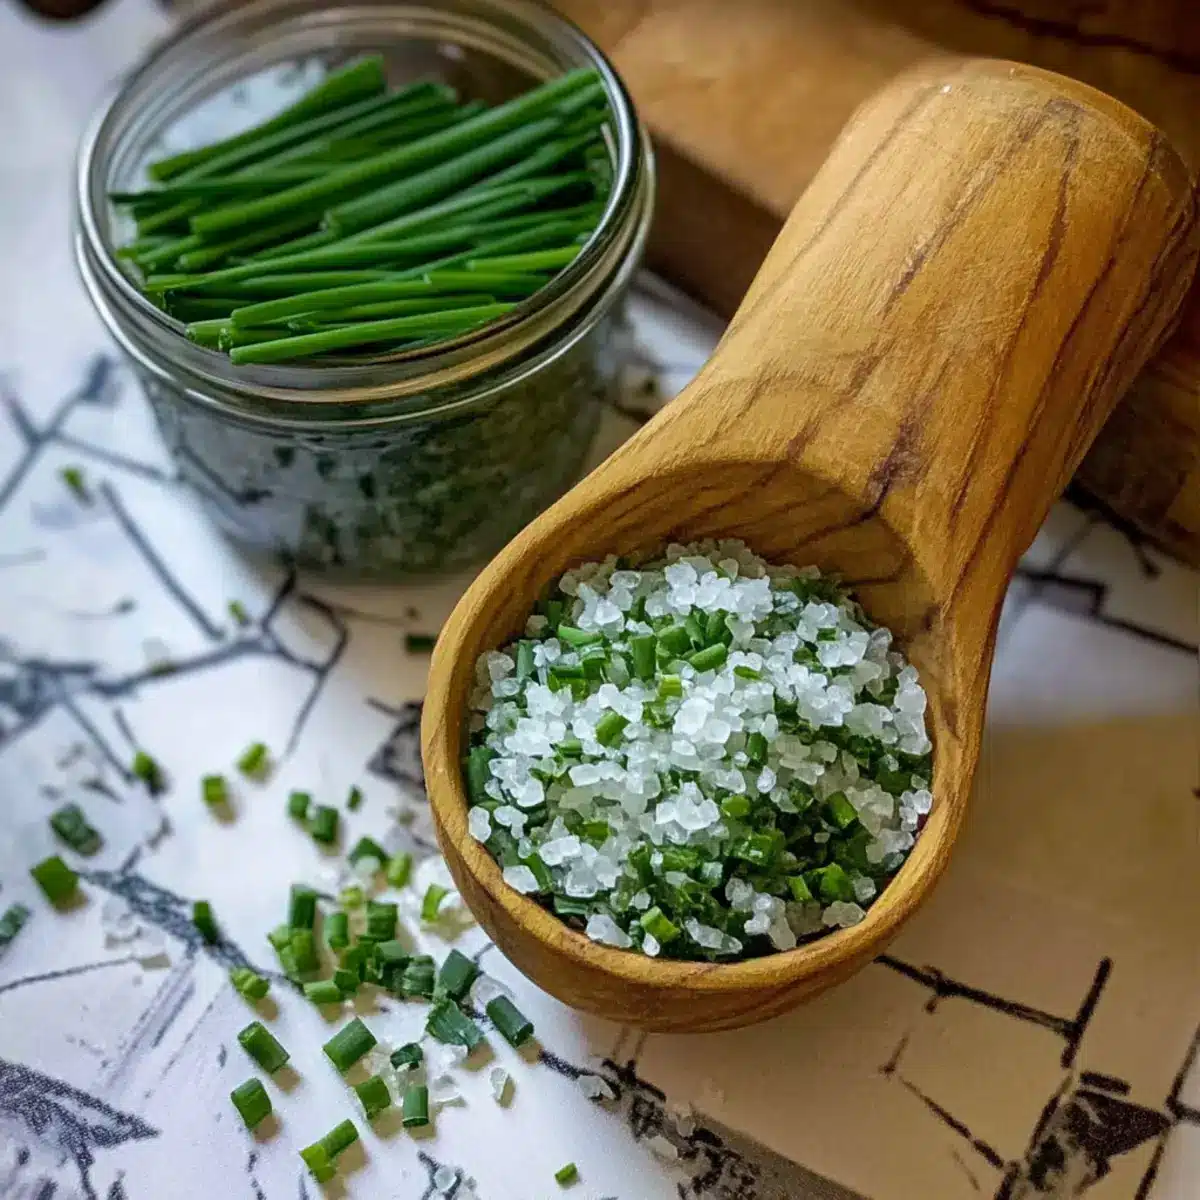
Elevate Dishes with Flavorful Chive Salt in Minutes
Ingredients
Equipment
Method
- Begin by cutting fresh chives from your garden, then rinse and pat dry.
- Lay the chives out for up to 8 hours to wilt at room temperature.
- Blend the wilted chives with coarse sea salt until achieving a green color.
- Spread the mixture onto a dehydrator tray or baking sheet and dry at 95–115°F for 4–6 hours or at 170°F for 1.5–2 hours.
- Allow the mixture to cool completely before transferring to an airtight jar.
Leave a Reply