
The fragrant scent of fresh basil fills the air as you whip up a batch of this Quick & Creamy Basil Aioli. With summer in full swing, this delightful sauce is the perfect companion for your barbecued burgers and crispy fries. What I love most about this aioli isn’t just its vibrant flavor—it’s how effortlessly it transforms everyday meals into something extraordinary. This mayonnaise-based sauce takes mere minutes to prepare, allowing you to spend more time enjoying the sunshine with your loved ones. Whether you’re dipping, spreading, or drizzling, it brings that fresh, herbaceous touch that elevates any dish. Curious about how this versatile sauce can become a staple in your kitchen? Let’s dive in!
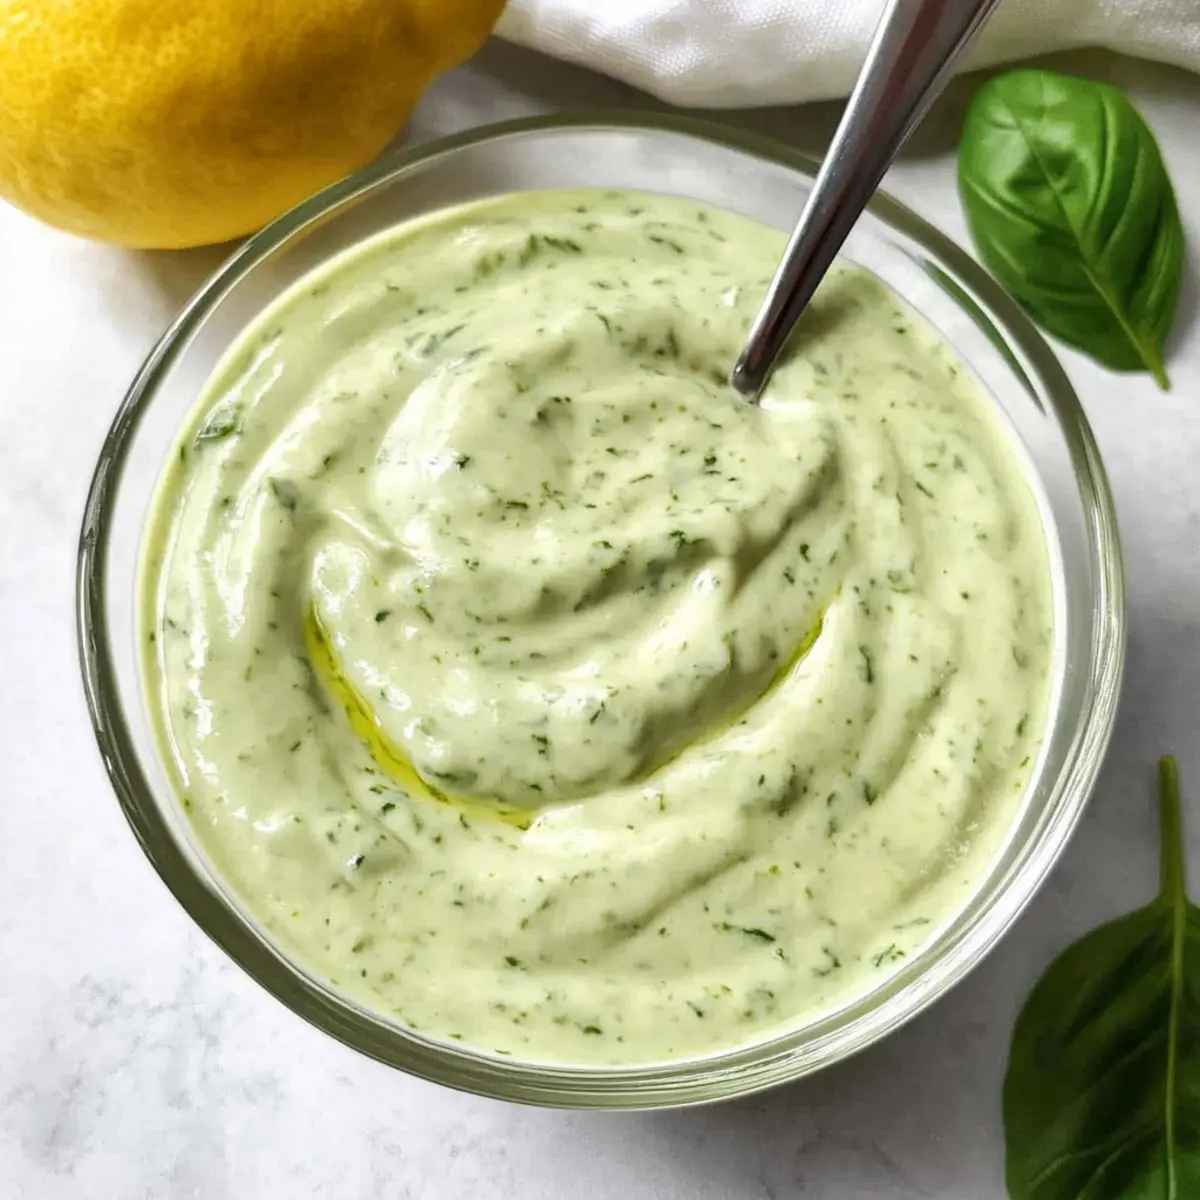
Why is Basil Aioli a Must-Try?
Quick & Easy: This recipe comes together in just minutes, perfect for busy summer days.
Vibrant Flavor: The balance of fresh basil, zesty lemon, and garlic creates an irresistible taste that elevates any dish.
Versatile Use: Enjoy it as a dip, spread, or drizzle over grilled veggies or seafood—it adapts effortlessly to your favorite meals.
Fresh Ingredients: Using real herbs and garlic means you skip preservatives while enhancing every bite with fresh flavor.
Perfect for Gatherings: Make it for barbecues, picnics, or casual dinners, and watch it disappear as everyone comes back for more!
Basil Aioli Ingredients
• A simple yet delicious recipe to elevate your dishes!
For the Base
- Mayonnaise – A creamy foundation for the aioli; opt for homemade if you have the time for an even fresher flavor.
For the Flavor
- Basil Leaves – Fresh basil infuses the sauce with aromatic goodness; feel free to swap with cilantro or parsley for a unique twist.
- Garlic Cloves – Provides a pungent kick; adjust the amount based on your love for garlic.
- Lemon Juice – Brightens the aioli’s flavor; freshly squeezed juice is always the best option.
- Salt – Enhances all the flavors; remember to add it according to your taste preferences.
Step‑by‑Step Instructions for Basil Aioli
Step 1: Combine the Base Ingredients
In a mixing bowl, add 1 cup of mayonnaise as your creamy base. Then, finely mince about 1 cup of fresh basil leaves and 2 garlic cloves, ensuring they are chopped into small pieces for better flavor infusion. Squeeze in the juice of half a lemon and sprinkle in a pinch of salt. Stir the mixture until everything is evenly combined and the basil and garlic are well distributed.
Step 2: Blend to Smooth Consistency
Transfer the combined ingredients to a food processor for a perfectly smooth consistency. Pulse the mixture for about 30 seconds until you achieve a creamy texture, lifting the lid occasionally to scrape down the sides. If you don’t have a food processor, whisk the mixture vigorously by hand until it’s well-blended and the basil and garlic are incorporated for a slightly chunkier aioli.
Step 3: Refrigerate for Flavor Development
Cover the bowl with plastic wrap or transfer the aioli into an airtight container and refrigerate for at least 30 minutes. This chilling time allows the flavors of your Basil Aioli to meld beautifully, resulting in a more harmonious taste. While waiting, the aioli will also thicken slightly, making it perfect for dipping or spreading.
Step 4: Serve and Enjoy
Once the aioli has chilled, give it a quick stir before serving. This flavorful basil aioli is now ready to elevate your summer dishes. Use it as a vibrant condiment for burgers or a delicious dip for crispy fries, chicken tenders, or even fresh veggies, enhancing your meals with its zesty profile.
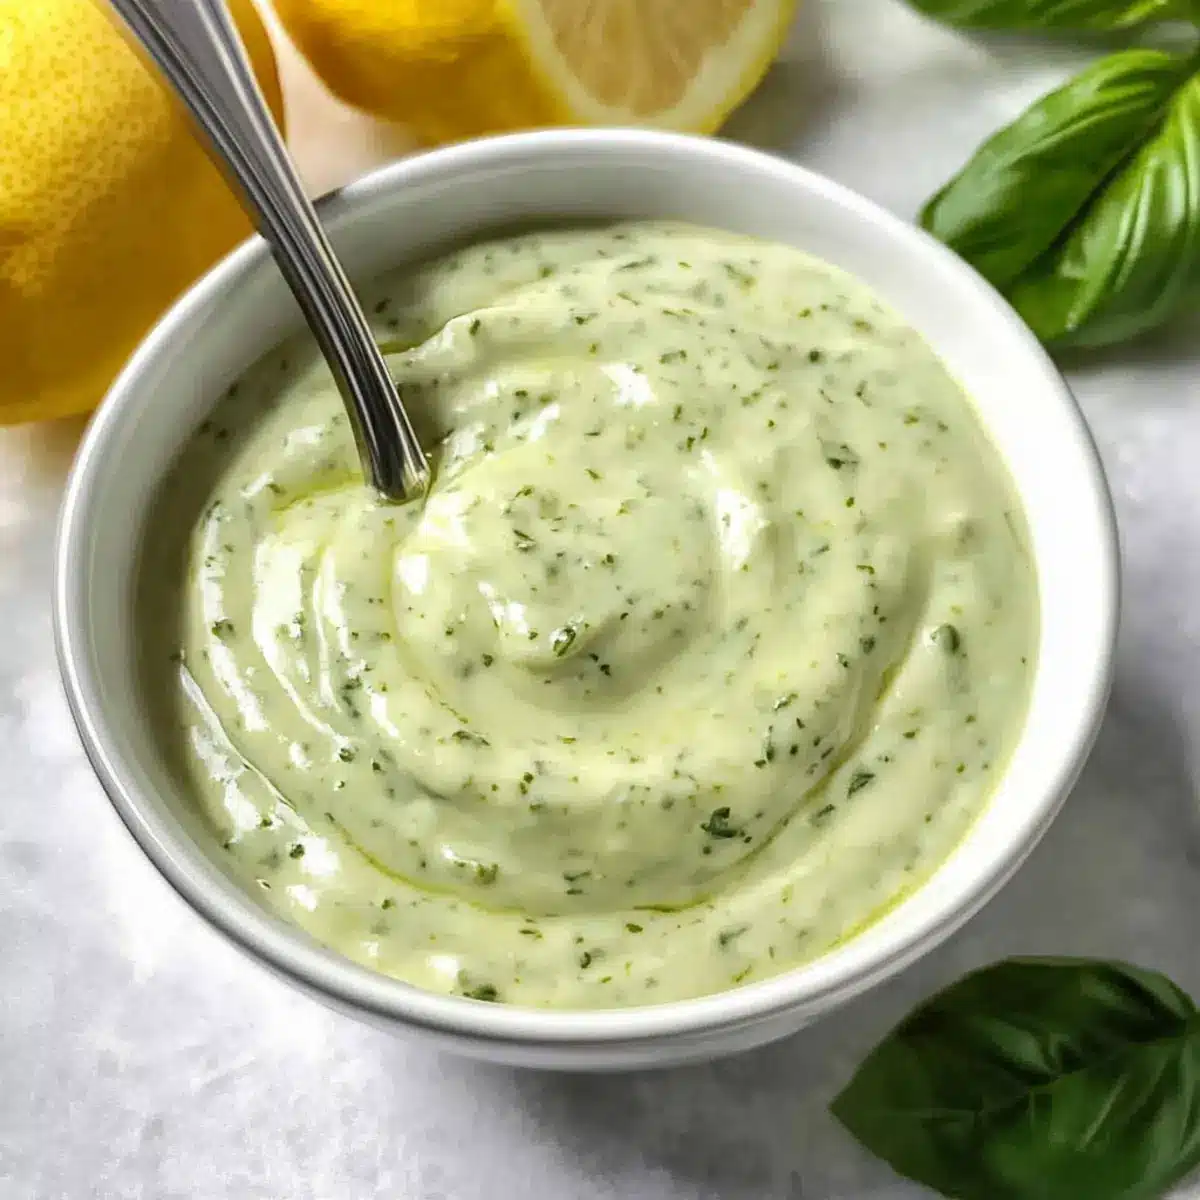
Basil Aioli Variations & Substitutions
Feel free to get creative with this delightful sauce and personalize it to suit your taste preferences!
-
Herb Swap: Replace basil with fresh cilantro or parsley for a different herbaceous flavor.
-
Garlic Lovers: Kick up the intensity by adding roasted garlic instead of raw for a sweeter, richer taste.
-
Creamy Avocado Twist: Blend in ripe avocado for a creamy and nutritious twist that enhances the texture beautifully.
-
Zesty Citrus Boost: Incorporate the zest of an orange or lime along with the lemon juice for a citrusy kick.
-
Spicy Kick: Stir in a tablespoon of your favorite hot sauce to give your aioli an extra layer of heat—perfect for dipping wings!
-
Smoky Flavor: Add smoked paprika or blended roasted red peppers to introduce a delightful smokiness.
-
Nutty Addition: A spoonful of tahini can add an interesting nutty flavor while still keeping it creamy.
-
Dairy-Free: Swap mayonnaise for a vegan mayo to create a dairy-free version that’s just as creamy and delicious.
By experimenting with these suggestions, your basil aioli can seamlessly adapt to whichever dish or gathering you’re planning. Consider pairing it with grilled lemon pepper chicken sandwiches or drizzling it over roasted vegetables for a burst of flavor!
How to Store and Freeze Basil Aioli
Fridge: Store your basil aioli in a tightly sealed container for up to 7 days, but for peak freshness, it’s best used within 1-2 days.
Freezer: Mayonnaise-based sauces like basil aioli do not freeze well due to their texture, so it’s advisable to prepare only what you can consume within a week.
Reheating: Since this sauce is meant to be served cold, there’s no need to reheat. Simply stir before serving to refresh its creamy texture.
Airtight Storage: Ensure the container is airtight to prevent the absorption of any unwanted odors from the fridge, which can affect the flavor of your delicious basil aioli.
Make Ahead Options
These Quick & Creamy Basil Aioli are perfect for busy home cooks looking to simplify meal prep! You can make the aioli up to 3 days in advance by preparing the ingredients as directed and storing it in an airtight container in the refrigerator. Just remember to give it a good stir before serving to refresh its creamy texture. To maintain its vibrant flavor, ensure your basil leaves are fresh and incorporate them just before blending. Additionally, refrigerate any leftovers and use them within that 3-day window for the best taste. With this make-ahead option, you’ll save time and have an irresistible sauce ready to enhance your summer dishes!
Expert Tips for Basil Aioli
-
Use Fresh Ingredients: Always opt for fresh basil and garlic to achieve the best flavor. The freshness enhances your basil aioli, making it vibrant and aromatic.
-
Adjust Garlic to Taste: Start with one garlic clove and gradually add more to match your preference. Raw garlic has a strong flavor, so it’s easy to overdo it.
-
Perfect Chilling Time: Letting the aioli chill for at least 30 minutes is crucial for flavor development. Try cooling it for an hour for an even bolder taste.
-
Storage Know-How: Store your basil aioli in a tightly sealed container in the fridge. Enjoy it within 1-2 days for peak freshness, as it’s best when freshly made.
-
Experiment with Herbs: Don’t hesitate to swap basil for other herbs like cilantro or dill. This versatility in your basil aioli allows for fun variations to match your meals.
-
Mind the Mayonnaise: If you’re using store-bought mayonnaise, choose a high-quality brand for the best flavor. Homemade mayo can also elevate your aioli beyond expectations!
What to Serve with Quick & Creamy Basil Aioli?
Imagine the sun shining on a warm summer day as you prepare delightful dishes to share with family and friends, with this creamy basil aioli as the star of the show.
-
Grilled Lemon Pepper Chicken Sandwiches: The zesty aioli enhances the juicy chicken, creating a delightful balance of flavors and textures that you’ll crave again and again.
-
Crispy French Fries: Dipping crispy fries into the rich, herbaceous sauce transforms this classic side into a gourmet treat. The combination of textures delights your palate.
-
Roasted Vegetables: The freshness of basil aioli pairs beautifully with the charred flavors of seasonal roasted veggies, adding a creamy contrast that brightens every bite.
-
Chicken Tenders: Serve your crunchy chicken tenders with a side of basil aioli for an easy yet elegant meal, bringing a delicious twist that kids and adults will adore alike.
-
Seafood Dishes: Drizzle over grilled shrimp or fish tacos, where the garlic and lemon enhance the seafood’s natural flavors, making each bite a little taste of summer.
-
Fresh Veggie Platter: Use as a vibrant dip for an array of fresh veggies. The aioli brings out the sweetness of carrots, bell peppers, and cucumbers.
-
Caprese Skewers: Pair with mozzarella, cherry tomatoes, and basil, and drizzle with aioli for a refreshing appetizer that looks as good as it tastes.
-
Sparkling White Wine: Enjoy with a chilled glass of crisp white wine, which beautifully complements the fresh and zesty notes of the basil aioli.
Your summer meals are sure to shine with these appetizing pairings, making every gathering memorable!
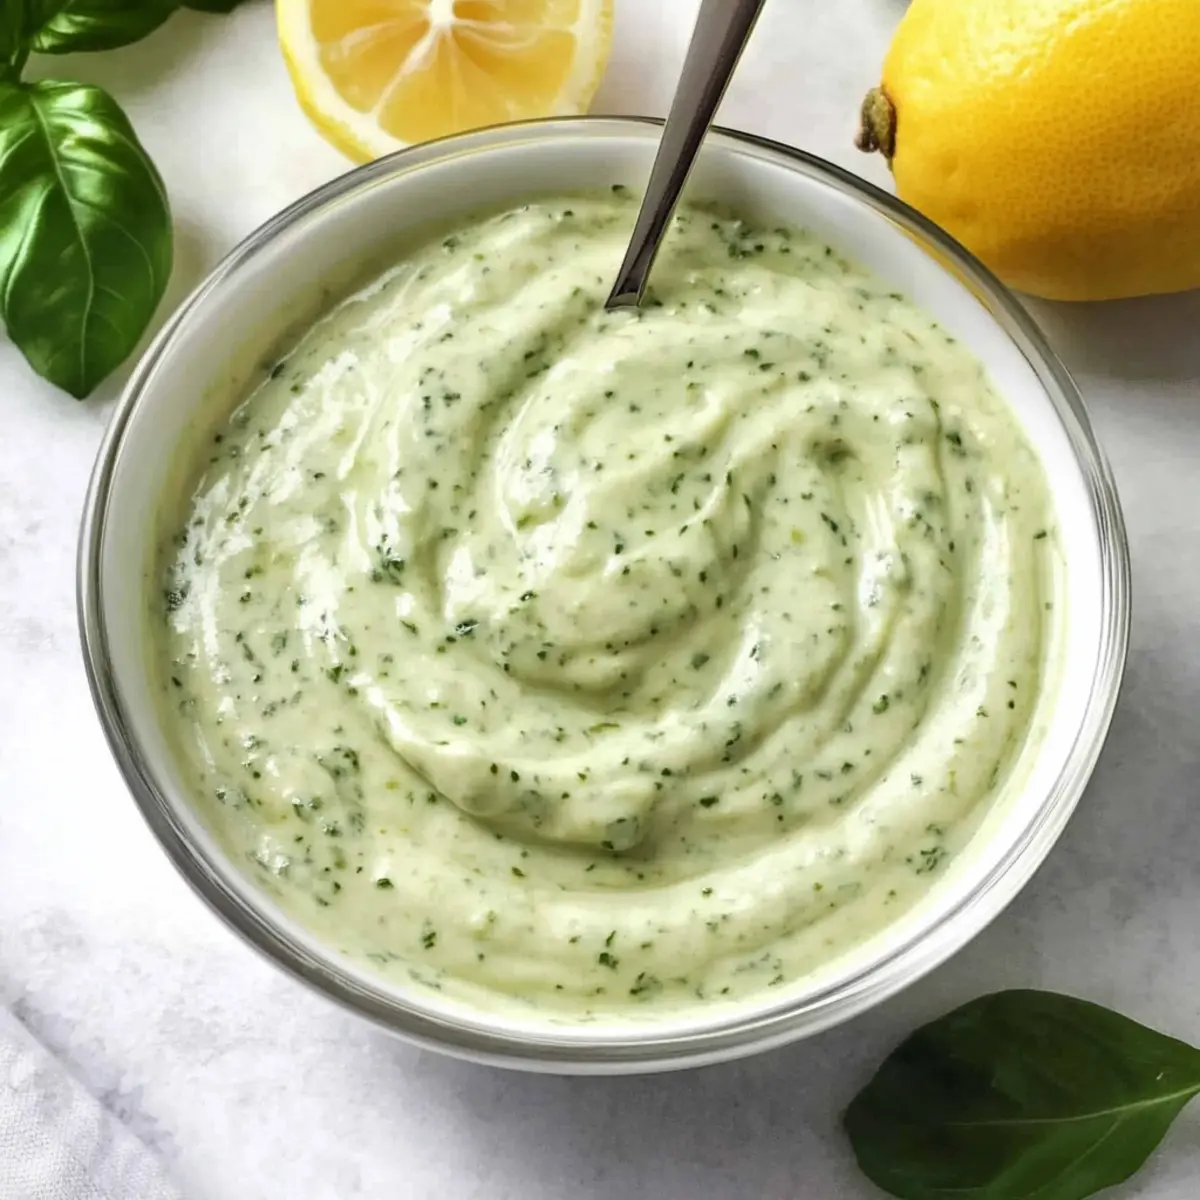
Basil Aioli Recipe FAQs
How do I select fresh basil for my aioli?
Absolutely! When choosing basil, look for vibrant green leaves without dark spots or wilting. The leaves should feel firm and fragrant, indicating freshness. Avoid any bunches that have yellowing leaves or a dull appearance, as they may be past their prime.
How should I store leftover basil aioli?
I recommend you store your basil aioli in a tightly-sealed container in the refrigerator. It will stay fresh for up to 7 days, but for the best flavor, aim to use it within 1-2 days. Make sure the lid is secure to keep unwanted odors from your fridge from mingling with your delicious sauce!
Can I freeze basil aioli for future use?
Very! However, it’s important to note that mayonnaise-based sauces like this basil aioli do not freeze well due to their texture. If you must freeze it, pour the aioli into an airtight container, leaving some space at the top for expansion, and store it for no longer than 1-2 months. However, I suggest making smaller batches that you can enjoy fresh within a week for the best experience.
What can I do if my aioli is too garlicky?
If your basil aioli turns out too garlicky for your taste, don’t worry! You can balance the flavor by adding a bit more mayonnaise to dilute the garlic presence. Another great option is to mix in a small amount of sugar, which can help tone down the sharpness. Taste as you go, and remember, the more the merrier when it comes to flavor adjustments!
Is basil aioli safe for pets or those with allergies?
Absolutely! While basil is generally safe for dogs and cats in small amounts, ensure there are no other ingredients in the aioli that could be harmful to your pets, like garlic in large quantities. Additionally, check with family or guests regarding allergies, especially to mayonnaise or other specific ingredients. Opt for allergen-free mayonnaise if needed, to create a delicious aioli without worry.
How can I enhance the flavor of my basil aioli?
To elevate the flavor profile of your basil aioli, consider adding a touch of Dijon mustard or a splash of white wine vinegar for extra tanginess. A sprinkle of freshly cracked pepper or a pinch of chili flakes can give it warmth and depth, perfect for pairing with richer foods. Don’t hesitate to experiment with percentages, as this sauce is wonderfully adaptable to fit your taste!
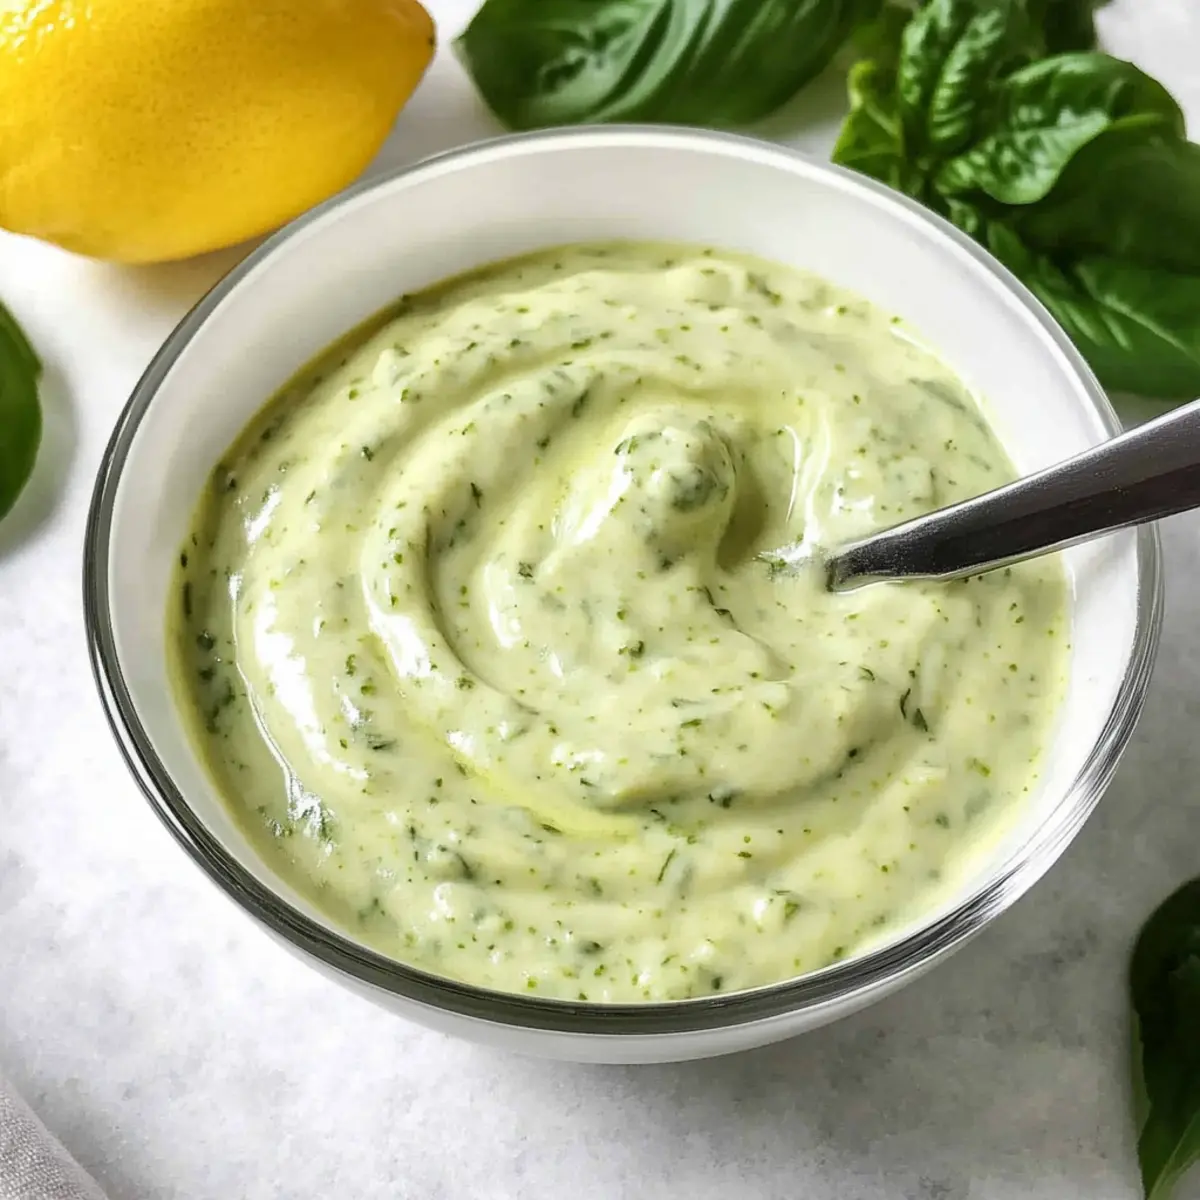
Zesty Basil Aioli: Your Ultimate Summer Flavor Booster
Ingredients
Equipment
Method
- In a mixing bowl, add mayonnaise, minced basil leaves, minced garlic, lemon juice, and salt. Stir until evenly combined.
- Transfer the mixture to a food processor and pulse for about 30 seconds until creamy.
- Cover and refrigerate for at least 30 minutes to allow flavors to meld.
- Give it a quick stir before serving. Use as a condiment for burgers or a dip for fries.
Leave a Reply