
Every now and then, a little craving strikes like a lightning bolt, and you suddenly find yourself reminiscing about the unforgettable flavors of your favorite fast food. That was me, just recently, when I conjured up the memory of Crunchwrap Supremes from Taco Bell. But why settle for takeout when you can whip up delicious Homemade Crunchwrap Supremes right in your own kitchen? This recipe is not only a delightful nod to the iconic original but also a healthier and customizable version that lets you put your culinary spin on it. With quick prep and the option for meal prepping, these wraps are perfect for both busy weeknights and laid-back weekends. Trust me, your taste buds will thank you as you dig into layers of seasoned ground beef, crispy tostada, melty cheese, and fresh veggies. So, what’s holding you back from exploring this delicious fusion of flavors? Let’s dive into the crunchy goodness together!
Why Are Homemade Crunchwraps So Irresistible?
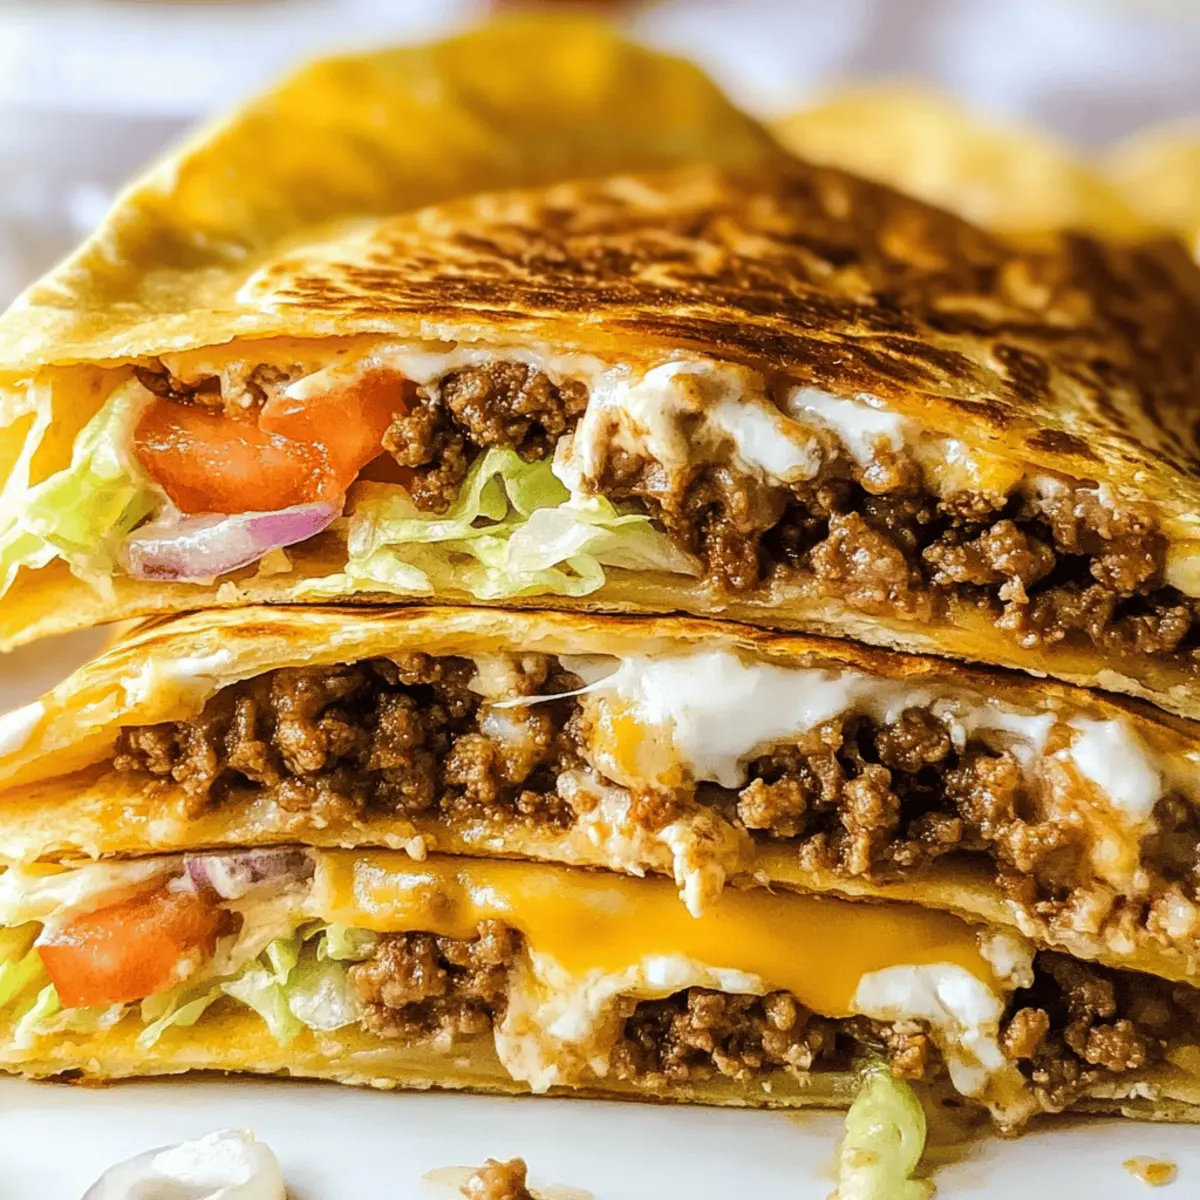
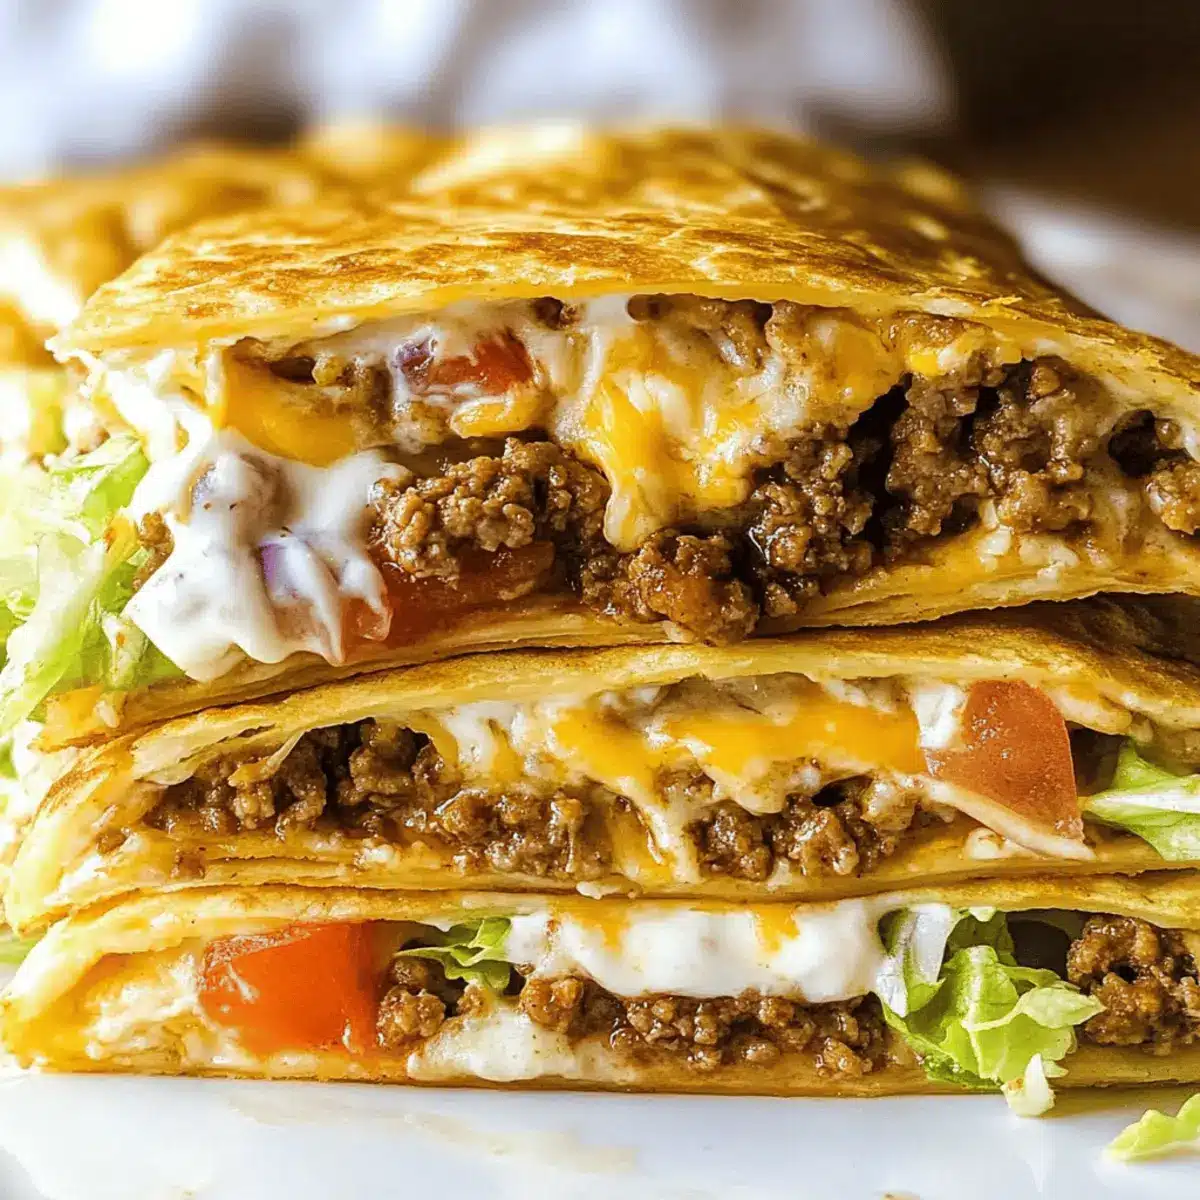
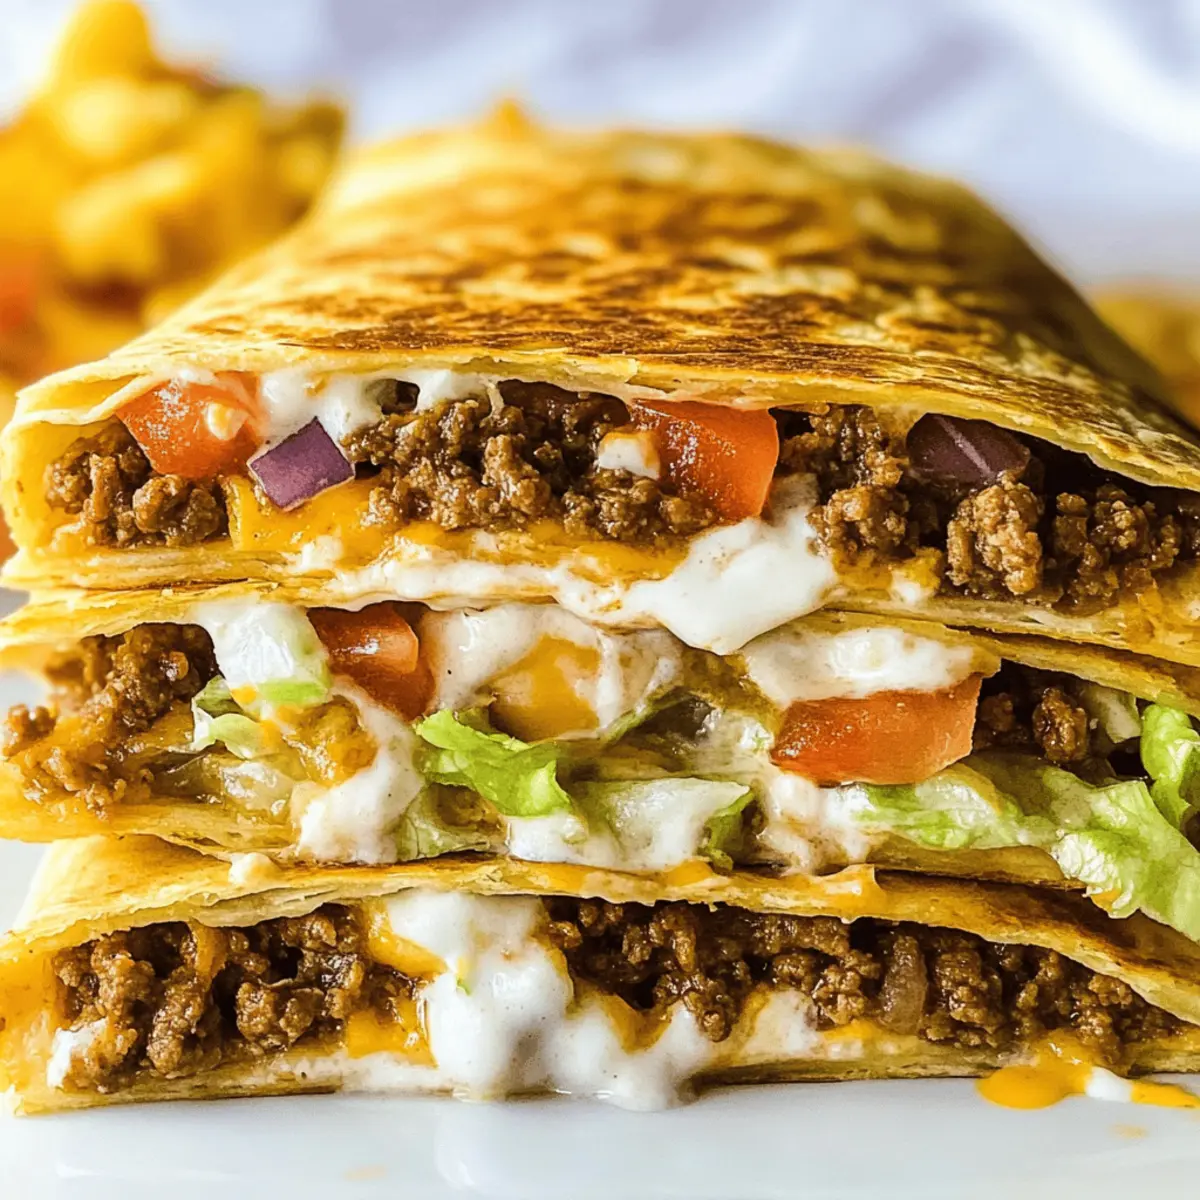
Savory Satisfaction: Each layer brimming with seasoned beef, creamy cheese, and fresh veggies creates an explosion of flavors that will have you coming back for seconds.
Customizable Goodness: This versatile recipe allows you to tailor each crunchwrap to your taste—swap the beef for black beans for a delicious vegetarian twist or load it up with your favorite toppings!
Crispy Crunch: The inclusion of a tostada shell provides that iconic crunch experience, setting these concoctions apart from standard wraps.
Quick Prep: Perfect for busy weeknights or meal prep, you can whip these up in no time and enjoy a wholesome homemade meal instead of fast food.
Crowd-Pleasing Appeal: Whether you’re cooking for yourself or hosting friends, these homemade Crunchwrap Supremes are sure to impress! Don’t forget to check out my Chicken BLT Crunchwrap for a fun variation!
Homemade Crunchwrap Supremes Ingredients
For the Beef Mixture
• Lean Ground Beef – A hearty flavor base; for a vegetarian option, use black or refried beans.
• Taco Seasoning – Essential for spicing things up; consider homemade mixes for less sodium.
• Water – Moistens the mixture, ensuring a well-flavored filling.
For the Wrap
• Burrito Size Flour Tortillas – The sturdy outer wrap; whole-wheat tortillas are a healthier option.
• Street Taco Size Tortillas – Provides a second layer for added crunch; mini tortillas can work too.
• Tostada Shells – Crucial for that signature crunch; make your own by baking corn tortillas until crisp.
For the Filling
• Nacho Cheese Sauce – Adds creaminess and flavor; substitute with shredded cheese or homemade cheese sauce for a lighter option.
• Sour Cream – Brings a tangy balance; Greek yogurt is a healthy swap.
• Shredded Lettuce – Offers freshness and crunch; feel free to use spinach or cabbage.
• Chopped Tomatoes – Provides juiciness; pico de gallo is a zesty alternative.
For Cooking
• Olive Oil Spray – Used for pan-searing the crunchwrap; any cooking oil will do.
Step‑by‑Step Instructions for Homemade Crunchwrap Supremes
Step 1: Cook the Ground Beef
In a large skillet over medium-high heat, add 1 pound of lean ground beef. Cook while breaking it apart for about 6-8 minutes, or until it’s no longer pink and lightly browned. Once cooked, drain excess grease from the skillet to ensure a lean filling for your Homemade Crunchwrap Supremes.
Step 2: Season the Beef
Sprinkle 4 tablespoons of taco seasoning over the drained beef, followed by ¼ cup of water. Stir well to combine, allowing the mixture to heat through for about 2-3 minutes until everything is evenly coated and fragrant. Remove from heat and set aside, as this will be the savory center of your crunchwraps.
Step 3: Assemble the First Layer
Take a burrito-sized tortilla and place an equal scoop of the seasoned beef mixture in the center. This will be the hearty foundation of your Homemade Crunchwrap Supreme. Carefully add a tostada shell on top of the beef, pressing down gently to ensure it stays in place, adding a delightful crunch.
Step 4: Add the Tasty Fillings
Next, generously spread ¼ cup of nacho cheese sauce over the tostada shell, followed by ¼ cup of sour cream, then pile on some shredded lettuce and chopped tomatoes. This combination will contribute a creamy and fresh contrast to the seasoned beef, creating a symphony of flavors within your crunchwrap.
Step 5: Create the Crunchwrap Structure
Using a street taco-sized tortilla, place it on top of the assembled fillings. Fold the edges of the larger burrito tortilla over the smaller tortilla, overlapping them and pressing down to secure tightly. This will create the signature shape of your Homemade Crunchwrap Supreme, ready for cooking.
Step 6: Sear the Crunchwrap
In a non-stick skillet, heat olive oil over medium heat for about 1-2 minutes until shimmering. Place the crunchwrap seam-side down in the skillet, allowing it to sear for about 3-4 minutes. The tortilla should become golden brown and crispy, ensuring your crunchwrap is cooked to perfection.
Step 7: Flip and Finish Cooking
Carefully flip the crunchwrap over using a spatula and cook for another 3-4 minutes or until the other side is nicely golden brown. This final step will solidify the crispy exterior while keeping all the delicious fillings snug inside. Once ready, remove and allow it to cool slightly before serving.
Homemade Crunchwrap Supremes Variations
Feel free to unleash your creativity and personalize these wraps to match your taste buds and dietary needs!
- Vegetarian Version: Swap out ground beef for black beans or refried beans for a delicious meatless alternative that doesn’t skimp on flavor.
- Extra Veggies: Add bell peppers, zucchini, or sliced jalapeños for a burst of color, freshness, and added crunch. Roasted corn would make a fantastic addition too!
- Spicy Crunchwrap: For a spicy kick, incorporate chopped chipotles in adobo sauce or a sprinkle of cayenne pepper into the beef mixture. It brings an exciting layer of heat.
- Different Cheeses: Trade nacho cheese for shredded Monterey Jack or queso fresco to create a unique twist on the cheesy goodness. You could also use a vegan cheese alternative for a dairy-free delight!
- Herby Flavor: Fresh cilantro or chopped green onions can elevate the flavor profile immeasurably. Sprinkle these vibrant herbs on top of the filling for an aromatic touch.
- Zesty Sauce: Trade sour cream for zesty Greek yogurt mixed with lime juice and zest for a refreshing dip that complements the crunchwrap perfectly!
- Guacamole Goodness: Replace sour cream with creamy guacamole for a rich and velvety texture, adding a delightful homemade touch to your crunchwrap.
- For the Crunch: Don’t have tostada shells? Use crispy fried onions or even homemade tortilla chips right in the wrap for added texture. It’s like a fiesta of crunch in every bite!
Feel inspired? Explore other delicious options like my Rajas Con Crema and its comforting flavors that can complement your homemade crunchwrap experience!
Make Ahead Options
These Homemade Crunchwrap Supremes are perfect for meal prep enthusiasts! You can prepare the seasoned ground beef mixture up to 3 days in advance, storing it in an airtight container in the refrigerator. Assemble each crunchwrap fresh before serving for that satisfying crunch, layering the tostada shell and fillings just before cooking. To maintain quality, avoid adding the sour cream and fresh veggies until you’re ready to cook; this prevents sogginess. When you’re ready to enjoy them, simply heat a non-stick skillet and sear the crunchwrap seam side down for about 3–4 minutes on each side, and you’ll have deliciously crispy Homemade Crunchwrap Supremes ready to savor!
Expert Tips for Homemade Crunchwrap Supremes
- Don’t Skimp on Seasoning: Make sure to use enough taco seasoning to infuse the beef with flavor; bland filling can lead to a lackluster crunchwrap experience.
- Perfectly Layered: Avoid overloading your crunchwrap with toppings which can lead to messy assembly and potential tearing; keep it balanced for better structure.
- Use a Hot Pan: Sear the crunchwrap in a hot skillet for that optimal golden-brown crust; this also helps maintain crispiness, making your Homemade Crunchwrap Supremes irresistible.
- Fresh is Best: While leftovers can be stored, it’s best to enjoy these right after cooking; reheating may result in a less crunchy exterior.
- Experiment with Fillings: Don’t hesitate to replace the ground beef with black beans or add extra veggies; customize your crunchwrap to keep it exciting!
How to Store and Freeze Homemade Crunchwrap Supremes
Fridge: Store leftover Homemade Crunchwrap Supremes in an airtight container for up to 2 days. They may lose some crunch, so enjoy the leftovers quickly!
Freezer: Wrap individual crunchwraps tightly in plastic wrap and then in aluminum foil for up to 3 months. Thaw in the fridge before reheating.
Reheating: To restore crispiness, reheat in a skillet over medium heat for about 3-5 minutes on each side, or in an air fryer at 350°F for 5-7 minutes for best results.
Assembling and Freezing: You can assemble the crunchwraps but refrain from cooking them if you plan to freeze. Just wrap and store as mentioned for a quick meal later!
What to Serve with Homemade Crunchwrap Supremes
There’s something about the cozy crunch of a homemade wrap that kicks off a delightful meal, and pairing is the secret to leveling up your table.
-
Cilantro Lime Rice: Fresh and zesty, this rice complements the seasoned beef beautifully while adding a light touch of flavor.
-
Homemade Tortilla Chips: Crisp and salty, these chips are perfect for dipping into salsa, enhancing the crunch experience with every bite.
-
Fresh Guacamole: Creamy and rich, a side of guacamole adds a velvety texture and balances the bold flavors of the crunchwrap.
-
Spicy Salsa: A tangy kick from your favorite salsa will elevate the overall flavor profile and bring a burst of freshness to each bite.
-
Mixed Green Salad: Light and refreshing, a salad with a citrus vinaigrette provides a crisp contrast to the warm crunchwrap and adds a healthy balance.
-
Cold Beer: A crisp lager or light ale makes for a perfect pairing, cooling down the heat from the spices while keeping the meal casual and fun.
Indulge in these pairings for a complete meal that satisfies both your cravings and your sense of adventure in the kitchen!

Homemade Crunchwrap Supremes Recipe FAQs
What kind of ground beef should I use for homemade Crunchwrap Supremes?
I recommend using lean ground beef to keep your wraps flavorful yet not overly greasy. For a healthier alternative, try ground turkey or go vegetarian by using black or refried beans. This way, you can still enjoy a hearty crunchwrap while catering to your dietary preferences!
How should I store leftovers of my Crunchwrap Supremes?
Store any leftover Homemade Crunchwrap Supremes in an airtight container in the fridge for up to 2 days. Just keep in mind that they may lose some of that delicious crunch, so it’s best to enjoy them quickly for maximum flavor and texture.
Can I freeze Homemade Crunchwrap Supremes?
Absolutely! To freeze, wrap each individual crunchwrap tightly in plastic wrap, followed by aluminum foil. This keeps them protected from freezer burn and allows for storage up to 3 months. To reheat, thaw them in the fridge overnight, then cook in a skillet over medium heat for about 3-5 minutes per side for a crispy finish.
What should I do if my Crunchwraps fall apart when frying?
If your Homemade Crunchwrap Supremes are falling apart, it could be due to overstuffing or not sealing them properly. Make sure to balance the fillings and gently fold the larger tortilla over the smaller one, pressing down to seal. Cooking in a hot skillet will also help to create a more sturdy outer texture!
Can I modify the ingredients for dietary restrictions?
Yes, you can easily modify the crunchwraps! For a vegetarian option, simply replace the ground beef with beans or add more veggies like bell peppers or avocados. If you’re concerned about allergies, double-check all pre-packaged ingredients like taco seasoning and cheese sauces to ensure they meet your dietary needs.
How long does it take to prepare and cook Homemade Crunchwrap Supremes?
The entire process typically takes about 30 minutes. You’ll spend around 10-15 minutes preparing the beef mixture and assembling the crunchwraps, while cooking them for about 6-8 minutes in the skillet. It’s a quick and rewarding way to satisfy your cravings!
Homemade Crunchwrap Supremes That Beat Taco Bell Any Day
Ingredients
Equipment
Method
- In a large skillet over medium-high heat, add the lean ground beef. Cook while breaking it apart for 6-8 minutes, or until no longer pink. Drain excess grease.
- Sprinkle the taco seasoning over the drained beef and add the water. Stir well, heat through for 2-3 minutes until evenly coated.
- Take a burrito-sized tortilla and place a scoop of the seasoned beef mixture in the center. Add a tostada shell on top, pressing gently.
- Spread the nacho cheese sauce over the tostada shell, followed by sour cream, then pile on shredded lettuce and chopped tomatoes.
- Place a street taco-sized tortilla on top. Fold the edges of the burrito tortilla over the smaller tortilla, overlapping and pressing down.
- In a non-stick skillet, heat olive oil over medium heat. Place the crunchwrap seam-side down and sear for about 3-4 minutes until golden brown.
- Carefully flip the crunchwrap and cook for another 3-4 minutes or until the other side is golden brown. Remove and cool slightly before serving.
Leave a Reply