
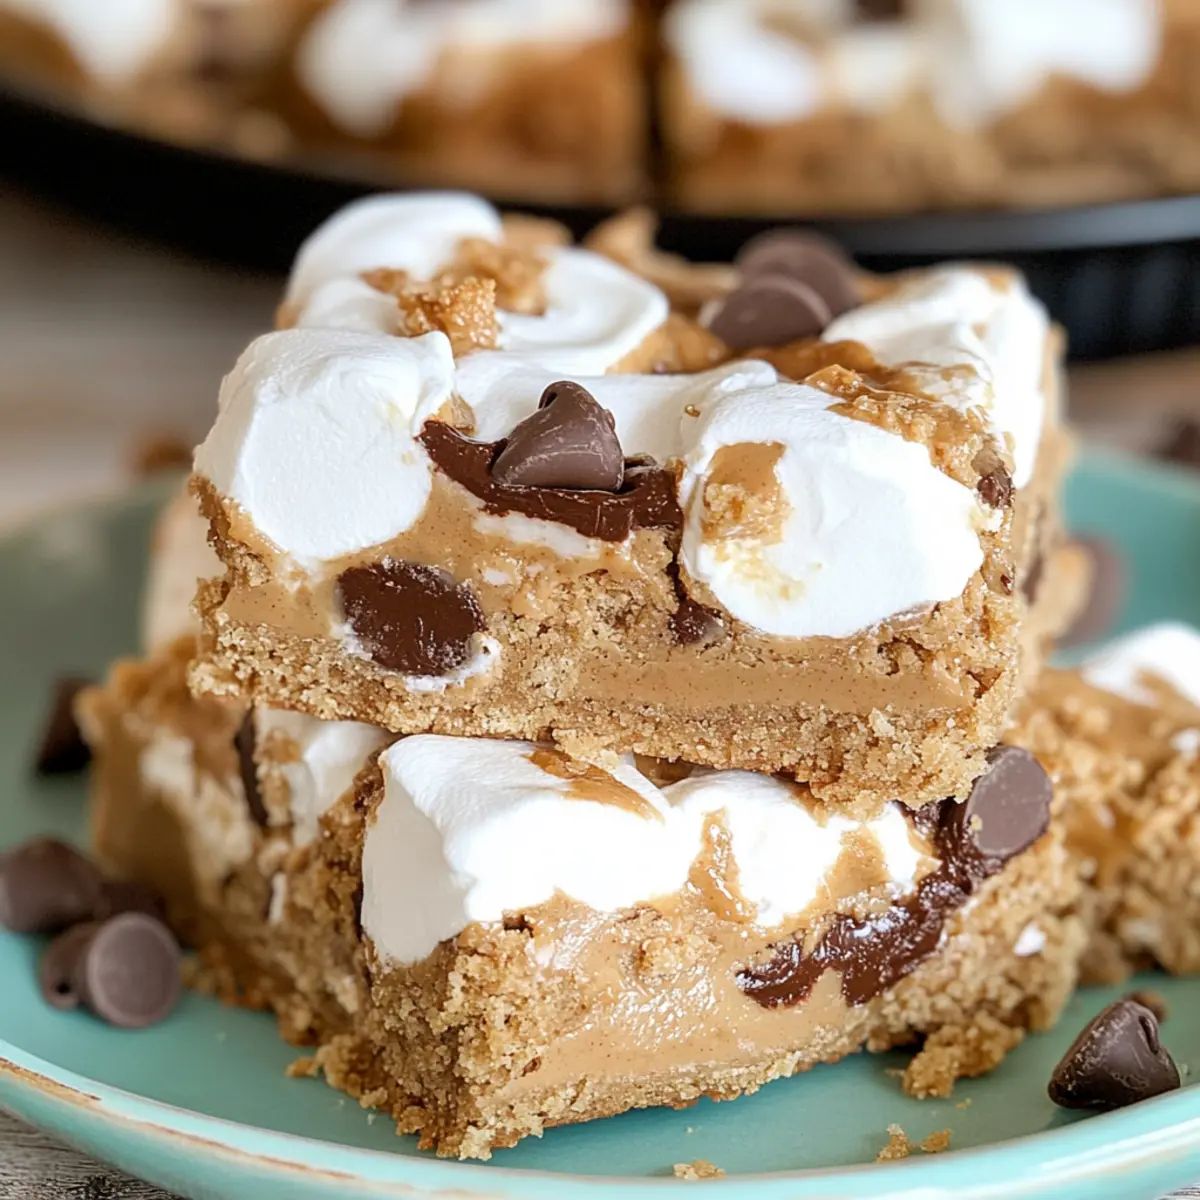
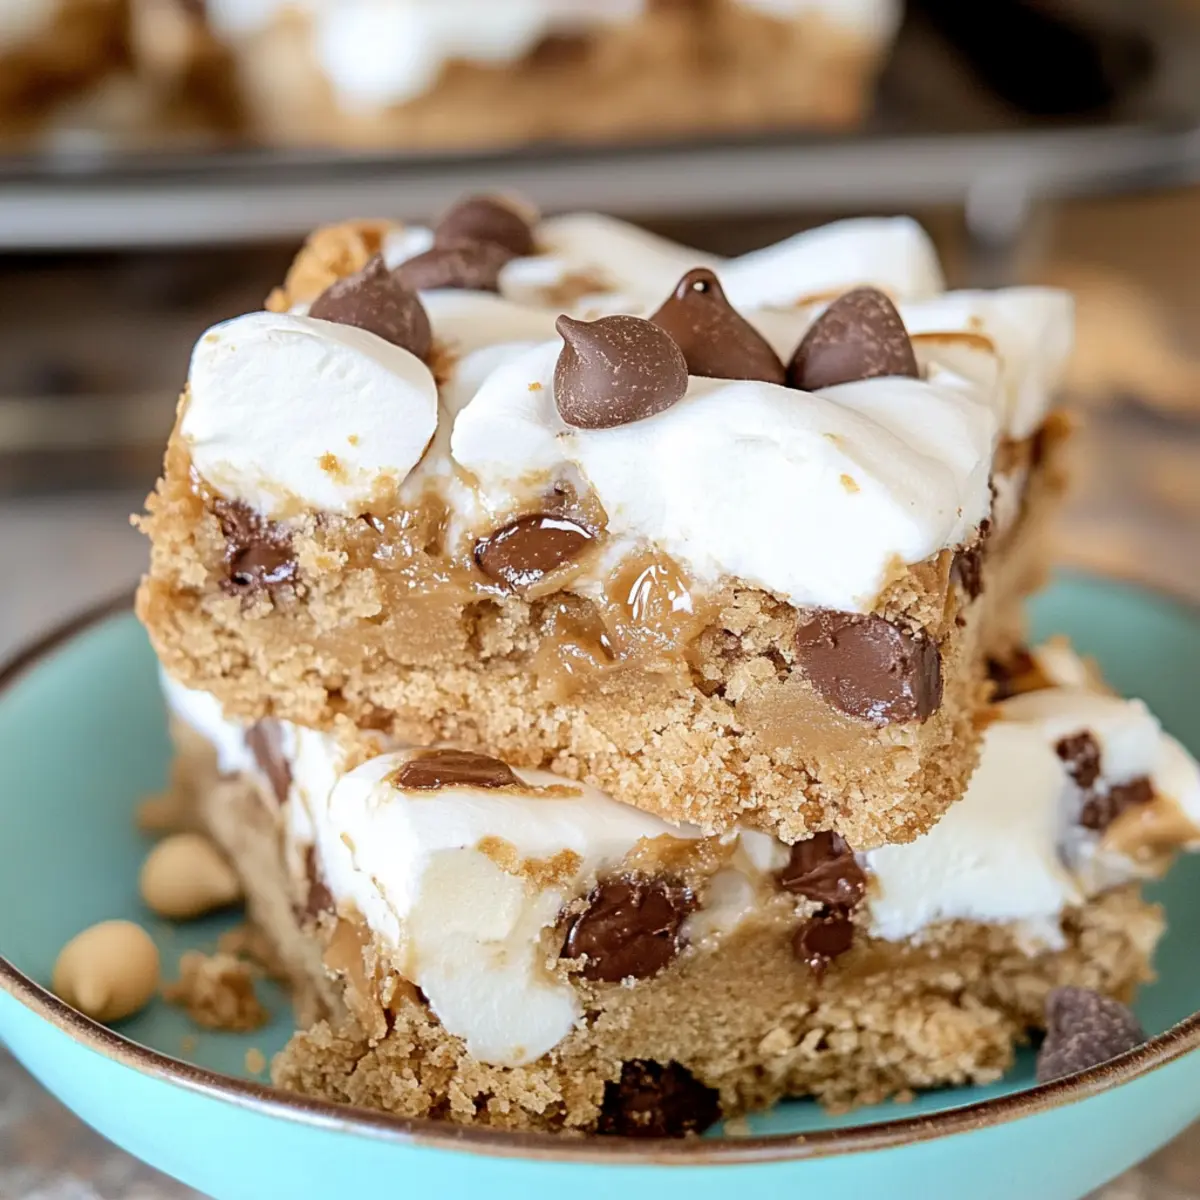
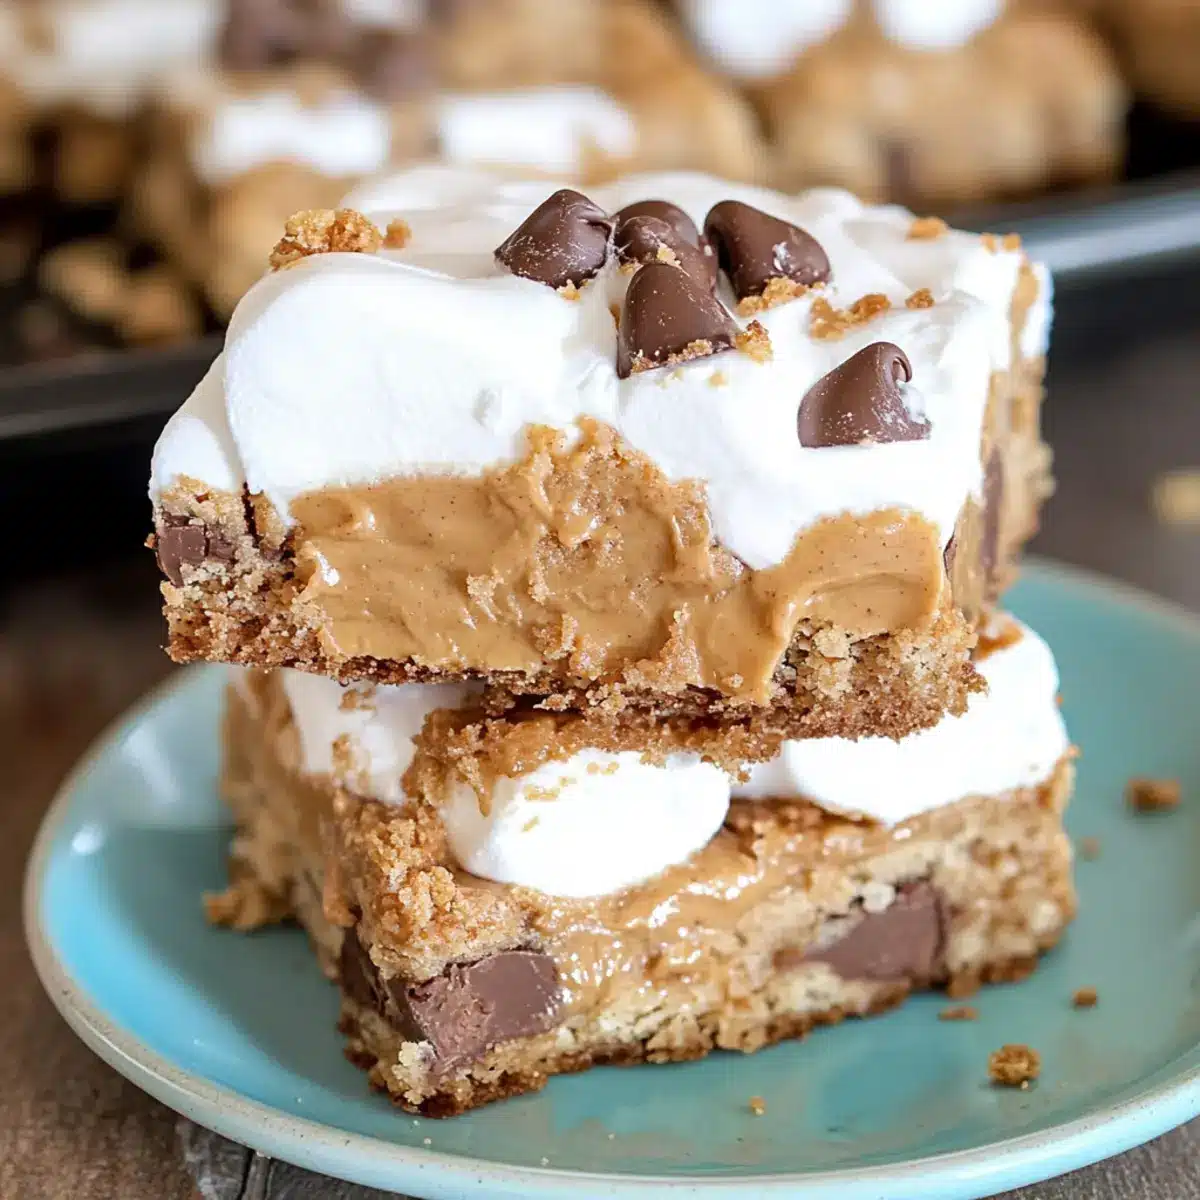
As I rummaged through my kitchen one rainy afternoon, I stumbled upon a jar of marshmallow fluff and an almost-empty peanut butter container—just the perfect inspiration for my next baking adventure! Enter Fluffernutter Bars, a delightful fusion of childhood memories and sweet indulgence. These dessert bars are a playful take on the classic Fluffernutter sandwich, layering creamy peanut butter and fluffy marshmallow goodness atop a rich chocolate chip cookie base. Not only are they super easy to whip up, but they also transform any gathering into a special occasion with their ooey-gooey charm. With each bite, you’ll experience a symphony of textures that are sure to please dessert lovers of all ages. Curious about how to create this nostalgic treat that promises to be the star of your dessert table? Let’s dive in!
Why Are Fluffernutter Bars So Irresistible?
Nostalgic Flavor: These bars bring back childhood memories with their sweet combination of peanut butter and marshmallow fluff.
Easy to Make: With just a few simple steps, you can create these gooey delights, making them perfect for bakers of all skill levels.
Crowd-Pleasing Treat: Whether it’s a party, potluck, or just a cozy night in, Fluffernutter Bars are guaranteed to be a hit with family and friends.
Versatile Variations: Feel free to experiment! Try different candy pieces or even swap almond butter for a fun twist on the classic recipe.
Ultimate Comfort Food: Pair these bars with a scoop of ice cream, and you’ve got an indulgent dessert that’s hard to resist. Don’t forget to check out my Gooey Salted Bar for another sweet treat option!
Fluffernutter Bars Ingredients
• Ready to embark on a sweet journey? Here’s what you’ll need to create your Fluffernutter Bars!
For the Cookie Base
- Butter – Provides moisture and richness; using softened butter will make mixing a breeze.
- Peanut Butter – Adds that creamy texture and flavor; opt for regular peanut butter to prevent separation.
- Brown Sugar – Sweetness and moisture galore; you can swap it with granulated sugar, but the texture may change.
- Egg – Essential for binding everything together, giving the bars their structure.
- Vanilla Extract – Enhances the sweetness of the dessert; you could play around with almond extract for a unique spin.
- All-Purpose Flour – The backbone of your cookie base; for a gluten-free option, substitute with a gluten-free flour blend.
For the Gooey Filling
- Peanut Butter Cups – These add a delightful chocolate-peanut butter crunch; using standard size will ensure the right texture.
- Chocolate Chips – For that extra chocolatey goodness; semi-sweet or milk chocolate works beautifully.
- Marshmallow Fluff – This is the star of the show, giving your bars their classic Fluffernutter flavor; no substitutions here!
With these ingredients in hand, you’re all set to create a delicious treat! Enjoy the process, and let the enchanting aroma of your Fluffernutter Bars fill your kitchen!
Step‑by‑Step Instructions for Fluffernutter Bars
Step 1: Preheat the Oven
Begin by preheating your oven to 350°F (175°C). While the oven heats, prepare an 8 x 11 inch baking pan by lining it with parchment paper, allowing extra to hang over the edges. This will make it easy to lift the Fluffernutter Bars out later for slicing.
Step 2: Cream the Butter and Sugar
In a large mixing bowl, beat 1/2 cup of softened butter and 1 cup of brown sugar together until the mixture is light and fluffy, approximately 3 minutes. Use an electric mixer on medium speed to achieve that delightful texture. The mix should appear pale and airy, signaling it’s ready for the next step.
Step 3: Mix in the Wet Ingredients
Next, add in 1 egg, 1/2 cup of creamy peanut butter, and 1 teaspoon of vanilla extract. Mix until fully incorporated and smooth. This will blend the rich flavors together, making the base for your Fluffernutter Bars cohesive and delicious.
Step 4: Incorporate the Flour
Gradually add 1 1/2 cups of all-purpose flour into the mix, stirring until just combined. Take care not to overmix; the dough should be thick and somewhat sticky, ready to form the base layer of your bars.
Step 5: Add the Chocolate Chips
Fold in 1 cup of chocolate chips, ensuring they are evenly distributed throughout the dough. The chocolate will melt slightly during baking, creating pockets of sweetness within the bars. This step enhances the gooey texture of the Fluffernutter Bars beautifully.
Step 6: Press the Dough into the Pan
Reserve about 2/3 of the dough, and press it into the bottom of the prepared baking pan. Use your fingers or the back of a spatula to create an even layer. This dense, cookie-like base will hold all of the layers together beautifully.
Step 7: Layer the Peanut Butter Cups
Evenly space out 1 cup of peanut butter cups on top of the pressed dough. Make sure they are nicely distributed to ensure each bite has that satisfying chocolate-peanut butter crunch.
Step 8: Spread the Marshmallow Fluff
Next, drizzle and spread 1 cup of marshmallow fluff over the peanut butter cups, making sure to cover them entirely. The fluff adds that signature ooey-gooey layer, essential for the full Fluffernutter experience.
Step 9: Top with Remaining Dough
Finally, take the reserved dough and gently press it over the marshmallow fluff to create an even top layer. This will encase all the delicious layers below, sealing in that wonderful flavor.
Step 10: Bake the Bars
Place the pan in the preheated oven and bake for about 25 minutes. You’ll know they’re done when the edges are golden brown and the center is set but slightly soft. Keep an eye on them, as overbaking can lead to a less chewy texture.
Step 11: Cool the Bars
Once baked, remove the pan from the oven and let the Fluffernutter Bars cool in the pan for 1 hour. This resting time is crucial for the bars to firm up and make slicing easier.
Step 12: Slice and Serve
After cooling, lift the bars out using the parchment paper and place them on a wire rack to cool completely. Once cooled, slice into squares and serve. These delightful Fluffernutter Bars are sure to impress everyone with their rich flavors and gooey texture!

Make Ahead Options
These Fluffernutter Bars are a fantastic choice for meal prep, making life easier on busy weeknights! You can prepare the cookie dough up to 24 hours in advance; simply mix and store it in an airtight container in the refrigerator. Additionally, you can layer the peanut butter cups and marshmallow fluff ahead of time, keeping them in the refrigerator until you’re ready to bake. When you’re set to enjoy your delectable bars, just press the reserved cookie dough on top, bake for about 25 minutes, and let cool. This way, your bars remain just as delicious and gooey, without sacrificing any flavor or texture!
Fluffernutter Bars: Delicious Customizations
Feel free to personalize your Fluffernutter Bars with these delightful swaps and creative twists that will elevate this dessert experience!
-
Nut Butter Swap: Substitute almond butter for peanut butter for a nutty twist. It adds a unique flavor and pairs beautifully with chocolate.
-
Candyland Remix: Use different candy pieces like Snickers or M&Ms instead of peanut butter cups. This adds a fun texture and exciting flavor variations.
-
Gluten-Free Option: Make it gluten-free by using a 1:1 gluten-free flour blend. Your friends with dietary restrictions will thank you!
-
Additional Crunch: Add chopped nuts such as walnuts or pecans to the cookie dough for improved texture. They bring a lovely crunch that complements the gooiness.
-
Flavor Boost: Experiment by adding a sprinkle of cinnamon or nutmeg to the cookie dough for a warm spice layer. It transforms the flavor profile perfectly.
-
Choco-Lover’s Delight: Substitute half of the chocolate chips with white or butterscotch chips. The blending of flavors is irresistible!
-
Marshmallow Madness: Mix in mini marshmallows alongside the fluff for an extra chewy delight throughout the bars. Each bite will be a magical surprise!
-
Toasty Topping: Before serving, broil the top layer for 1-2 minutes until lightly toasted. This brings out charred flavor and contrasts beautifully with the soft filling.
These variations are just a starting point! If you want more dessert ideas, be sure to check out my Gooey Salted Bar or indulge in some of my Chocolate Chip Bars for inspiration. Enjoy crafting your perfect version of Fluffernutter Bars!
How to Store and Freeze Fluffernutter Bars
Room Temperature: Store your Fluffernutter Bars in an airtight container at room temperature for up to 3 days. This keeps them soft and chewy, ready for snacking whenever the craving strikes.
Fridge: If you prefer a firmer texture, place the bars in the refrigerator. They can be stored there for up to a week, tightly wrapped or in an airtight container.
Freezer: For longer storage, freeze the Fluffernutter Bars individually wrapped in plastic wrap and then placed in a freezer-safe bag. They’ll stay fresh for up to 3 months and can be enjoyed whenever you need a sweet treat.
Reheating: To enjoy warm bars, thaw them in the fridge overnight, then microwave for a few seconds to bring back that ooey-gooey goodness before serving.
What to Serve with Fluffernutter Bars
Imagine a cozy gathering or a cheerful family dinner, where these sweet treats steal the show, harmonizing with delightful pairings that elevate every bite.
-
Vanilla Ice Cream: The classic cold treat adds creamy richness, perfectly balancing the warm, gooey bars.
-
Fresh Berries: Ripe strawberries or tangy raspberries provide a refreshing contrast, cutting through the sweetness with their natural tartness.
-
Chocolate Milkshake: This indulgent drink echoes the chocolatey goodness of the bars, enhancing your dessert experience with creamy decadence.
-
Whipped Cream: Light and fluffy, a dollop of homemade whipped cream complements the rich textures of the Fluffernutter Bars beautifully.
-
Toasted Coconut Flakes: For a crunchy contrast, sprinkle toasted coconut on top of the bars, adding tropical flair that pairs wonderfully with peanut butter.
-
Hot Coffee or Espresso: The robust flavors of coffee enhance the chocolate and peanut butter, making every bite feel even cozier.
-
Salted Caramel Sauce: Drizzling warm salted caramel over the bars adds a sweet-salty dimension that takes ooey-gooey to a whole new level.
Pairing these ideas with your Fluffernutter Bars ensures a dessert experience that’s not only memorable but also irresistibly delicious!
Expert Tips for Fluffernutter Bars
-
Even Layering: Ensure that the layers of peanut butter cups and marshmallow fluff are evenly spread—it helps achieve that perfect gooey consistency throughout the Fluffernutter Bars.
-
Room Temperature Ingredients: Use softened butter and eggs at room temperature for a smoother mix and better texture; this can make a significant difference in the final product.
-
Don’t Overbake: Keep a close eye on your bars while baking. They should be soft in the center at 25 minutes; overbaking can lead to dry bars instead of the desired gooeyness.
-
Cooling Time: Allow the bars to cool completely before slicing; this helps maintain their structure and prevents them from falling apart.
-
Storage Tips: Store your leftover Fluffernutter Bars in an airtight container at room temperature for up to 3 days to keep them soft and chewy.
Fluffernutter Bars Recipe FAQs
What kind of peanut butter should I use?
I recommend using regular, creamy peanut butter for your Fluffernutter Bars to avoid any separation issues that can occur with natural peanut butter. This will ensure a smooth and cohesive mixture that contributes to the overall texture and flavor of your bars.
How do I store my Fluffernutter Bars?
Store your Fluffernutter Bars in an airtight container at room temperature for up to 3 days to keep them soft and chewy. If you prefer a firmer texture, you can refrigerate them where they will last up to a week.
Can I freeze Fluffernutter Bars?
Absolutely! To freeze your Fluffernutter Bars, wrap each bar individually in plastic wrap and place them in a freezer-safe bag. They will stay fresh for up to 3 months. When you’re ready to enjoy them, just thaw in the fridge overnight and microwave for a few seconds to restore that delightful gooeyness!
What if my bars are too soft after baking?
If your Fluffernutter Bars are too soft, this usually means they need a bit more cooling time. Allow them to cool in the pan for at least an hour before slicing, as this helps them set. If they still seem too soft when you try to slice them, you can pop them in the fridge for about an hour, which should firm them up nicely.
Are there any dietary considerations I should be aware of?
These bars contain gluten and dairy, so if you have specific dietary restrictions or allergies, make sure to check your ingredients. For a gluten-free option, you can substitute all-purpose flour with a gluten-free flour blend. If you have nut allergies, you can try using sunbutter as an alternative to peanut butter. Always ensure that the ingredients you choose are safe for your specific dietary needs.
Can I make variations of the Fluffernutter Bars?
Very! Feel free to experiment with different candy pieces like Snickers or M&Ms in place of the peanut butter cups, or switch almond butter for peanut butter for a fun twist. Each variation will bring its own unique flavor to these delicious bars!
Indulge in Fluffernutter Bars: A Gooey Peanut Butter Delight
Ingredients
Equipment
Method
- Preheat your oven to 350°F (175°C) and prepare an 8 x 11 inch baking pan by lining it with parchment paper.
- Beat 1/2 cup of softened butter and 1 cup of brown sugar together until light and fluffy, about 3 minutes.
- Add 1 egg, 1/2 cup of creamy peanut butter, and 1 teaspoon of vanilla extract. Mix until smooth.
- Gradually add 1 1/2 cups of all-purpose flour, stirring until just combined.
- Fold in 1 cup of chocolate chips until evenly distributed.
- Press about 2/3 of the dough into the bottom of the prepared baking pan.
- Layer 1 cup of peanut butter cups over the pressed dough.
- Spread 1 cup of marshmallow fluff over the peanut butter cups.
- Press the reserved dough over the marshmallow fluff to create an even top layer.
- Bake for about 25 minutes until edges are golden brown.
- Let the bars cool in the pan for 1 hour before slicing.
- Lift the bars out using the parchment paper and slice into squares.
Leave a Reply