
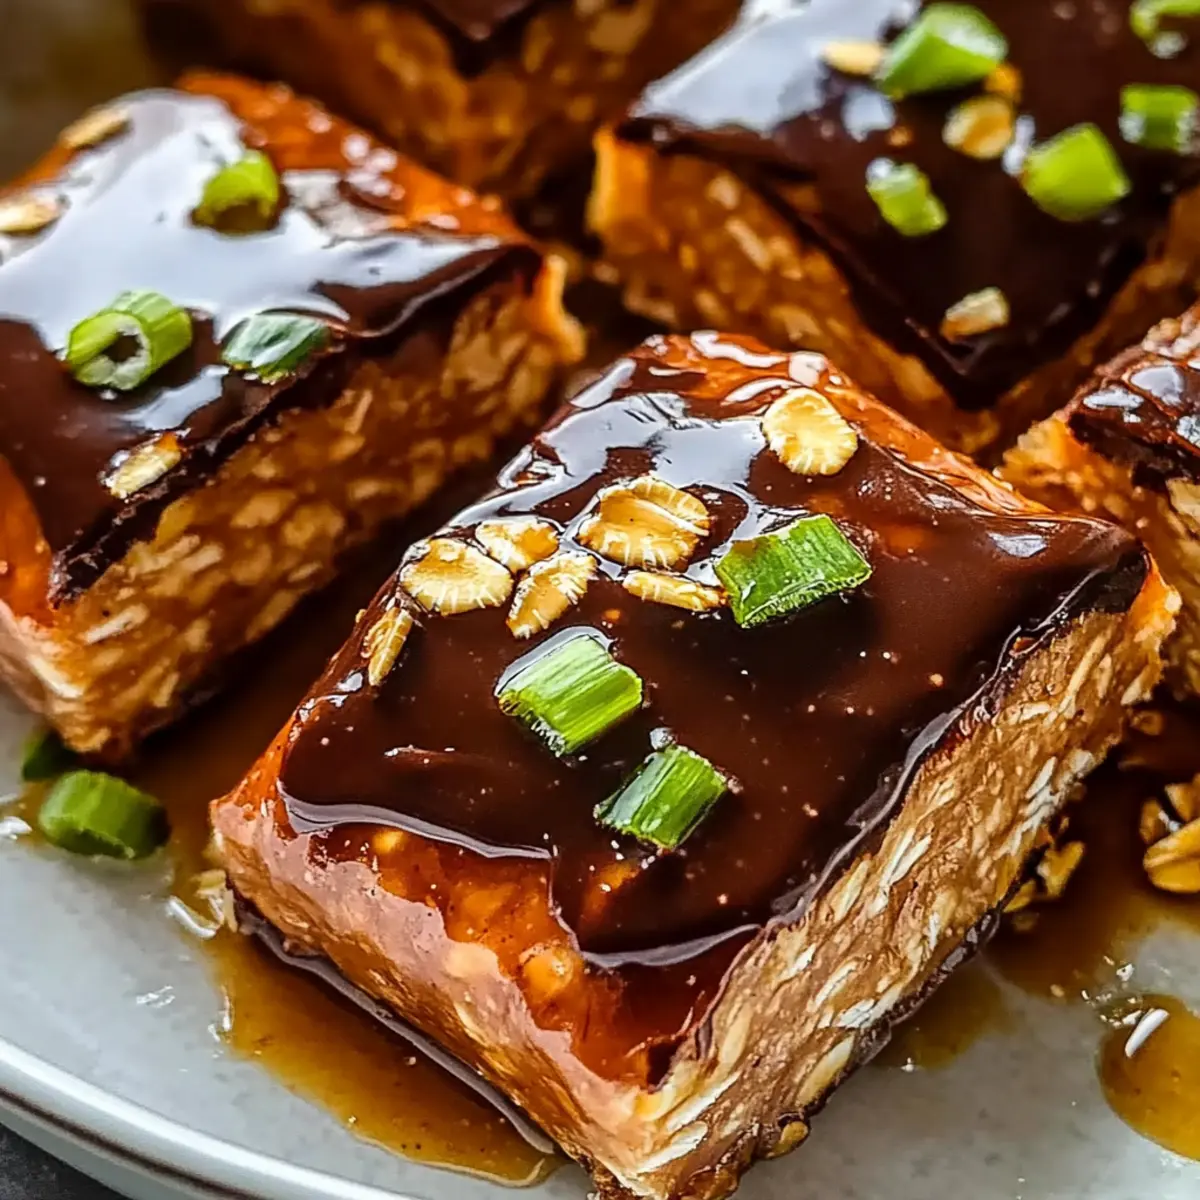
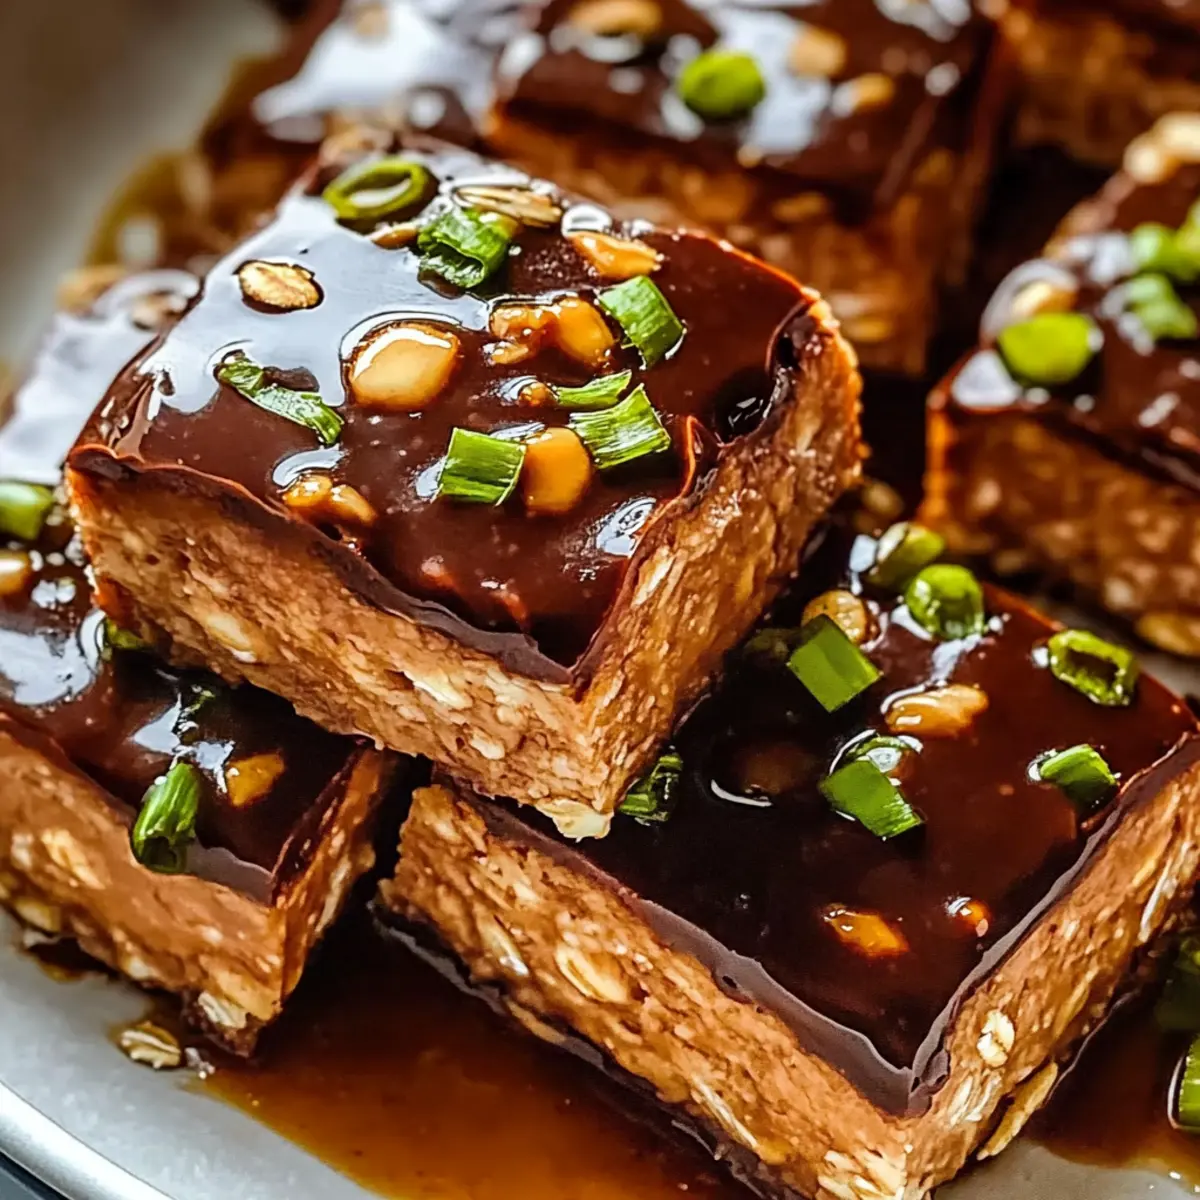
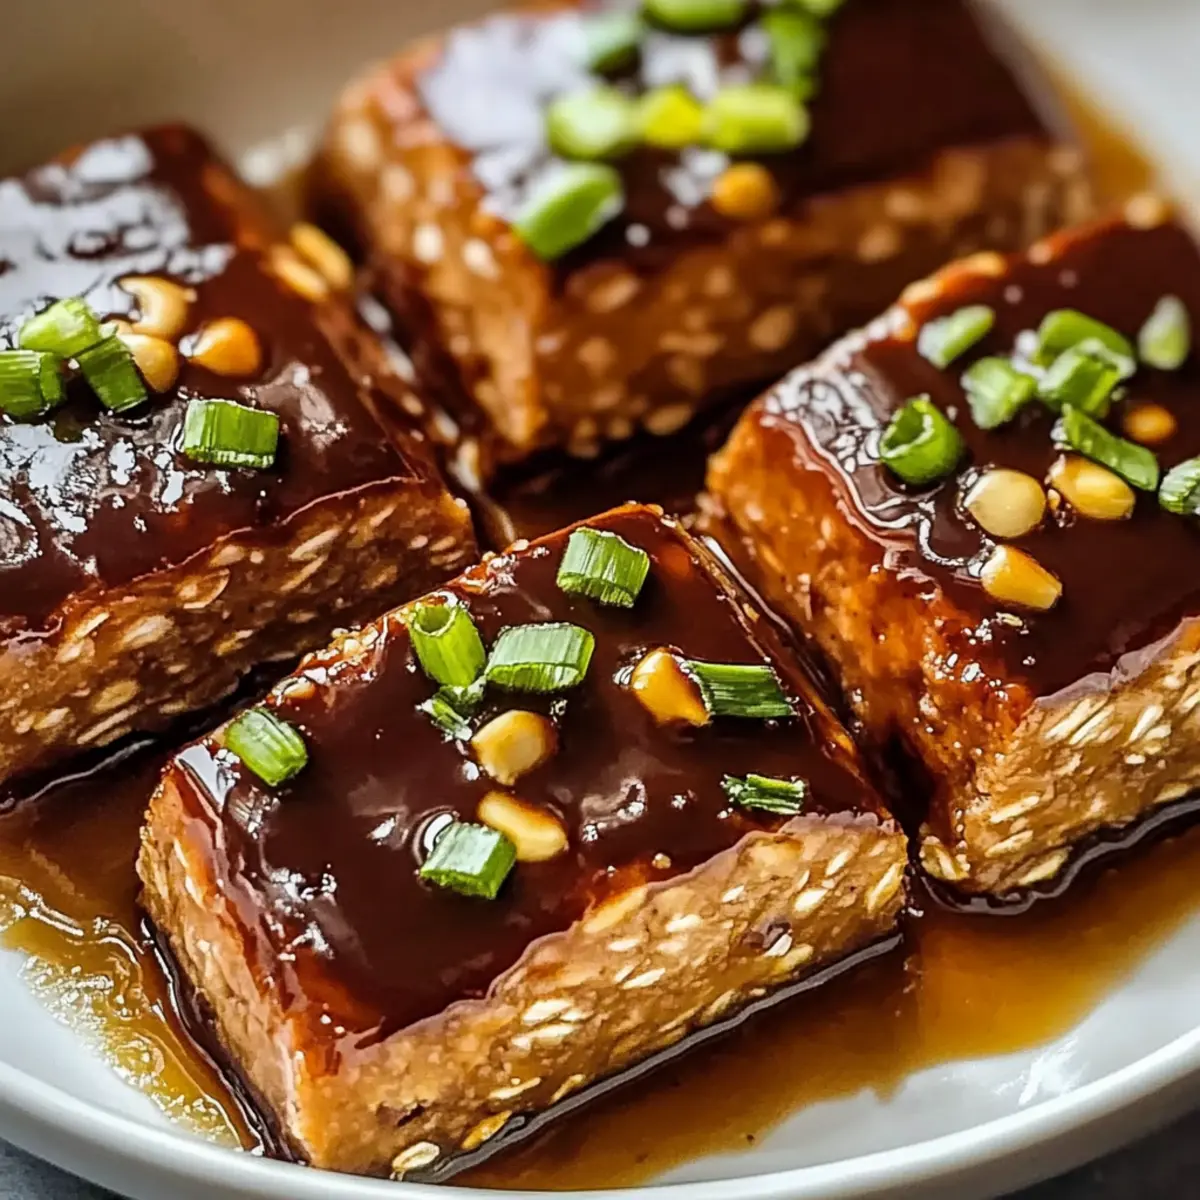
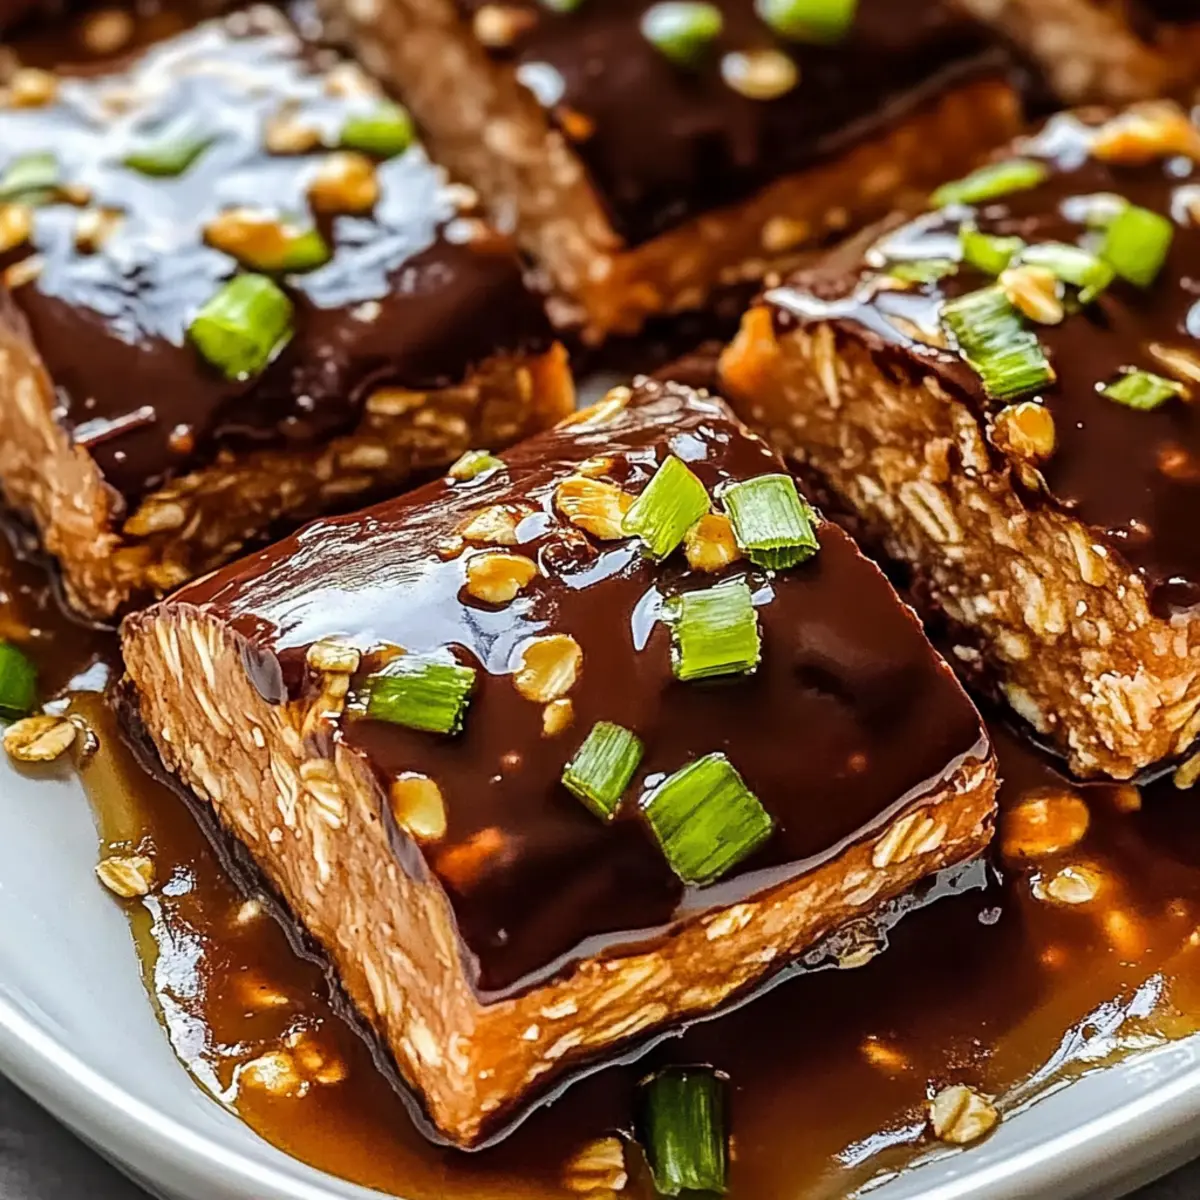
Every time I sink my teeth into these No-Bake Chocolate Peanut Butter Bars, I’m reminded of my carefree childhood summers. Back then, we whipped together sweet, sticky treats without a second thought, and now I can recreate that nostalgia with ease! This delightful dessert blends the creamy goodness of peanut butter with the rich allure of chocolate, creating a no-bake treat that’s surprisingly quick to prepare. It’s gluten-free and requires no refined sugar, making it a smart choice for anyone looking to satisfy their sweet tooth without the guilt. Plus, it’s a fantastic option for last-minute gatherings or those busy weekdays when you crave something indulgent yet wholesome. What variations will you try—dark chocolate, almond butter, or perhaps a sprinkling of nuts? Let’s dive into the recipe!
Why Make No-Bake Chocolate Bars?
Simplicity, these bars come together in a flash with minimal effort, perfect for novice and seasoned bakers alike. Decadent flavors dance in your mouth, as the combination of chocolate and peanut butter delivers a delightful treat that’s hard to resist. Versatile options abound—try almond butter for a nut-free alternative or mix in your favorite nuts for an added crunch. Guilt-free indulgence is key, as these bars are packed with protein and fiber without refined sugar. Perfect for sharing at picnics or parties, they’re sure to impress guests. Once you’ve made these, you might also enjoy other quick treats like Baked Pears Berries or a delicious twist with Baked Apple Fritters as a next step in your dessert adventure!
No-Bake Chocolate Peanut Butter Bars Ingredients
For the Base
- Rolled Oats – A great source of fiber that forms the backbone of these bars.
- Peanut Butter – This adds creaminess and binds the ingredients; almond butter works well for a nut-free option.
- Honey or Maple Syrup – Natural sweeteners to enhance flavor; agave syrup makes it vegan-friendly.
For the Chocolate Layer
- Cocoa Powder – An essential for rich chocolate flavor; be sure it’s unsweetened for best results.
- Chocolate Chips – Melty topping that can be adapted to your taste—dark or milk chocolate both work wonderfully.
These No-Bake Chocolate Peanut Butter Bars are not just delicious but are also a fantastic corossover with variations, creating endless possibilities for your sweet tooth!
Step‑by‑Step Instructions for No-Bake Chocolate Peanut Butter Bars
Step 1: Prepare Dry Ingredients
In a large mixing bowl, combine 2 cups of rolled oats, 1/2 cup of unsweetened cocoa powder, and a pinch of salt. Stir until evenly mixed, allowing the oats to absorb the cocoa flavor. This foundation for your No-Bake Chocolate Peanut Butter Bars will create a deliciously chewy base.
Step 2: Melt Wet Ingredients
In a medium saucepan over low heat, melt 1 cup of peanut butter and 1/3 cup of honey or maple syrup. Stir continuously for about 3-5 minutes until the mixture is smooth and lightly warm. Make sure not to boil it; you want a creamy consistency that binds the bars together beautifully.
Step 3: Mix Wet and Dry Ingredients
Once the peanut butter mixture is ready, pour it over the dry oat mixture. Stir thoroughly for about 2-3 minutes until every oat is well-coated. This sweeps the wholesome flavor of the peanut butter throughout, creating a luscious, rich blend for your No-Bake Chocolate Peanut Butter Bars.
Step 4: Press into Baking Pan
Line an 8×8-inch square baking pan with parchment paper, leaving some overhang for easy removal. Transfer the mixture to the pan and use a spatula to press it down firmly. Aim for an even layer that’s tightly packed, which is essential for keeping the bars intact after cutting.
Step 5: Melt Chocolate Layer
In a small saucepan over low heat, melt 1 cup of chocolate chips while stirring constantly. This should take about 3-4 minutes. Once smooth, pour the melted chocolate over the pressed oats, spreading it evenly with a spatula to create a glossy layer atop your No-Bake Chocolate Peanut Butter Bars.
Step 6: Chill Until Firm
Place the baking pan in the refrigerator and chill for a minimum of 2 hours, allowing the bars to set. This cooling period firms up the chocolate and oat layers, ensuring easy slicing later. You’ll know they’re ready when they feel solid to the touch.
Step 7: Cut and Serve
Once chilled, gently lift the bars out of the pan using the parchment paper. Place on a cutting board and slice into squares or rectangles. Your No-Bake Chocolate Peanut Butter Bars are ready to be enjoyed, offering a satisfying, sweet treat that’s both quick and guilt-free.
Make Ahead Options
These No-Bake Chocolate Peanut Butter Bars are a fantastic choice for meal prep enthusiasts! You can prepare the base of the bars (oat and peanut butter mixture) up to 24 hours in advance by pressing it into the baking pan and refrigerating. Just remember to cover it tightly with plastic wrap to maintain freshness. The chocolate layer can also be melted and added right before serving for the best texture; this way, it remains smooth and glossy. When you’re ready to serve, simply slice the bars and enjoy a delightful treat with minimal effort. With these tips, you can easily fit delicious homemade dessert into your busy schedule!
What to Serve with No-Bake Chocolate Peanut Butter Bars?
Indulge your senses as you create a delightful spread to accompany these rich confectioneries.
- Fresh Berries: A vibrant medley of strawberries, blueberries, and raspberries adds a refreshing contrast to the creamy bars.
- Creamy Greek Yogurt: The tanginess of Greek yogurt beautifully balances out the sweetness of the bars, making each bite even more satisfying.
- Coconut Chia Pudding: A spoonful of light, airy chia pudding enhances the dessert experience with its unique texture and mild sweetness.
- Minty Green Smoothie: A refreshing green smoothie infused with mint or spinach will cleanse your palate and elevate the indulgent treat.
- Nutty Granola: A crunchy granola topping pairs perfectly with the softness of the bars, adding an enticing crunch and nutty flavors.
- Iced Coffee: For the adults, a chilled iced coffee complements the bar’s richness, creating the perfect afternoon pick-me-up.
- Vanilla Ice Cream: Generously top your bars with a scoop of vanilla ice cream for a dessert that is rich yet delightfully refreshing.
Let your creativity shine as you mix and match these accompaniments for the perfect dessert experience!
Storage Tips for No-Bake Chocolate Peanut Butter Bars
Fridge: Store the bars in an airtight container in the refrigerator for up to 1 week. This keeps them fresh and flavorful while maintaining their chewy texture.
Freezer: For longer storage, freeze the bars by wrapping them individually in plastic wrap and placing them in a freezer-safe container. They can last up to 3 months in the freezer.
Reheating: If frozen, allow the No-Bake Chocolate Peanut Butter Bars to thaw in the fridge overnight before serving to retain their delightful consistency.
Serving: Enjoy these bars straight from the fridge or after a quick thaw—either way, they make a perfect quick treat!
Variations & Substitutions for No-Bake Chocolate Peanut Butter Bars
Feel free to get creative with these bars—each variation opens up a world of delicious possibilities!
-
Nut-Free: Swap peanut butter for sunflower seed butter or tahini to cater to nut allergies. This alternative keeps the creamy consistency while being inclusive for all snackers.
-
Sweetener Options: Try using agave syrup or coconut nectar instead of honey for a vegan-friendly sweetener. You might find these alternatives give a delightful twist to the flavor profile!
-
Choco-Flavor Twist: Experiment with different types of chocolate—dark, semi-sweet, or even white chocolate can elevate the experience. The transitions in flavors can be a fun surprise for your taste buds.
-
Texture Boost: Add in some chopped nuts, such as almonds or walnuts, for an extra crunch. The contrast between the creamy chocolate and crunchy nuts creates an engaging treat!
-
Toppings Galore: Think beyond chocolate chips! Add a sprinkle of chia seeds, shredded coconut, or even a mix of dried fruit for additional flavor and texture. Each bite can tell its own story with a lavish topping.
-
Enhanced Health: Incorporate protein powder or ground flaxseeds into the oat mixture for an additional health boost. These add-ins also work beautifully to enhance the bars’ nutritional profile without compromising flavor.
-
Flavor Infusion: Mix in a teaspoon of vanilla extract or a pinch of cinnamon to the wet ingredients for an unexpected twist. You might discover a subtle warmth in the flavor that’s simply delightful!
Once you’ve enjoyed your No-Bake Chocolate Peanut Butter Bars, you might also want to explore more delightful treats—like these refreshing Baked Apple Fritters or try making sweet and savory Bang Bang Salmon for a complete culinary adventure!
Expert Tips for No-Bake Chocolate Peanut Butter Bars
-
Pack it Tightly: Ensure the mixture is firmly packed in the baking pan; this prevents your no-bake bars from crumbling when sliced.
-
Use Parchment Paper: Line your pan with parchment paper to make lifting the bars out easier, ensuring clean cuts and presentation.
-
Watch the Chocolate: Melt the chocolate chips slowly over low heat and stir continuously to avoid burning, achieving that smooth, glossy finish.
-
Customize Sweetness: Feel free to adjust the sweetness! Honey, maple syrup, or even agave syrup can be tweaked to suit your taste in these no-bake chocolate peanut butter bars.
-
Experiment with Flavors: Try different nut butters or add-ins like dried fruit or coconut for fun variations while keeping the process simple.
No-Bake Chocolate Peanut Butter Bars Recipe FAQs
How do I choose the best ingredients for my No-Bake Chocolate Peanut Butter Bars?
Absolutely! When selecting oats, look for rolled oats since they provide the best texture. Organic peanut butter is a great choice for richness, while brands without added sugar are best to keep your bars wholesome. For chocolate, if you prefer dark chocolate’s rich flavor, go for it! Just ensure it’s at least 60% cocoa for a nice balance.
How long can I store No-Bake Chocolate Peanut Butter Bars?
You can store these bars in an airtight container in the refrigerator for up to 1 week. Keep them protected from moisture to maintain their delicious texture! If you wish to keep them longer, they can be frozen for up to 3 months. Just make sure to wrap them individually in plastic wrap for easy access when cravings strike!
Can I freeze No-Bake Chocolate Peanut Butter Bars? How?
Certainly! To freeze, first, cut the bars into desired sizes if you haven’t already. Wrap each piece tightly in plastic wrap and place them in a freezer-safe container or a resealable bag. This will help prevent freezer burn. When ready to enjoy, simply thaw them in the fridge overnight for a delightful treat that remains chewy and satisfying.
What if my No-Bake Chocolate Peanut Butter Bars are too crumbly?
If your bars turn out crumbly, they might need a little more binding agent. Try adding another spoonful of peanut butter or maple syrup to the mixture and mix well. Ensure that you’re pressing the mixture firmly into the pan when creating the base. This step is crucial for the bars to hold together nicely once chilled.
Are there any dietary considerations for allergies in these bars?
Yes! This recipe can be quite versatile. For those with nut allergies, substitute peanut butter with sunflower seed butter or a similar nut-free option. If you are looking for a vegan version, using agave syrup instead of honey and opting for dairy-free chocolate chips will keep your bars entirely plant-based. Always double-check labels for any allergen warnings!
Baked Teriyaki Salmon Recipe - Easy, Sweet, & Savory Delight
Ingredients
Equipment
Method
- Preheat the oven to 375°F (190°C).
- In a mixing bowl, whisk together the teriyaki sauce.
- Place the salmon fillets in a baking dish and pour the teriyaki sauce over them.
- Let the salmon marinate for 15 minutes.
- Bake the salmon for 15-20 minutes or until cooked through.
- Garnish with sesame seeds and sliced green onions before serving.
Leave a Reply