
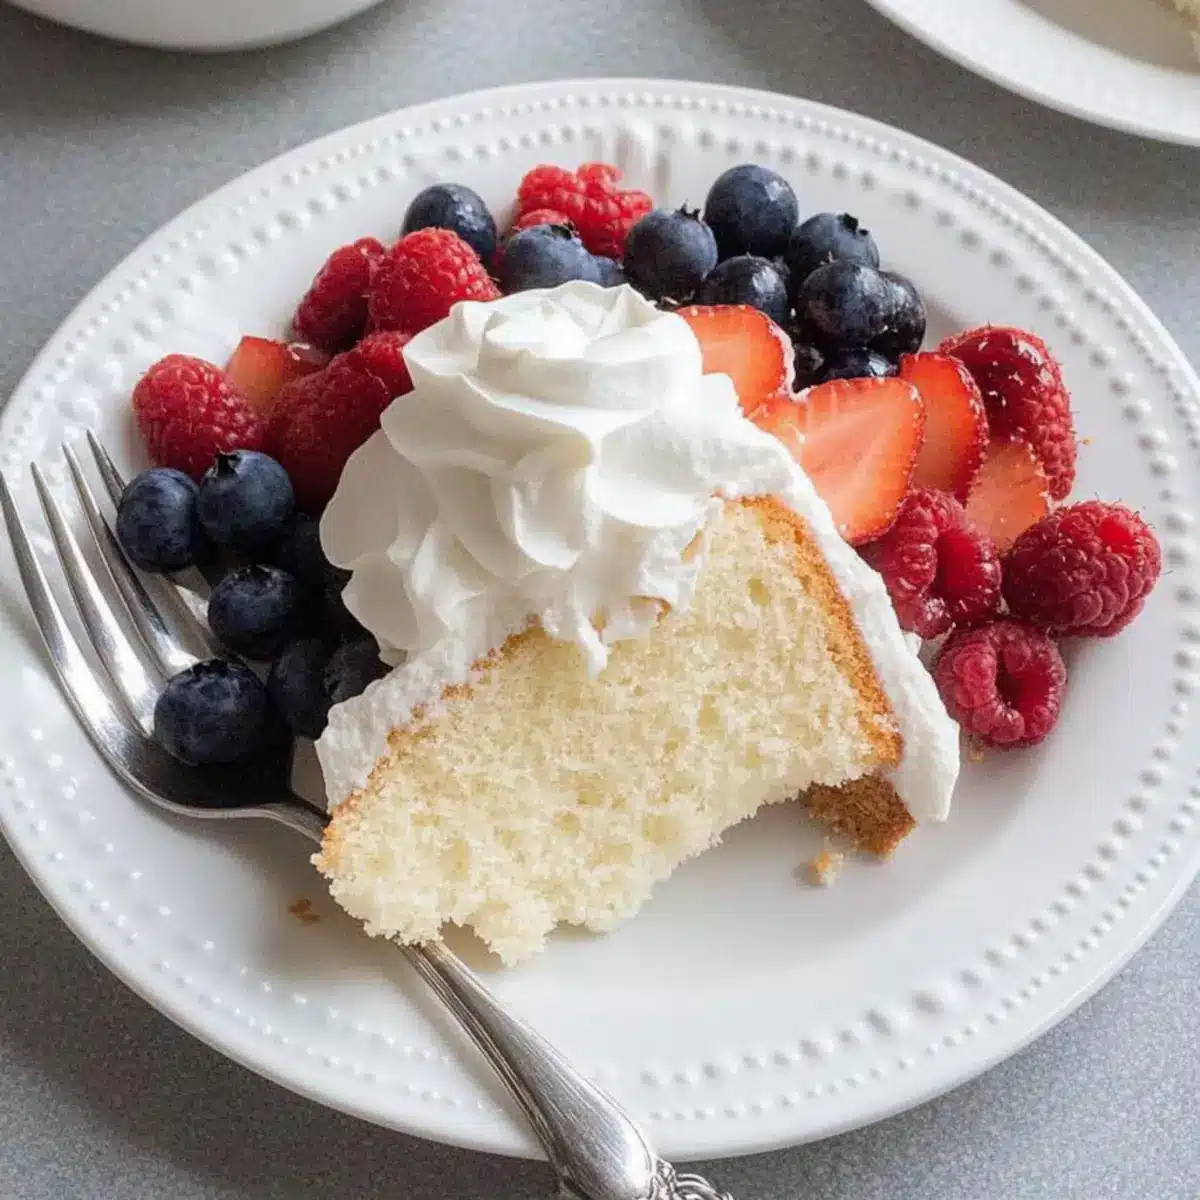
The aroma of a freshly baked cake fills my kitchen, transporting me back to sunlit afternoons spent with loved ones. Today I’m excited to share my go-to recipe for Angel Food Cake, a delightful dessert that’s as light as a whisper and impossibly fluffy. Not only is this cake a crowd-pleaser, but it’s also the perfect canvas for your favorite toppings—think fresh berries and a dollop of homemade whipped cream. Plus, this recipe offers the flexibility of gluten-free adaptations, ensuring that everyone can enjoy this airy treat. Ready to create a dessert that brings smiles and sweet memories? Let’s dive into the world of Angel Food Cake!
Why Is Angel Food Cake So Loved?
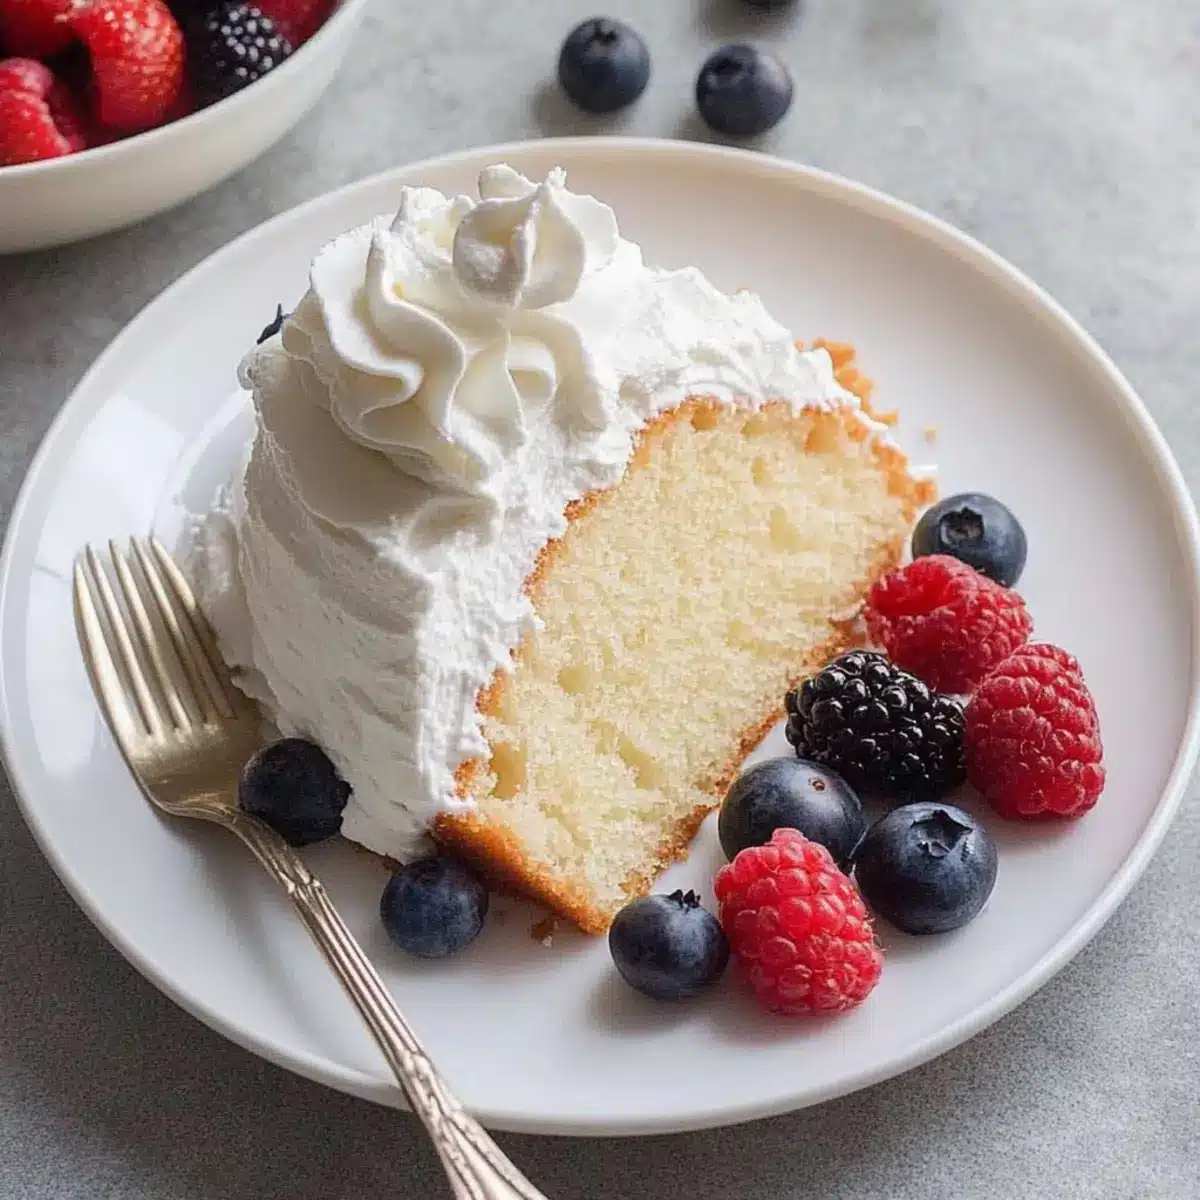
Lightness and Fluffiness: This cake is known for its ethereal texture, making it a delightful treat that feels like a cloud on your palate.
Versatile Base: Dress it up or keep it simple—serve with fresh berries and homemade whipped cream, just like this Blueberry Cheesecake Crumble for an extra twist!
Quick to Prepare: With minimal ingredients and straightforward steps, you can whip up this dessert in no time.
Low-Calorie Indulgence: At roughly 115 calories per slice, it’s a guilt-free option that fits nicely into your lighter meal plans, perfect after a hearty dinner or as a complement to coffee.
Customizable: Feel free to adapt with different flavor extracts or gluten-free options, making this cake a perfect canvas for creativity! Whether you’re a home chef or a busy parent, this angel food cake is sure to shine at every occasion.
Angel Food Cake Ingredients
For the Batter
- Egg Whites – Essential for the cake’s height and fluffiness; use fresh, large eggs for optimal results.
- Sugar – Divided into two parts for stability and sweetness; helps create that airy texture we adore.
- Cake Flour – Provides lightness; for gluten-free adaptations, substitute with a gluten-free flour blend.
- Cream of Tartar – Stabilizes egg whites to help achieve those beautiful peaks; don’t skip this ingredient!
- Vanilla Extract – Optional for flavor enhancement; lemon or almond extracts can be exciting substitutes.
- Almond Extract – Adds a delightful, nutty depth; feel free to reduce for a milder flavor.
- Salt – Balances the overall sweetness and highlights the cake’s delicate flavors.
Optional Toppings
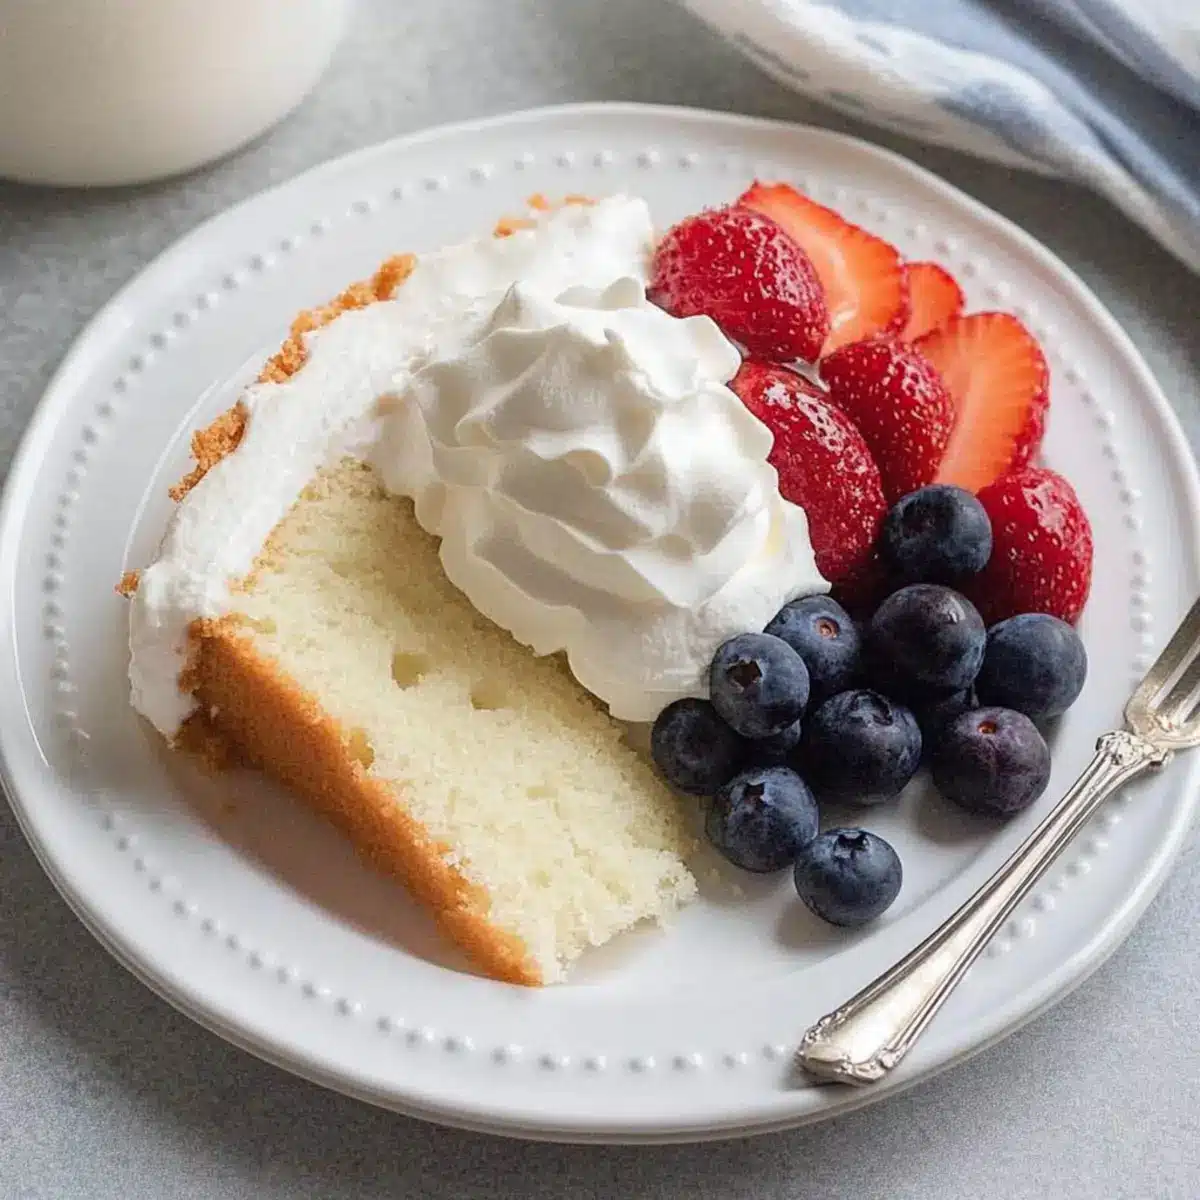
- Whipped Cream – A dollop is perfect for making each slice even more heavenly!
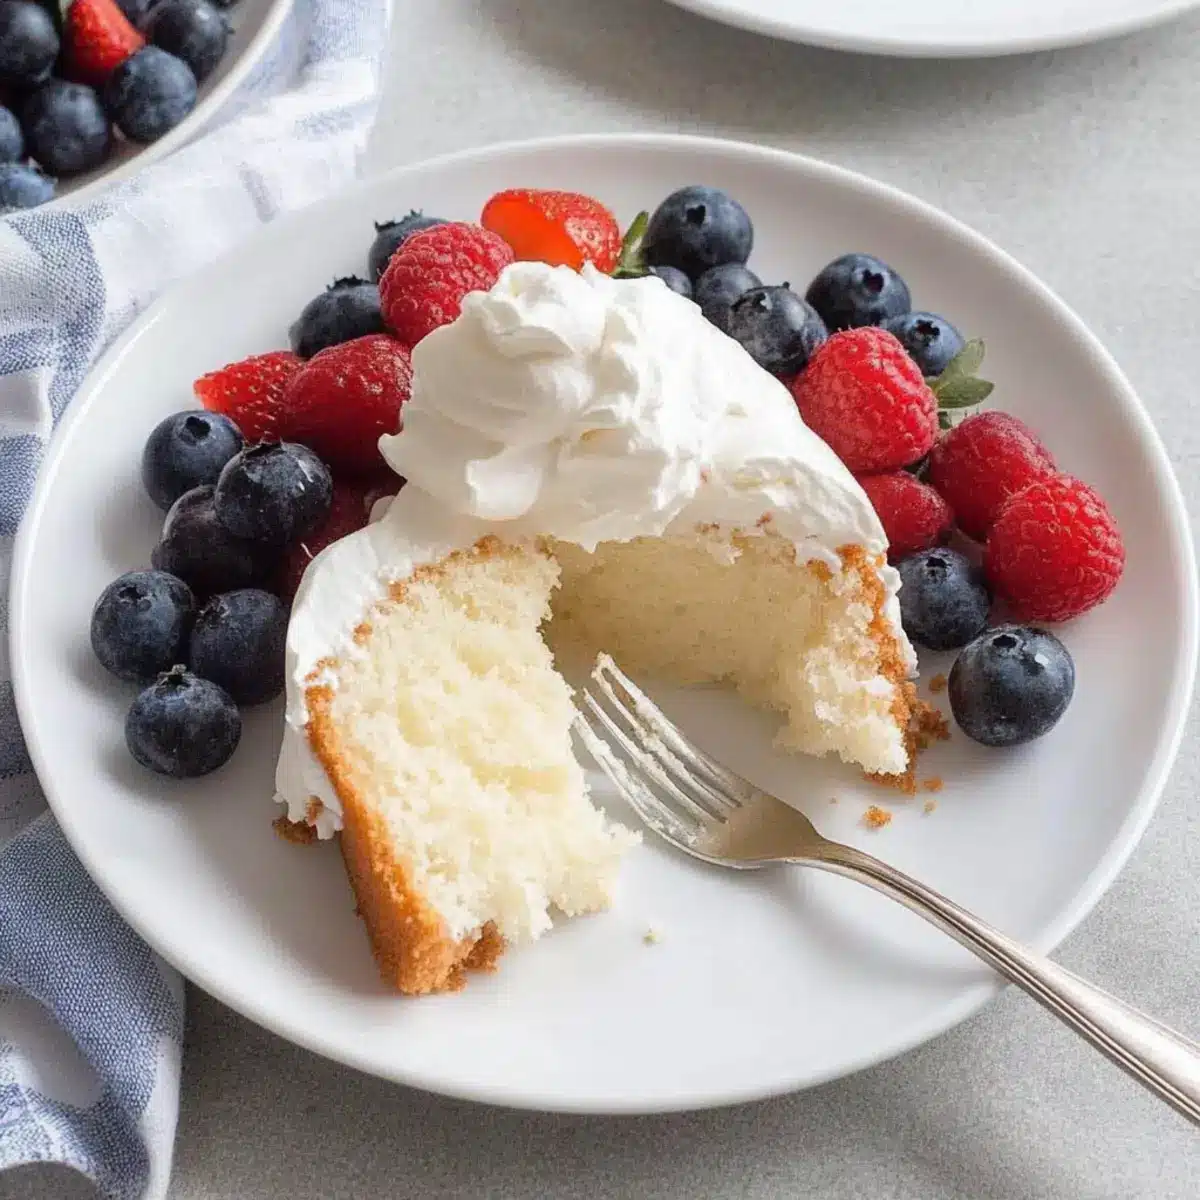
- Fresh Berries – Strawberries, blueberries, or raspberries add a refreshing touch to the cake.
Step‑by‑Step Instructions for Angel Food Cake
Step 1: Prepare Egg Whites
Start by letting 1 1/4 cups of egg whites stand at room temperature for about 30 minutes. This step ensures that the egg whites whip up to their fullest potential, creating that airy structure your angel food cake is known for. Gather your mixing bowl and whisk ready for the next steps!
Step 2: Sift Dry Ingredients
Next, sift together 1/2 cup of sugar and cake flour into a bowl, repeating the sifting process twice for a fine texture. By doing this, you introduce air into the dry ingredients, which contributes to the lightness of your Angel Food Cake. Set this flour-sugar mixture aside as you move on to the next step.
Step 3: Preheat Oven
While preparing your batter, place the oven rack in the lowest position and preheat your oven to 350°F (175°C). This temperature is crucial for achieving that perfect golden brown top while ensuring the cake rises beautifully. A properly preheated oven is essential for baking your Angel Food Cake evenly.
Step 4: Beat Egg Whites
In a large mixing bowl, add cream of tartar, extracts, and salt to the egg whites. Beat at medium speed until soft peaks form, indicating that the egg whites have started to gain volume. Gradually add the remaining sugar, continue beating until you achieve stiff peaks, which will give your cake that wonderful height and structure.
Step 5: Combine and Fold
Now, it’s time to gently fold in the sifted flour-sugar mixture, doing so about 1/2 cup at a time. Use a spatula to carefully incorporate the dry ingredients into the beaten egg whites, taking care not to deflate the fluffy texture. This gentle folding technique is vital for retaining the airiness of your Angel Food Cake.
Step 6: Transfer Batter
Spoon the fluffy batter into an ungreased 10-inch tube pan. Be sure to cut through the batter with a knife to remove any air pockets, which can interfere with the cake’s rise. The ungreased pan will help the cake cling to the sides, allowing it to rise beautifully during baking.
Step 7: Bake
Bake the cake in your preheated oven for 35 to 40 minutes, or until the top is a light golden brown and springs back when gently pressed. Keep an eye out for the visual cues, such as the top appearing dry and the edges pulling slightly away from the pan, which indicates your Angel Food Cake is ready.
Step 8: Cool
Once baked, immediately invert the pan onto a cooling rack to cool completely, which typically takes about an hour. This cooling method prevents the cake from collapsing, allowing it to maintain its airy structure. Patience is key as the cake releases from the pan naturally as it cools.
Step 9: Serve
When the cake is completely cool, run a knife around the sides and center tube to gently release it from the pan. Carefully turn it onto a serving plate and add a dollop of homemade whipped cream and fresh berries on top for an extra special touch. Your delightful Angel Food Cake is now ready to be enjoyed!
Expert Tips for Angel Food Cake
-
Choose Fresh Eggs: Use fresh, large egg whites for the best rise and fluffiness; older eggs won’t whip up as effectively.
-
Avoid Overbeating: Stop beating the egg whites once stiff peaks form to prevent a dry texture; a light touch ensures a perfect cake.
-
Gradual Sugar Addition: Add sugar slowly when mixing in egg whites; this helps prevent collapsing and retains that airy structure of the angel food cake.
-
Use an Ungreased Pan: The batter needs to cling to the pan sides to rise properly, so resist the urge to grease it.
-
Watch Baking Time: Ovens vary, so keep an eye on the cake; it’s done when golden brown and springs back when gently pressed.
Storage Tips for Angel Food Cake
-
Room Temperature: Store leftover angel food cake in an airtight container at room temperature for up to 2 days; this will help maintain its light and fluffy texture.
-
Fridge: If you live in a particularly humid climate, you can refrigerate the cake for up to 3 days, but note this may slightly alter the texture. Cover it well to avoid drying out.
-
Freezer: For longer storage, wrap the cake tightly in plastic wrap and aluminum foil, then freeze for up to 4 months. Thaw overnight at room temperature before serving.
-
Reheating: To refresh the cake, warm it in the oven at 300°F for about 10 minutes. This can help revive some of its airy texture, making it delightful again!
Angel Food Cake Variations
Feel free to make this delightful cake your own with these fun and flavorful twists!
-
Citrus Zest: Add lemon or orange zest for a refreshing twist that brightens each bite. This will introduce a lovely aromatic note that dances on your palate.
-
Herbal Infusion: Add finely chopped fresh herbs, like mint or rosemary, to the batter for an unexpected flavor experience. Imagine serving this light cake with a hint of garden freshness—it’s an exciting culinary surprise!
-
Chocolate Lover’s Delight: Mix in unsweetened cocoa powder for a chocolate version of this classic. A dusting of powdered sugar on top will make it look as delightful as it tastes.
-
Berries & Cream Swirl: Fold in crushed berries like raspberries or strawberries into the batter for a fruity burst. The vibrant colors and flavors make for a visually stunning and tasty treat.
-
Almond Variations: Try substituting the vanilla extract with almond extract for a nutty flavor boost. If you’re feeling adventurous, add toasted almond slivers on top for an additional crunch!
-
Gluten-Free Adaptation: Use a gluten-free flour blend instead of cake flour for a gluten-free version that everyone can enjoy. It will be just as light and fluffy, ensuring no one misses out on the fun!
-
Spicy Kick: For those who love a bit of heat, add a pinch of cayenne or chili powder for a surprising kick. It’s perfect for serving at gatherings where guests might enjoy a little spice with their sweet.
-
Decadent Toppings: Consider dressing your cake with a luxurious chocolate ganache or caramel drizzle instead of the classic whipped cream. You can create an entirely new dessert experience that feels indulgent and special!
Let these variations inspire you to create a perfectly personalized angel food cake—whether you choose to serve it plain, with a slight twist, or one of the more adventurous options! If you’re looking for more delightful dessert ideas, don’t forget to check out my Pumpkin Cheesecake Cookies or the refreshing layers of a Pudding Icebox Cake.
Make Ahead Options
These angel food cake preparations are perfect for busy home cooks looking to save time during hectic weeks! You can whip up the batter and transfer it to the tube pan up to 24 hours in advance; simply cover the pan with plastic wrap and refrigerate it to maintain freshness. Additionally, you can also sift together the dry ingredients (sugar and cake flour) and store them in an airtight container for up to 3 days. When you’re ready to bake, simply retrieve the pan from the fridge and follow the usual baking instructions. This ensures your angel food cake remains just as light and fluffy as if it was freshly made, offering delightful results with minimal effort!
What to Serve with Light and Fluffy Angel Food Cake
Elevate your dessert experience by adding delightful accompaniments that harmonize beautifully with the airy sweetness of this cake.
-
Creamy Whipped Cream: A dollop of freshly whipped cream adds a rich, velvety texture that contrasts perfectly with the lightness of the cake.
-
Fresh Berries: Strawberries, blueberries, or raspberries brighten up the plate with color and a burst of juicy sweetness, creating a balance of flavors.
-
Citrus Glaze: A drizzle of citrus glaze infuses a zesty note that complements the cake’s natural sweetness, making each bite refreshing.
-
Chocolate Sauce: The richness of warm chocolate sauce provides a luxurious pairing; its decadent nature beautifully contrasts the fluffy cake.
-
Nuts or Almonds: A sprinkle of toasted almonds or walnuts adds a delightful crunch and nutty flavor, enhancing the cake’s texture with each bite.
-
Vanilla Ice Cream: Serving a slice with a scoop of vanilla ice cream creates a classic dessert experience, melding together warmth with creaminess.
-
Sparkling Lemonade: A refreshing glass of sparkling lemonade cleanses the palate between bites and complements the cake’s sweetness with a citrus twist.
Indulge in these pairings and create a delightful spread that will have family and friends asking for seconds.
Angel Food Cake Recipe FAQs
What type of egg whites should I use for angel food cake?
Absolutely! For the best results, always use fresh, large egg whites. They are essential for creating the cake’s height and fluffiness. Older eggs may not whip up properly, leading to a denser cake.
How should I store leftover angel food cake?
Keep your leftover cake in an airtight container at room temperature for up to 2 days. If you live in a humid area, you can put it in the fridge for up to 3 days, though it might slightly alter the cake’s airy texture.
Can I freeze angel food cake, and how should I do it?
Yes, you can! To freeze your angel food cake, wrap it tightly in plastic wrap and then in aluminum foil to prevent freezer burn. It will keep well for up to 4 months. When you’re ready to enjoy it, thaw it overnight at room temperature for the best texture.
What should I do if my angel food cake deflates or sinks after baking?
Very! If your cake deflates, it may be due to a few factors. Ensure you didn’t overbeat the egg whites—stop once stiff peaks form. Also, it’s crucial to add the sugar gradually and avoid greasing the pan as the batter needs to cling to the sides. If you follow all steps cautiously, you should achieve that delightful rise!
Can I make this recipe gluten-free?
Absolutely! To adapt this angel food cake for gluten-free diets, simply replace the cake flour with a gluten-free flour blend. Ensure that the blend you choose is suitable for baking to achieve that lovely lightness.
Is angel food cake safe for my pets to eat?
It’s best to avoid giving angel food cake to pets, especially dogs and cats. Ingredients like sugar can be harmful to them in large quantities, and their digestive systems are not equipped to handle baked goods well. Always opt for pet-friendly treats!
Light and Fluffy Angel Food Cake: A Slice of Heaven
Ingredients
Equipment
Method
- Prepare Egg Whites: Let 1 1/4 cups of egg whites stand at room temperature for about 30 minutes.
- Sift Dry Ingredients: Sift together 1/2 cup of sugar and cake flour, repeating twice for fine texture.
- Preheat Oven: Preheat your oven to 350°F (175°C) and place the oven rack in the lowest position.
- Beat Egg Whites: Add cream of tartar, extracts, and salt to egg whites and beat until soft peaks form.
- Combine and Fold: Gently fold the sifted flour-sugar mixture into the beaten egg whites in batches.
- Transfer Batter: Spoon the batter into an ungreased 10-inch tube pan and cut through to remove air pockets.
- Bake: Bake for 35 to 40 minutes or until golden brown and springs back when pressed.
- Cool: Invert the pan onto a cooling rack to cool completely, about an hour.
- Serve: When cool, run a knife around the pan edges and turn onto a serving plate, adding toppings.
Leave a Reply