
As I stood in my kitchen, the comforting aroma of sizzling ground beef enveloped me, instantly transporting me to my favorite fast-food joint, but with a smile. These Blackstone Crunchwraps aren’t just a quick recipe; they’re a chance to create a fun, family-friendly meal that keeps everyone engaged and excited about dinner. Picture a crispy tortilla cradling layers of savory ground beef, vibrant veggies, and creamy queso all nestled together, making for a much healthier—and tastier—version of those well-known drive-thru favorites. Best of all, these customizable delights can be ready in no time, perfect for those busy weeknights when traditional cooking feels too overwhelming. Ready to make a crunchy masterpiece that satisfies your cravings? Let’s dive into the delicious world of homemade Crunchwraps!
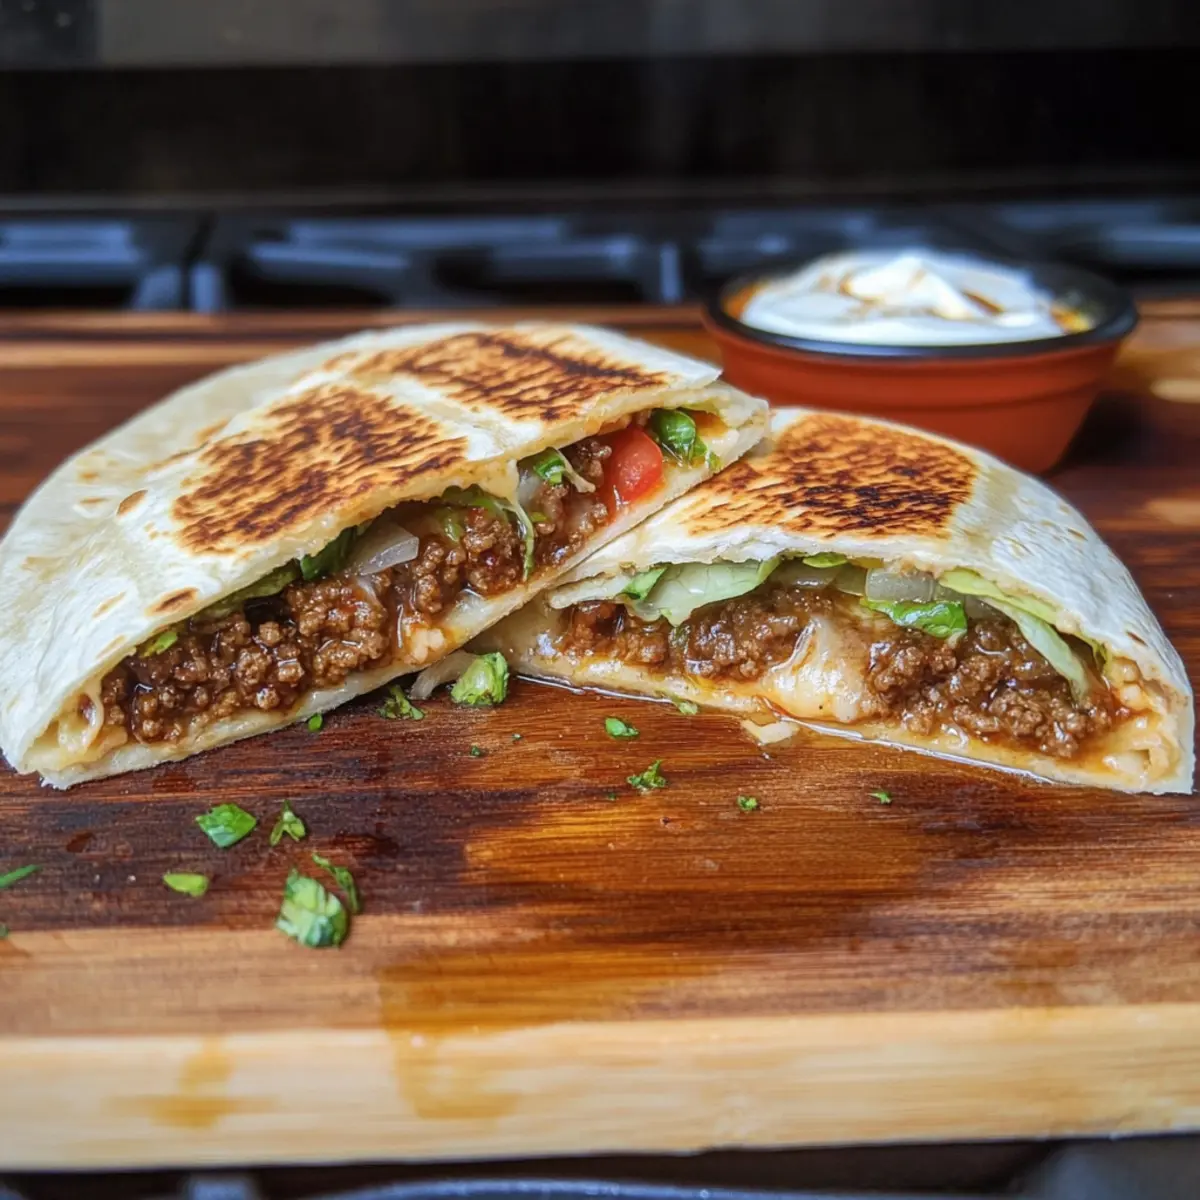
Why Choose Homemade Crunchwraps?
Simplicity: This recipe is remarkably easy to make, requiring just a few steps and basic cooking skills, making it perfect for busy weeknights.
Endless Customization: Choose your favorite fillings! Swap ground beef for shredded chicken or even tofu to suit your diet.
Delicious Flavor: The combination of seasoned beef, fresh veggies, and ooey-gooey cheese creates an explosion of taste that far exceeds traditional fast-food options.
Family-Friendly Fun: Get the kids involved in assembling their Crunchwraps—it’s a great way to make family meals interactive!
Quick & Convenient: With a prep time that’s minimal, these Crunchwraps can be on your table faster than a takeout run, ensuring you save time without sacrificing flavor.
Experience these Crunchwraps with a side of tortilla chips and guacamole for a complete meal that everyone will love!
Blackstone Crunchwraps Ingredients
For the Beef Filling
- Ground Beef – the main protein; feel free to substitute with turkey or plant-based meat for a lighter option.
- Fajita Seasoning – adds a kick of flavor; make your own at home for a personalized touch.
- Salsa – keeps the beef mixture moist and flavorful; any salsa variety you love will do!
- Hot Sauce – brings the heat; adjust to your preference for a spicy kick.
- White Onion – contributes crunch and flavor; swap for green onions for a milder profile.
- Tomatoes – adds freshness and moisture; canned diced tomatoes are a great alternative if needed.
For the Crunchwrap Assembly
- Iceberg Lettuce – provides a nice crunch; romaine or spinach are excellent substitutes for a different texture.
- Cilantro – brightens the flavors; feel free to omit if you’re not a fan.
- Yellow Corn Tortillas – used for that crispy layer; flour tortillas can replace them for a gluten-free version if necessary.
- Flour Tortillas – these large wraps hold everything together; opt for whole wheat for a healthier alternative.
For the Creamy Finishing Touches
- Colby Jack & Monterey Jack Cheese – offers a delightful creaminess; any melting cheese works if you have a favorite.
- Sour Cream – adds tanginess and creaminess; Greek yogurt is a healthier swap.
- Butter – helps achieve that perfect golden crust when frying; olive oil can also be used in its place.
- Heavy Cream – essential for making that luscious queso sauce; milk can substitute if you’re looking for a lighter option.
Craft these Blackstone Crunchwraps into a family-friendly meal that can sidestep the drive-thru while still delivering all the flavor!
Step‑by‑Step Instructions for Blackstone Crunchwraps
Step 1: Preheat the Griddle
Begin by preheating your Blackstone griddle, setting one section to medium heat and two areas to low heat. This will ensure an evenly cooked Crunchwrap, with one side getting a good sear while the other maintains a perfect low cooking temperature. Allow about 5 minutes for the griddle to reach the right heat.
Step 2: Cook the Ground Beef
Add the ground beef to the medium heat section of the griddle, breaking it up with a spatula as it cooks. Season generously with fajita seasoning. Once the beef is browned and thoroughly cooked—about 7 minutes—lower the heat and mix in your favorite salsa to keep the mixture moist and flavorful, cooking for an additional 2 minutes.
Step 3: Fry the Corn Tortillas
Now, move to the low heat sections and add a drizzle of oil. Carefully place the yellow corn tortillas on the griddle, frying them for about 2-3 minutes per side or until they turn crispy and golden brown. Keep an eye on them to prevent burning; this layer adds a satisfying crunch to your Blackstone Crunchwraps.
Step 4: Assemble the Crunchwraps
On a large flour tortilla, start layering: sprinkle a generous amount of cheese, add the flavorful ground beef mixture, and then carefully place a crispy corn tortilla on top. Follow this with a dollop of sour cream, a handful of shredded lettuce, diced tomatoes, onions, a splash of hot sauce, and some fresh cilantro for brightness.
Step 5: Fold the Tortilla
To create your Crunchwrap pocket, gently fold the edges of the large tortilla inward towards the center, making sure to seal in all those delicious fillings. Use your fingers to tuck the sides neatly, ensuring that everything stays secure for the cooking process ahead.
Step 6: Grill the Crunchwraps
Melt a tablespoon of butter in the medium or low heat section of the griddle. Place the completed Crunchwraps seam-side down on the griddle. Cook for about 3-4 minutes per side, flipping carefully, until both sides are crispy and golden brown. This step ensures a delightful crunch while warming all the delicious ingredients inside.
Step 7: Serve and Enjoy
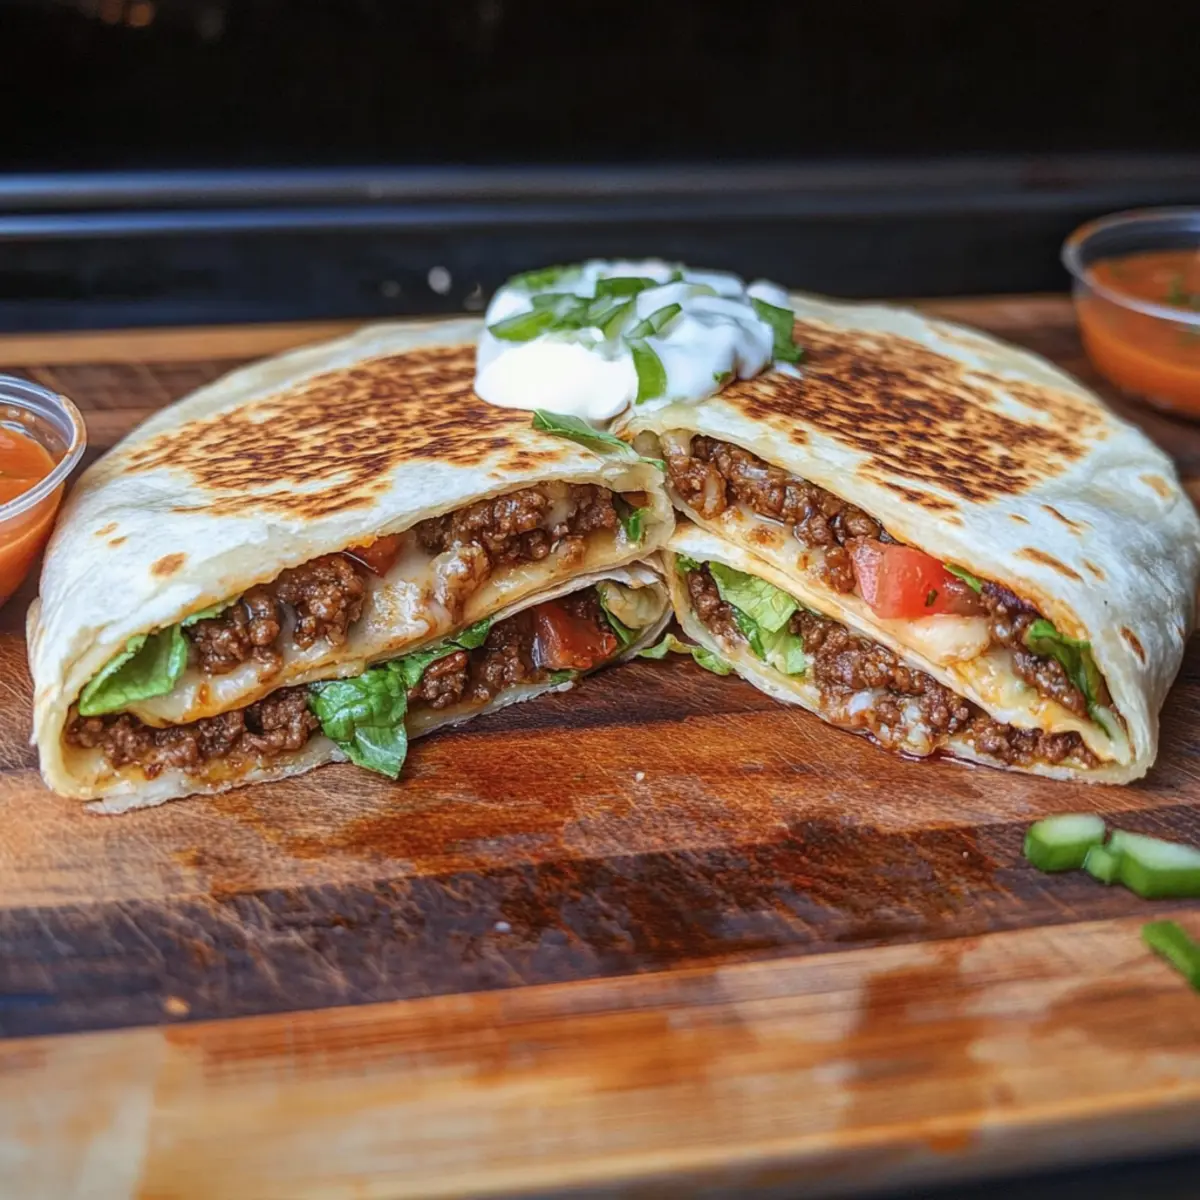
Once perfectly cooked, remove the Blackstone Crunchwraps from the griddle and let cool for a minute. Cut them in half to reveal the beautiful layers, and serve immediately with extra hot sauce or your favorite dipping sauce. These homemade Crunchwraps promise to bring joy to your dining table!
Tips for the Best Blackstone Crunchwraps
-
Crispy Tortillas: Make sure to fry the corn tortillas until they are nice and crispy—this prevents your Crunchwraps from becoming soggy during assembly.
-
Heat Control: Keep an eye on your griddle’s temperature, especially when frying. Adjust the heat as needed to avoid burning the tortillas.
-
Layer Smartly: When layering ingredients, start with cheese for better melting, followed by the beef, and finish with veggies and condiments. This ensures an even distribution of flavors in your Blackstone Crunchwraps.
-
Creative Customizations: Don’t hesitate to experiment! Try different proteins or toppings to make each Crunchwrap your own, and keep the fillings balanced to avoid spills.
-
Sealing the Edges: Fold the large tortilla inward tightly to seal it well, ensuring all your delicious fillings stay tucked away for the grilling step.
What to Serve with Blackstone Crunchwraps?
Experience a vibrant and satisfying meal that transforms dinner into a delightful occasion, bursting with flavors and textures.
- Tortilla Chips & Guacamole: Crunchy chips paired with creamy guacamole offer a classic side that enhances the fiesta vibes.
- Mexican Street Corn Salad: This refreshing mix of grilled corn, lime, and spices adds a zesty green contrast that balances the richness of the Crunchwraps.
- Pico de Gallo: Fresh tomatoes, onions, and cilantro provide a crunchy, tangy element, brightening each bite of your hearty meal.
- Spanish Rice: Fluffy rice mixed with spices creates a cozy side that complements the Crunchwraps perfectly, filling your plate with warmth.
- Black Bean Soup: A warm, savory soup filled with black beans adds depth to your meal while offering a delightful contrast in textures.
- Margaritas: For a fun adult twist, serve these with chilled margaritas that echo the flavors of your Crunchwraps and let the good times flow!
- Chocolate Flan: Finish off with a rich, creamy dessert that ties in sweet notes with a touch of nostalgia—perfect for satisfied bellies at the end of a family meal.
Each pairing enhances the comforting experience of your homemade Blackstone Crunchwraps, creating a feast for the senses!
Storage Tips for Blackstone Crunchwraps
- Room Temperature: Enjoy your Crunchwraps fresh for the best taste and texture; they can sit out for about 2 hours before needing refrigeration.
- Fridge: Store leftover Blackstone Crunchwraps in an airtight container for up to 1 day; reheat them gently in the oven to maintain their crispy exterior.
- Freezer: For longer storage, wrap individual Crunchwraps tightly in plastic wrap and foil, freezing them for up to 3 months. Thaw in the fridge before reheating.
- Reheating: To bring back the crispiness, reheat in a preheated oven at 350°F (175°C) for about 10-15 minutes, flipping halfway through for even warmth.
Variations & Substitutions for Blackstone Crunchwraps
Customize your Crunchwraps to create your perfect flavor explosion! The options are endless, and I encourage you to mix and match as you enjoy the cooking process.
-
Protein Swap: Substitute ground beef with shredded chicken, turkey, or even crumbled tofu for a delightful twist.
-
Spicy Kick: Add jalapeños or your favorite hot peppers to the filling for an extra kick of heat that’ll elevate your flavor experience.
-
Fresh Greens: Instead of iceberg lettuce, use fresh spinach or arugula for a peppery flavor and nutritional boost. It will add a colorful pop, too!
-
Creamy Alternatives: Switch sour cream for Greek yogurt to lighten things up while still keeping that creamy element in your Crunchwrap.
-
Zesty Queso: Spice up your queso sauce by blending in diced green chiles or a splash of your favorite pico de gallo. The added freshness will be delightful!
-
Wrap Variations: Swap flour tortillas for whole wheat or spinach tortillas to enhance nutrition or add some vibrant color to your meal.
-
Cheese Lovers: Experiment with different cheeses! Try pepper jack for a spicy twist or feta for a tangy touch that’ll surprise your taste buds.
-
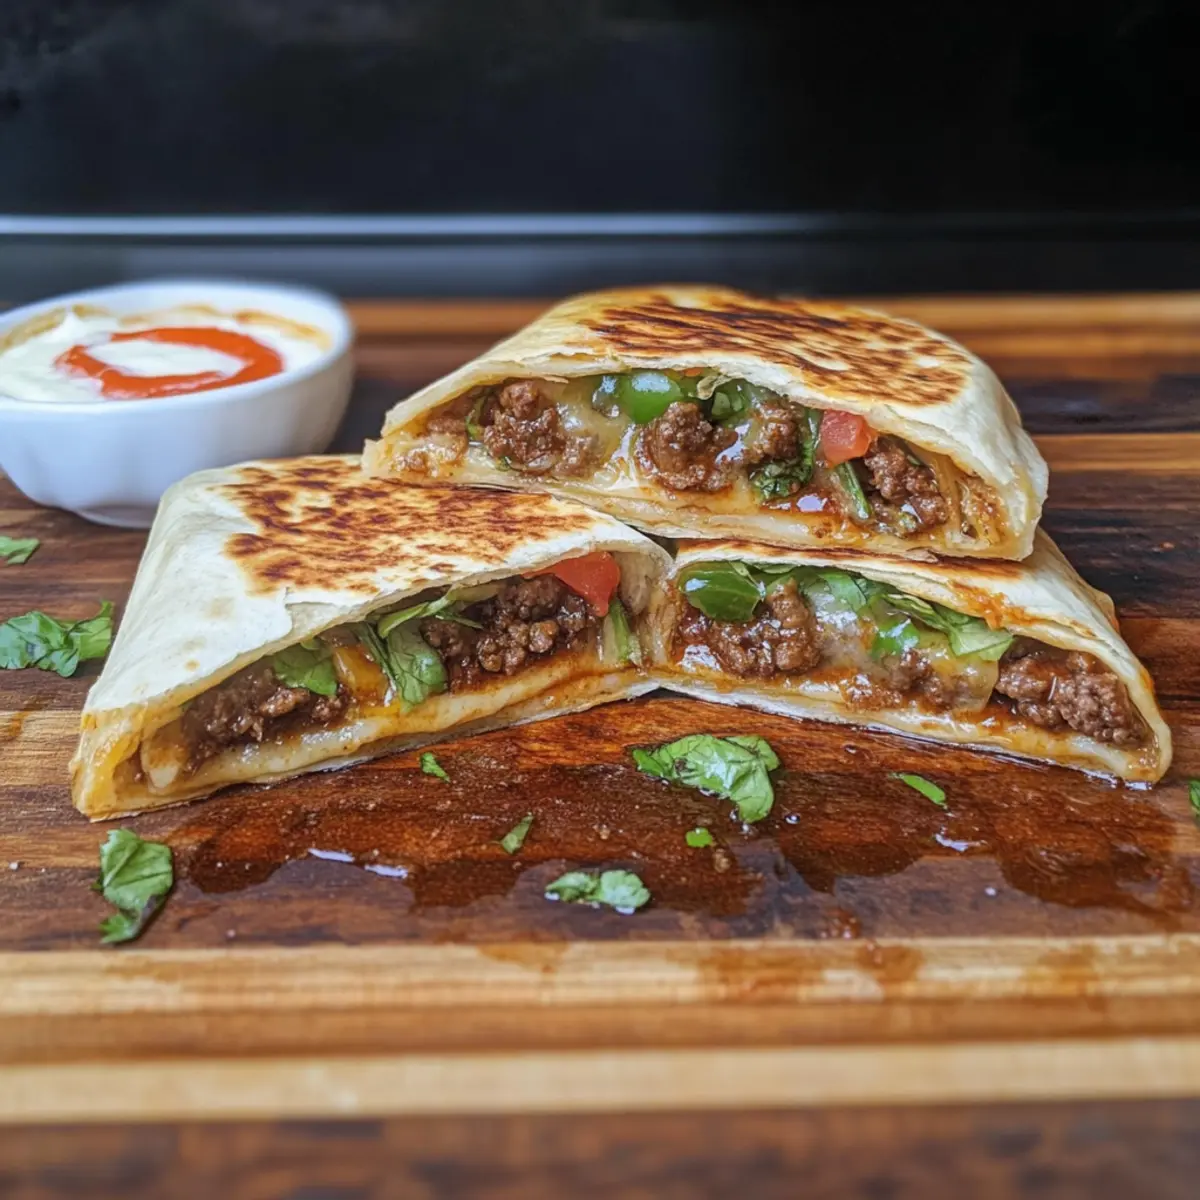
Sizzling Veggies: Add sautéed bell peppers and mushrooms to your filling for a hearty, veggie-packed Crunchwrap that even meat-lovers will crave.
Make your dinner truly your own with these exciting modifications; discover more about creative cooking by checking out my other recipes focused on family-friendly meals or learn about delicious healthy ingredient swaps to keep things fresh!
Make Ahead Options
These Blackstone Crunchwraps are perfect for meal prep, allowing you to enjoy a quick and satisfying dinner with minimal hassle. To prep ahead, you can cook the ground beef and let it cool before storing it in an airtight container in the refrigerator for up to 3 days. Additionally, you can fry the corn tortillas ahead of time and keep them crispy in a sealed container. When you’re ready to serve, simply reheat the beef mixture and assemble your Crunchwraps. For best results, heat the tortillas briefly in a hot skillet before filling to ensure everything is fresh and warm, delivering that delicious crunch and flavor you crave!
Blackstone Crunchwraps Recipe FAQs
What type of ground beef should I use for the Crunchwraps?
Absolutely! I recommend using 80/20 ground beef for the best flavor and moisture. If you’re looking for a lighter alternative, ground turkey or plant-based meat works wonderfully too. Just keep in mind that different protein types may require slight adjustments in cooking time.
How should I store leftovers?
To keep your Blackstone Crunchwraps fresh, store any leftovers in an airtight container in the refrigerator for up to 1 day. When you’re ready to enjoy them again, gently reheat them in the oven at 350°F (175°C) for about 10-15 minutes, flipping halfway to restore their crispy goodness.
Can I freeze the Crunchwraps?
Yes, freezing is a great option! Wrap each assembled Crunchwrap tightly in plastic wrap and then in foil to prevent freezer burn. They can be stored in the freezer for up to 3 months. When you’re ready to eat, simply thaw them in the fridge overnight and reheat in the oven for a crispy finish!
How can I avoid soggy tortillas when making Crunchwraps?
The key to preventing sogginess is to ensure the corn tortillas are crispy before assembly. Fry them on the griddle until they are golden brown—about 2-3 minutes per side. Additionally, layering the cheese first helps seal in moisture, ensuring everything stays deliciously intact.
What if someone in my family has a dairy allergy?
Very! For dairy-free Crunchwraps, consider using dairy-free cheese alternatives or skipping the cheese entirely. You can replace sour cream with a dairy-free yogurt option or even avocado for creaminess. Just make sure to read the labels on your ingredients to avoid any allergens!
Are there any variations I can make to the ingredients?
Definitely! These Crunchwraps are highly customizable. You could swap ground beef for shredded chicken, add spicy jalapeños, or even incorporate black beans for extra protein and fiber. Don’t hesitate to experiment with different toppings or sauces based on your family’s preferences!
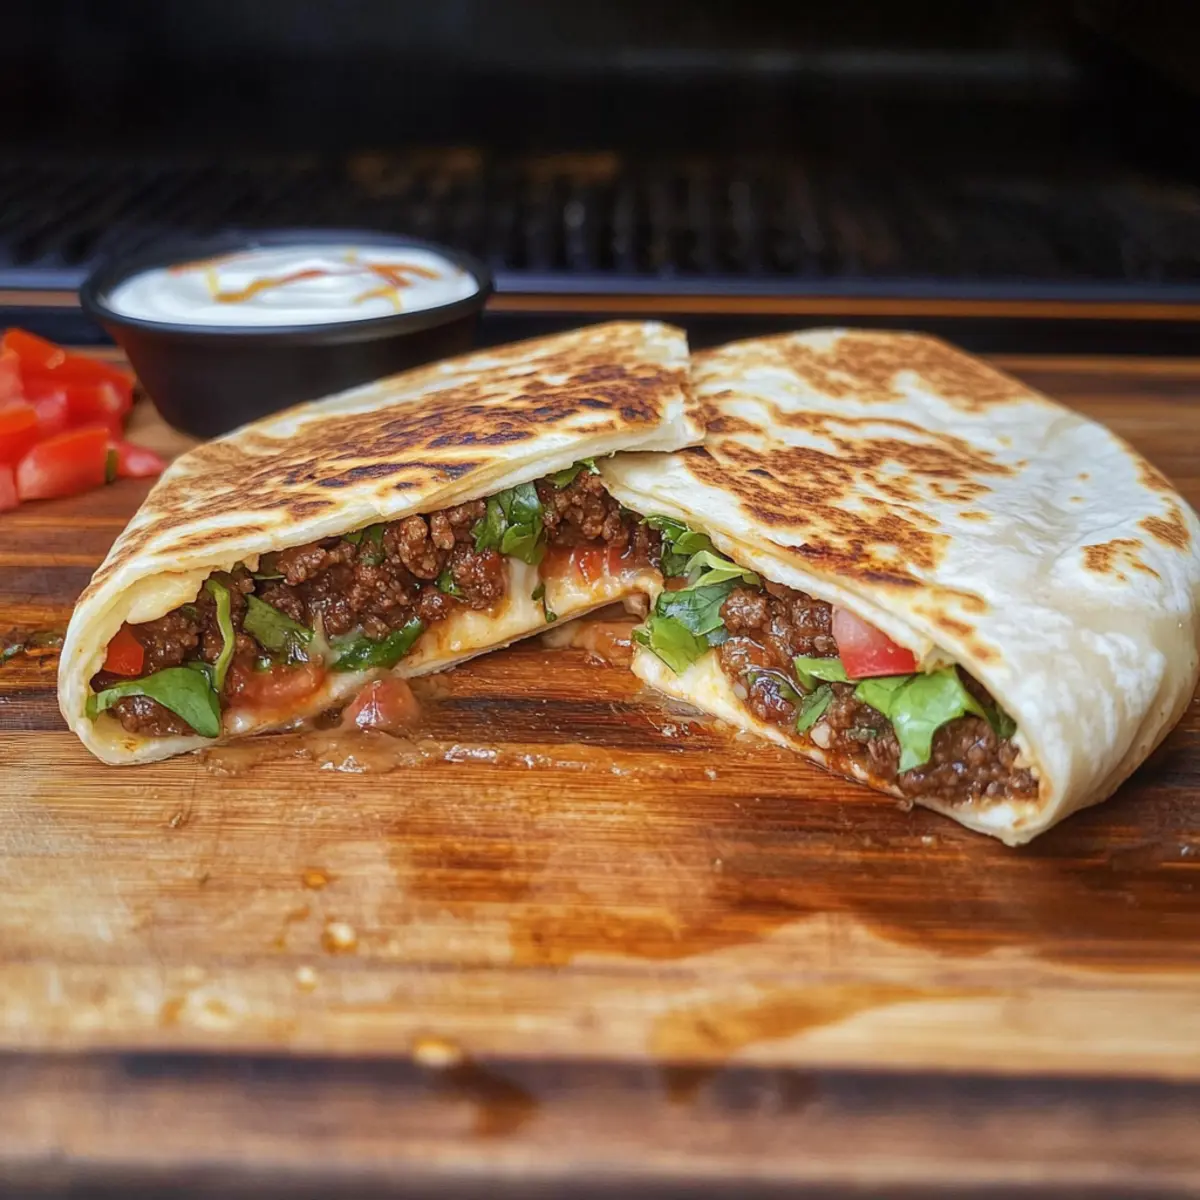
Delicious Blackstone Crunchwraps: A Crispy Family Favorite
Ingredients
Equipment
Method
- Preheat your Blackstone griddle, setting one section to medium heat and two areas to low heat for 5 minutes.
- Cook the ground beef on medium heat, breaking it apart as it cooks, seasoning with fajita seasoning. Once browned, add salsa and cook for 2 more minutes.
- Fry the yellow corn tortillas on low heat sections for 2-3 minutes per side until crispy and golden brown.
- Assemble Crunchwraps on large flour tortillas: cheese, ground beef mixture, crispy corn tortilla, sour cream, lettuce, tomatoes, onions, hot sauce, and cilantro.
- Fold the edges of the large tortilla inward to create a pocket, tucking the sides neatly for security.
- Melt butter on the griddle and grill the Crunchwraps seam-side down for 3-4 minutes per side until crispy and golden brown.
- Remove from the griddle, let cool, cut in half and serve with extra hot sauce.
Leave a Reply