
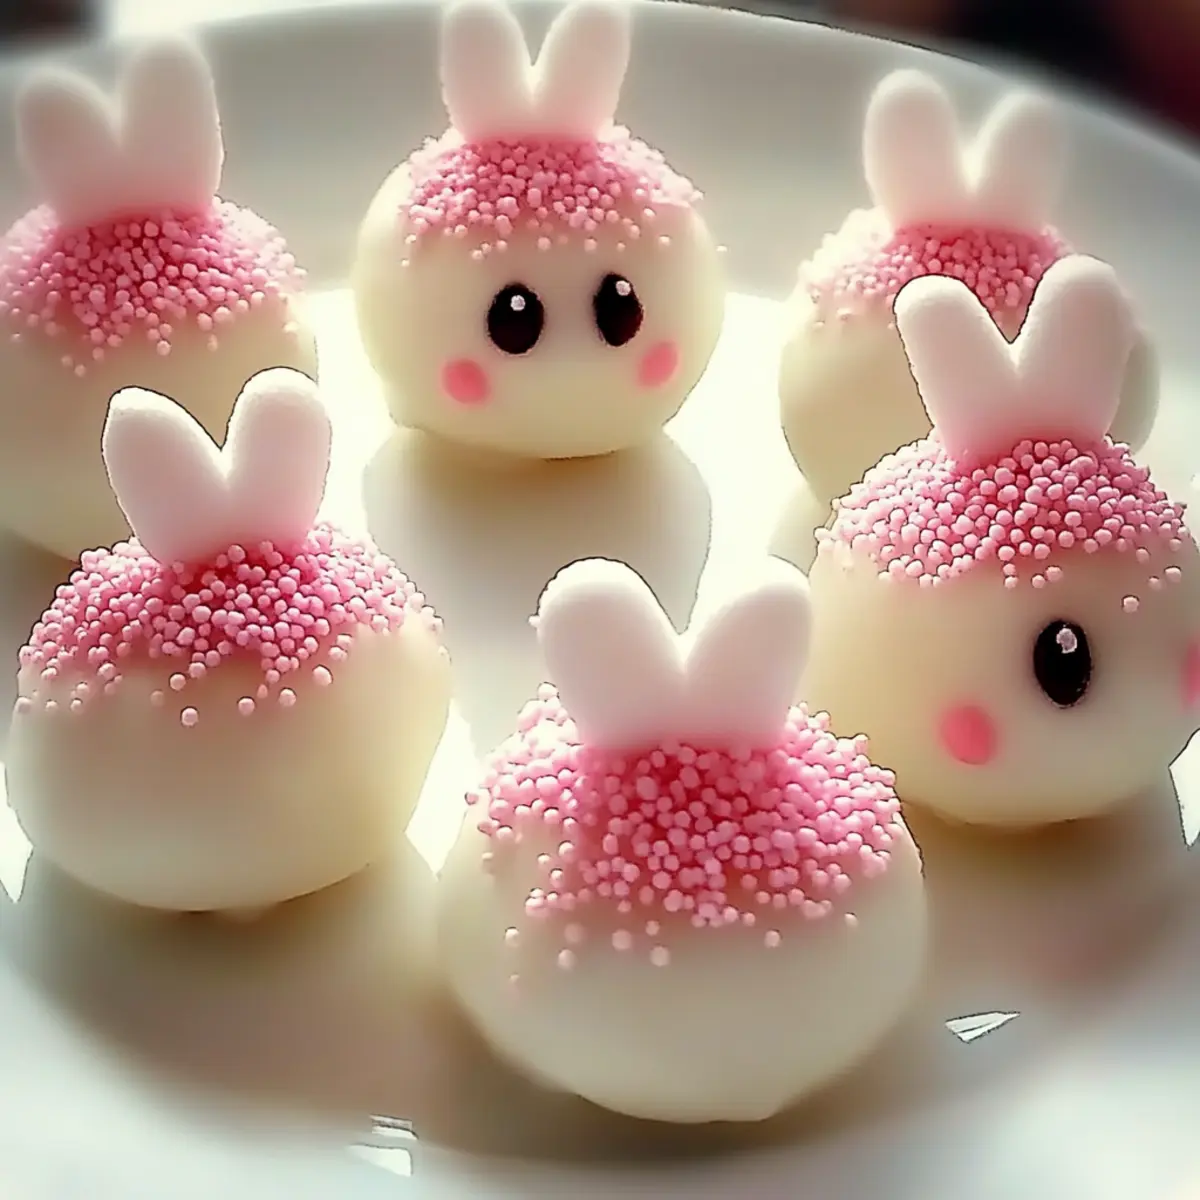
As I stood in my kitchen, the rich aroma of crushed Oreos began to tantalize my senses, sparking a delightful memory of springtime treats. I’m excited to share my recipe for Bunny Oreo Balls, a fun no-bake treat that’s perfect for bringing joy to any gathering, especially Easter celebrations. With just a handful of ingredients, these customizable delights are not only kid-friendly but also allow for gluten-free substitutions. They make for a quick, delicious project that’s simple enough to invite the little ones into the kitchen to create together. Ready to turn cookies into adorable, creamy bunnies? Let’s jump in and whip up these charming bites that are sure to make your heart smile!
Why Are Bunny Oreo Balls So Special?
Kid-Friendly Fun: These adorable treats bring a sense of joy to the kitchen, making them perfect for cooking projects with children. Versatile Options: You can easily customize Bunny Oreo Balls by using gluten-free cookies or favorite sprinkles, ensuring everyone enjoys them. Quick and Easy: With no baking required, you can whip up these delicious bites in no time—a lifesaver for busy days! Irresistible Flavor: The creamy inside combined with a sweet chocolate coating is truly a crowd-pleaser, reminiscent of beloved desserts like Bakery Style Oreo cookies. Get ready to delight your guests with these whimsical treats perfect for Easter or any fun gathering!
Bunny Oreo Balls Ingredients
For the Base
• Oreos – Provides a chocolaty base and flavor; you can swap for gluten-free chocolate sandwich cookies if needed.
• Cream Cheese – Binds the mixture together with a creamy texture; try Neufchâtel cheese for a lighter option.
For the Coating
• White Chocolate/Candy Melts – Used for coating, adding sweetness; semi-sweet chocolate can be a delicious alternative.
For the Decoration
• Mini Marshmallows – Cut in half to create bunny ears; feel free to use other candies for your personal touch.
• Pink Sugar Sprinkles – Optional but adds a pop of color to enhance the bunny design, making your Bunny Oreo Balls extra charming!
Step‑by‑Step Instructions for Bunny Oreo Balls
Step 1: Crush Oreos
Begin by placing the Oreos in a food processor and pulse them for 2-3 minutes until they transform into fine crumbs that resemble sand. Ensure no large chunks remain, as this will help create a smooth texture for your Bunny Oreo Balls.
Step 2: Mix Ingredients
In a large mixing bowl, combine the crushed Oreos with softened cream cheese. Use a spatula or your hands to mix until fully combined and the mixture is creamy and dough-like, which should take about 2-3 minutes. This step is crucial for achieving the perfect filling consistency for your Bunny Oreo Balls.
Step 3: Shape Balls
Scoop about one tablespoon of the Oreo mixture and roll it into a 1-inch ball using your hands. Place each ball on a parchment-lined baking sheet, ensuring they are evenly spaced. Once all the mixture is rolled, refrigerate the balls for 30 minutes to firm them up, making them easier to handle.
Step 4: Melt Coating
While the balls are chilling, prepare the coating by melting white chocolate or candy melts. In a microwave-safe bowl, heat the chocolate in 20-second intervals, stirring each time until it is completely smooth and glossy. Be patient during this process to avoid burning the chocolate, which is vital for coating your Bunny Oreo Balls nicely.
Step 5: Coat Balls
After chilling, take the Oreo balls from the refrigerator. Dip each chilled ball into the melted chocolate, using a fork to ensure it’s fully coated, then gently tap the fork on the bowl’s edge to let excess chocolate drip off. This will give your Bunny Oreo Balls a smooth finish and delightful outer layer.
Step 6: Add Ears
For the bunny ears, cut mini marshmallows diagonally in half to create two pieces per marshmallow. Dip the cut sides into pink sugar sprinkles for added color, then gently press them onto the tops of your chocolate-coated balls while the coating is still slightly warm. This will help the ears stick in place.
Step 7: Set Treats
Allow the decorated Bunny Oreo Balls to set at room temperature on the parchment-lined sheet for about 10-15 minutes until the chocolate hardens and the treats firm up. This waiting period is essential for achieving the perfect presentation as well as the right texture.
Step 8: Store or Serve
Once the chocolate has set, your Bunny Oreo Balls are ready to be enjoyed! Serve them immediately for a festive treat or store them in an airtight container in the refrigerator for up to 5 days. For long-term storage, freeze them for up to one month to maintain their deliciousness.
Bunny Oreo Balls Variations & Substitutions
Customize your Bunny Oreo Balls with delightful twists that cater to every taste!
-
Gluten-Free: Use gluten-free chocolate sandwich cookies instead of regular Oreos to make these adorable treats suitable for everyone.
-
Vegan Option: Swap cream cheese for vegan cream cheese, ensuring that no one feels left out during celebrations. The flavor remains delicious and creamy!
-
Chocolate Variety: Try using milk or dark chocolate instead of white chocolate to create deeper flavor profiles that will satisfy chocolate lovers.
-
Flavor Boost: Add a teaspoon of vanilla extract to the mixture for an extra layer of flavor that elevates these treats even further.
-
Colorful Coating: Use colored candy melts instead of white chocolate to bring a vibrant array of hues into your Bunny Oreo Balls. This is especially fun for parties!
-
Textural Twist: Incorporate finely chopped nuts or crispy rice cereal into the mixture for an irresistible crunch that contrasts beautifully with the creamy filling.
-
Creative Sprinkles: Swap pink sugar sprinkles for different colors or themed sprinkles that reflect the occasion, like pastel or chocolate sprinkles for additional fun!
-
Fruity Flair: Consider adding crushed freeze-dried fruit like strawberries or raspberries to the chocolate coating for a refreshing fruity twist—delicious alongside your bunny treats!
For even more dessert inspiration, check out how to enjoy your Bunny Oreo Balls with a bright fruit salad or alongside delightful Spaghetti Meatballs Comfort!
How to Store and Freeze Bunny Oreo Balls
Fridge: Store Bunny Oreo Balls in an airtight container in the refrigerator for up to 5 days. This keeps them fresh and ready for indulgence anytime!
Freezer: For longer storage, freeze rolled Bunny Oreo Balls before coating. They can last up to one month in the freezer. Just coat them right before serving for the best taste.
Room Temperature: If you’re serving them at a gathering, these treats can stay out for about 2 hours. However, keeping them cool retains their delicious texture and flavor.
Reheating: There’s no need to reheat Bunny Oreo Balls; simply enjoy them cold! If they’ve been in the freezer, thaw them in the refrigerator for a few hours before serving.
Make Ahead Options
Bunny Oreo Balls are a fantastic option for meal prep that will save you time during busy weeks! You can prepare the Oreo and cream cheese mixture up to 24 hours in advance by rolling the balls and refrigerating them. Simply place them on a parchment-lined baking sheet and cover with plastic wrap before refrigerating to maintain their freshness. When you’re ready to serve, melt your coating and dip the chilled balls in chocolate as instructed. This way, you’ll have delightful Bunny Oreo Balls ready with minimal effort, keeping them just as delicious as when freshly made! For longer storage, consider freezing the rolled balls for up to one month, coating them just before serving to ensure they look their best.
Expert Tips for Bunny Oreo Balls
• Mix Well: Ensure the Oreo crumb and cream cheese blend thoroughly to avoid crumbling, which can impact the texture of your Bunny Oreo Balls.
• Chill is Key: Don’t skip the refrigeration step! Chilling for 30 minutes makes shaping and coating the balls much easier and helps them hold their form.
• Melt with Care: Melt your chocolate in small intervals in the microwave, stirring frequently to prevent burning. This will ensure a smooth, silky coating for your Bunny Oreo Balls.
• Perfect Ears: Allow the chocolate coating to set slightly before adding marshmallow ears. This approach ensures they stick better and look adorable!
• Get Creative: Feel free to experiment with different chocolates and toppings—flavored chocolate can add an exciting twist to your Bunny Oreo Balls.
What to Serve with Bunny Oreo Balls
These whimsical treats are perfect for delighting both young and old, making your dessert table come alive.
- Fruit Salad: A light and refreshing fruit salad brings a burst of color and a hint of acidity that pairs beautifully with the richness of the Bunny Oreo Balls.
- Chocolate-Dipped Strawberries: Indulge your sweet tooth further with chocolate-dipped strawberries for an elegant yet simple addition to your spread.
- Mini Cupcakes: Serve with fluffy mini cupcakes to enhance the festive vibe; their playful size complements the Bunny Oreo Balls perfectly.
- Vanilla Ice Cream: A scoop of creamy vanilla ice cream adds a luxurious contrast to the sweet chocolate coating, creating a delightful dessert experience.
- Carrot Sticks: Balance the sweetness with crunchy carrot sticks; they offer a playful nod to the Easter theme while providing a refreshing crunch.
- Sparkling Lemonade: Offer sparkling lemonade as a refreshing drink option; its zesty flavors will cleanse the palate between bites of your rich treats.
- Nutty Trail Mix: A bowl of nutty trail mix adds a satisfying crunch and savoriness that contrasts delightfully with the decadent sweetness of the Bunny Oreo Balls.
- Easter-themed Cookies: Serve alongside sugar cookies decorated like spring flowers or bunnies to maintain the festive feel of your gathering.

Bunny Oreo Balls Recipe FAQs
How can I choose the best Oreos for Bunny Oreo Balls?
Absolutely! Look for Oreos that are fresh, with no expiration dates approaching. If you want a gluten-free option, gluten-free chocolate sandwich cookies work perfectly and maintain the same delicious flavor. Remember to avoid Oreos that have dark spots all over or are too soft, as this can affect the texture of your treat.
What’s the best way to store Bunny Oreo Balls?
I recommend storing Bunny Oreo Balls in an airtight container in the refrigerator. They’ll stay fresh for up to 5 days. If you’re making them for a special event, you can enjoy the peace of mind that they’ll be delicious right when you need them!
Can I freeze Bunny Oreo Balls?
Yes, you can freeze Bunny Oreo Balls! To do this, roll the mixture into balls before coating them. Place these on a parchment-lined baking sheet and freeze for up to one month. When you’re ready to serve, simply coat them with melted chocolate right before enjoying. This really simplifies the process on the day of your gathering!
What if my Bunny Oreo Balls turn out crumbly?
If your Bunny Oreo Balls are crumbly, don’t worry! This commonly happens if the cream cheese isn’t mixed in well. Next time, ensure you mix it thoroughly until you achieve a dough-like consistency. If it’s still too dry, add a little more cream cheese to bind it together better.
Are Bunny Oreo Balls safe for pets or those with allergies?
While Bunny Oreo Balls are delightful for humans, they’re not suitable for pets. The cream cheese and chocolate can be harmful to dogs and other animals. Additionally, be cautious if guests have allergies; the recipe includes cream cheese and potentially gluten (in regular Oreos). Always provide alternatives and love to ensure everyone can join in on the fun!
Can I customize the flavors or decorations of Bunny Oreo Balls?
Very! You can easily swap the white chocolate coating for milk or dark chocolate. Additionally, feel free to experiment with other toppings, such as crushed candies or different sprinkles. Let your creativity shine, and your Bunny Oreo Balls will be as unique as your celebration!
Bunny Oreo Balls: Adorable No-Bake Treats for Everyone
Ingredients
Equipment
Method
- Begin by placing the Oreos in a food processor and pulse them for 2-3 minutes until they transform into fine crumbs.
- In a large mixing bowl, combine the crushed Oreos with softened cream cheese and mix until fully combined and creamy.
- Scoop about one tablespoon of the Oreo mixture and roll it into a 1-inch ball. Place on a parchment-lined baking sheet.
- Melt white chocolate or candy melts in a microwave-safe bowl using 20-second intervals until smooth.
- Dip each chilled ball into the melted chocolate, ensuring it's fully coated, then let excess chocolate drip off.
- For the bunny ears, cut mini marshmallows in half, dip into pink sugar sprinkles, and press onto the tops of the balls.
- Allow the decorated Bunny Oreo Balls to set at room temperature for 10-15 minutes until the chocolate hardens.
- Enjoy immediately or store in an airtight container in the refrigerator for up to 5 days.
Leave a Reply