
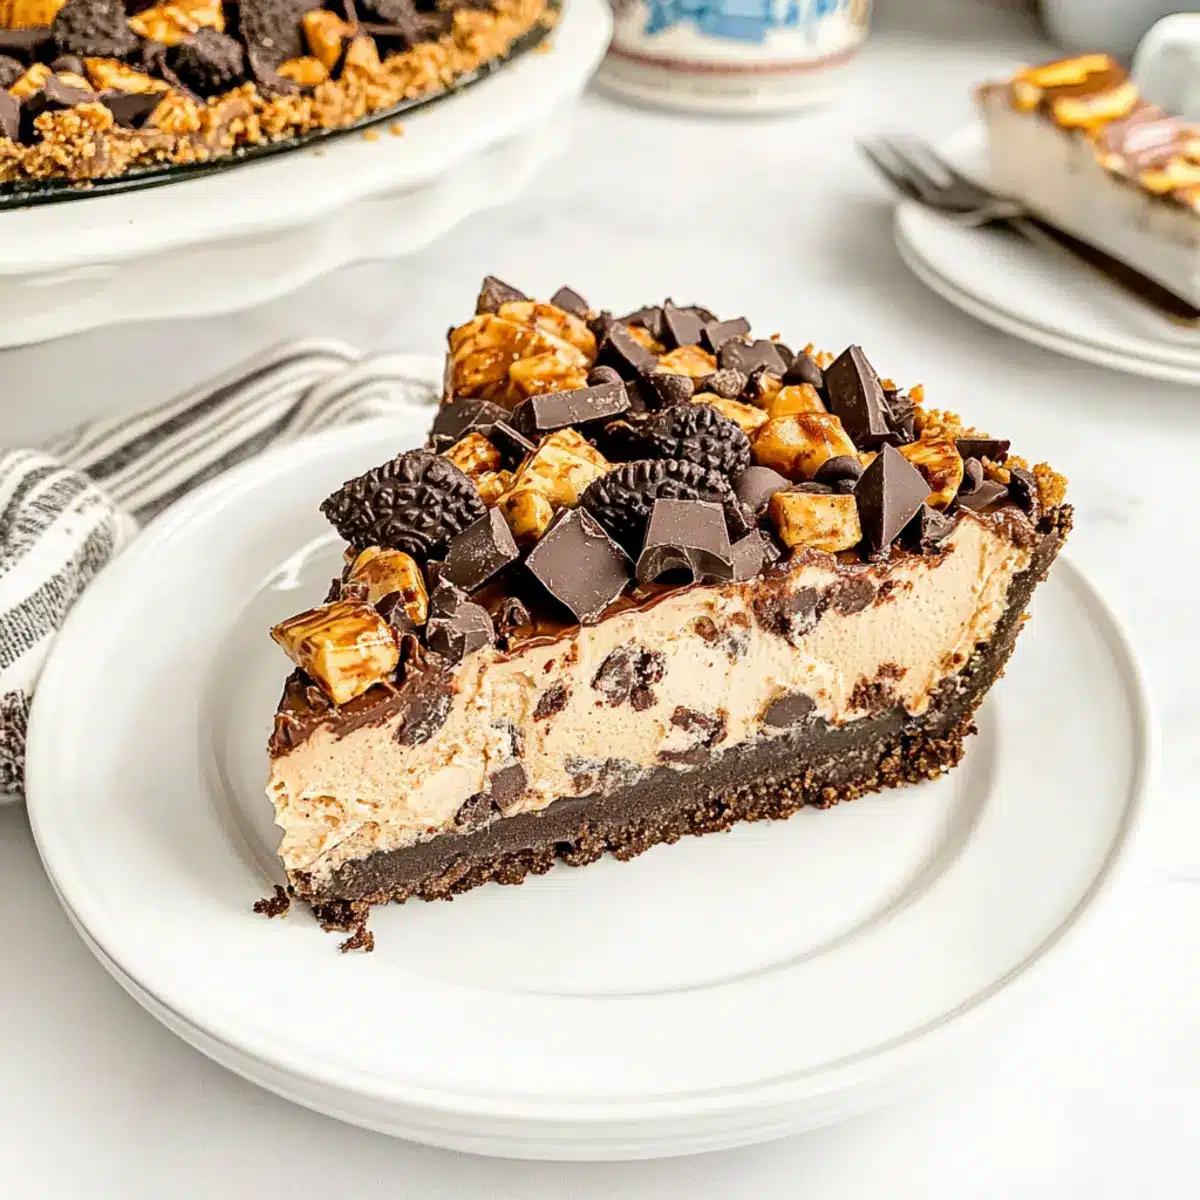
As I settled into a sun-kissed afternoon, I stumbled upon a forgotten treasure in my pantry: Butterfinger candies! Suddenly, I had a brilliant idea for a delightful dessert: No Bake Butterfinger Pie. This effortlessly easy treat combines layers of creamy peanut butter and chocolate, all nestled in a crunchy Oreo crust. Perfect for those moments when you need a sweet fix with minimal effort, this pie comes together in just 20 minutes—no oven required! You can whip this up quickly and let it chill while you relax, making it the ideal summer dessert for family gatherings or movie nights. With simple ingredients and a kid-friendly appeal, I can’t wait for you to dive into this irresistible recipe. Curious how easy it is to transform a few pantry staples into a show-stopping dessert? Let’s get started!
Why is Butterfinger Pie so irresistible?
No Bake Perfection: This Butterfinger Pie is incredibly easy to prepare, requiring no baking time—just mix, chill, and enjoy!
Kid-Approved: With its rich peanut butter and chocolate flavors, it’s a guaranteed hit with both kids and adults alike.
Versatile Options: Feel free to customize your pie with different pudding flavors or crusts, whether you choose the classic Oreo base or something even more adventurous.
Quick Assembly: Whip this delightful dessert up in just 20 minutes, making it a fantastic option for last-minute gatherings or parties.
Crowd Pleaser: Its stunning layers and mouthwatering taste will have everyone asking for seconds, a true show-stopper that shines in any setting! If you’re also in the mood for something sweet and crunchy, check out these Biscoff Rice Krispie treats for another easy dessert option!
Butterfinger Pie Ingredients
• Here’s everything you’ll need for this delicious Butterfinger Pie!
For the Crust
- Oreo Cookie Crumbs – Provides a rich and crunchy base; feel free to swap with graham cracker crumbs for a different flavor.
- Unsalted Butter – Binds the crumbs together; ensure it’s melted and slightly cooled for the best texture.
- Salt – Enhances the sweetness of the crust, making each bite more flavorful.
For the Filling
- Cream Cheese – Adds a creamy richness; opt for full-fat for the best results.
- Creamy Peanut Butter – The flavor star; brands like JIF or Skippy work best for their smoothness.
- Powdered Sugar – Sweetens the filling, balancing the savory taste of cream cheese.
- Chopped Butterfingers – The highlight of the pie, delivering delightful crunch and sweetness; about 4-5 bars will do.
- Cool Whip – Lightens the filling’s texture; be sure to use thawed for a creamy mix.
For the Pudding Layer
- Chocolate Fudge Pudding Mix – Adds a layer of chocolaty richness; peanut butter pudding mix is a fun alternative if desired.
- Whole Milk – Necessary for mixing the pudding; use whole for a creamier taste.
For Topping
- Semi-Sweet Chocolate Chips – Sprinkled on top for added chocolate goodness; use mini chips for a decorative touch.
- Chocolate Syrup – Drizzle over the top for an extra layer of sweetness and visual appeal.
Now that we have all our ingredients ready for this simple Butterfinger Pie, let’s dive into the fun part—making it!
Step‑by‑Step Instructions for Butterfinger Pie
Step 1: Prepare the Crust
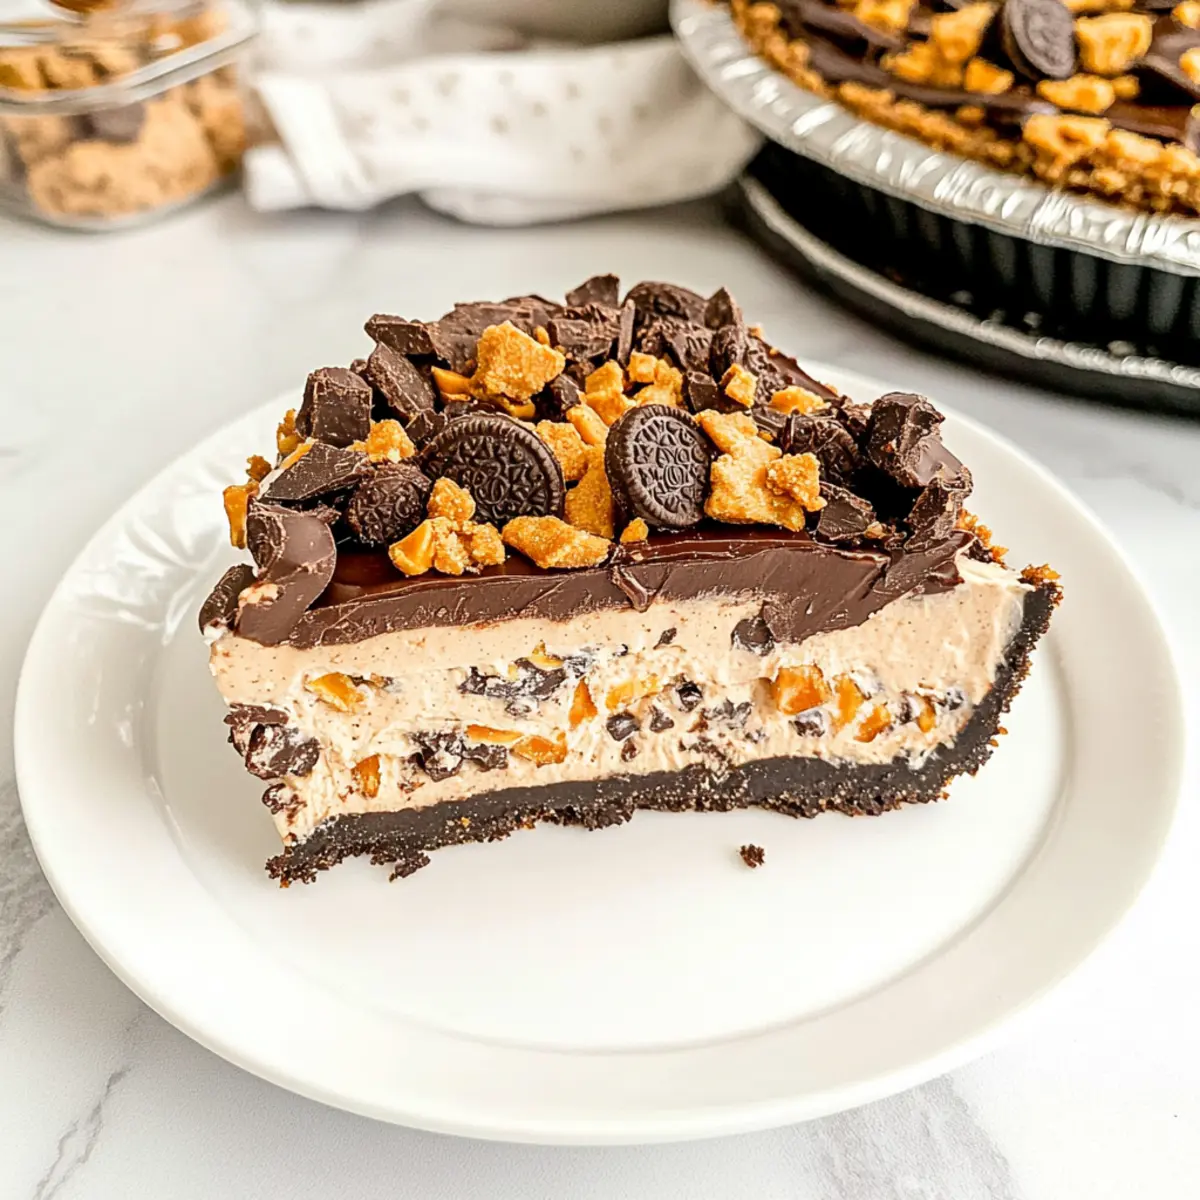
In a mixing bowl, combine Oreo cookie crumbs, melted unsalted butter, and a pinch of salt until well mixed. Press this mixture firmly into the bottom and up the sides of a greased 9-inch pie pan. Use the back of a measuring cup to ensure a smooth, even layer. Chill the crust in the refrigerator for at least 15 minutes, allowing it to set and firm up.
Step 2: Make the Creamy Filling
In a large mixing bowl, beat together cream cheese and creamy peanut butter until smooth and creamy. Gradually add powdered sugar, mixing until fully incorporated. Gently fold in the chopped Butterfingers and Cool Whip, ensuring everything is evenly distributed. This delicious filling will create the luscious base of your Butterfinger Pie, so take your time to achieve a light and fluffy texture.
Step 3: Layer the Pudding
In a separate bowl, whisk together the chocolate fudge pudding mix and whole milk until it’s thickened and smooth—this should take about 2 minutes. Carefully spread the pudding over the cream cheese filling layer in the pie crust, creating a beautiful contrast in colors. The thick pudding layer adds a rich chocolaty finish to your Butterfinger Pie, making it even more irresistible!
Step 4: Top and Chill
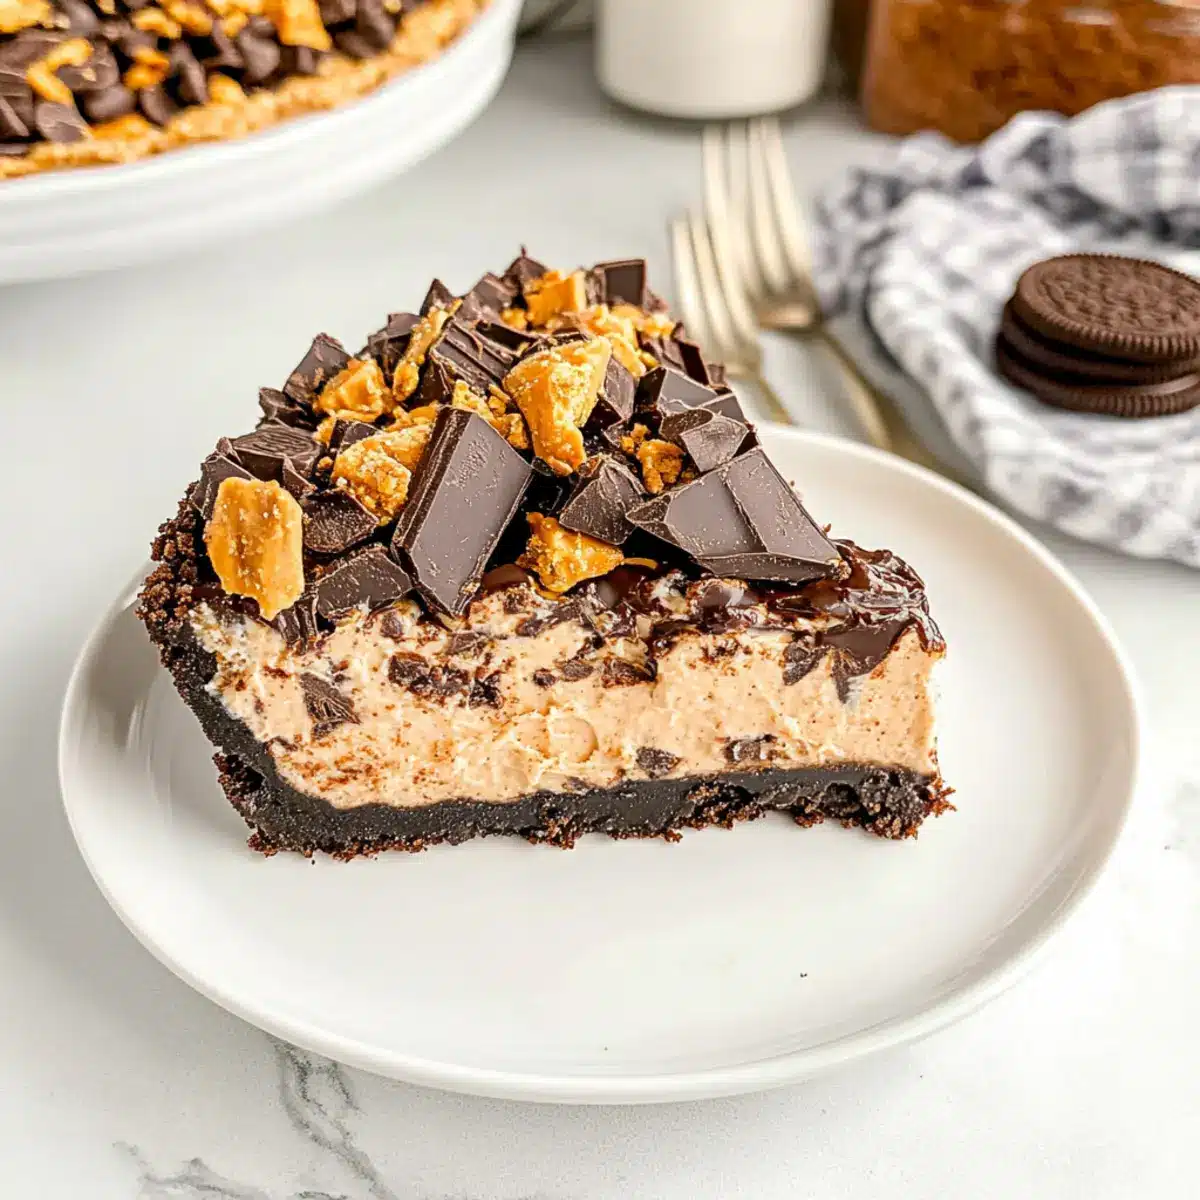
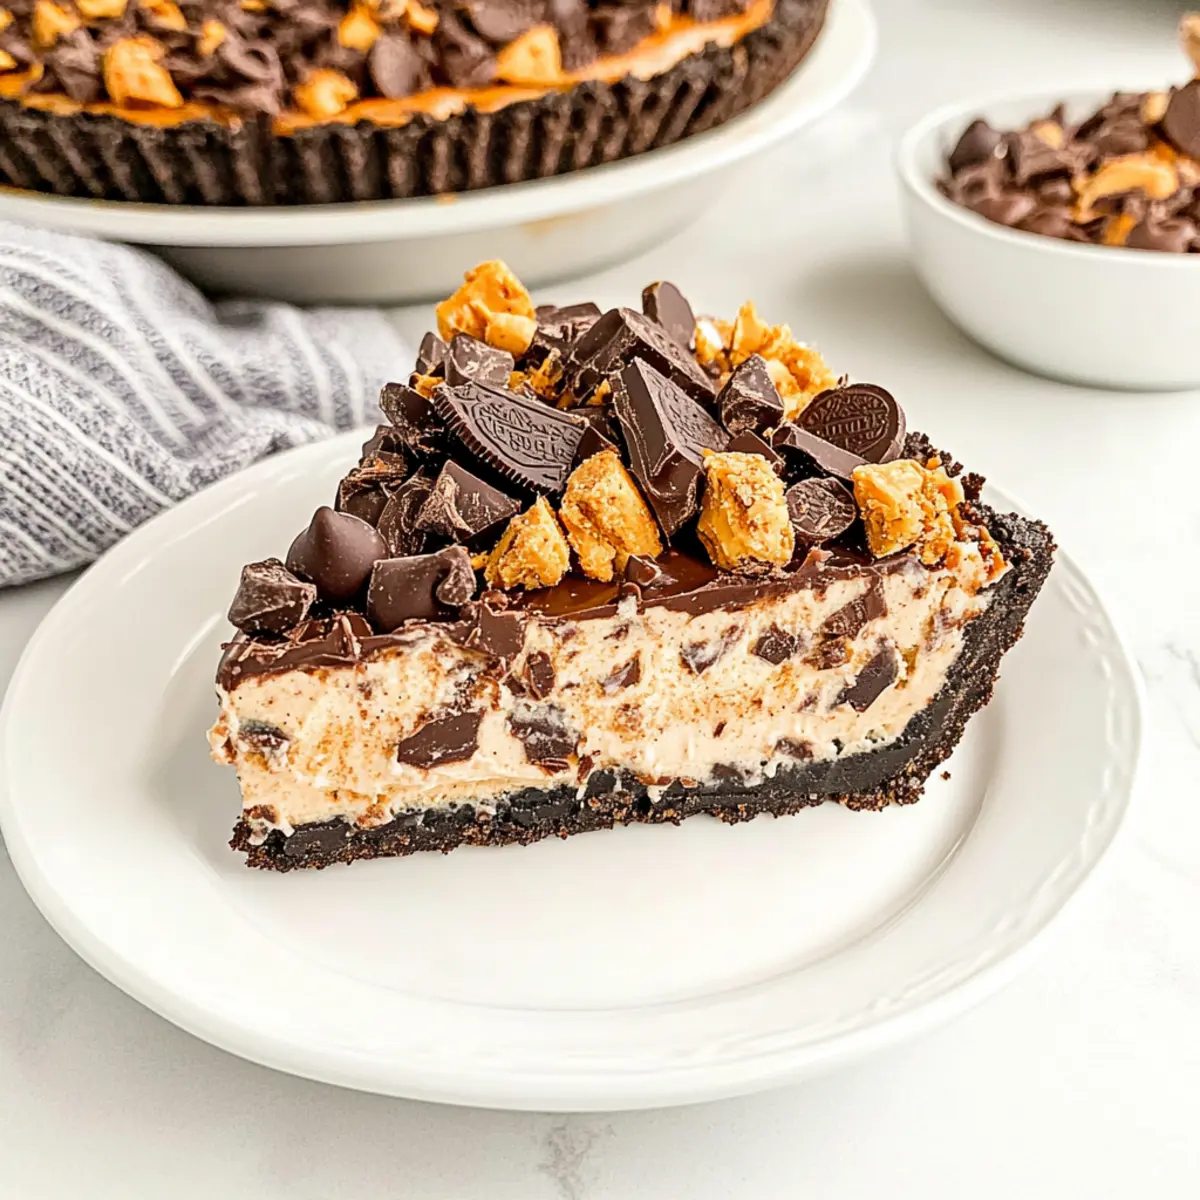
Spread the remaining Cool Whip over the pudding layer, smoothing it out for a lovely, even surface. To finish, sprinkle additional chopped Butterfingers and semi-sweet chocolate chips on top, creating a delightful crunch and visual appeal. Drizzle chocolate syrup in a decorative manner over the topping. Cover the pie with plastic wrap and chill in the refrigerator for at least 4 hours, or overnight for the best results.
Step 5: Serve and Enjoy
Once chilled, slice your Butterfinger Pie into generous pieces, revealing its stunning layers. Each slice promises a delightful combination of textures, from the crunchy Oreo crust to the creamy filling and rich pudding. Serve cold and watch as family and friends indulge in this heavenly no-bake treat—perfect for any occasion!
Storage Tips for Butterfinger Pie
Fridge: Store leftover Butterfinger Pie in an airtight container for up to 3-5 days to maintain freshness and flavor.
Freezer: For longer storage, you can freeze the pie for up to one month. Wrap it well in plastic wrap, then aluminum foil, to prevent freezer burn.
Thawing: When ready to enjoy, thaw the pie in the refrigerator for several hours or overnight before serving. This helps retain its creamy texture.
Reheating: Serve cold straight from the fridge or enjoy it slightly frozen for a refreshing dessert experience!
Expert Tips for Butterfinger Pie
- Crust Integrity: Ensure your Oreo crust is well-pressed; a firm base holds up best when slicing the pie.
- Use Full-Fat Cream Cheese: Opt for full-fat cream cheese to achieve the desired creamy richness; low-fat can result in a less satisfying texture.
- Chill Time Matters: Be patient with the chilling time; allow at least 4 hours for the layers to set perfectly, enhancing the flavor.
- Serving Temperature: For a fun twist, serve the Butterfinger Pie slightly frozen; it takes on an ice cream texture that adds a delightful surprise!
- Customize Wisely: Feel free to switch pudding flavors, but remember that chocolate or peanut butter mixes pair beautifully with the Butterfinger flavor.
Butterfinger Pie Variations & Substitutions
Eager to make this Butterfinger Pie your own? These delightful twists can elevate your dessert game and tickle your taste buds!
-
Nut-Free: Substitute peanut butter with sun butter or a nut-free blend for a deliciously safe alternative.
-
Dairy-Free: Use dairy-free cream cheese and whipped topping, paired with your choice of coconut or almond milk for the pudding layer. The flavor remains rich!
-
Chocolate Lovers: Swap the chocolate pudding for chocolate cheesecake pudding mix to add an extra layer of decadence to your pie.
-
Fruit Fusion: Incorporate fresh banana slices on top or between layers for a fruity twist that pairs beautifully with the rich flavors.
-
Crunchy Layer: Add a layer of crushed pretzels or toffee bits mixed in with your Butterfinger chunks for a delightful textural contrast. It’ll bring a satisfying crunch to every bite!
-
Layered Delight: Create a stunning trifle version by layering the ingredients in a glass dish instead of a pie. Perfect for parties and it looks so elegant!
-
More Butterfinger: Amp up the indulgence by increasing the amount of chopped Butterfingers or mixing in some Butterfinger baking chips for even more peanut butter chocolate goodness.
If you’re loving the no-bake aspect, consider trying these wonderful Pumpkin Pie Tacos that also require no oven time for an autumn twist! And if you crave more crunch, these easy Biscoff Rice Krispie treats are a delight the whole family will adore!
What to Serve with No Bake Butterfinger Pie
Indulging in a slice of this creamy delight is just the start—let’s elevate your dessert experience with perfect pairings!
-
Whipped Cream: A dollop of freshly whipped cream adds lightness that beautifully balances the pie’s richness. It’s a classic choice with a touch of elegance!
-
Fresh Berries: Juicy strawberries or raspberries introduce a refreshing tartness that cuts through the sweetness, making every bite more interesting.
-
Chocolate Chip Cookies: Serve alongside warm chocolate chip cookies for a fun dessert platter. This delicious duo makes for a delightful textural contrast!
-
Ice Cream: Vanilla or peanut butter ice cream creates a delightful creaminess when paired with the crunchy pie. The cold melts into the luscious filling—pure bliss!
-
Coffee: A cup of freshly brewed coffee pairs perfectly, enhancing the chocolate and peanut butter flavors while providing a warm contrast on cooler days.
-
Chocolate Syrup Drizzle: A drizzle of chocolate syrup on the plate allows guests to enhance each slice. This adds a little extra chocolatey goodness for those who crave more.
-
Chilled Milk: A classic glass of cold milk is the ultimate pairing. It complements the pie’s rich flavors and refreshes your palate after each indulgent bite.
-
Caramel Sauce: Drizzling caramel sauce over your slice adds a sweet twist that harmonizes beautifully with the pie’s flavors.
Let your creativity shine, and mix and match these delightful pairings for the ultimate dessert experience that will wow your loved ones!
Make Ahead Options
This No Bake Butterfinger Pie is a fantastic choice for busy home cooks looking to save time during hectic weeks! You can prepare the crust and filling up to 24 hours in advance. To do this, simply follow the crust and filling instructions, assemble the pie (minus the final toppings), and cover it tightly with plastic wrap before refrigerating. Be sure to add the Cool Whip, chopped Butterfingers, chocolate chips, and chocolate syrup just before serving to maintain that delightful crunch and presentation. This way, you’ll have an impressive dessert ready when you need it—perfect for last-minute gatherings or family movie nights!
No Bake Butterfinger Pie Recipe FAQs
How do I select ripe ingredients for my No Bake Butterfinger Pie?
Absolutely! While this recipe primarily focuses on pantry staples, ensuring your Butterfinger candies are fresh is key. Check for any dark spots or uneven textures on the bars that may suggest age. Other fresh ingredients like cream cheese should be within their expiration date and free of any lumps when used.
How should I store leftovers of the Butterfinger Pie?
Store your leftover Butterfinger Pie in an airtight container in the refrigerator, where it will stay fresh for up to 3-5 days. If you want to save some for later, wrap it tightly in plastic wrap and then place it in a container to keep it secure from freezer burn.
Can I freeze the Butterfinger Pie? If so, how do I do it?
Certainly! To freeze your Butterfinger Pie, first, make sure it’s completely set in the fridge. Then, wrap it tightly in plastic wrap followed by aluminum foil to protect it from freezer burn. It can be frozen for up to one month. When you’re ready to enjoy it, simply thaw it in the refrigerator for several hours or overnight before serving.
What should I do if my filling is too runny?
Well, if you find that your filling isn’t thickening up as desired, make sure you’re mixing the pudding correctly; it should be whisked with milk for about 2 minutes until it’s fully thickened. If it still seems too runny, you can add a little extra powdered sugar or re-whisk it gently to help achieve the right consistency; this can happen if the filling hasn’t been chilled adequately as well.
Are there any dietary considerations I should be aware of?
Definitely! If someone in your family has nut allergies, you can substitute the creamy peanut butter with a sunflower seed spread or a nut-free alternative. Additionally, keep in mind that this recipe contains dairy products; for a dairy-free version, you can use plant-based cream cheese and alternatives to Cool Whip (check for appropriate non-dairy whipped toppings). Always check labels if allergies are a concern!
How do I ensure my Oreo crust holds its shape?
Very good question! Press the Oreo cookie crumb mixture firmly into the pie pan using the back of a measuring cup; this helps create a solid and well-formed crust. Make sure to chill the crust for at least 15 minutes before adding the filling; this step is essential for ensuring it holds its shape when slicing your finished Butterfinger Pie.
Indulge in Creamy Butterfinger Pie Without the Oven
Ingredients
Equipment
Method
- In a mixing bowl, combine Oreo cookie crumbs, melted unsalted butter, and a pinch of salt until well mixed. Press this mixture firmly into the bottom and up the sides of a greased 9-inch pie pan. Chill the crust in the refrigerator for at least 15 minutes.
- In a large mixing bowl, beat together cream cheese and creamy peanut butter until smooth and creamy. Gradually add powdered sugar, mixing until fully incorporated. Gently fold in the chopped Butterfingers and Cool Whip.
- In a separate bowl, whisk together the chocolate fudge pudding mix and whole milk until it’s thickened and smooth. Carefully spread the pudding over the cream cheese filling layer in the pie crust.
- Spread the remaining Cool Whip over the pudding layer. Top with additional chopped Butterfingers and semi-sweet chocolate chips, and drizzle with chocolate syrup. Chill in the refrigerator for at least 4 hours.
- Slice your Butterfinger Pie into generous pieces and serve cold.
Leave a Reply