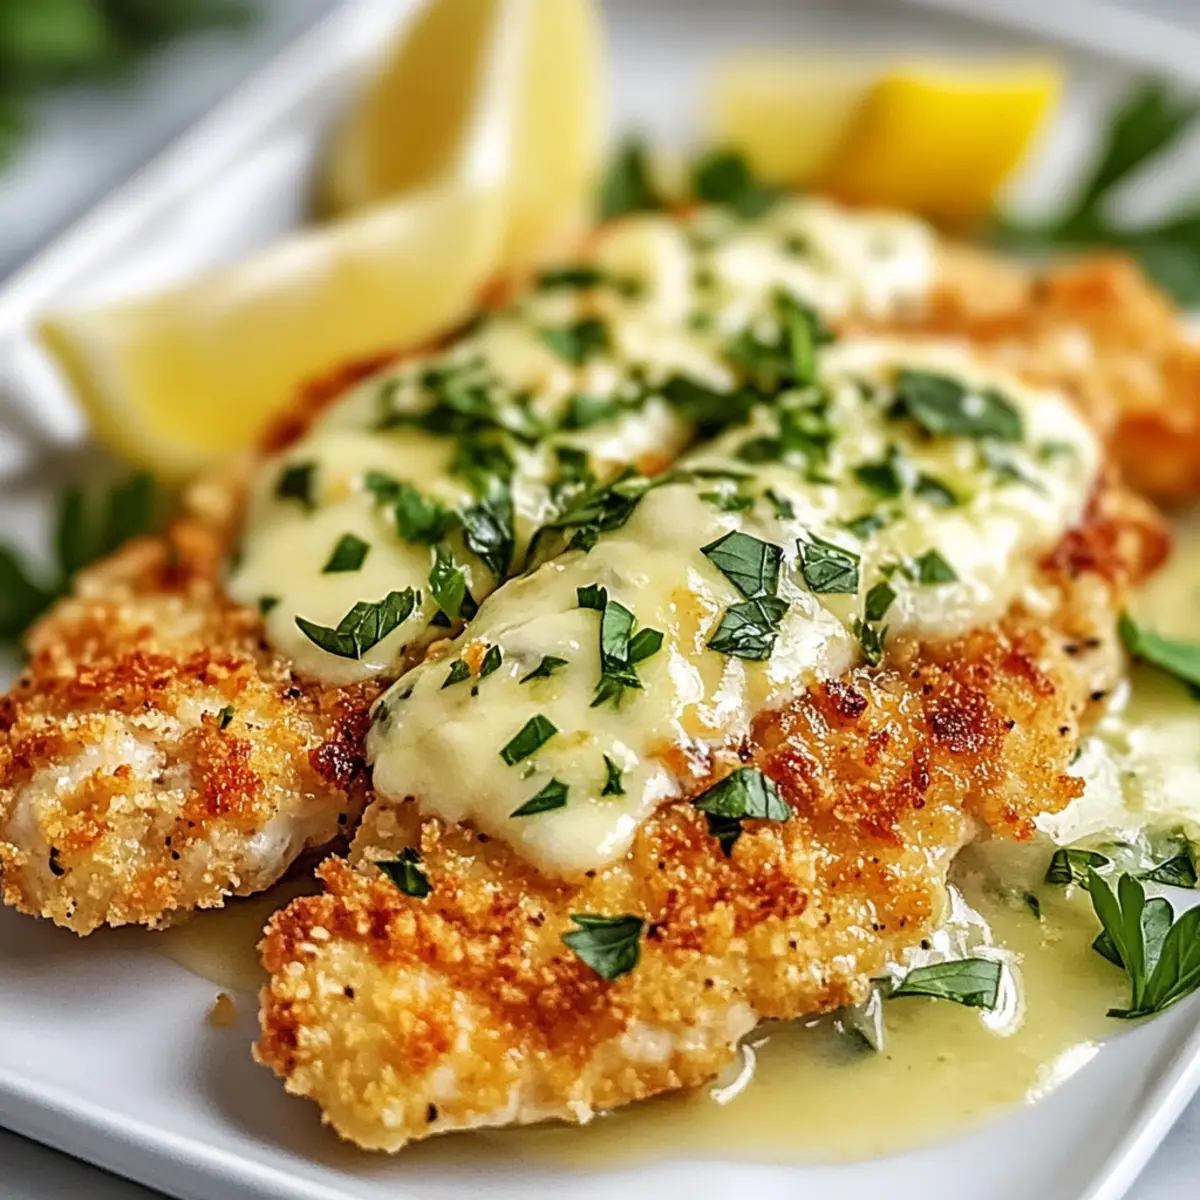
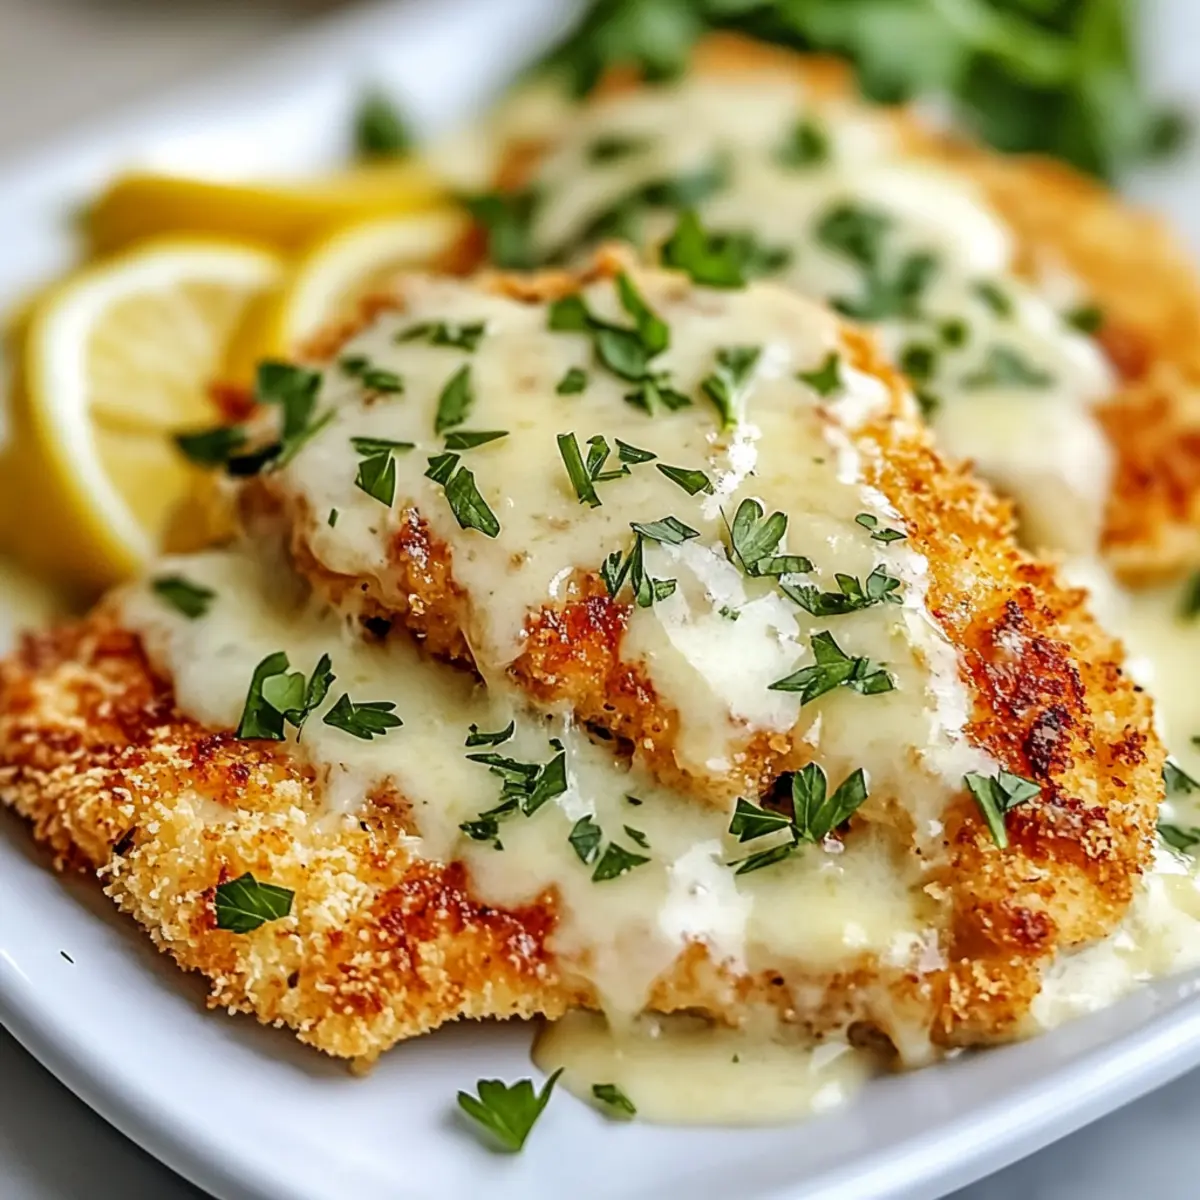
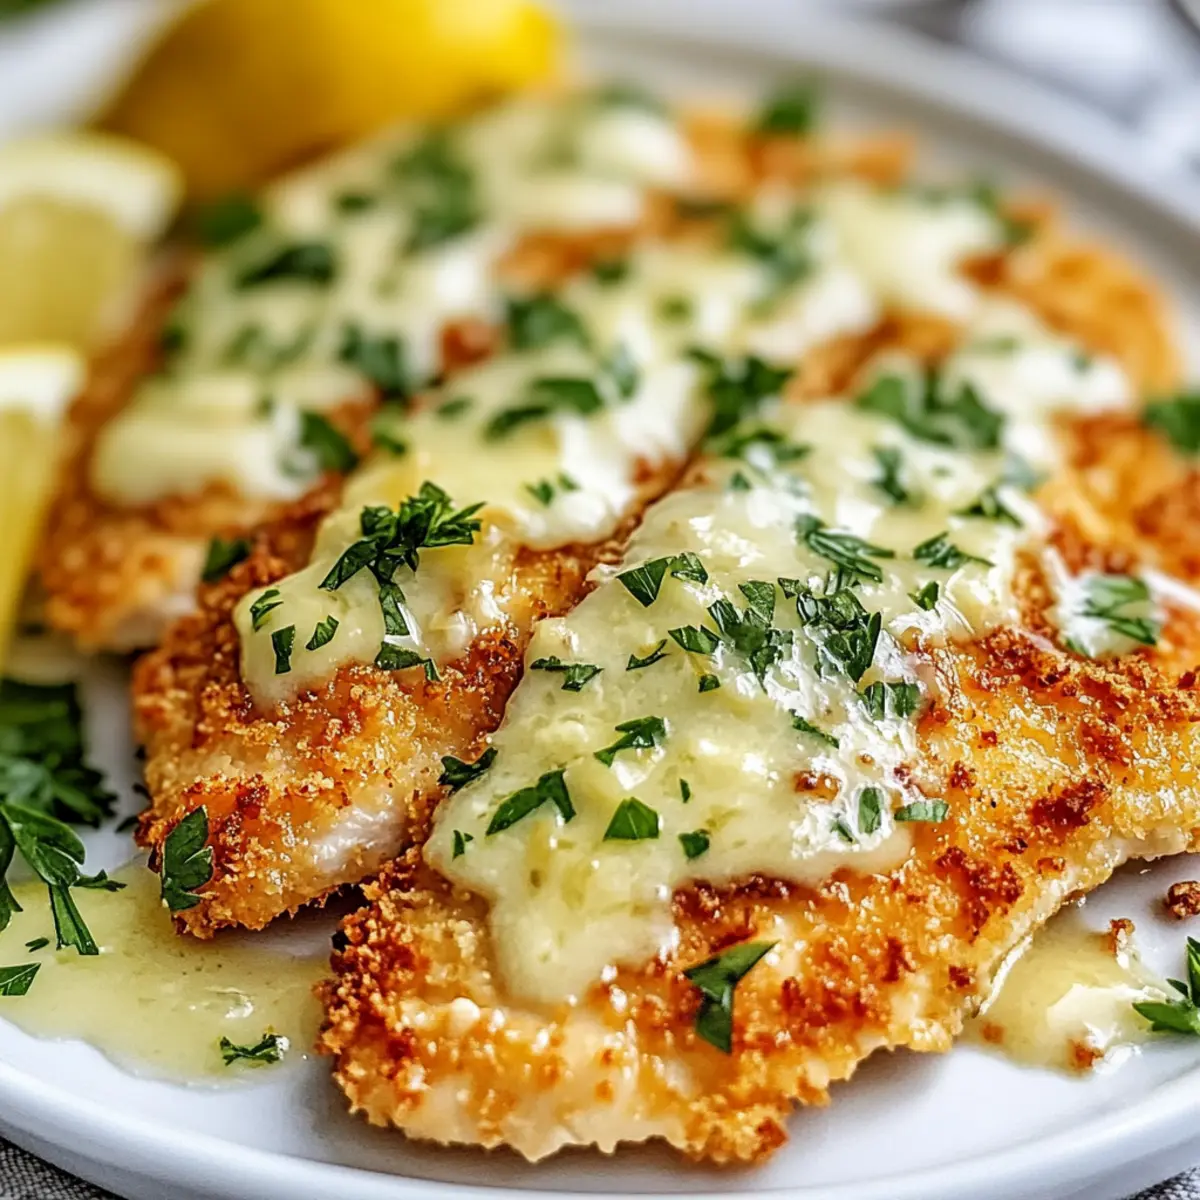
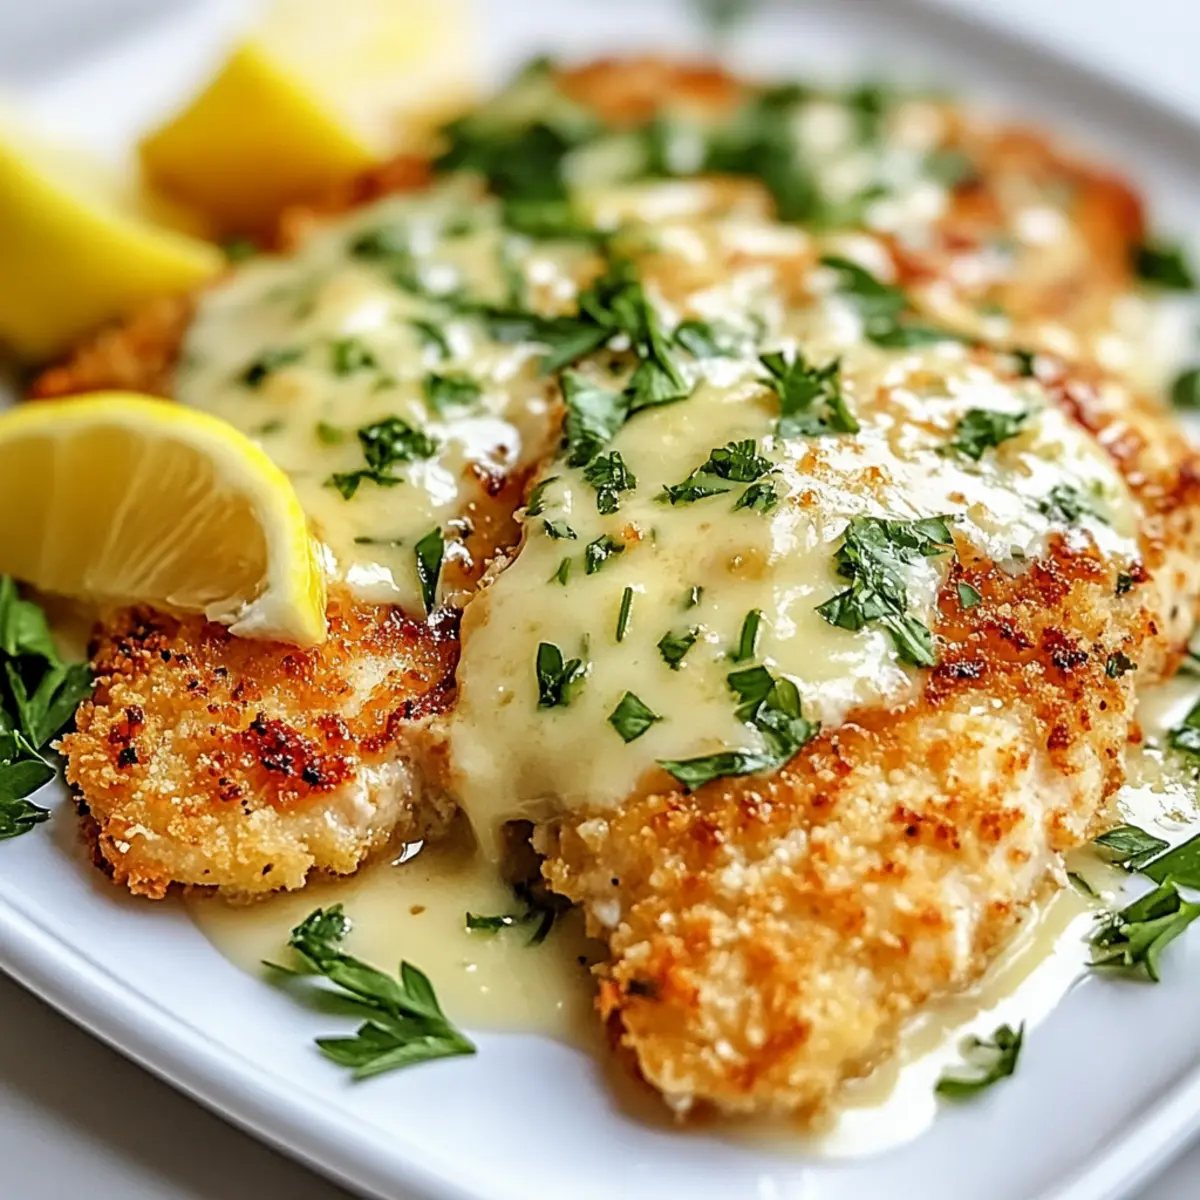
Once, while indulging in a dreamy meal at the Cheesecake Factory, I stumbled upon a dish that made my taste buds dance—the Crusted Chicken Romano. This home-cooked version is a delightful spin on that iconic flavor, packed with crispy panko and gooey mozzarella. Not only is it incredibly easy to prepare—taking just 30 minutes—but it’s also a warm hug of comfort food that will impress anyone around your dinner table. Plus, with a gluten-free option available, there’s room for everyone to join in on the fun! Curious to see how this tantalizing dish transforms simple ingredients into a restaurant-worthy experience right in your own kitchen? Let’s dive in!

Why is This Chicken Recipe a Must-Try?
Simplicity makes this dish achievable for home cooks of all skill levels. With just a few basic ingredients, you can whip up a delicious meal faster than a takeout order!
Crispy Perfection is guaranteed with the panko breading, providing that delightful crunch that we all adore.
Comforting Flavor shines through with the savory Romano cheese and gooey mozzarella, making it a family favorite that kids will love.
Versatile Options allow you to customize with gluten-free substitutes or different cheeses for unique twists. Imagine a Greek Chicken Burger for a fresh take on flavors!
Quick Cooking means you can serve this dish in just 30 minutes—perfect for busy weeknights. Whether paired with creamy mashed potatoes or a fresh salad, it’s sure to wow your guests.
Don’t forget to check out the expert tips to enhance your cooking experience!
Cheesecake Factory Crusted Chicken Romano Ingredients
For the Chicken
• Chicken Breasts – Slice lengthwise to ensure quick cooking and tenderness.
• Salt – Essential for enhancing flavor; adjust to your liking.
• Pepper – Adds a touch of mild heat; feel free to adjust to taste.
For the Coating
• All-Purpose Flour – The base for helping breadcrumbs stick; gluten-free flour works well too.
• Egg – Binds the coating together, ensuring a lovely crust.
• Panko Bread Crumbs – Creates that coveted crispy texture; regular breadcrumbs can be used in a pinch.
• Grated Romano Cheese – Infuses amazing savory flavor into the breading; swap with Parmesan for a different taste.
• Fresh Parsley – Brightens the dish with flavor and color; completely optional but adds a nice touch.
• Lemon Zest – Offers a burst of brightness; fresh lemon juice can serve as a tasty substitute.
For Frying
• Avocado Oil or Olive Oil – Use for frying; avocado oil has a higher smoke point, making it great for frying.
For the Topping
• Shredded Mozzarella Cheese – Adds a rich, melty layer on top; feel free to substitute with provolone for a different twist.
Curious about how these ingredients magically come together to create the Cheesecake Factory Crusted Chicken Romano? Let’s get to the cooking!
Step‑by‑Step Instructions for Cheesecake Factory Crusted Chicken Romano
Step 1: Prepare the Chicken
Begin by slicing the chicken breasts lengthwise into cutlets, making sure they are even in thickness for consistent cooking. Season both sides generously with salt and pepper. This step is crucial for enhancing flavor—set the prepared chicken aside while you gather the coating ingredients.
Step 2: Set Up the Breading Station
Arrange three bowls in a row to create your breading station. In the first bowl, place the all-purpose flour. In the second bowl, beat an egg until well combined. Finally, in the third bowl, mix together panko breadcrumbs, grated Romano cheese, chopped fresh parsley, and lemon zest. This flavorful combination will provide the perfect crispy coating.
Step 3: Dredge the Chicken
Take each chicken cutlet and coat it first in the flour, shaking off any excess. Next, dip the floured cutlet into the beaten egg, ensuring it’s fully covered. Lastly, press it into the panko mixture, flipping it to coat both sides evenly. This process will create a layer of delightful crunch on your Cheesecake Factory Crusted Chicken Romano.
Step 4: Cook the Chicken
Heat a large skillet over medium heat and add enough avocado or olive oil to cover the bottom. Once the oil shimmers, gently place the breaded chicken cutlets into the skillet. Cook each for about 4-5 minutes on each side until they reach a golden-brown color and are cooked through. Look for an internal temperature of 165°F for perfectly juicy chicken.
Step 5: Add the Cheese
Once the chicken cutlets are golden and done, sprinkle a generous amount of shredded mozzarella cheese on top of each cutlet. Cover the skillet with a lid and let it cook for an additional 2-3 minutes. The steam will help the cheese melt into a creamy, bubbling topping that adds richness to the Cheesecake Factory Crusted Chicken Romano.
Step 6: Garnish and Serve
Carefully transfer the cheesy, crispy chicken onto a serving platter. Garnish with freshly chopped parsley and lemon wedges for a pop of color and extra flavor. Serve this indulgent dish immediately, alongside your favorite sides like creamy mashed potatoes or a crisp salad. Enjoy every bite of this comforting yet elegant meal!

Expert Tips for Cheesecake Factory Crusted Chicken Romano
-
Oil Temperature: Ensure the oil is hot enough before adding the chicken. You can test it by dropping in a bit of batter; it should sizzle immediately. This prevents soggy crusts.
-
Check Doneness: Use a meat thermometer to check that chicken reaches 165°F (75°C). This ensures it’s cooked through and remains juicy.
-
Chill for Adhesion: If you plan to bread the chicken ahead of time, refrigerate it for a couple of hours. Chilling helps the coating adhere better during cooking.
-
Baking Option: For a healthier twist, skip frying and bake the chicken! Simply preheat your oven to 400°F (200°C) and bake for 20-25 minutes until golden.
-
Customization: Feel free to experiment! You can use different cheeses or add spices like chili flakes in your breadcrumb mixture to elevate the flavors of your Cheesecake Factory Crusted Chicken Romano.
What to Serve with Cheesecake Factory Crusted Chicken Romano
Elevate your delightful chicken dish with the perfect sides that complement every juicy, crispy bite.
-
Creamy Mashed Potatoes: Their buttery texture pairs wonderfully, soaking up the flavors from the chicken. The warmth adds an inviting touch to your plate, making this combo comforting and satisfying.
-
Garlic Roasted Asparagus: Crisp-tender asparagus offers a fresh, bright contrast and a pop of color on your dinner table. Tossed with garlic and a hint of lemon, they enhance the savory notes of the chicken beautifully.
-
Fresh Green Salad: A mix of crunchy greens with a light vinaigrette balances the richness of the dish. It adds a refreshing crunch while providing essential nutrients, so you can feel good about every bite.
-
Lemon Garlic Rice: Fluffy rice infused with zesty lemon and garlic serves as a delightful base for the chicken. This side adds a lovely aromatic element and retains simplicity without overwhelming the palate.
-
Roasted Brussels Sprouts: Their earthy flavor and slightly charred exterior create a perfect harmony with the crispy chicken. Tossed with balsamic vinegar, they add a touch of sweetness that enhances every bite.
-
Chilled White Wine: A crisp Sauvignon Blanc or a lightly chilled Pinot Grigio complements the savory flavors and adds a refreshing twist to your meal. Its acidity will invigorate your senses, making it the ideal pairing to enhance enjoyment.
-
Tiramisu for Dessert: To round off your meal, treat yourself to the classic Italian dessert. The rich, coffee-infused layers provide a delightful sweetness that leaves a lasting impression after the indulgent chicken.
Storage Tips for Cheesecake Factory Crusted Chicken Romano
Fridge: Store leftovers in an airtight container for up to 3 days. This keeps the chicken moist and the coating crispy for your next meal.
Freezer: For longer storage, freeze the breaded cutlets in a single layer on a baking sheet before transferring them to a freezer bag. They can be frozen for up to 3 months.
Reheating: To maintain that beloved crispiness, reheat in the oven at 375°F (190°C) for about 10-15 minutes. Avoid microwaving, as it can make the coating soggy.
Thawing: When ready to use frozen Cheesecake Factory Crusted Chicken Romano, thaw in the fridge overnight for best results before reheating.
Cheesecake Factory Crusted Chicken Romano Variations
Feel free to get creative with this delicious recipe, and let your taste buds guide you!
-
Dark Meat Option: Swap chicken breasts for thighs to introduce more juicy, rich flavor.
-
Gluten-Free Twist: Replace all-purpose flour and panko with gluten-free alternatives, ensuring everyone can indulge.
-
Cheese Variety: Experiment with different cheeses like provolone, gouda, or a blend for unique flavors. Imagine that creamy gouda melting atop your chicken!
-
Spicy Kick: Add chili flakes or cayenne pepper to the breadcrumb mixture to give your dish a tasty, fiery edge.
-
Herb Infusion: Incorporate dried or fresh herbs like Italian seasoning or thyme into the breading for a herbaceous touch that’s simply delightful.
-
Zesty Variation: Use lime zest instead of lemon for a tropical twist that brightens the dish in a fresh way.
-
Veggie-Packed: For a heartier meal, layer sautéed spinach or roasted red peppers on top of the chicken before adding mozzarella cheese.
-
Quick Bake: Instead of frying, oven-bake the chicken at 400°F for 20-25 minutes. It’s a healthier option that still gets that crispy finish, paired wonderfully with a side of Garlic Butter Chicken.
Make Ahead Options
These Cheesecake Factory Crusted Chicken Romano cutlets are perfect for meal prep enthusiasts! You can bread the chicken up to 24 hours in advance by following the dredging steps and then refrigerating the breaded cutlets. This not only saves time but also allows the coating to adhere better, resulting in a perfectly crispy exterior when cooked. When you’re ready to serve, simply heat oil in a skillet and cook the cutlets for about 4-5 minutes on each side until golden brown, then add the mozzarella and cover to melt. By prepping ahead, you’ll enjoy the same delicious flavors while saving precious time during busy weeknights!

Cheesecake Factory Crusted Chicken Romano Recipe FAQs
What type of chicken is best for this recipe?
Absolutely, chicken breasts are the preferred choice for this Cheesecake Factory Crusted Chicken Romano due to their quick cooking time and tenderness. However, chicken thighs can also be used for additional juiciness. Just ensure that you adjust cooking times accordingly—thighs may take a minute or two longer.
How long can I store leftovers?
Leftovers can be kept in an airtight container in the fridge for up to 3 days. If you want to maintain the crispy texture, I recommend reheating them in the oven rather than the microwave. Just warm them at 375°F (190°C) for about 10-15 minutes, and they’ll be almost as good as fresh!
Can I freeze the chicken after cooking?
Yes! For longer storage, freeze the breaded and cooked cutlets in a single layer on a baking sheet. Once frozen solid, transfer them to a freezer-safe bag and they can last for up to 3 months. When you’re ready to enjoy them again, simply thaw in the fridge overnight before reheating in the oven to keep that delightful crunch.
What should I do if my chicken coating is soggy?
Very common! If you notice your coating is soggy before cooking, try these tips: First, make sure your oil is hot enough—test it with a drop of batter. If you’re prepping ahead, chilling the breaded chicken for a couple of hours in the fridge can also improve adhesion and crispiness during cooking. Finally, if baking instead of frying, make sure to space out the cutlets on the baking sheet to allow for proper airflow.
Is this dish suitable for gluten-free diets?
Yes, it can be! Simply substitute all-purpose flour with a gluten-free flour blend and use gluten-free panko breadcrumbs for the coating. This way, everyone can enjoy a version of the Cheesecake Factory Crusted Chicken Romano without worry.

Crispy Cheesecake Factory Crusted Chicken Romano at Home
Ingredients
Equipment
Method
- Slice the chicken breasts lengthwise into cutlets and season with salt and pepper.
- Set up breading station with flour, beaten egg, and a mixture of panko, Romano cheese, parsley, and lemon zest.
- Dredge each chicken cutlet in flour, then egg, and finally in panko mixture.
- Heat oil in a skillet and cook chicken cutlets for 4-5 minutes on each side until golden and cooked through.
- Sprinkle mozzarella cheese on top of each cutlet, cover, and cook for 2-3 minutes until melted.
- Transfer to a serving platter, garnish with parsley and lemon wedges, and serve immediately.

Leave a Reply