
As the evening sun begins to cast its warm glow in my kitchen, the scent of spices mingling with melted cheese fills the air—my heart knows it’s time for something special. Enter my Cheesy White Chicken Enchilada Skillet, a delightful twist on a traditional favorite that’s sure to become a family staple. The beauty of this creamy chicken skillet is not just in its comforting flavor, but in its effortless preparation, making it the perfect solution for busy weeknights when time is short. With tender chicken, sweet corn, and a rich, zesty sauce, this dish will have everyone gathering around the table, savoring each delicious bite. Ready to dive into a cozy, mouthwatering meal that feels like a warm hug? Let’s whip up some magic together!
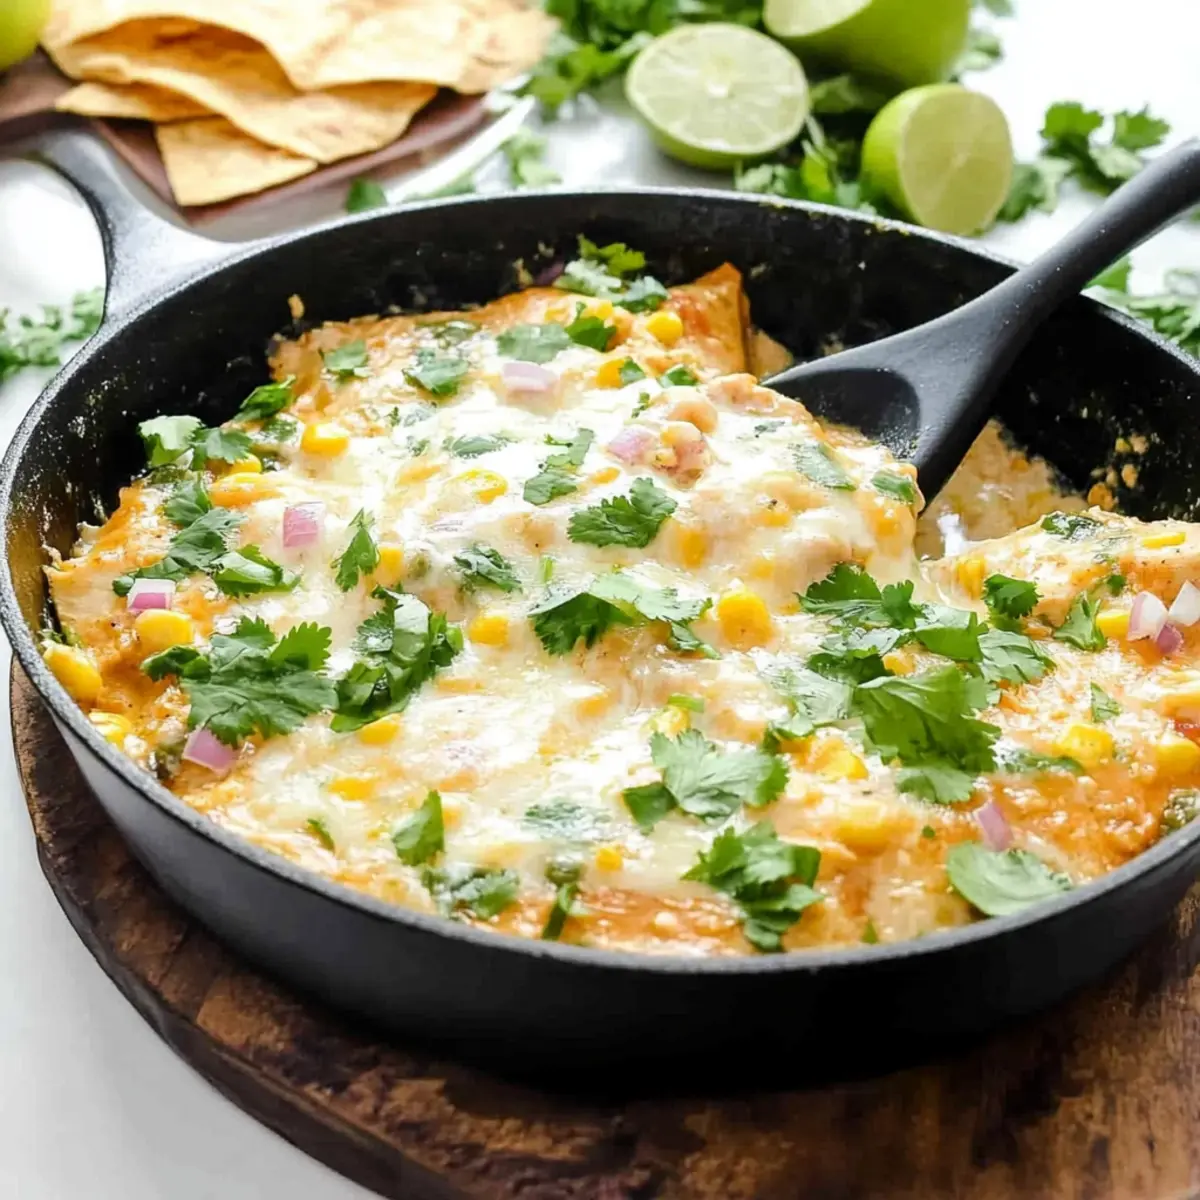
Why is this skillet dinner irresistible?
Ease of Preparation: This recipe is a breeze, making it perfect for busy weeknights — just one pan required!
Mouthwatering Flavor: The rich, creamy sauce infused with spices elevates this dish, ensuring each bite is a delight.
Family-Friendly: Packed with tender chicken and melted cheese, it’s a sure hit for both kids and adults. Want to try another crowd-pleaser? Check out my [Cheesy Cajun Skillet](https://cookingismylife.com/cheesy-cajun-garlic-chicken-rotini-skillet/) for a flavor-packed alternative!
Versatile Options: Customize with your favorite ingredients, like adding veggies or swapping proteins, making it as unique as your taste buds.
Satisfying Comfort Food: This hearty dish not only fills your stomach but warms your heart, making it a true comfort food classic. Enjoy a cozy meal that feels like a warm hug in every bite!
Cheesy White Chicken Enchilada Skillet Ingredients
• For the Skillet
- Shredded Chicken – Provides protein and bulk; use rotisserie chicken for convenience.
- Unsalted Butter – Adds richness and flavor; can substitute with olive oil for a lighter option.
- White Onion (chopped) – Contributes sweetness and aroma; yellow onion can be used as a substitute.
- Corn (canned, drained and rinsed) – Adds sweetness and texture; frozen corn is a good alternative.
- Green Chiles (canned, diced) – Adds mild heat and flavor; substitute with jalapeños for more spice.
- All-Purpose Flour – Thickens the sauce; use cornstarch for a gluten-free option.
- Salt & Black Pepper – Enhances flavors; adjust according to taste.
- Cumin – Adds earthy warmth; replace with taco seasoning if preferred.
- Garlic Powder & Chili Powder – Provide depth and warmth; fresh garlic can be used for more intense flavor.
- Chicken Broth – Base for the sauce that adds moisture; vegetable broth can be used as a substitute.
- Greek Yogurt (plain) – Adds creaminess and tang; sour cream can be a substitute.
- Cream Cheese (whipped) – Contributes creaminess; can use Neufchâtel cheese for a lighter option.
- Corn Tortillas – Forms the base of the enchilada; flour tortillas can be used for a different texture.
- Monterey Jack Cheese (shredded) – Melts beautifully to add creaminess; cheddar cheese is a suitable alternative.
Step‑by‑Step Instructions for Cheesy White Chicken Enchilada Skillet
Step 1: Preheat Your Oven
Begin by preheating your oven to 375°F (190°C). This ensures a hot environment for a perfectly melted and bubbly top. While the oven heats, gather all your ingredients and equipment, including a large oven-safe skillet, for easy accessibility.
Step 2: Sauté the Onion
In your large oven-safe skillet, melt 2 tablespoons of unsalted butter over medium heat. After about 30 seconds, add the chopped white onion and sauté for 3–4 minutes until it turns translucent and fragrant. This step builds the delicious foundation for your Cheesy White Chicken Enchilada Skillet.
Step 3: Create the Roux
Stir in 1/4 cup of all-purpose flour, 1 teaspoon of salt, 1/2 teaspoon of black pepper, 1 teaspoon of cumin, 1 teaspoon of garlic powder, and 1 teaspoon of chili powder. Cook the mixture for about 1 minute until you can smell the spices, stirring constantly to avoid burning. This roux thickens the upcoming sauce perfectly.
Step 4: Whisk in the Broth
Gradually whisk in 2 cups of chicken broth, stirring continuously until the sauce is smooth. Allow it to cook for about 2–3 minutes until it’s slightly thickened and begins to bubble gently. This rich base is key to bringing flavors together in your creamy chicken skillet.
Step 5: Add Creaminess
Once thickened, reduce the heat to low and add 1 cup of plain Greek yogurt, 4 ounces of whipped cream cheese, and 1 can of diced green chiles. Stir until everything is well combined and creamy, letting it simmer for about 5 minutes. This step enhances the flavor profile of your Cheesy White Chicken Enchilada Skillet.
Step 6: Incorporate Chicken and Corn
Next, fold in 2 cups of shredded chicken (rotisserie chicken works great) and 1 can of drained corn into the sauce. Mix until the chicken and corn are fully coated and heated through, about 2–3 minutes. The combination adds hearty textures and flavors that meld beautifully in this dish.
Step 7: Add Tortillas
Cut 6 corn tortillas into quarters and gently fold them into the sauce, spreading them evenly throughout the skillet. Ensure each tortilla is sufficiently coated with the creamy sauce for flavor absorption. This creates that classic enchilada experience in your skillet.
Step 8: Bake to Perfection
Transfer the skillet to your preheated oven and bake uncovered for 10 minutes. This will set the tortillas and meld the flavors together. After this time, sprinkle 1 cup of shredded Monterey Jack cheese on top and bake for an additional 5 minutes until the cheese is melted and bubbly.
Step 9: Broil for a Golden Finish
For an extra touch, broil the skillet for about 1 minute to achieve a beautifully golden and bubbly crust on top. Keep a close eye on it to prevent burning! After broiling, remove the skillet from the oven and let it cool slightly before serving.
Step 10: Serve and Enjoy
Garnish your Cheesy White Chicken Enchilada Skillet with fresh cilantro, jalapeños, or cotija cheese for an added flavor boost. Serve hot, alongside a refreshing side salad or rice for a complete meal that’s both comforting and satisfying!
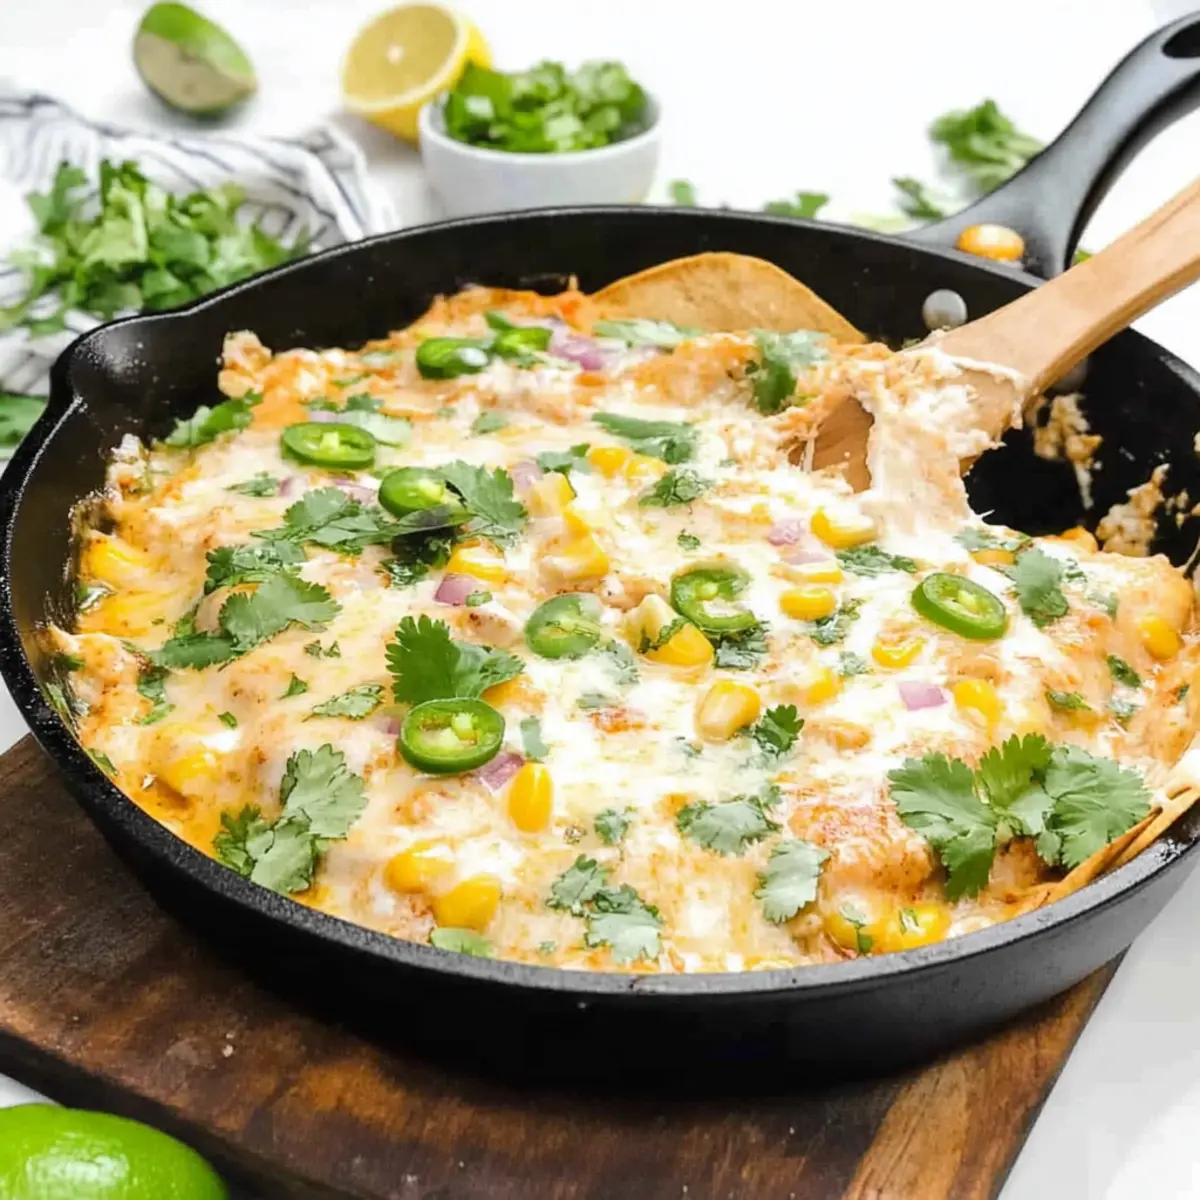
What to Serve with Cheesy White Chicken Enchilada Skillet?
Elevate your meal experience with delightful sides that complement the rich, creamy flavors of this comforting dish.
-
Mexican Rice: This fluffy and flavorful side adds a wonderful texture, soaking up the creamy sauce beautifully.
-
Fresh Cilantro Lime Salad: Crisp greens brighten the plate and provide a zesty contrast to the richness of the enchiladas.
-
Refried Beans: Creamy and hearty, these beans create a satisfying balance, offering extra protein and fiber for a wholesome meal.
-
Street Corn Salad: Sweet corn mixed with tangy dressing and spices adds a vibrant touch, echoing the corn in the skillet while elevating the dish’s flavors. Each bite is a delight!
-
Guacamole and Tortilla Chips: Creamy guacamole adds a rich, buttery flavor alongside crunchy chips, making it a perfect appetizer or side that everyone loves.
-
Pineapple Agua Fresca: This refreshing drink perfectly quenches thirst, while the sweetness of pineapple pairs beautifully with the spicy elements of your cheesy white chicken enchilada skillet.
-
Churros for Dessert: Finish on a sweet note with these crispy, cinnamon-sugar treats that offer a contrast to the savory main course, making for an unforgettable meal!
Make Ahead Options
These Cheesy White Chicken Enchilada Skillets are a fantastic choice for meal prep, saving you time on busy nights! You can prepare the creamy sauce and combine it with the shredded chicken up to 24 hours in advance; simply store the mixture in an airtight container in the refrigerator. When you’re ready to serve, fold in the tortillas, bake for 10 minutes, add the cheese, and then an additional 5 minutes until bubbly and golden. This way, you maintain the dish’s rich flavors and creamy texture, ensuring each bite remains just as delicious as if freshly made. Enjoy the effortless convenience while savoring cozy, home-cooked goodness!
How to Store and Freeze Cheesy White Chicken Enchilada Skillet
Fridge: Refrigerate leftovers in an airtight container for up to 3 days. This will help keep your cheesy white chicken enchilada skillet fresh and flavorful.
Freezer: For longer storage, freeze your skillet meal in an airtight container for up to 3 months. When ready to enjoy, thaw overnight in the refrigerator before reheating.
Reheating: Reheat individual portions in the microwave or warm the entire skillet in the oven at 350°F until heated through, about 15–20 minutes.
Upgrade Leftovers: Add some fresh cheese or a splash of cream before reheating to revitalize its creamy texture and flavor.
Helpful Tricks for Cheesy White Chicken Enchilada Skillet
- Choose Quick Chicken: Use rotisserie chicken to save time; it delivers the flavor without the extra cooking hassle.
- Coat Tortillas Well: Make sure each tortilla piece is fully immersed in the sauce for maximum creaminess and flavor in your cheesy white chicken enchilada skillet.
- Simmer for Depth: Allow the sauce to simmer; this step marries the flavors beautifully, resulting in a rich and hearty dish.
- Spice It Up: Tailor the heat by using different chiles or adding cayenne pepper; customize it to your family’s taste.
- Garnish Generously: Fresh cilantro, jalapeños, or cotija cheese on top enhances the dish’s presentation and flavor, making it even more inviting!
Cheesy White Chicken Enchilada Skillet Variations
Feel free to sprinkle your own magic on this recipe with these delightful twists and substitutions that enhance flavor and accommodate different dietary needs.
- Dairy-Free: Use cashew cream or a non-dairy cream cheese to replace Greek yogurt and cream cheese for a dairy-free version.
- Vegetarian: Substitute shredded chicken with black beans or chickpeas for a hearty, meatless option that’s still full of protein.
- Spicy Twist: Add diced jalapeños or a splash of hot sauce for a kick that satisfies heat lovers. Spice it up your way!
- Extra Veggies: Throw in chopped bell peppers, zucchini, or spinach to elevate nutrition while adding vibrant color to the dish.
- Gluten-Free: Swap all-purpose flour for cornstarch and use corn tortillas that are certified gluten-free to enjoy this dish without worry.
- Cheese Variety: Experiment with a mix of different cheeses, like Pepper Jack for a spicy kick or a smoked cheese for a deeper flavor.
- Pasta Alternative: Skip the tortillas and mix in cooked pasta instead for a unique take that brings a different texture and heartiness to the skillet.
- Chicken Variation: Use turkey or shredded rotisserie duck for a delightful change, introducing different flavors while keeping it easy.
Explore your creativity in the kitchen! If you want to continue enjoying these comforting flavors, try pairing this dish with a light salad or serve alongside the [Cajun White Chicken](https://cookingismylife.com/cajun-white-chicken-chili/) for a delightful dinner spread. Feel free to add your personal touch and make this recipe your own!
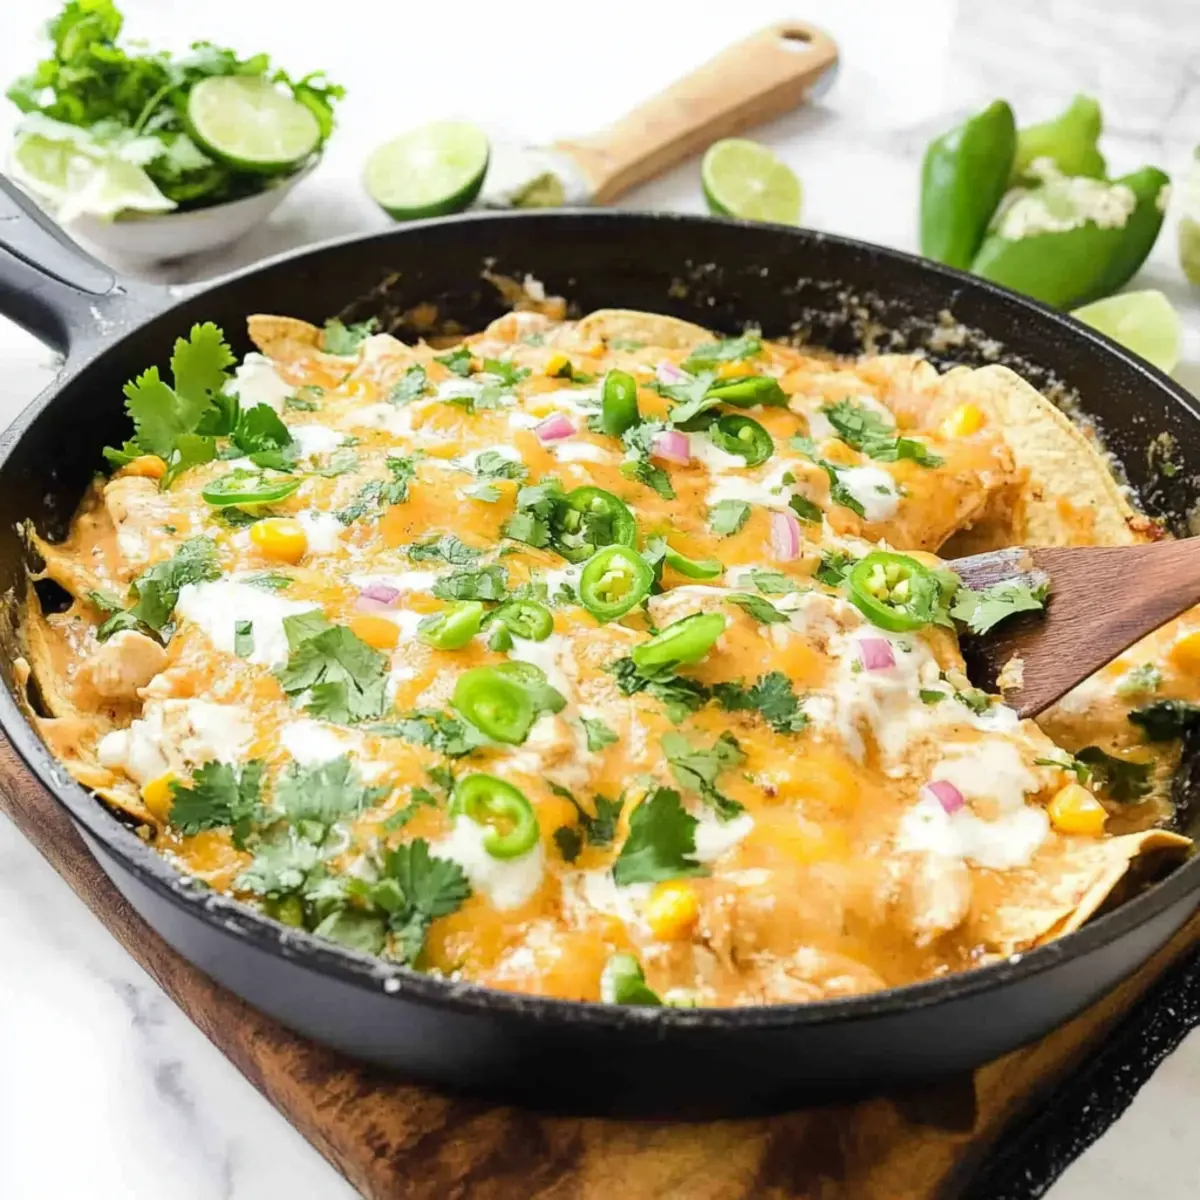
Cheesy White Chicken Enchilada Skillet Recipe FAQs
What kind of chicken should I use for the skillet?
Absolutely! For the best results, I recommend using rotisserie chicken. It not only saves time but also brings a wonderful flavor to your dish. If you don’t have rotisserie chicken on hand, you can also cook and shred your own chicken breasts, which will work just as well!
How can I store leftovers?
Very! Refrigerate any leftovers in an airtight container for up to 3 days to maintain freshness. Ensure the container is sealed tightly to prevent moisture loss and keep the flavors intact.
Can I freeze my cheesy white chicken enchilada skillet?
Yes! To freeze, allow the skillet to cool completely before transferring it to an airtight container. You can freeze it for up to 3 months. When you’re ready to enjoy it, thaw overnight in the refrigerator. For reheating, warm it in the oven at 350°F for about 15–20 minutes until heated through.
What if my sauce is too thick?
Not a problem! If you find your sauce has thickened too much, simply add a splash of chicken broth or even a little bit of milk while stirring over low heat until it reaches your desired consistency. This will add moisture back into the dish without sacrificing flavor.
Can I customize this dish for food allergies?
Absolutely! If you have dietary restrictions, there are great alternatives. For a gluten-free option, you can use cornstarch instead of flour, and for dairy-free, consider using lactose-free cream cheese and yogurt. Be sure to read labels for any pre-packaged ingredients if you have specific allergies.
What are some great add-in options?
Very! Feel free to customize your cheesy white chicken enchilada skillet with additional veggies like bell peppers, spinach, or even black beans for extra protein and nutrition. You can mix and match based on what you have on hand—get creative and make it unique to your family’s taste!
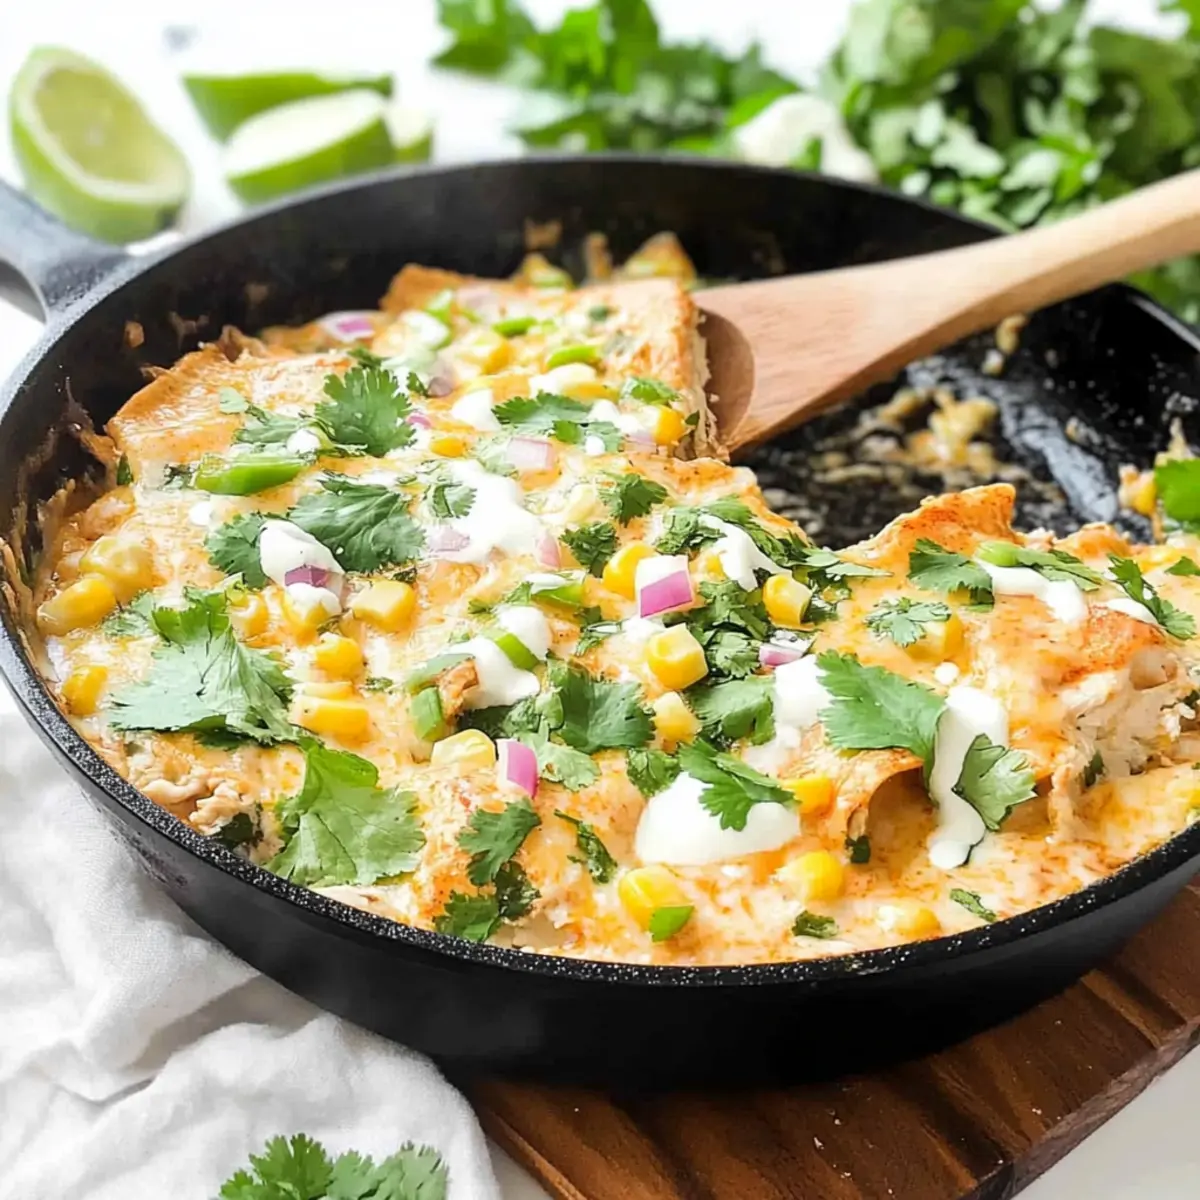
One-Pan Cheesy White Chicken Enchilada Skillet Bliss
Ingredients
Equipment
Method
- Preheat your oven to 375°F (190°C). Gather all your ingredients and equipment.
- Melt 2 tablespoons of unsalted butter in the skillet over medium heat. Add the chopped white onion and sauté for 3–4 minutes until translucent.
- Stir in 1/4 cup of flour, 1 teaspoon of salt, 1/2 teaspoon of black pepper, 1 teaspoon of cumin, 1 teaspoon of garlic powder, and 1 teaspoon of chili powder. Cook for 1 minute.
- Gradually whisk in 2 cups of chicken broth, stirring continuously until the sauce is smooth. Cook for 2–3 minutes until slightly thickened.
- Reduce heat to low and add 1 cup of plain Greek yogurt, 4 ounces of whipped cream cheese, and 1 can of diced green chiles. Stir until combined and creamy.
- Fold in 2 cups of shredded chicken and 1 can of drained corn into the sauce, mix until coated and heated through for about 2–3 minutes.
- Cut 6 corn tortillas into quarters and gently fold them into the sauce, ensuring each tortilla is coated.
- Transfer the skillet to your oven and bake uncovered for 10 minutes. Sprinkle 1 cup of Monterey Jack cheese on top and bake for an additional 5 minutes.
- Optional: Broil for about 1 minute for a golden finish. Let cool slightly before serving.
- Garnish with fresh cilantro, jalapeños, or cotija cheese before serving.
Leave a Reply