
As I stood in my kitchen, the aroma of sizzling spices wrapped around me like a warm hug. This Easy Cheesy Chicken Fajita Casserole brings the bold flavors of traditional fajitas straight to your dinner table, without the fuss of grilling. With tender chicken combined with vibrant peppers and onions, all cloaked in gooey cheese, this dish not only dazzles the taste buds but also delivers a hearty, family-friendly meal. Whether you’re navigating a busy weeknight or preparing for a cozy weekend gathering, it’s quick to whip up and fits seamlessly into gluten-free and low-carb lifestyles. Plus, it can be prepped in advance for even more convenience! Ready to dive into a comforting, satisfying meal that everyone will love? Let me show you how to make this delightful casserole!
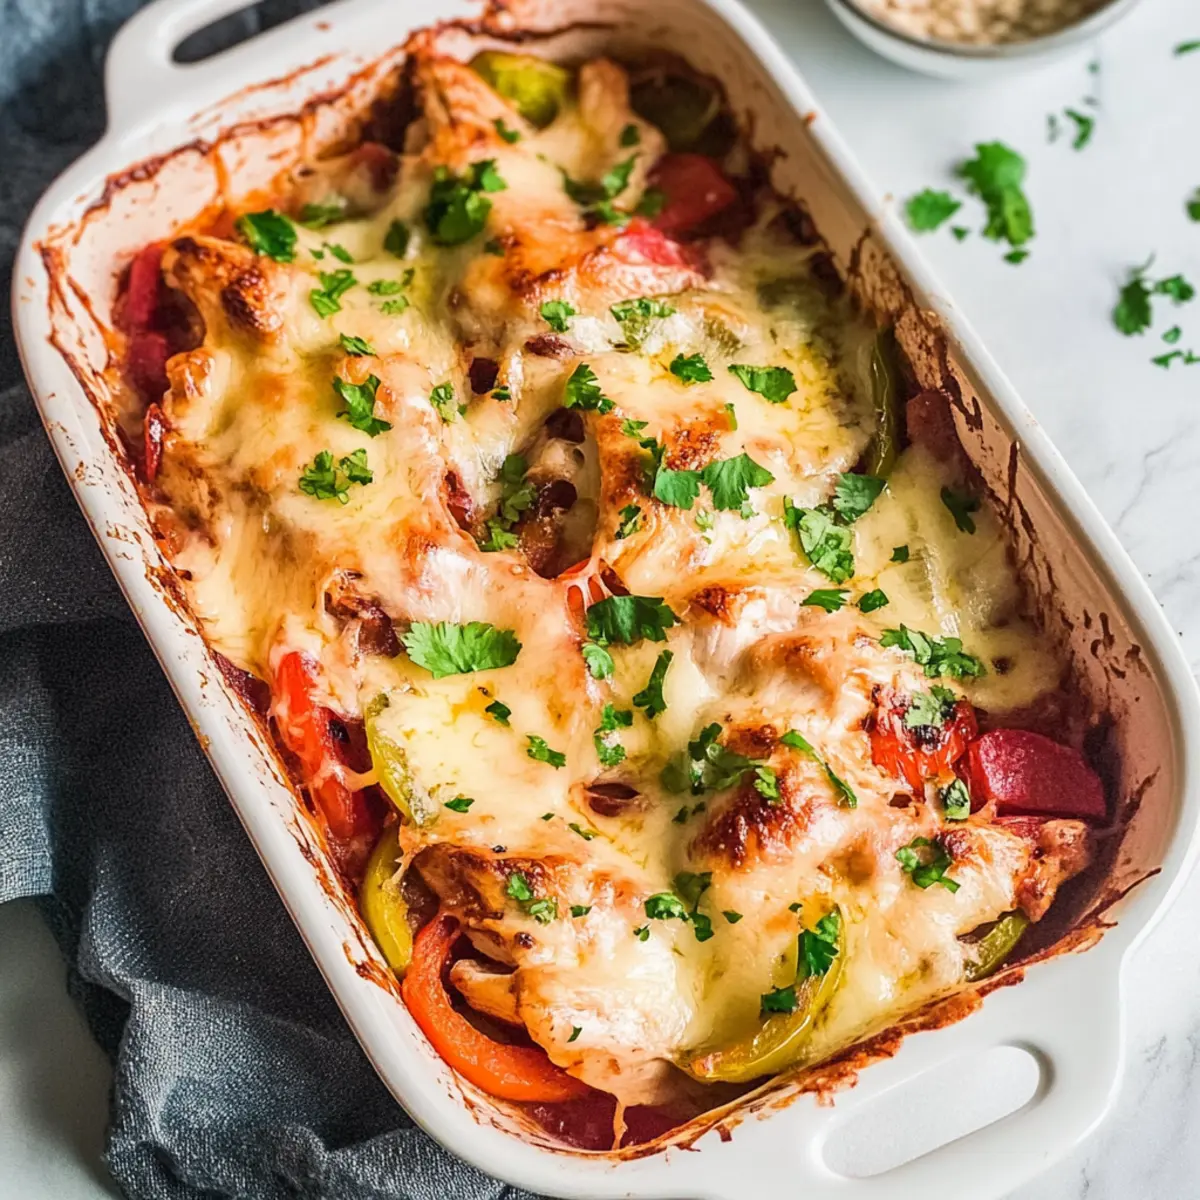
Why is Chicken Fajita Casserole a Must-Try?
Deliciously Convenient: This casserole offers a quick and easy solution for busy evenings, ready in just 30 minutes.
Flavor Explosion: The blend of spicy fajita seasoning and melty cheese guarantees mouthwatering bites that will impress your family.
Versatile Options: Make it your own by substituting proteins or adding extra ingredients like jalapenos for a kick.
Meal Prep Hero: Ideal for make-ahead meals, you can prepare it the night before and simply pop it in the oven when you’re ready to eat.
Kid-Approved: With its cheesy goodness and colorful veggies, this dish doesn’t just satisfy adults; kids will love it too! For more quick dinner ideas, check out my Chicken Fajita Casserole or Green Chile Chicken.
Chicken Fajita Casserole Ingredients
For the Casserole
- Chicken Breasts – The primary protein, pounded flat for even cooking.
- Fajita Seasoning – This spice blend gives that authentic fajita flavor; adjust to your heat preference!
- Oil – Use a neutral oil to keep the chicken moist; any cooking oil works well.
- Bell Peppers – Any color will do; they add a beautiful array of flavor and sweetness.
- Onion – Sweet or red onions will bring a milder taste to balance the dish.
- Shredded Cheese – For that creamy texture, feel free to swap for a low-fat option if desired.
Optional Toppings
- Sour Cream – A refreshing cool contrast to the warm casserole.
- Avocado – Adds creaminess and a lovely texture, making it even more satisfying.
- Jalapenos – For those who love an extra kick! Add them before baking or on top when serving.
Step‑by‑Step Instructions for Chicken Fajita Casserole
Step 1: Preheat the Oven
Begin by preheating your oven to 350°F (176°C). This step is crucial to ensure that your Chicken Fajita Casserole cooks evenly and thoroughly. While the oven heats up, gather your ingredients and prepare your baking dish, greasing it lightly to prevent sticking.
Step 2: Prepare the Chicken
In a large mixing bowl, combine the pounded chicken breasts with a drizzle of oil and the fajita seasoning. Use your hands or a spoon to mix the chicken thoroughly, ensuring every piece is coated well. This flavorful chicken mixture will form the hearty base of your casserole.
Step 3: Layer the Chicken
Once your chicken is well-seasoned, lay it evenly across the bottom of the greased casserole dish. Create a single layer, making sure there are no overlapping pieces, which helps the chicken cook uniformly. This is the foundation for your Chicken Fajita Casserole, so take your time to arrange it perfectly.
Step 4: Add the Vegetables
Next, thinly slice the bell peppers and onions. Scatter the colorful slices over the chicken, distributing them evenly to add flavor and texture. The vibrant veggies will not only enhance the visual appeal but also contribute delicious sweetness and crunch to your casserole.
Step 5: Top with Cheese
Generously sprinkle shredded cheese over the layers of chicken and vegetables. Aim for an even coverage to allow for maximum melty goodness. As the casserole bakes, this cheese will become golden and bubbly, forming a delightful crust that ties all the flavors together beautifully.
Step 6: Bake the Casserole
Place the casserole in the preheated oven and bake for 25 to 30 minutes. Keep an eye on it as it cooks; the casserole is ready when the cheese is bubbly and the chicken reaches an internal temperature of 165°F (74°C). This ensures it’s safe to eat while maintaining moisture and flavor.
Step 7: Serve and Enjoy
Once baked, carefully remove the Chicken Fajita Casserole from the oven and let it sit for a few minutes. This brief resting period allows the flavors to meld. Serve hot with your favorite toppings like sour cream or avocado, and enjoy a delicious dish that will have your family asking for seconds!
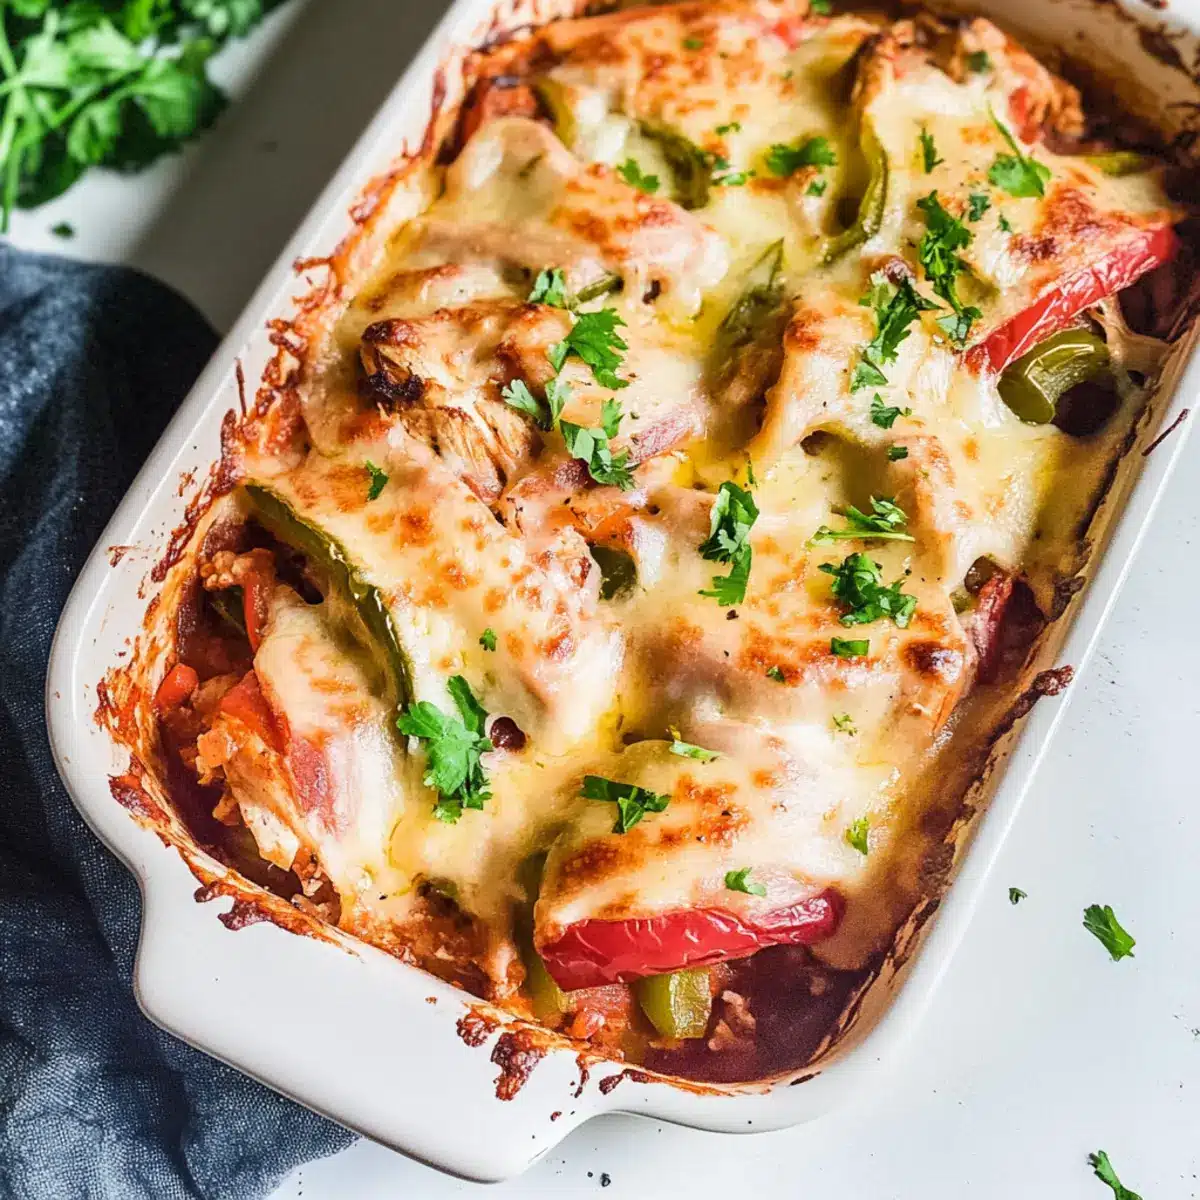
How to Store and Freeze Chicken Fajita Casserole
Fridge: Store any leftover Chicken Fajita Casserole in an airtight container for up to 3 days. This keeps it fresh while maintaining flavor.
Freezer: For long-term storage, freeze the casserole in a freezer-safe dish tightly covered with foil or plastic wrap for up to 3 months. Thaw in the fridge before reheating.
Reheating: Reheat in the oven at 350°F (176°C) until warmed through, about 20-25 minutes. You can also use a microwave for quicker reheating, but the oven helps retain that lovely cheesy texture.
Expert Tips for Chicken Fajita Casserole
-
Evenly Pounded Chicken: Ensure chicken breasts are pounded flat for consistent cooking. Uneven pieces may result in some being overcooked or undercooked.
-
Slice Thinly: Thinly slice vegetables to promote quicker cooking and ensure they’re tender and sweet. Thick slices can remain crunchy and may not meld well with the dish.
-
Use a Meat Thermometer: Always check the internal temperature of the chicken, aiming for 165°F (74°C). This guarantees safety and juiciness in your Chicken Fajita Casserole.
-
Customize Spice Levels: Don’t be afraid to adjust the amount of fajita seasoning based on your family’s taste. Try adding jalapenos for a spicy kick if you enjoy heat!
-
Make-Ahead Convenience: Consider prepping this casserole the night before; simply cover and refrigerate. When you’re ready to eat, pop it in the oven for a quick dinner.
What to Serve with Easy Cheesy Chicken Fajita Casserole
Enjoy a flavorful fiesta with these delightful pairings that will round out your meal perfectly.
-
Creamy Guacamole: The rich, creamy texture of guacamole complements the cheesy casserole beautifully, providing a burst of freshness in every bite.
-
Spanish Rice: Lightly seasoned with herbs, this fluffy rice dish offers a comforting base that enhances the bold flavors of the casserole.
-
Fresh Garden Salad: Crisp greens and assorted colorful veggies add a refreshing crunch, balancing the richness of the casserole wonderfully.
-
Charro Beans: These savory, slightly spicy beans are a classic Mexican side that pairs well, bringing an earthy flavor to your dinner plate.
-
Cilantro-Lime Quinoa: Light and zesty, this protein-packed quinoa dish brings a bright note that enhances the overall meal experience.
-
Sour Cream and Salsa: Serving with zesty salsa and a dollop of cool sour cream will elevate each serving. They provide contrast to the warm casserole, making every bite a delightful experience.
-
Margaritas or Iced Tea: A refreshing glass of margarita or iced tea complements the flavors perfectly, providing a cool beverage to enjoy with the meal.
-
Chocolate Flan: For dessert, this silky-smooth treat offers a deliciously sweet conclusion to your feast, contrasting the savory flavors of your dinner beautifully.
Let these complementing dishes create a joyful atmosphere around your table, turning an ordinary dinner into a festive occasion!
Make Ahead Options
These Easy Cheesy Chicken Fajita Casseroles are perfect for busy home cooks who want to save time during the week! You can prepare the entire casserole up to 24 hours in advance by assembling it in your baking dish and then covering it tightly with plastic wrap before refrigerating. Just be sure to slice the vegetables thinly to maintain their freshness and prevent any browning. When you’re ready to cook, remove the casserole from the fridge, let it sit at room temperature for about 20 minutes, and then bake it as directed, adding a few extra minutes to ensure it’s warmed through. This way, you’ll enjoy all the delicious flavors without the fuss, making dinner a breeze!
Chicken Fajita Casserole Variations
Feel free to get creative with this tasty chicken fajita casserole and make it your own!
-
Spicy Kick: Add sliced jalapenos for an extra layer of heat. These little gems boost the flavor while keeping the casserole vibrant and lively.
-
Creamy Twist: Mix cream cheese with fajita seasoning and spread it over the chicken before adding veggies. This will create a luscious, creamy layer that’ll make every bite irresistible.
-
Protein Swap: Replace chicken breasts with chicken thighs, tenders, or even leftover shredded chicken you have on hand. Each option offers a slightly different taste and texture while keeping it comforting.
-
Vegetable Medley: Toss in additional vegetables like zucchini or corn for added nutrition and a pop of color. They’ll soften beautifully in the oven and expand the flavor profile.
-
Cheesy Variation: Experiment with different cheeses like pepper jack for an added spicy twist or a blend of your favorites for a unique flavor. The more cheese, the merrier!
-
Low-Carb Option: Skip the chicken and instead layer it with cauliflower rice for a gluten-free, low-carb dish. This makes the casserole lighter without sacrificing flavors.
-
Tortilla Layer: If you want a twist on texture, layer in some corn or flour tortillas between the chicken and veggies. This adds a delightful depth to the casserole and brings in that classic fajita feel.
-
Herbal Infusion: Incorporate fresh herbs like cilantro or parsley before serving for a burst of freshness. It lifts flavors and gives your casserole a vibrant finish.
For more comforting meals, check out my Cheesy Garlic Chicken or dive into the deliciousness of Shrimp Casserole Comfort.
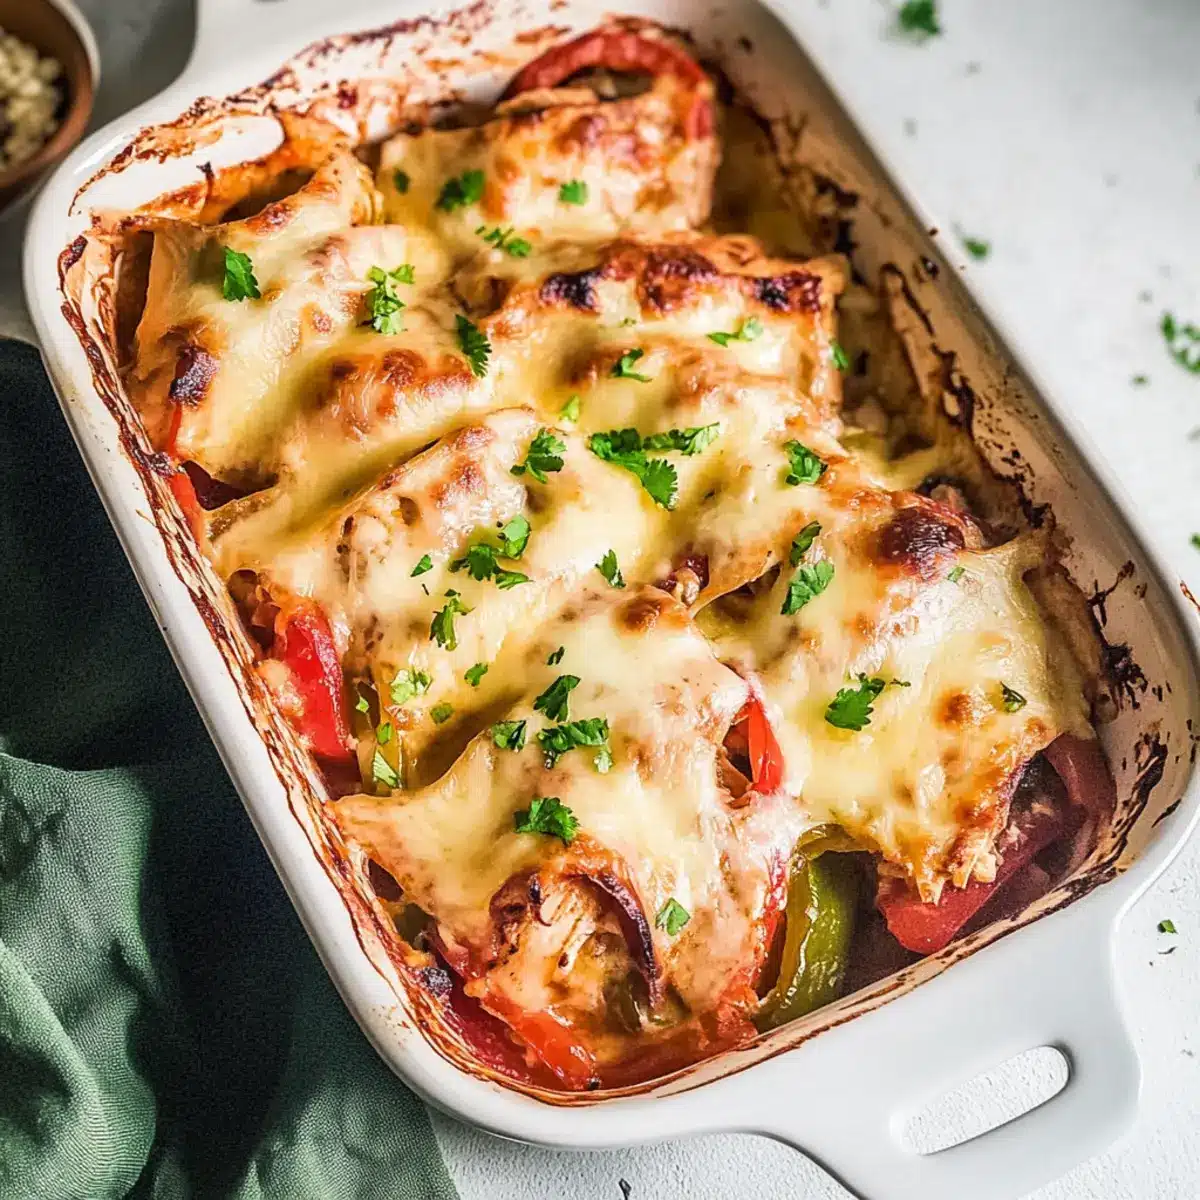
Chicken Fajita Casserole Recipe FAQs
What is the best way to choose ripe bell peppers?
Absolutely! When selecting bell peppers, look for ones that are firm and shiny, with no dark spots or blemishes. The color can indicate ripeness; for example, red, yellow, and orange peppers tend to be sweeter. Avoid any that feel soft to the touch, as they may be overripe.
How should I store leftover Chicken Fajita Casserole?
To keep your Chicken Fajita Casserole fresh, store leftovers in an airtight container in the refrigerator for up to 3 days. Make sure it’s fully cooled before sealing it. To reheat, I recommend placing it in a preheated oven for 20-25 minutes to regain that lovely, melty cheese texture.
Can I freeze Chicken Fajita Casserole? What’s the best method?
Yes, you can definitely freeze Chicken Fajita Casserole! For best results, allow it to cool completely, then cover the dish tightly with aluminum foil or plastic wrap, ensuring no air is trapped inside. It can be frozen for up to 3 months. When you’re ready to enjoy it, thaw overnight in the refrigerator before reheating.
What should I do if my casserole comes out dry?
If your Chicken Fajita Casserole turns out dry, it may be due to overcooking. Always use a meat thermometer to check that the chicken reaches 165°F (74°C) without exceeding that temperature. For moisture, you can add a bit of broth before baking or serve it with sour cream or avocado to enhance creaminess.
Are there any dietary considerations I should keep in mind?
For those with gluten sensitivities, this Chicken Fajita Casserole is perfect as it’s gluten-free! However, if you’re cooking for pets, keep in mind that seasonings such as onion and garlic can be harmful to dogs and cats. Always check ingredient labels if you’re using pre-made seasoning mixes as they can contain gluten.
Can I make this casserole ahead of time?
Absolutely! You can prepare your Chicken Fajita Casserole the night before and store it in the refrigerator until ready to bake. Just cover it tightly with foil. When you’re ready to cook it, you may need to add a few extra minutes to the baking time if it’s starting out cold. Enjoy the convenience of a delicious home-cooked meal with less hassle!
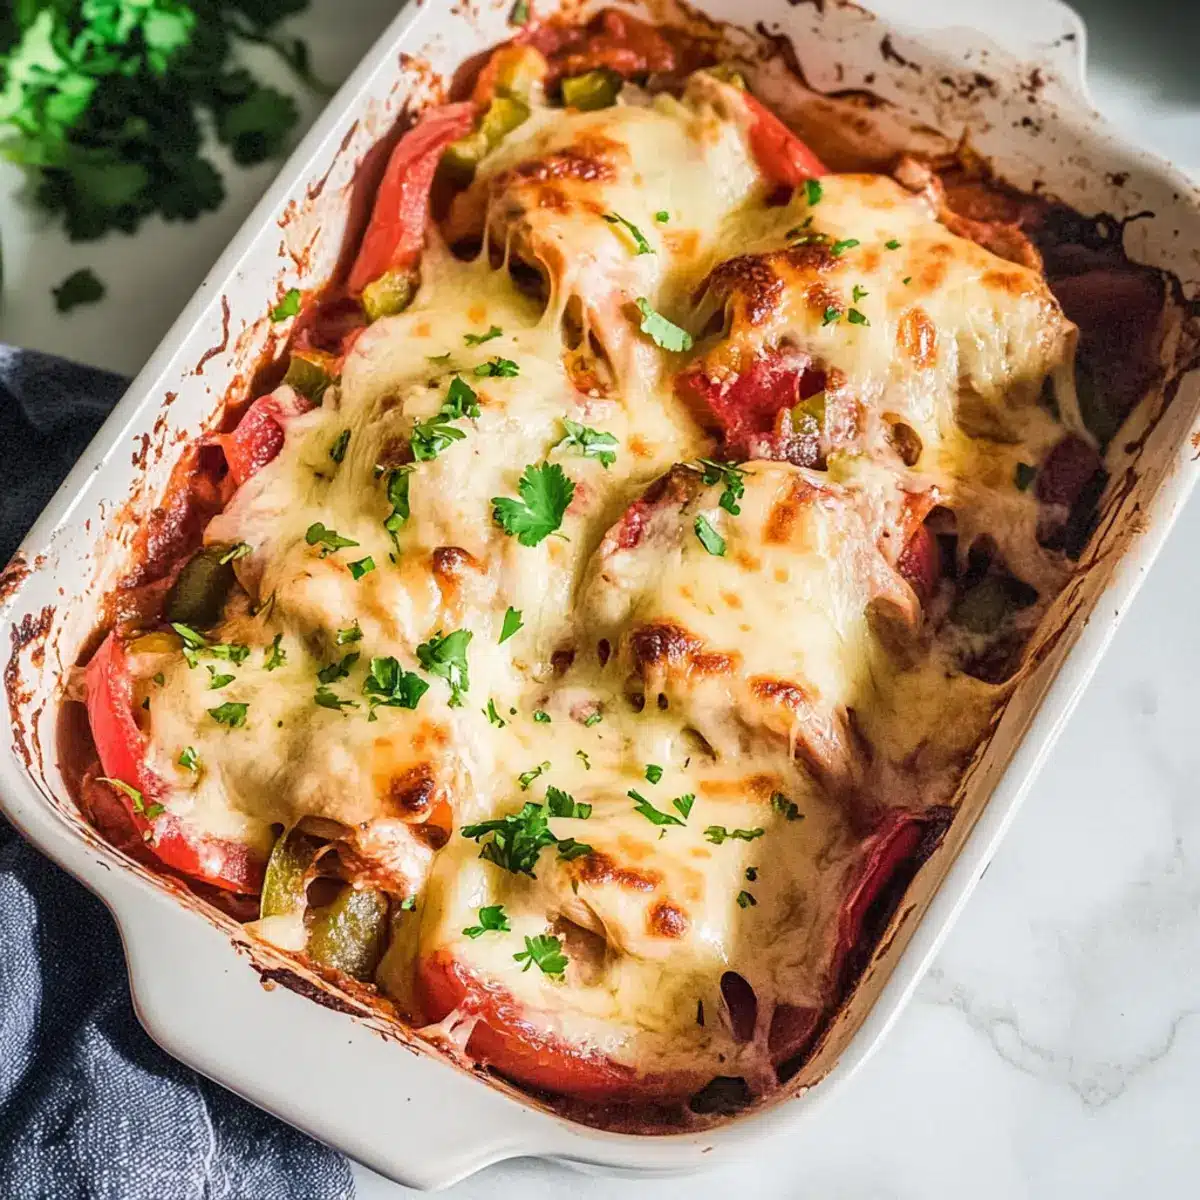
Irresistible Chicken Fajita Casserole for Easy Family Dinners
Ingredients
Equipment
Method
- Preheat your oven to 350°F (176°C) and prepare your baking dish by greasing it lightly.
- Combine the pounded chicken breasts with oil and fajita seasoning in a large mixing bowl.
- Layer the well-seasoned chicken evenly across the bottom of the greased casserole dish.
- Thinly slice the bell peppers and onions and scatter them over the chicken.
- Sprinkle shredded cheese generously over the layers of chicken and vegetables.
- Bake in the preheated oven for 25 to 30 minutes, until the cheese is bubbly and chicken reaches 165°F (74°C).
- Allow to rest for a few minutes, then serve hot with your favorite toppings.
Leave a Reply