
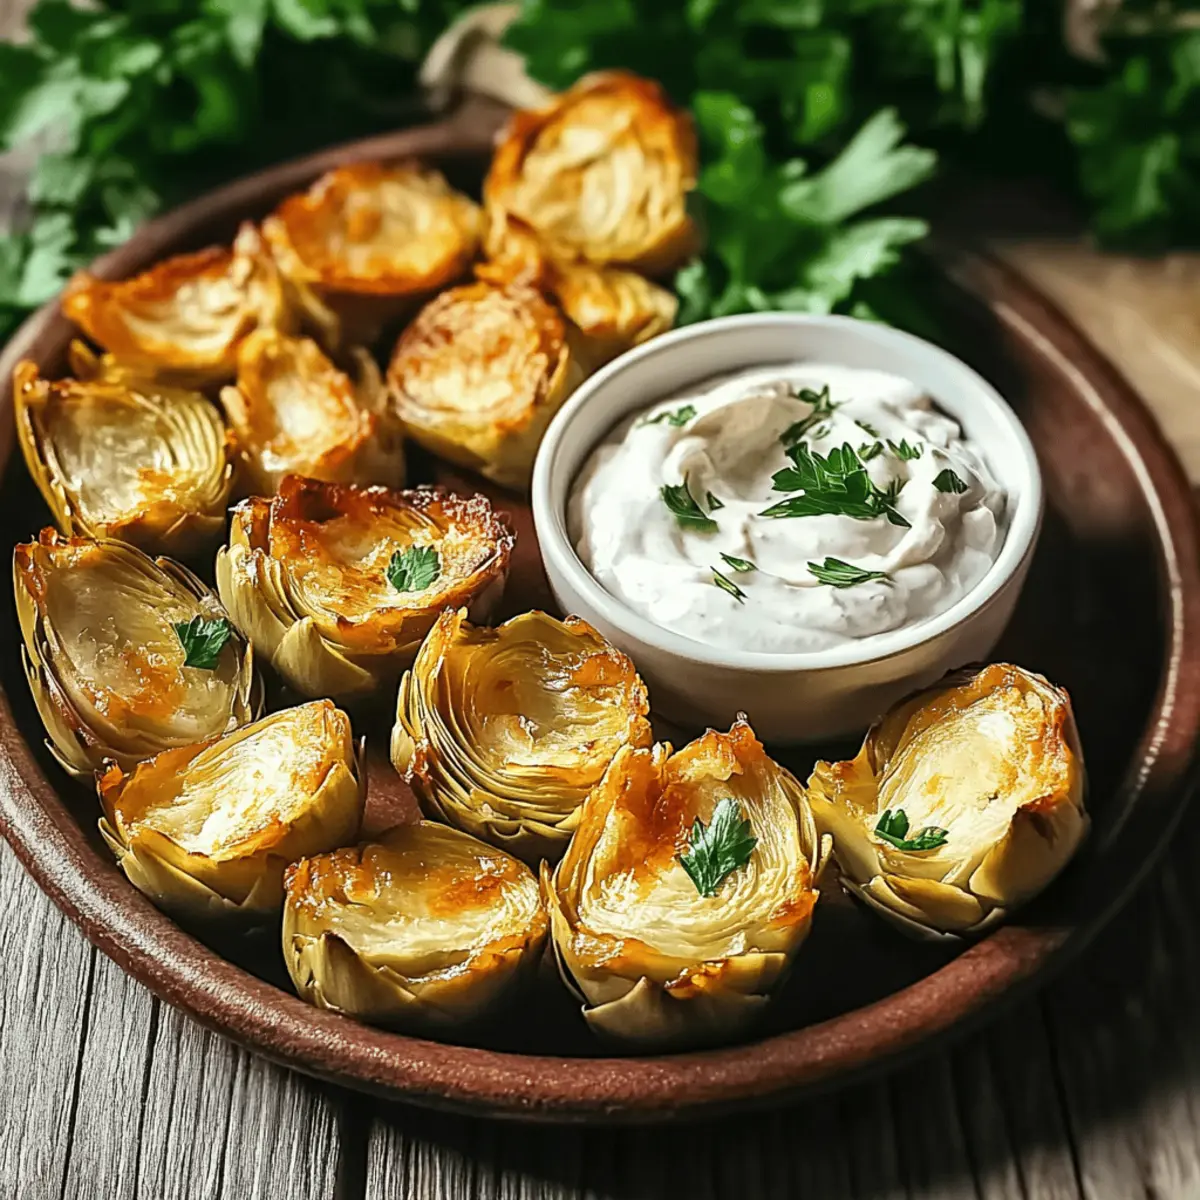
As I stood in my kitchen, the air filled with the intoxicating aroma of garlic and spices, I couldn’t help but feel a wave of excitement washing over me. Today, I’m sharing my recipe for Crispy Baked Artichoke Hearts with Garlic Aioli—a dish that marries crunchy, wholesome goodness with a creamy, zesty dipping sauce. Not only are these artichoke bites a delightful alternative to greasy snacks, but they’re also incredibly easy to prepare and make for the perfect appetizer at any gathering. Whether you’re hosting friends or simply treating yourself, these gluten-free and keto-friendly delights are bound to impress. So, are you ready to dive into a snack that feels indulgent while keeping your health in check? Let’s get started!

Why Are Artichoke Hearts So Irresistible?
Crispy, Crunchy Delight: These baked artichoke hearts deliver a satisfying crunch, making them a guilt-free substitute for typical fried snacks.
Versatile Options: Whether you prefer baking, air frying, or frying, this recipe accommodates all cooking methods to match your kitchen style.
Flavor Explosion: Paired with zesty garlic aioli, each bite is a symphony of flavors that will keep you coming back for more!
Healthy Indulgence: Gluten-free, keto-friendly, and packed with nutrients, they’re the perfect snack for health-conscious foodies. Try serving them alongside Garlic Chicken Bites for a fuller meal!
Crowd-Pleasing Appetizer: Ideal for parties or family gatherings, these artichokes are sure to impress your guests, making you the star of the show!
Crispy Baked Artichoke Hearts Ingredients
• Experience the deliciousness with these key ingredients!
For the Artichokes
- Artichoke Hearts – Use canned (14 oz), drained, rinsed, and patted dry for ease of preparation.
- Panko Breadcrumbs – Creates a delightful crunchy coating; opt for gluten-free panko for a gluten-free version.
- Parmesan Cheese – Optional for added flavor; substitute with nutritional yeast for a vegan twist.
- Garlic Powder – Offers depth of flavor; fresh garlic can be used for a stronger garlic hit.
- Paprika – Adds mild heat and beautiful color; smoked paprika can provide a unique twist.
- Salt & Black Pepper – Essential for enhancing overall taste; feel free to adjust according to your preference.
- Eggs – Acts as a binder for the breadcrumbs; for a vegan version, consider flaxseed meal mixed with water.
- All-Purpose Flour – Provides a layer for the breadcrumbs; almond flour can be used for a keto-friendly alternative.
- Olive Oil Spray – Helps achieve that perfect crisp finish when baking.
For the Garlic Aioli
- Mayonnaise – Acts as the creamy base; vegan mayo can be used for a plant-based option.
- Garlic – Freshly minced or finely grated for the best flavor impact.
- Lemon Juice – Brightens the flavor beautifully; freshly squeezed juice is highly recommended for authenticity.
- Salt & Pepper – Adjust to your taste for the perfect finishing touch.
Step‑by‑Step Instructions for Crispy Baked Artichoke Hearts with Garlic Aioli
Step 1: Preheat the Oven
Begin by preheating your oven to 375°F (190°C). If you prefer to use an air fryer, set it to the same temperature. This step is crucial for achieving a perfectly crisp exterior on your crispy baked artichoke hearts. While the oven heats up, gather your ingredients and prepare your baking sheet by lining it with parchment paper for easy cleanup.
Step 2: Prepare the Coating Mixture
In a medium bowl, combine panko breadcrumbs, garlic powder, paprika, salt, and black pepper, mixing well until all the ingredients are evenly incorporated. This flavorful coating is key to giving your crispy baked artichoke hearts that satisfying crunch. Set aside the mixture so it’s ready for the breading process in the following steps.
Step 3: Set Up the Breading Station
Create a simple breading station by placing all-purpose flour in one bowl and lightly beaten eggs in another. Roll up your sleeves, as this is the fun part! Make sure to have the bowl of breadcrumb mixture close by, as you will be coating each artichoke heart in flour, then egg, and finally the breadcrumbs for that crispy finish.
Step 4: Dredge the Artichoke Hearts
Take each drained and patted dry artichoke heart and dredge it in the flour first. Tap off any excess flour, then dip the heart into the beaten eggs, ensuring it’s fully coated. Next, roll it in the panko breadcrumb mixture, pressing gently to help the breadcrumbs adhere. Repeat this process for each artichoke heart until they’re all beautifully coated.
Step 5: Arrange on Baking Sheet
Carefully place the breaded artichoke hearts on your prepared baking sheet, ensuring there’s enough space between each piece for even cooking. Once arranged, take a moment to spray them lightly with olive oil. This step will help achieve that golden-brown color and delightful crunch everyone loves when making crispy baked artichoke hearts.
Step 6: Bake to Perfection
Slide the baking sheet into your preheated oven and bake for about 20-25 minutes. Halfway through cooking, flip the artichoke hearts for even browning. The artichokes are ready when they’re golden and crispy. Alternatively, if using an air fryer, bake for 12-15 minutes, checking for that same crispy exterior.
Step 7: Whip Up the Garlic Aioli
While your crispy baked artichoke hearts are baking, prepare the garlic aioli. In a small bowl, combine mayonnaise, minced garlic, freshly squeezed lemon juice, salt, and pepper. Mix until all ingredients are blended, creating a creamy and zesty dip. Set aside to let the flavors meld together, making it the perfect accompaniment for your artichoke bites.
Step 8: Serve with Enthusiasm
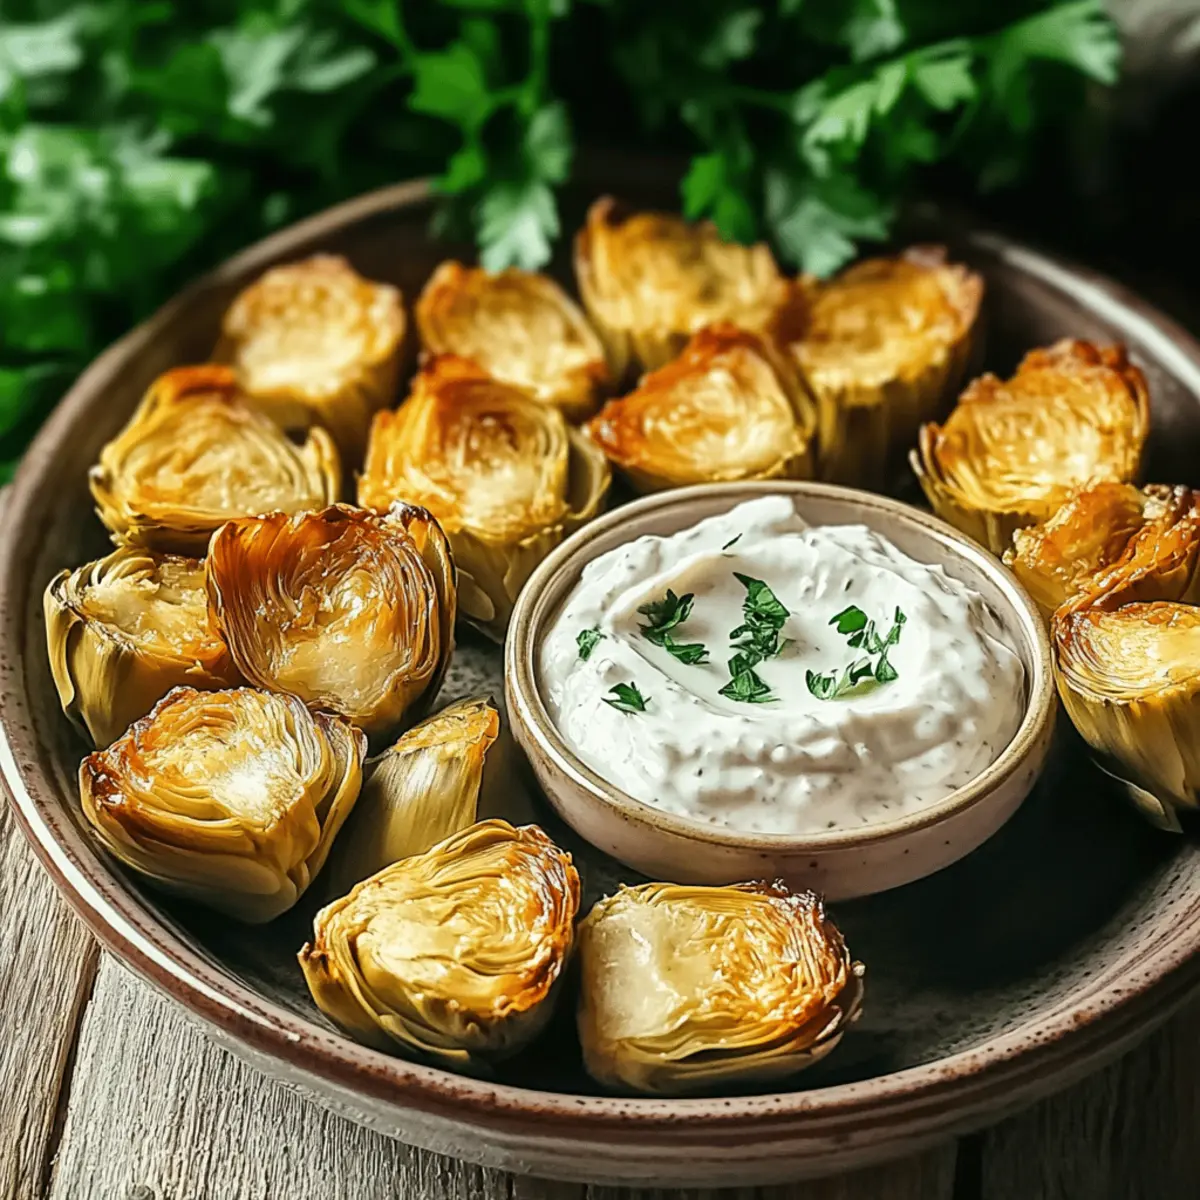
Once your crispy baked artichoke hearts are out of the oven and have cooled for a few minutes, arrange them on a serving platter. Serve alongside the garlic aioli for dipping, and consider garnishing with chopped parsley or lemon wedges to elevate the presentation. These delightful bites are perfect for sharing and will surely impress your guests!
Crispy Baked Artichoke Hearts Variations
Feel free to customize these delightful artichoke hearts to suit your taste or dietary needs with these fun variations!
- Keto-Friendly: Swap panko for crushed pork rinds to keep the crunch while maintaining a low-carb profile. This twist will keep your snack list exciting without straying from your keto goals.
- Gluten-Free: Use gluten-free panko breadcrumbs for those sensitive to gluten without compromising on that perfect crispy texture. Your friends won’t even know the difference!
- Extra Flavor: Add dried herbs like oregano or thyme to the breadcrumb mixture for an aromatic flavor boost. The combination will elevate your artichoke hearts to gourmet status!
- Air Fryer Option: Air fry at 375°F for about 12-15 minutes for an even crispier finish with less oil. It’s a fabulous way to get that sought-after crunch while making the process quicker and easier.
- Spicy Kick: Mix in some cayenne pepper or red pepper flakes into your breadcrumb mixture if you crave some heat. It adds just the right amount of spice to tantalize your taste buds—perfect for adventurous snackers!
- Creamy Twist: Replace traditional mayonnaise in the garlic aioli with Greek yogurt or sour cream for a tangy, creamy dip that packs flavor. Not only does it taste great, but it also brings a new dimension to your dipping experience!
- Zesty Aioli Variation: Along with the lemon juice in the aioli, try adding a teaspoon of Dijon mustard or a splash of hot sauce for a punch of flavor that complements the artichoke hearts beautifully.
- Garnish Ideas: For an extra sophisticated touch, serve with freshly grated Parmesan cheese on top or a sprinkle of fresh herbs like dill or parsley. These simple additions can impress your guests and make the dish even more appealing.
While enjoying these crispy baked artichoke hearts, think about pairing them with dishes like Cheesy Garlic Chicken Wraps or rounding out your meal with some Scampi Bowls Garlic. Happy cooking!
What to Serve with Crispy Baked Artichoke Hearts with Garlic Aioli
These artichoke delights shine even brighter when paired with the perfect sides and beverages, creating a delightful feast for the senses.
- Crunchy Vegetable Salad: A fresh salad with mixed greens, cucumber, and cherry tomatoes provides a refreshing crunch that complements the crispy artichokes.
- Creamy Mashed Potatoes: Silky and buttery mashed potatoes create a comforting counterpoint to the artichoke hearts’ crunch, perfect for scooping up aioli.
- Garlicky Green Beans: Roasted green beans tossed in garlic and olive oil bring a burst of color and a savory note that pairs delightfully with the artichokes.
- Rustic Bread: A slice of crusty sourdough or baguette invites you to savor every dip of aioli and adds a hearty element to your appetizer spread.
- Chardonnay or Sauvignon Blanc: A chilled glass of white wine elevates the dining experience, enhancing the flavors of both the artichokes and the garlicky aioli.
- Homemade Hummus: Creamy hummus offers an earthy contrast that is delicious when paired with the crunchy artichokes, adding a Mediterranean flair.
- Olive Tapenade: A little tang from this briny tapenade on toasted bread pairs beautifully with the flavors of the garlic aioli, creating exciting taste dimensions.
- Chocolate Mousse: Finish your meal with a rich, velvety chocolate mousse for a divine dessert that balances the savory appetizer with sweetness.
How to Store and Freeze Crispy Baked Artichoke Hearts
Fridge: Store leftovers in an airtight container for up to 3 days, keeping them fresh and ready for a quick snack or side dish.
Freezer: For longer storage, freeze the baked artichoke hearts in a single layer on a baking sheet, then transfer to a freezer-safe bag for up to 2 months.
Reheating: To regain their crispiness, reheat in the oven at 375°F (190°C) for about 10-15 minutes or in an air fryer until hot and crunchy again.
Preparation Tip: If you’ve prepped these crispy baked artichoke hearts in advance, simply consider freezing them before baking for a quick treat later on!
Expert Tips for Crispy Baked Artichoke Hearts
- Drying Artichokes: Ensure artichokes are thoroughly dried after rinsing. Moisture can lead to sogginess, ruining the crispy texture of your baked artichoke hearts.
- Breadcrumb Crunch: For an extra crunch, consider mixing in some crushed pork rinds if you’re aiming for a keto-friendly version.
- Fresh Garlic: When making the garlic aioli, opt for freshly minced garlic rather than pre-packaged. It enhances the flavor and freshness significantly.
- Prepping Ahead: If you’re preparing these as a party appetizer, feel free to bread the artichokes the night before and refrigerate. Bake them just before serving for optimal crispiness.
- Oven vs. Air Fryer: Both methods yield delicious results, but air frying will generally give a crispier finish in less time—perfect for those who are pressed for time!
Make Ahead Options
These Crispy Baked Artichoke Hearts with Garlic Aioli are a fantastic choice for meal prep, saving you valuable time on busy days. You can bread the artichoke hearts up to 24 hours in advance and store them in the refrigerator to maintain freshness. To do this, coat each heart in flour, dip it in egg, and then cover in the breadcrumb mixture before placing them in an airtight container. Just before serving, bake the breaded artichokes as directed for 20-25 minutes at 375°F (190°C), ensuring they come out just as delicious and crispy as if prepared fresh. This way, you can enjoy a sophisticated appetizer or snack with minimal fuss!

Crispy Baked Artichoke Hearts with Garlic Aioli Recipe FAQs
What should I look for when selecting artichoke hearts?
Absolutely! When choosing artichoke hearts, opt for canned options that are labeled as “hearts,” ensuring they’re tender and flavorful. Look for a brand that uses minimal preservatives; ideally, the ingredient list should be just artichokes, water, and citric acid. Fresh or frozen artichokes can work too, but they require more preparation.
How should I store leftover crispy baked artichoke hearts?
Very! Store any leftovers in an airtight container in the fridge for up to 3 days. To keep them crisp, try to avoid stacking them too closely. When you’re ready to devour them again, reheat in an oven or air fryer at 375°F (190°C) for about 10-15 minutes until they regain their delightful crunch.
Can I freeze these crispy baked artichoke hearts?
Absolutely! To freeze, place the cooled baked artichoke hearts in a single layer on a baking sheet first to avoid clumping. Once frozen solid, transfer them to a freezer-safe bag or container. They can last for up to 3 months. When you’re ready to enjoy, reheat directly from the freezer in the oven for about 15-20 minutes at 375°F (190°C) or until crispy.
What if my artichoke hearts turn out soggy after baking?
No worries! If your artichoke hearts are soggy, it’s most likely because they weren’t dried thoroughly before breading. Ensure they are patted dry after rinsing. Also, remember to spray them with olive oil for that desired crunch, and flipping them halfway through baking can also help achieve a perfect crispy finish!
Are there any dietary considerations I should keep in mind for this recipe?
Definitely! This recipe is not only gluten-free and keto-friendly thanks to the use of gluten-free panko and almond flour, but it can be easily adapted for vegan diets as well. Substitute eggs with a mixture of one tablespoon of flaxseed meal and two and a half tablespoons of water for every egg. For the aioli, choose vegan mayo to accommodate plant-based diets.
Can I make these artichoke hearts ahead of time?
Yes, you can! If you’re preparing for a gathering, I often bread the artichoke hearts the night before and refrigerate them. This not only saves time but also allows the flavors to meld a bit. Just bake them fresh before serving for that hot, crispy experience everyone loves!
Crispy Baked Artichoke Hearts with Garlic Aioli Bliss
Ingredients
Equipment
Method
- Preheat your oven to 375°F (190°C) and line a baking sheet with parchment paper.
- In a medium bowl, mix panko breadcrumbs, garlic powder, paprika, salt, and black pepper.
- Set up a breading station with all-purpose flour in one bowl and beaten eggs in another.
- Dredge each artichoke heart in flour, dip in egg, then coat in the breadcrumb mixture.
- Arrange breaded artichoke hearts on the baking sheet and spray lightly with olive oil.
- Bake for 20-25 minutes, flipping halfway through, until golden and crispy.
- In a small bowl, mix mayonnaise, minced garlic, lemon juice, salt, and pepper to prepare aioli.
- Serve crispy artichoke hearts with garlic aioli for dipping and enjoy!
Leave a Reply