
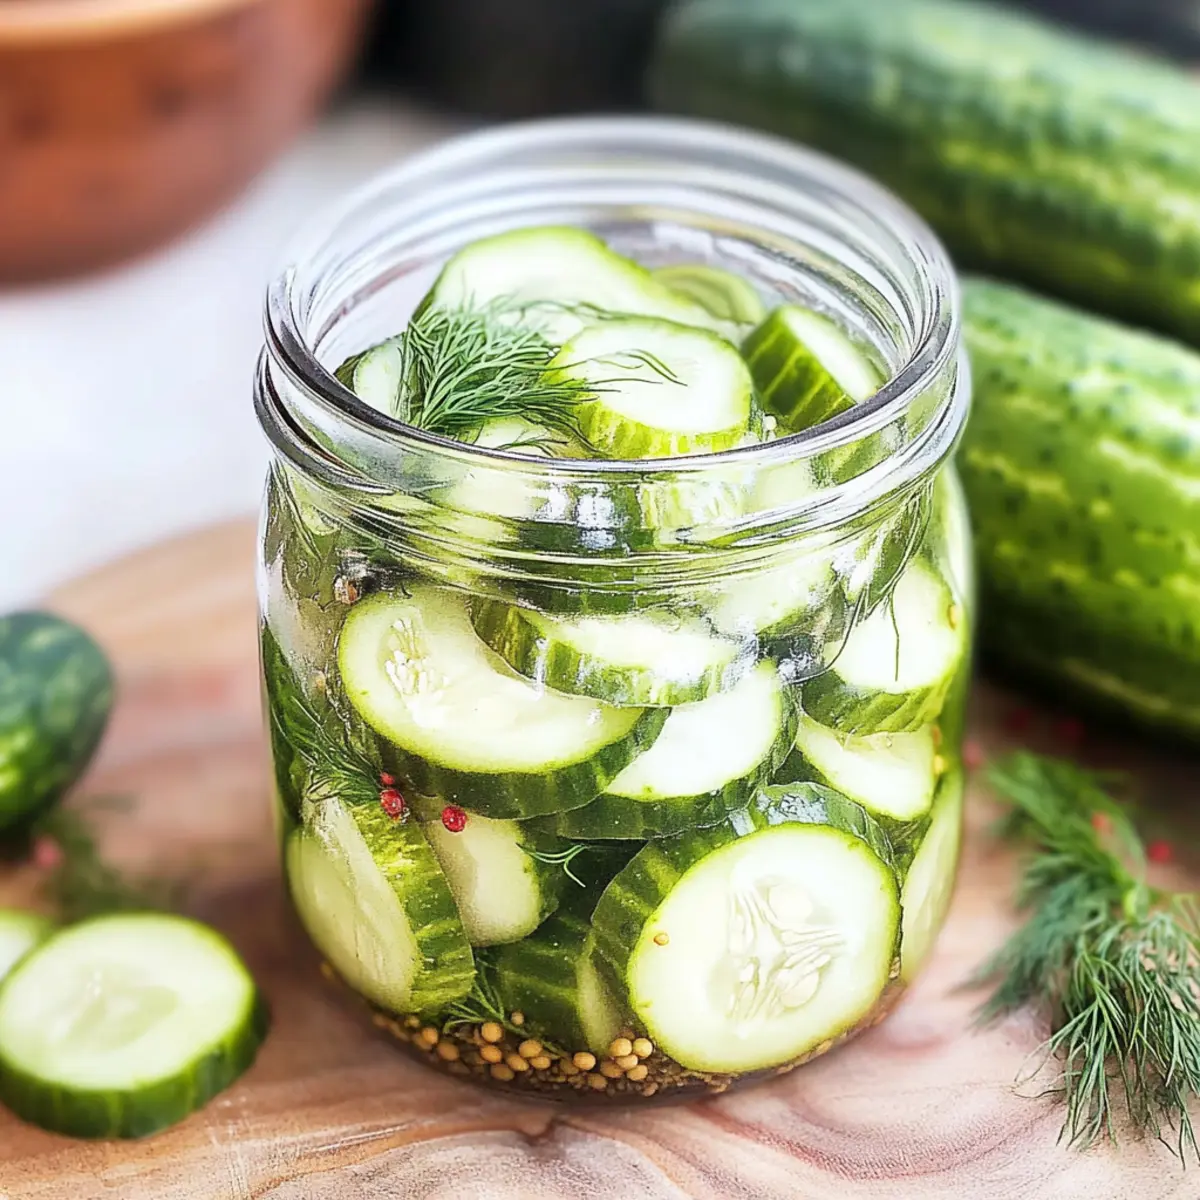
As I rummaged through my refrigerator, I was greeted by the crisp freshness of cucumbers, just begging to be transformed into something special. That’s when I decided to whip up a batch of Easy Dill Freezer Pickles—the ultimate solution for anyone tired of lifeless supermarket options. This simple pickling method requires just a handful of ingredients and no complicated canning equipment, so it’s perfect for both seasoned cooks and busy beginners eager for a homemade touch. Plus, these freezer pickles are gluten-free and bring that delightful summer crunch to your table all year round. So, who’s ready to preserve that garden-fresh taste and add a tangy twist to your meals? Let’s dive into this tasty adventure!
Why Are Freezer Pickles a Game Changer?
Freshness on Demand: These freezer pickles capture the essence of summer, allowing you to enjoy that vibrant crunch anytime you crave it.
Easy to Make: With simple steps and minimal fuss, even beginners can confidently whip up a batch.
Versatile Flavor Boost: Incorporate them into salads, sandwiches, or serve as a tangy side with your favorite dishes.
Healthy Snacking: Gluten-free and low in calories, these pickles are a guilt-free addition to your snacking repertoire.
No Canning Hassle: Forget the complicated canning processes—this method is straightforward and ensures delicious results without any special equipment!
Don’t miss out on turning those fresh ingredients into delightful treats that your whole family will love!
Freezer Pickles Ingredients
For the Pickles
• Pickling Cucumbers – 2.5 lbs, thinly sliced (about 8 cups sliced); use fresh, firm cucumbers for the best texture.
• Pickling Salt – 3 tablespoons; essential for drawing moisture and enhancing flavor—do not substitute with table salt.
• Garlic Cloves – 6, finely minced; boosts savory depth and can be adjusted depending on your taste preference.
• Fresh Dill – 1/3 cup, minced; infuses your freezer pickles with that classic dill flavor—dill seeds can be used if needed.
• Green Bell Pepper – 1, thinly sliced; adds a touch of sweetness and vibrant color—feel free to substitute with any bell pepper color.
• Granulated Sugar – 1½ cups; balances the vinegar’s acidity and enhances sweetness, which you can adjust to suit your palate.
• Apple Cider Vinegar – 1½ cups; acts as the preservation agent, but white vinegar can substitute for a sharper taste.
Step‑by‑Step Instructions for Easy Dill Freezer Pickles
Step 1: Prepare Cucumbers
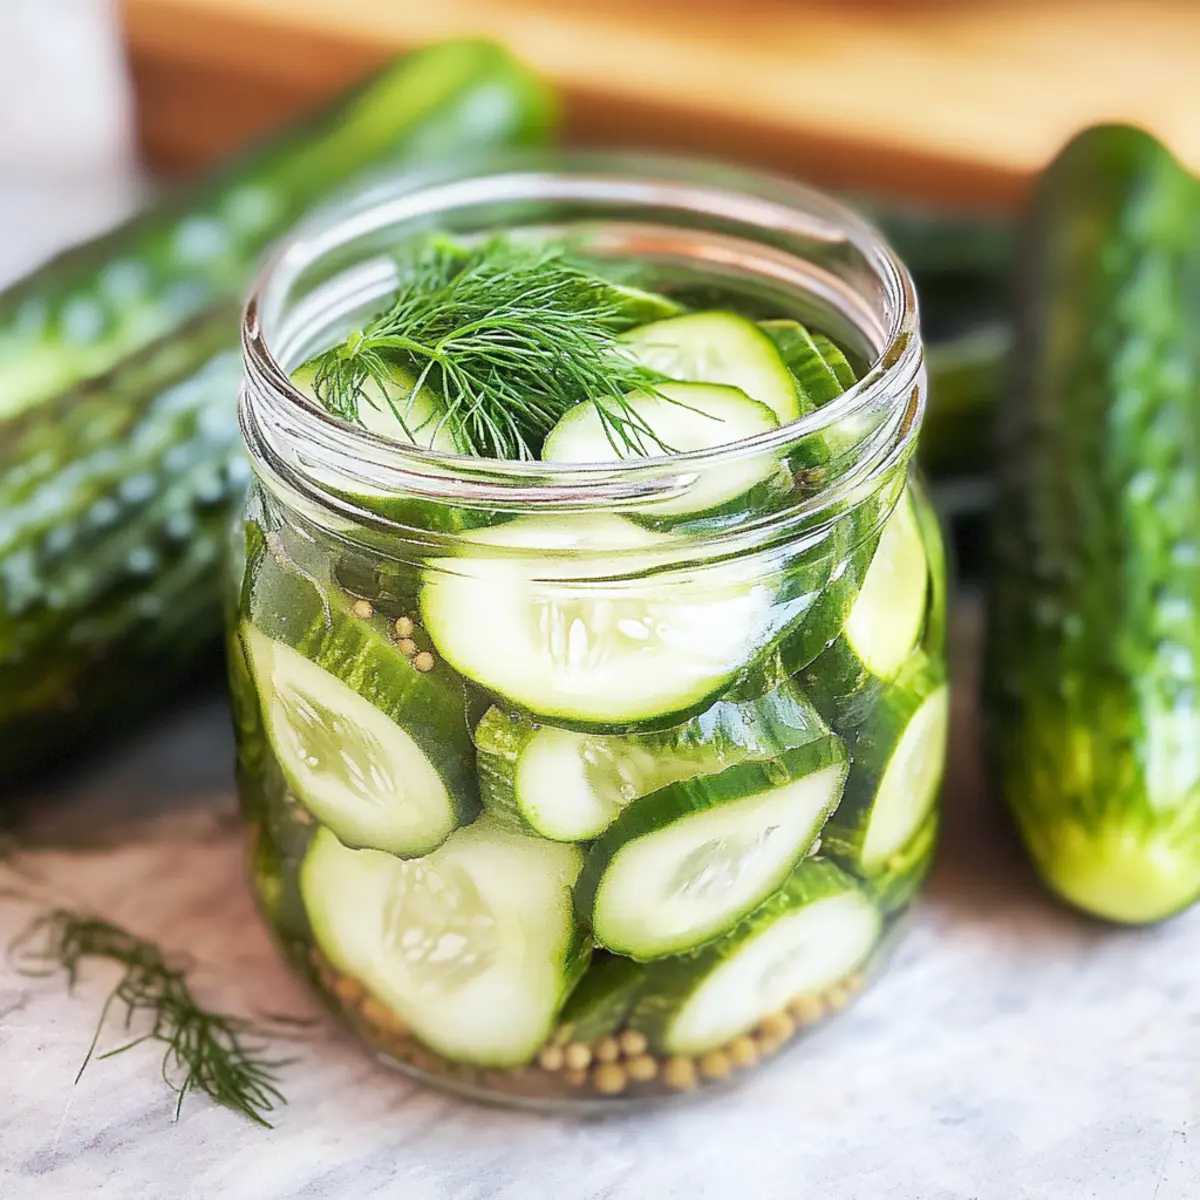
Begin by rinsing 2.5 lbs of pickling cucumbers under cold water. Using a mandolin or sharp knife, slice them thinly to about 1/8 inch thick. In a large bowl, toss the cucumber slices with 3 tablespoons of pickling salt. Let them sit at room temperature for 2-3 hours to draw out excess moisture. Drain the slices and rinse well with cold water to remove any excess salt.
Step 2: Make Brine
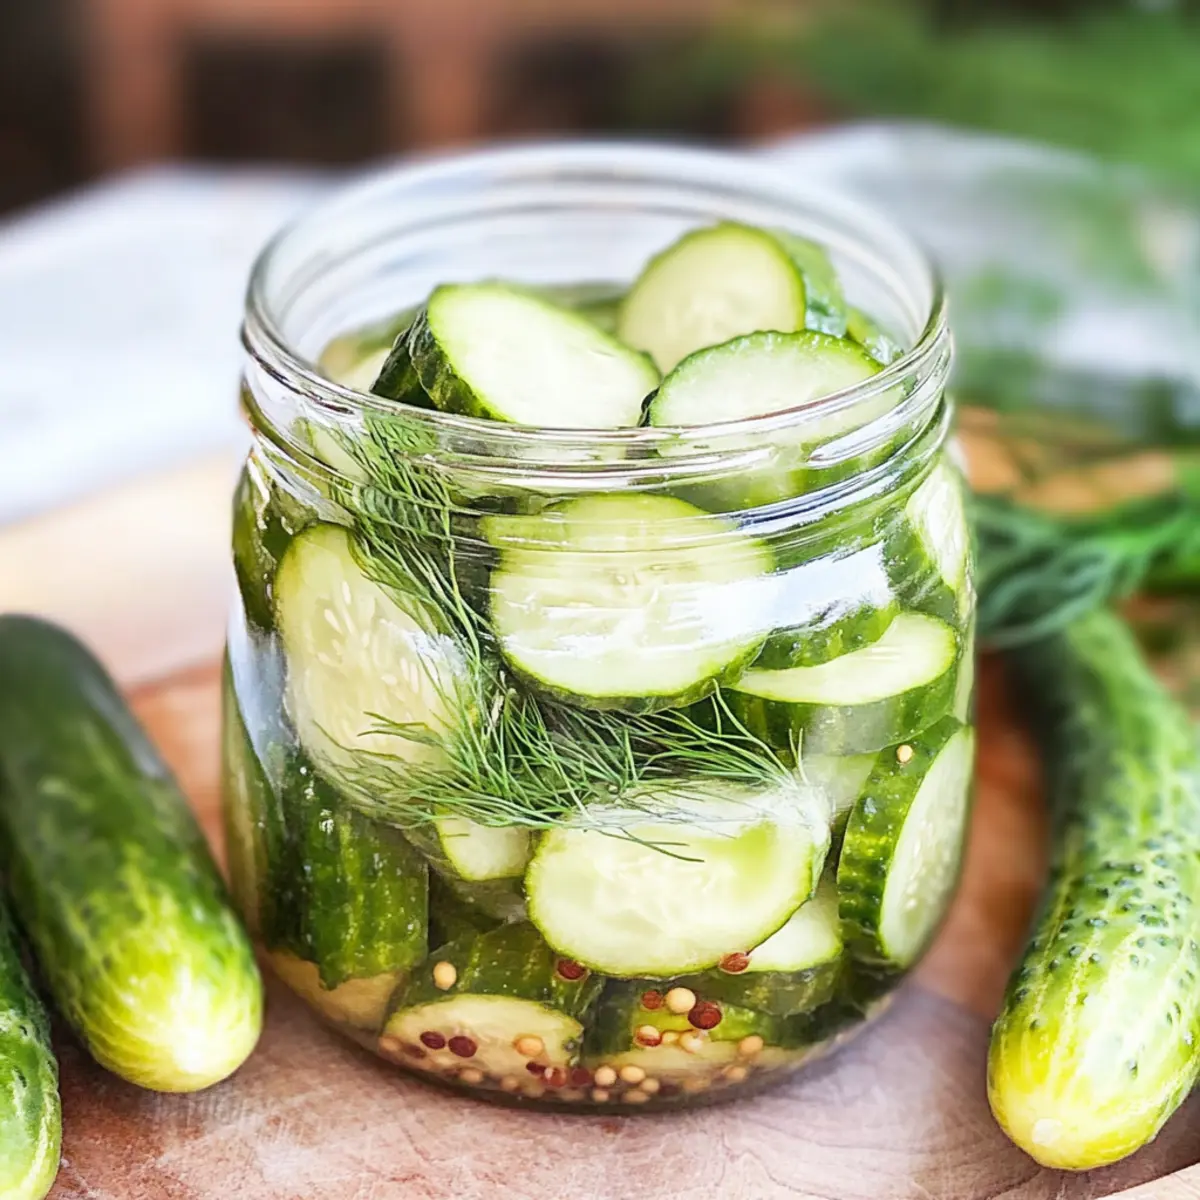
In a medium bowl, combine 1½ cups of granulated sugar, 1½ cups of apple cider vinegar, 6 minced garlic cloves, 1/3 cup of minced fresh dill, and 1 sliced green bell pepper. Stir the mixture vigorously until the sugar is fully dissolved, creating a vibrant brine. This step is essential as the brine will infuse the cucumber slices with flavor, enhancing your easy dill freezer pickles.
Step 3: Combine
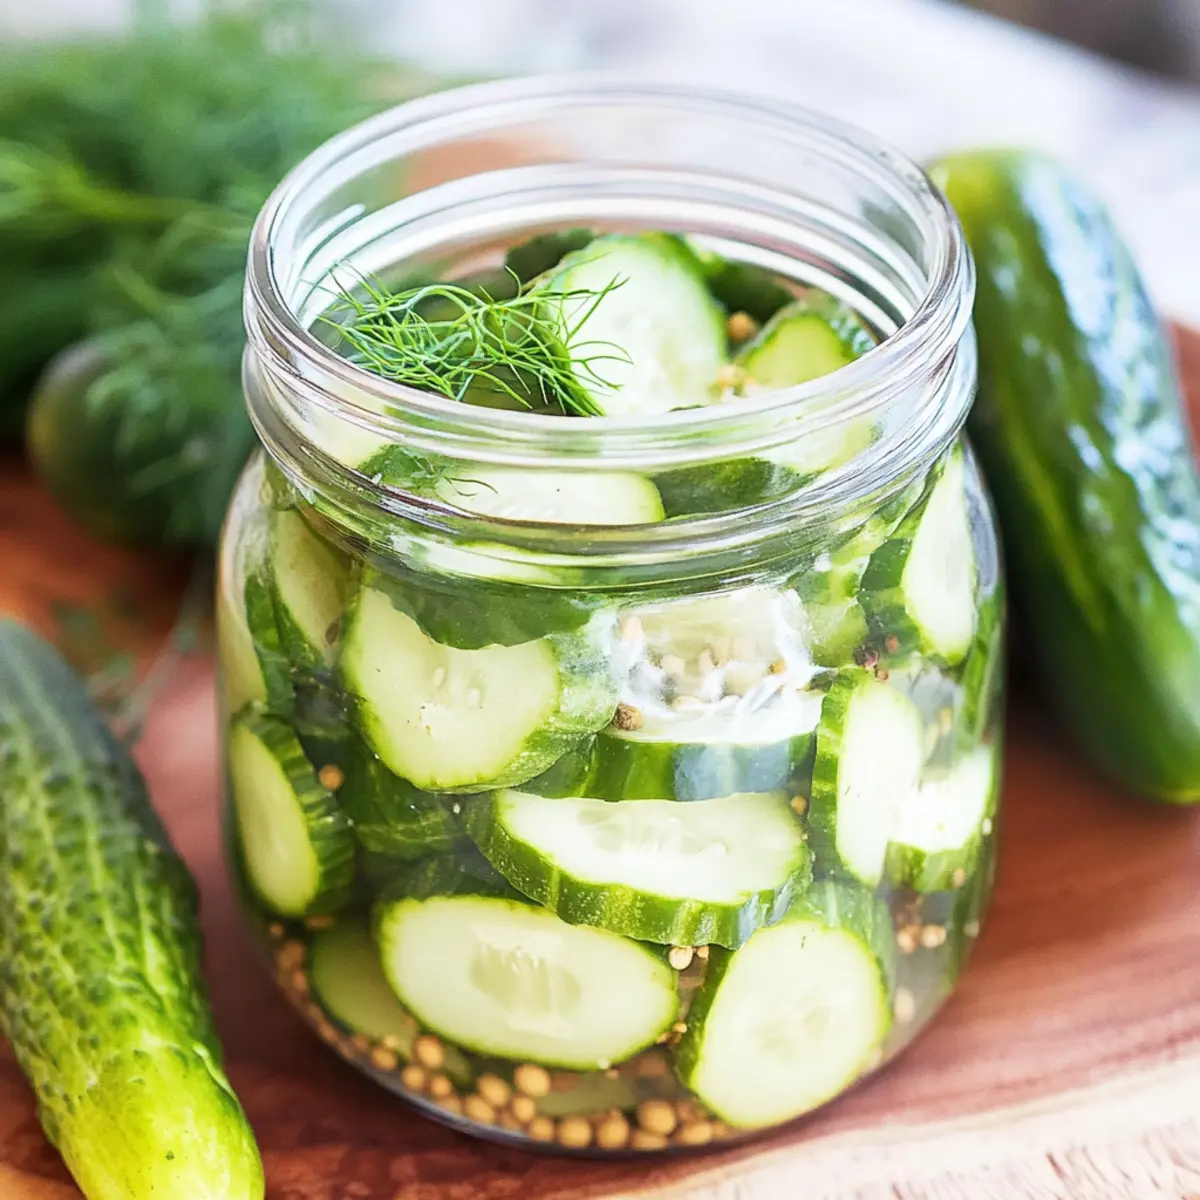
Add the drained cucumber slices to the prepared brine, ensuring all pieces are fully submerged in the flavorful liquid. Mix gently to coat the cucumbers well, and then cover the bowl with plastic wrap or a lid. Refrigerate the kombination for 8 to 10 hours, allowing the flavors to develop and the cucumbers to marinate into delicious freezer pickles.
Step 4: Store
Once marinated, your easy dill freezer pickles are ready to enjoy or freeze. Carefully pack the cucumber slices along with the brine into freezer-safe bags or containers, leaving enough headspace for the liquid to expand during freezing. Seal tightly, ensuring no air pockets remain, and label the bags with the date for easy reference.
Step 5: Thawing
When it’s time to savor your delicious freezer pickles, remove them from the freezer. The pickles can thaw overnight in the refrigerator for ideal texture, or if you’re in a hurry, run the sealed bags under cool water until they are ready to eat. These crunchy pickles will be a perfect tangy addition to your meals or a delightful snack on their own!
Tips for the Best Freezer Pickles
-
Choose Fresh Cucumbers: Use firm, fresh pickling cucumbers for the best texture and flavor. Avoid overripe or soft cucumbers which won’t hold up.
-
Correct Salting Time: Don’t rush the salting step. Allow 2-3 hours for drawing out moisture, as this crisps cucumbers and enhances the final crunch of your freezer pickles.
-
Mix Brine Thoroughly: Ensure the sugar is fully dissolved in the brine. This helps distribute the sweetness evenly and enhances the overall flavor profile.
-
Avoid Freezer Burn: When storing freezer pickles, remove as much air as possible from bags or containers. This protects against freezer burn and preserves the taste.
-
Plan for Thawing: Remember that thawing takes time; allow 8 hours in the fridge or a quick method under cool water for your frozen pickles to be ready to enjoy.
-
Experiment with Flavor: Feel free to adjust the herbs and spices in your freezer pickles. Add a pinch of crushed red pepper for heat or swap dill with other herbs for a twist!
Variations & Substitutions for Freezer Pickles
Feel free to put your own spin on these delightful freezer pickles and discover new flavor profiles just waiting to be explored!
-
Herb Swap: Replace dill with cilantro or fennel for an unexpected twist. Each herb brings its unique personality to the pickles, creating something exclusively yours.
-
Spicy Kick: Add crushed red pepper flakes for a touch of heat. Spice lovers will appreciate the flavorful surprise that elevates the crunch of these pickles!
-
Sweet Balance: For a less sweet version, reduce granulated sugar to 1 cup. You may discover a newfound preference that enhances the cucumber’s natural freshness.
-
Vinegar Variation: Use malt vinegar in place of apple cider vinegar for a richer flavor. This subtle change can add depth and complexity to your pickling experience.
-
Crunch Factor: Toss in sliced radishes or carrots along with the cucumbers for added color and texture. They’ll bring an exciting crunch to every bite!
-
Pickle Medley: Create a mixed vegetable pickle by adding thinly sliced onions or bell peppers. This combination will result in vibrant, multi-colored freezer pickles that pop in salads and sandwiches.
-
Zesty Addition: Squeeze fresh lemon juice into the brine for a bright, zesty flavor. It’s a refreshing touch that complements the sweetness beautifully!
-
Garlic Lovers: Increase the minced garlic to 8 or 10 cloves for an extra punch of flavor. This is the perfect option for those who relish in garlic’s aromatic appeal.
Explore these variations and bring out your inner creativity while preparing your homemade freezer pickles! They can elevate any meal and perfectly complement dishes like homemade sandwiches or vibrant salads, transforming them into unforgettable culinary experiences. Enjoy!
What to Serve with Easy Dill Freezer Pickles?
Add a burst of flavor and texture to your meals with delightful accompaniments that elevate your pickling endeavor.
-
Hearty Sandwiches: Add a tangy crunch to deli sandwiches or burgers. The pickles provide a refreshing contrast to rich flavors and keep your meal light.
-
Creamy Potato Salad: Incorporating these pickles adds a zing to creamy potato salads. Their acidity complements the buttery potatoes, making every bite exciting.
-
BBQ Ribs: Serve alongside smoky BBQ ribs for the ultimate flavor pairing. The sweetness of the pickles cuts through the richness and enhances each savory bite.
-
Fresh Garden Salad: Toss sliced pickles into a mixed greens salad for an exciting twist on your favorite recipe. Their vibrant flavor adds depth and brightens every forkful.
-
Savory Tacos: Use these pickles as a topping for fish or shrimp tacos. Their crunch and acidity balance the richness of the protein, creating a delicious bite.
-
Honey Mustard Dressing: Whip up a quick honey mustard dressing and stir in some minced pickles. This tangy sauce pairs perfectly with grilled chicken or drizzled over roasted vegetables.
-
Bloody Mary Cocktails: Enhance your brunch experience with a glass of Bloody Marys garnished with dill pickles. They add that quintessential tang that makes every sip unforgettable.
-
Cheesy Jalapeño Cornbread: Serve these pickles alongside warm, cheesy cornbread to balance its richness and introduce an unexpected pop of flavor.
Make Ahead Options
These freezer pickles are a fantastic option for meal prep! You can slice the pickling cucumbers and toss them with the pickling salt up to 24 hours in advance, allowing them to sit at room temperature until you’re ready to finish. The brine can also be mixed together and refrigerated ahead of time, ideally up to 3 days before serving, to enhance the flavors. When you’re ready to prepare your pickles, simply combine the drained cucumber slices with the chilled brine and let them marinate in the fridge for 8-10 hours. This way, you’ll ensure restaurant-quality flavors with minimal effort on busy weeknights!
Storage Tips for Freezer Pickles
Fridge: Store your freezer pickles in the refrigerator for up to 1 week after thawing to maintain their freshness and crunch.
Freezer: Place packed freezer pickles in airtight bags or containers, ensuring to leave headspace for liquid expansion. They’ll last up to 6 months frozen while retaining their delightful flavor.
Thawing: When you’re ready to enjoy, thaw your pickles overnight in the refrigerator, or run the sealed bags under cool water for a quick thaw—this method helps maintain their crisp texture.
Labeling: Always date your containers when freezing your freezer pickles so you can keep track of their storage time and ensure the best quality when you indulge.
Dill Freezer Pickles Recipe FAQs
How do I choose the right cucumbers for my freezer pickles?
Absolutely! For the best results, select fresh, firm pickling cucumbers. These should be blemish-free and about 4-6 inches long. Avoid cucumbers with dark spots or softness, as they won’t provide the desired crunch.
How should I store my freezer pickles?
After making your dill freezer pickles, pack them tightly in airtight freezer-safe bags or containers, leaving a little headspace for the liquid to expand. They can be stored in the freezer for up to 6 months. When thawed, enjoy them within 1 week for peak freshness!
Can I freeze my pickles and if so, what is the best freezing method?
Yes, you can freeze your pickles! To freeze, pack the cucumber slices along with the brine into freezer-safe containers or bags. Be sure to seal them tightly to avoid freezer burn and label with a date. For thawing, let them sit in the refrigerator overnight, or immerse the sealed bags in cool water for a quicker thaw.
What should I do if my pickles turn out too salty?
If your pickles end up too salty, don’t worry—there’s a quick fix! Rinse the cucumber slices under cold running water to remove excess salt, then allow them to marinate again in fresh brine (made with the original vinegar and sugar proportions) for a few hours before serving. Taste to ensure they meet your preference!
Are there any dietary considerations I should be aware of with these dill freezer pickles?
Very! These freezer pickles are gluten-free and low-calorie, making them suitable for various dietary needs. However, if you have allergies, ensure to check the ingredient labels for any additives, especially in vinegar and salt offerings. If you’re sharing with pets, avoid giving them pickles as they can be harmful to dogs.
Can I change the flavoring of my freezer pickles?
Absolutely! Feel free to get creative with flavors. You can swap out fresh dill for other herbs, such as coriander or fennel, for a unique twist. For a spicy kick, add a pinch of crushed red pepper to your brine for those who love a little heat!
Crisp Freezer Pickles: Your Simple Crunchy Snack Solution
Ingredients
Equipment
Method
- Begin by rinsing 2.5 lbs of pickling cucumbers under cold water. Using a mandolin or sharp knife, slice them thinly to about 1/8 inch thick. In a large bowl, toss the cucumber slices with 3 tablespoons of pickling salt. Let them sit at room temperature for 2-3 hours to draw out excess moisture. Drain the slices and rinse well with cold water to remove any excess salt.
- In a medium bowl, combine 1½ cups of granulated sugar, 1½ cups of apple cider vinegar, 6 minced garlic cloves, 1/3 cup of minced fresh dill, and 1 sliced green bell pepper. Stir the mixture vigorously until the sugar is fully dissolved, creating a vibrant brine.
- Add the drained cucumber slices to the prepared brine, ensuring all pieces are fully submerged. Mix gently, cover the bowl with plastic wrap or a lid, and refrigerate for 8 to 10 hours.
- Once marinated, carefully pack the cucumber slices along with the brine into freezer-safe bags or containers, leaving headspace for liquid expansion. Seal tightly.
- When it's time to enjoy, thaw your pickles overnight in the refrigerator or run the sealed bags under cool water for a quick thaw.
Leave a Reply