
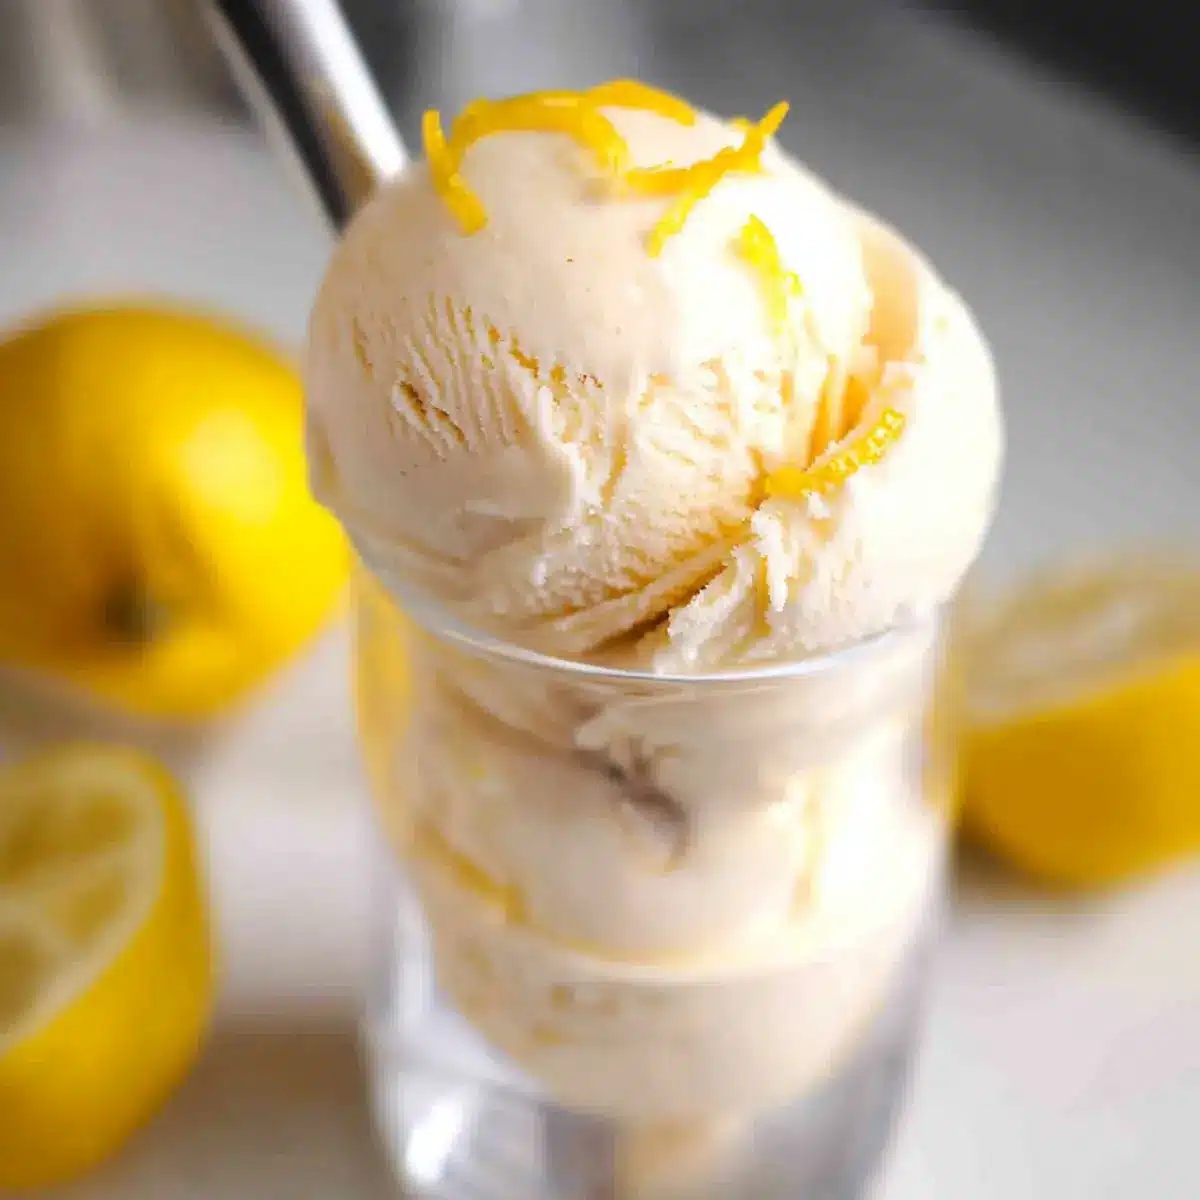
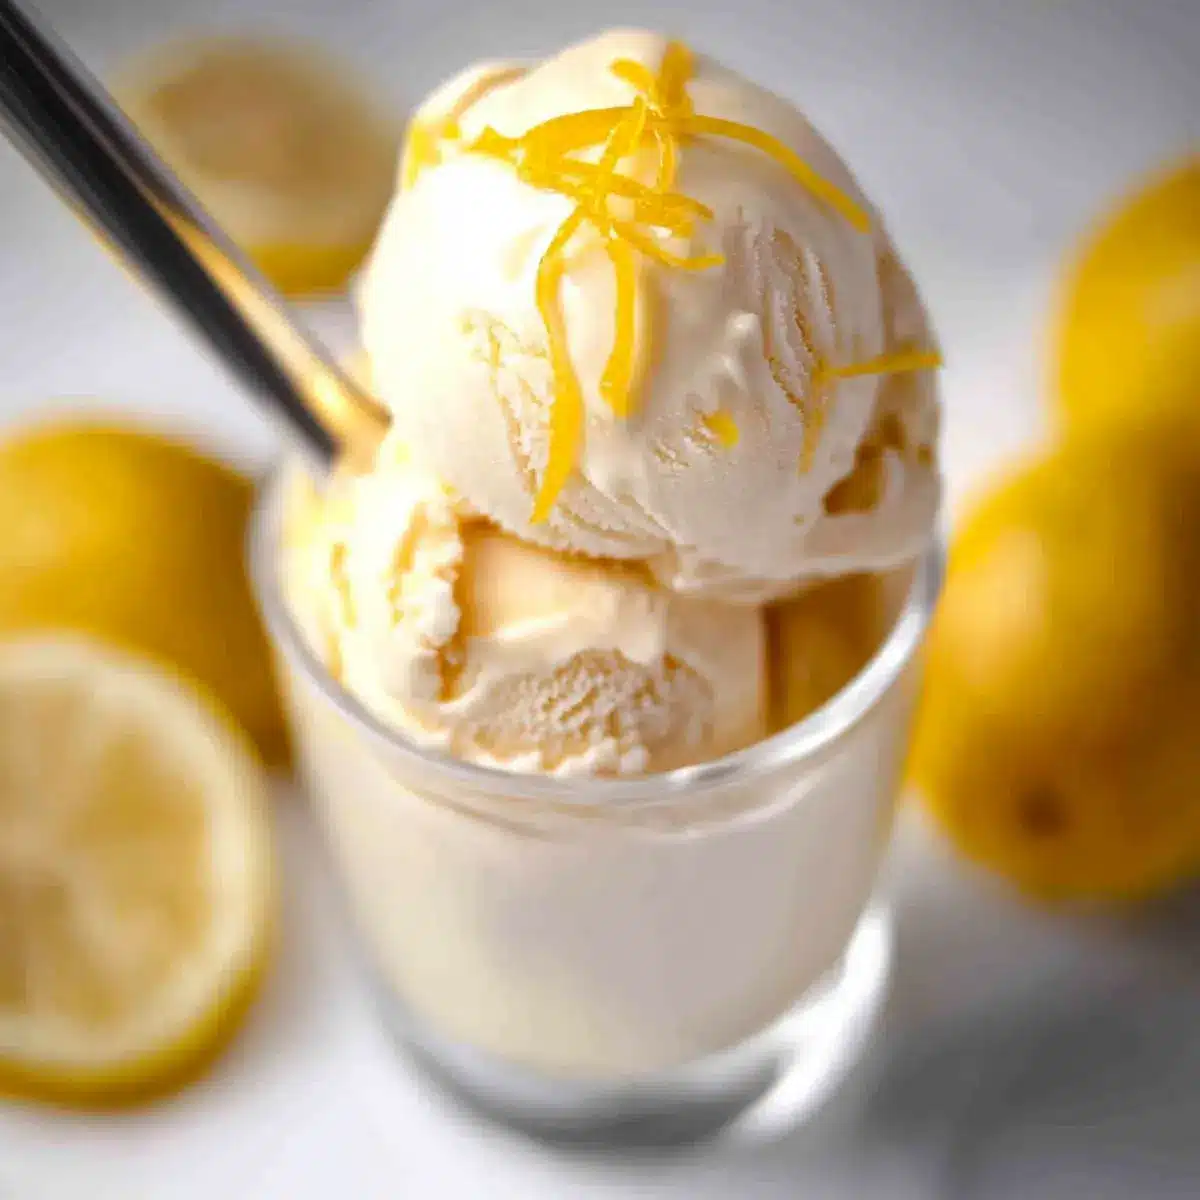
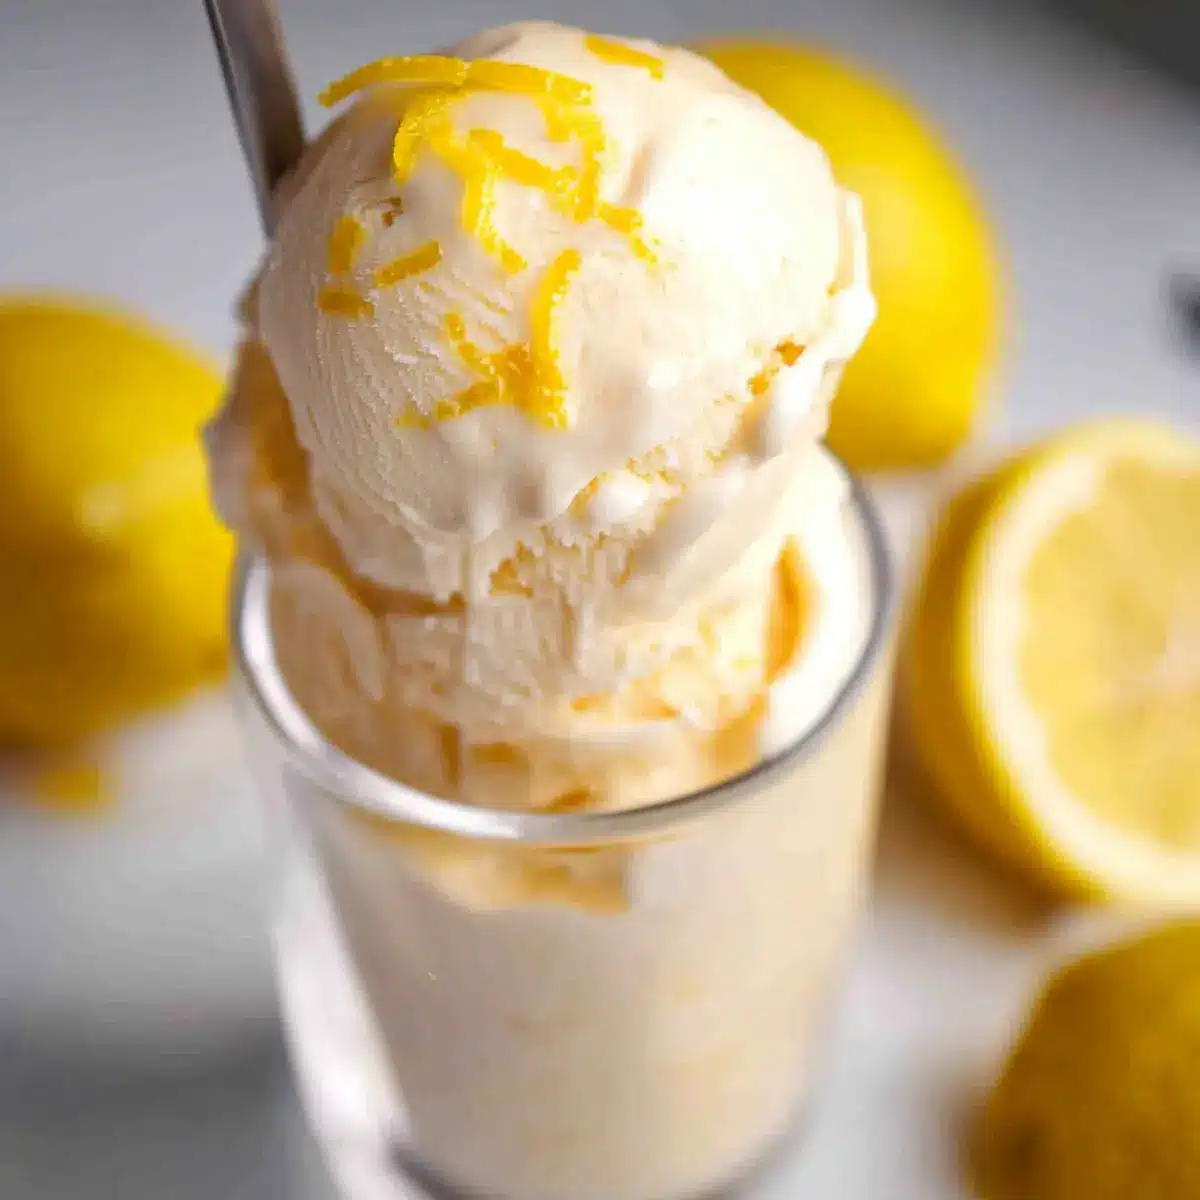
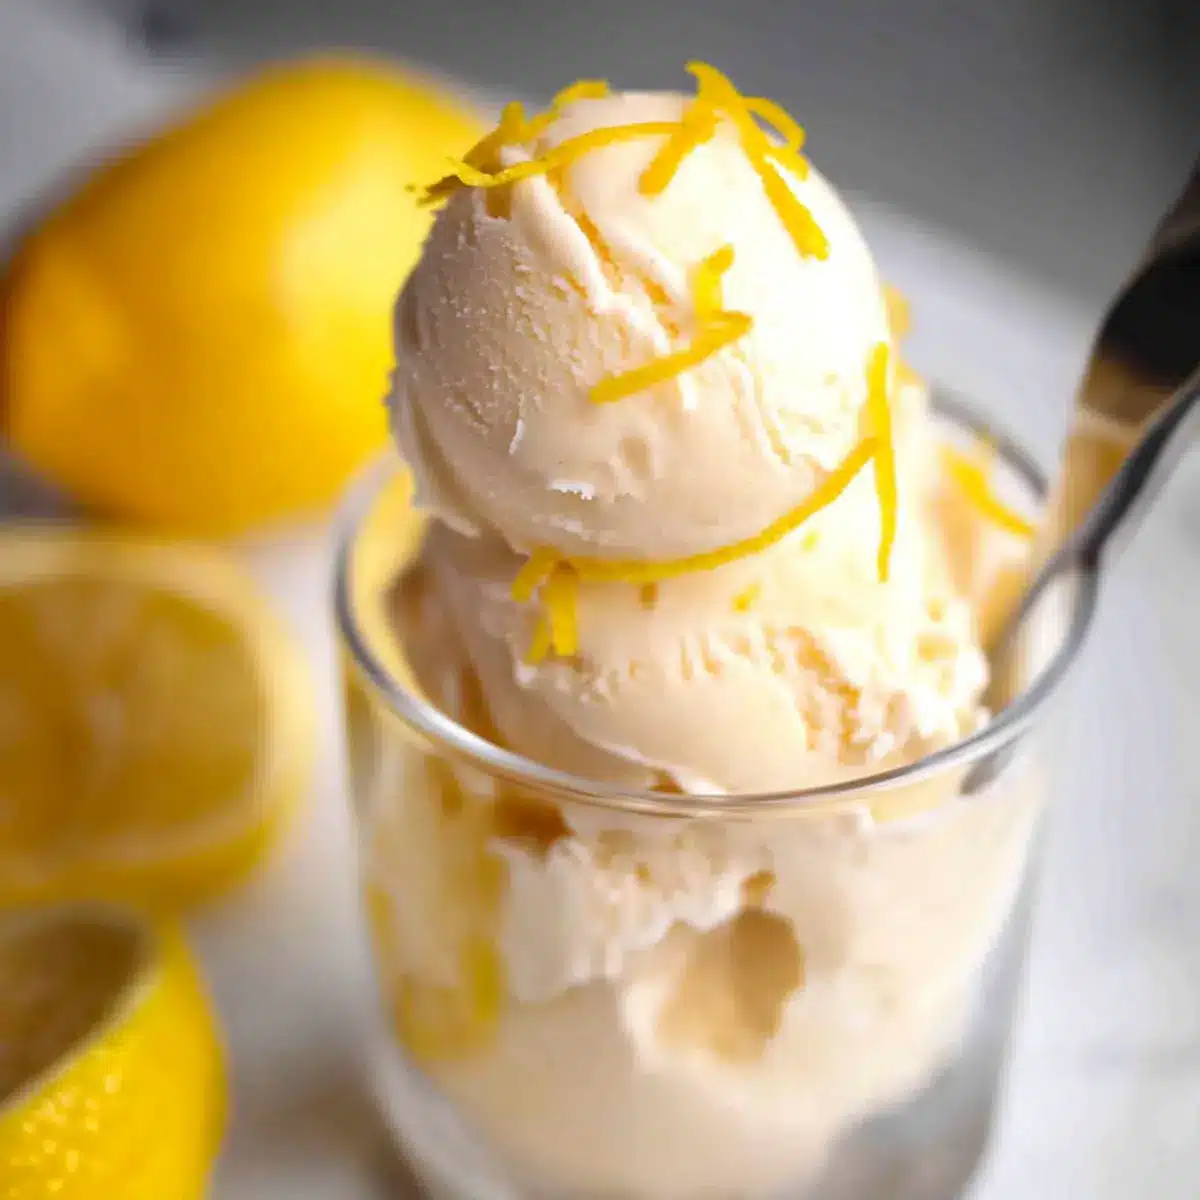
The sun is shining, and the scent of zesty lemons fills the air—what could be more uplifting than that? Today, I’m excited to share my recipe for Easy Homemade Lemon Ice Cream, a delightful treat that captures the essence of summertime bliss. With just four simple ingredients and no need for eggs, this Philadelphia-style ice cream simplifies the process, making it incredibly approachable for anyone looking to sweeten their day. Believe me, it’s the quickest way to cool down and bring smiles to the table. Whether you’re enjoying it on a hot afternoon or serving it as a refreshing finish to a cozy meal, this lemon ice cream is sure to impress. Curious about how to whip up this zesty delight in no time? Let’s dive in!
Why is Homemade Lemon Ice Cream a Must-Try?
Simple Steps: With just four ingredients, this recipe requires minimal effort and no cooking skills—perfect for beginners and busy chefs alike!
Bright, Tangy Flavor: The fresh lemon juice and zest create a zesty explosion that’s light and refreshing, making it an ideal treat for warm days.
Crowd-Pleasing Delight: Whether you’re hosting a summer barbecue or enjoying a quiet evening, this dessert will wow your guests and leave them asking for seconds.
Versatility: Pair it with your favorite desserts like Pistachio Pudding Icebox Cake or serve in cones for a nostalgic twist!
Quick Prep: With no cooking involved, you can whip it up in a flash—your taste buds will thank you!
Homemade Lemon Ice Cream Ingredients
• To create this delightful dessert, gather these simple ingredients.
For the Base
- Heavy Cream – Provides richness and creamy texture; do not substitute light cream for optimal flavor.
- Sugar – Sweetens the ice cream while balancing the tartness of the lemon; adjust to your sweet preference.
- Pinch of Salt – Enhances overall flavors and balances the sweetness perfectly.
For the Zesty Flavor
- Fresh Lemon Juice – Offers the key tangy flavor; use fresh juice from 3-4 large lemons for the best taste.
- Lemon Zest – Adds an extra burst of lemon flavor; zest from about 2 large lemons enhances the freshness.
Step‑by‑Step Instructions for Homemade Lemon Ice Cream
Step 1: Whisk the Base
In a large mixing bowl, vigorously whisk together the heavy cream, sugar, and a pinch of salt until the sugar begins to dissolve, around 2–3 minutes. The mixture should be smooth and frothy, indicating you’re off to a great start for your Homemade Lemon Ice Cream!
Step 2: Chill While You Prep
Cover the bowl with plastic wrap or a lid and refrigerate the mixture while you prepare the lemons. This chilling process is crucial; the cooler the base, the creamier the final product will be. Aim for about 15 minutes of refrigeration for the best results.
Step 3: Zest and Juice the Lemons
Using a microplane or fine grater, zest about 2 large lemons, being careful to avoid the bitter white pith. Then, juice 3–4 large lemons until you have a good amount of fresh lemon juice—aim for around ½ cup. This zesty preparation will infuse your ice cream with bright, tangy flavor.
Step 4: Combine the Zest and Juice
Once your lemon mix is ready, remove the chilled cream mixture from the fridge. Gently whisk in the lemon zest and juice until well combined, making sure the sugar is fully dissolved. You’ll notice the vibrant yellow color as the flavors meld perfectly in your Homemade Lemon Ice Cream base.
Step 5: Chill Again
Transfer the mixture back to the refrigerator for another 30–60 minutes, or until very cold. This step ensures a better texture when churning, making your ice cream smoother. If you’re short on time, you can expedite this by placing it in the freezer for about 20 minutes instead.
Step 6: Churn the Mixture
Pour the chilled mixture into your ice cream maker. Churn according to the manufacturer’s instructions—typically about 20–25 minutes—until you achieve a soft-serve consistency. You’ll know it’s ready when it’s thick enough to hold soft peaks, creating a fluffy Homemade Lemon Ice Cream texture.
Step 7: Freeze to Firm Up
Transfer the churned ice cream into an airtight container, spreading it evenly. Seal the container and place it in the freezer for at least 4 hours or overnight until solid. This step is essential for your ice cream to achieve that perfect scoopable consistency, as it further freezes the mix.
Step 8: Serve and Enjoy!
When ready to serve, let the ice cream sit at room temperature for about 10 minutes. This makes scooping easier, allowing your Homemade Lemon Ice Cream to melt beautifully into your favorite bowls or cones. Indulge in the vibrant flavors and enjoy the refreshing delight!
Make Ahead Options
Perfect for those busy weeknights, your Easy Homemade Lemon Ice Cream can be prepped a day in advance! You can mix the heavy cream, sugar, salt, lemon zest, and juice (without churning), and refrigerate it for up to 24 hours. This allows the flavors to meld beautifully while keeping the mixture fresh and zesty. When ready to serve, simply churn it according to your ice cream maker’s instructions, then transfer the churned ice cream to a container and freeze for at least 4 hours or overnight until firm. By preparing ahead, you’ll enjoy a deliciously creamy dessert with minimal effort when you’re ready to indulge!
What to Serve with Easy Homemade Lemon Ice Cream?
Perfect for sunny days, this zesty frozen treat brings a refreshing twist to any meal you pair it with.
-
Buttermilk Waffles: Light and fluffy, these waffles create a delightful base for your ice cream, adding a comforting, warm element to the refreshing chill. Drizzle with maple syrup for extra sweetness!
-
Fresh Fruit Salad: A colorful mix of seasonal fruits balances the tartness of the ice cream, providing both texture and healthful elements. Berries, melons, and citrus make for a vibrant and healthful complement.
-
Blueberry Pie: This classic dessert pairs beautifully, with the sweet and tangy flavors of blueberries contrasting with the light lemony goodness. Serve a scoop on top for an irresistible combination.
-
Strawberry Shortcake: Layered with whipped cream and biscuit, this dessert offers a sweet treat that enhances your lemon ice cream, creating an indulgent experience that’ll leave your guests smiling.
-
Mint Iced Tea: A refreshing drink with hints of mint, this beverage serves as a perfect palate-cleanser between bites. Its bright herbal notes beautifully contrast the sweet tang of your homemade lemon ice cream.
-
Coconut Macaroons: These chewy treats provide a delightful texture contrast, with their nuttiness making for a sweet, tropical experience paired alongside the lemony flavor of the ice cream.
Homemade Lemon Ice Cream Variations
Feel free to play around with this recipe and add your own twists to make it even more delightfully unique!
- Citrus Medley: Incorporate lime or orange zest for a vibrant flavor variation. A mix of citrus will elevate the zesty notes in a delightful way.
- Berry Burst: Toss in crushed fresh berries or a swirl of raspberry puree during the last minute of churning for a fruity and colorful twist. The combination of lemon with berries creates a refreshing experience that’s hard to resist.
- Creamy Coconut: Substitute half of the heavy cream with coconut cream for a tropical vibe. This adds a subtle creaminess and a hint of coconut that complements the lemon beautifully.
- Mint Fusion: Add a sprinkle of finely chopped fresh mint to the mixture for a refreshing twist. This pairing offers a surprising burst of flavor, making every bite even more invigorating!
- Almond Delight: Introduce a splash of almond extract for a nutty undertone. A little goes a long way, harmonizing beautifully with the lemon zest.
- Lemon Chia: Mix in a few tablespoons of chia seeds before chilling for a fun texture and added health benefits. They’ll plump up nicely and provide a delightful little crunch!
- Extra Sweetness: Drizzle in some honey or agave syrup to add a different level of sweetness. This can enhance the flavor profile and add a touch of natural sweetness.
- Serve with Style: Pair your lemon ice cream with freshly baked summer desserts, like Buttermilk Waffles or a slice of Cream Cheese Pound Cake for an indulgent experience.
With all these variations, your Homemade Lemon Ice Cream will never be boring and can be perfectly matched to your mood or occasion!
Expert Tips for Homemade Lemon Ice Cream
-
Chill Ingredients: Ensure both your cream and lemon mixture are cold before mixing to achieve maximum creaminess in your Homemade Lemon Ice Cream.
-
Avoid Overfilling: When churning, fill your ice cream maker only about one-third full for the best aeration—this yields a light and fluffy texture!
-
Prevent Ice Crystals: To maintain a smooth texture, keep the ice cream frozen at all times; avoid refreezing any melted portions.
-
Serve with Ease: Let the ice cream sit at room temperature for about 10 minutes before scooping—it makes serving so much easier!
-
Taste as You Go: Adjust sugar levels to your liking, remembering that the flavors will soften once frozen!
-
Experiment with Flavors: Don’t hesitate to add in other zest or fruits during churning for a fun twist on your Homemade Lemon Ice Cream!
How to Store and Freeze Homemade Lemon Ice Cream
Freezer: Keep your homemade lemon ice cream in an airtight container, where it can stay fresh for up to 3 months. Ensure there’s minimal air inside to prevent ice crystals.
Serving: Before serving, let the ice cream sit at room temperature for about 10 minutes. This will make scooping easier and enhance the creamy texture.
Avoid Refreezing: To maintain quality, do not refreeze melted ice cream, as this can lead to undesirable ice crystals and a grainy texture.
Check Consistency: If the ice cream seems too hard after freezing, simply let it sit at room temperature for a few minutes to soften before serving. Enjoy!
Homemade Lemon Ice Cream Recipe FAQs
What type of lemons should I use for this recipe?
Absolutely! For the best flavor in your Homemade Lemon Ice Cream, always opt for fresh lemons. I recommend using large, juicy lemons; you’ll need about 3-4 for the juice and zest. Avoid bottled lemon juice, as it lacks the bright, zesty flavor that fresh lemons provide.
How do I store leftover lemon ice cream?
To store your lemon ice cream, transfer it into an airtight container and freeze. It will keep fresh for up to three months. Make sure to minimize air in the container to prevent ice crystals, which can ruin the creamy texture. If you’re planning to keep it longer, consider wrapping it in plastic wrap before sealing the container for extra protection.
Can I freeze the ice cream mixture before churning?
I wouldn’t recommend freezing the mixture before churning, as it needs to be blended well in the ice cream maker to achieve that fluffy, creamy consistency. Instead, after mixing all the ingredients, chill it in the refrigerator until very cold—aim for about 30-60 minutes. This will give you the best results during churning.
What should I do if my ice cream turns out icy instead of creamy?
If your Homemade Lemon Ice Cream turns out icy, it may be due to a couple of factors. First, ensure that you’re not overrefilling your ice cream maker; it should be filled only one-third full for proper aeration. Secondly, if your base wasn’t cold enough, it can lead to ice crystals. In the future, chill your ingredients thoroughly before churning and keep the ice cream consistently frozen after making it.
Is this recipe safe for people with allergies?
Very! This Homemade Lemon Ice Cream is egg-free and can be a safe treat for most people. However, if you’re catering to specific allergies like dairy or gluten, you can explore substitutions like coconut cream for the heavy cream. As always, check the labels of your ingredients and consult with your guests if there’s a concern about allergies.
How do I incorporate fruit or other flavors into this recipe?
That’s a wonderful idea! To incorporate fruits like berries or other flavors into your Homemade Lemon Ice Cream, you can add about a cup of pureed fruit or zest from citrus varieties, like lime or orange, during the last minute of churning. This way, you create a vibrant swirl while preserving the brightness of the lemon flavor. Just make sure not to add too much liquid, as it can affect the freezing process!
Homemade Lemon Ice Cream That's Refreshingly Easy to Make
Ingredients
Equipment
Method
- Whisk together the heavy cream, sugar, and a pinch of salt until smooth and frothy.
- Cover the bowl and refrigerate for about 15 minutes.
- Zest and juice the lemons to prepare the zesty flavor.
- Combine the lemon zest and juice with the chilled cream mixture.
- Chill the mixture again for 30-60 minutes.
- Churn the mixture in your ice cream maker according to instructions.
- Transfer the churned ice cream to a container and freeze for at least 4 hours.
- Let it sit at room temperature for about 10 minutes before serving.
Leave a Reply