
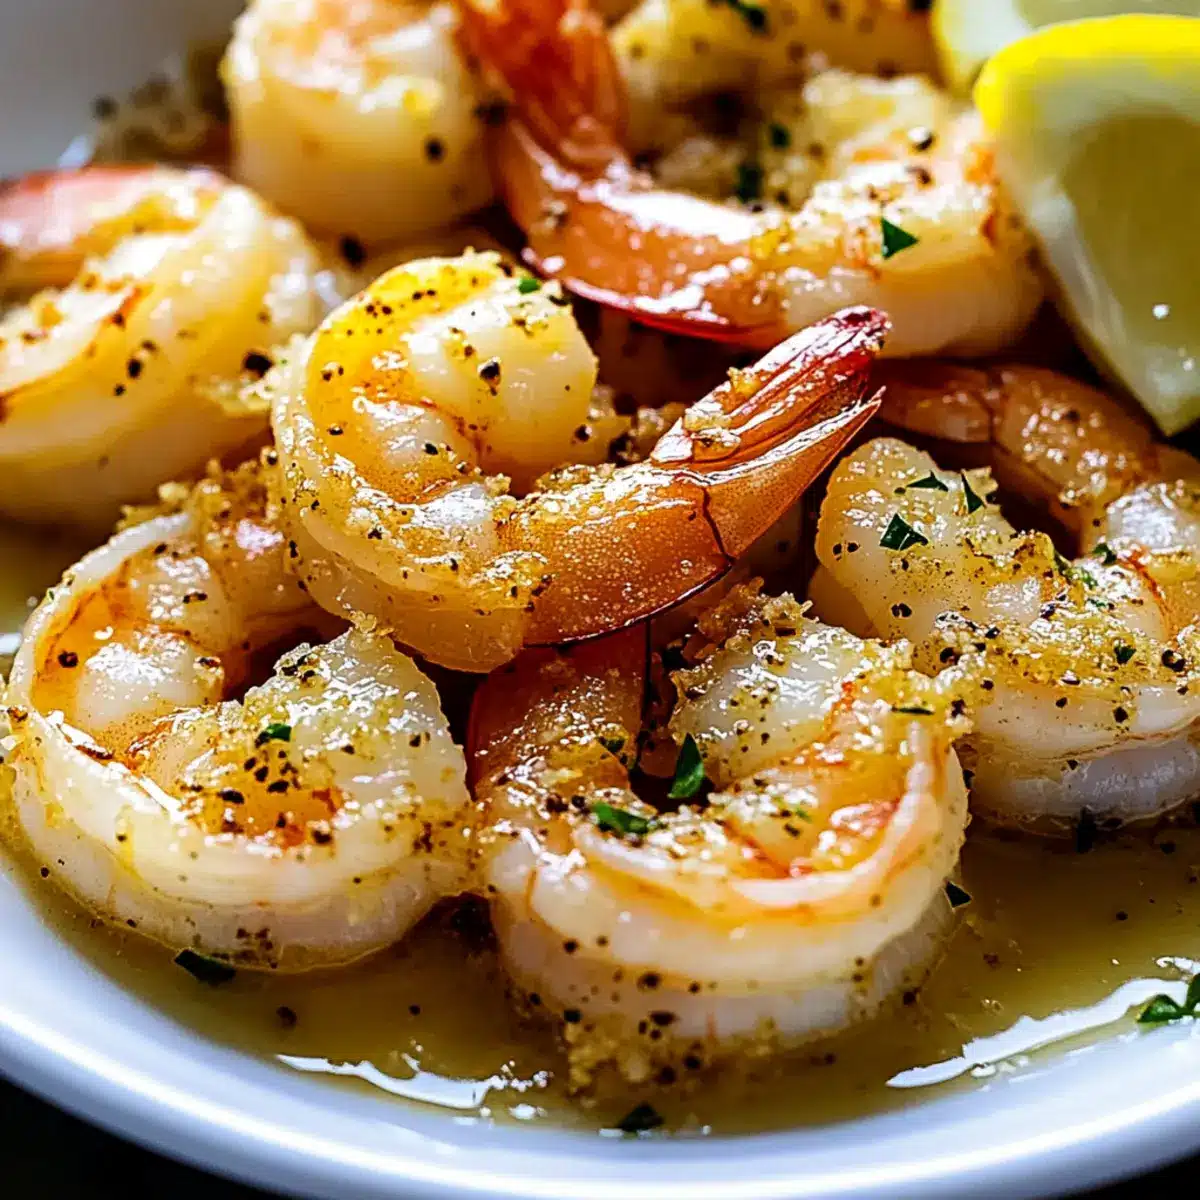
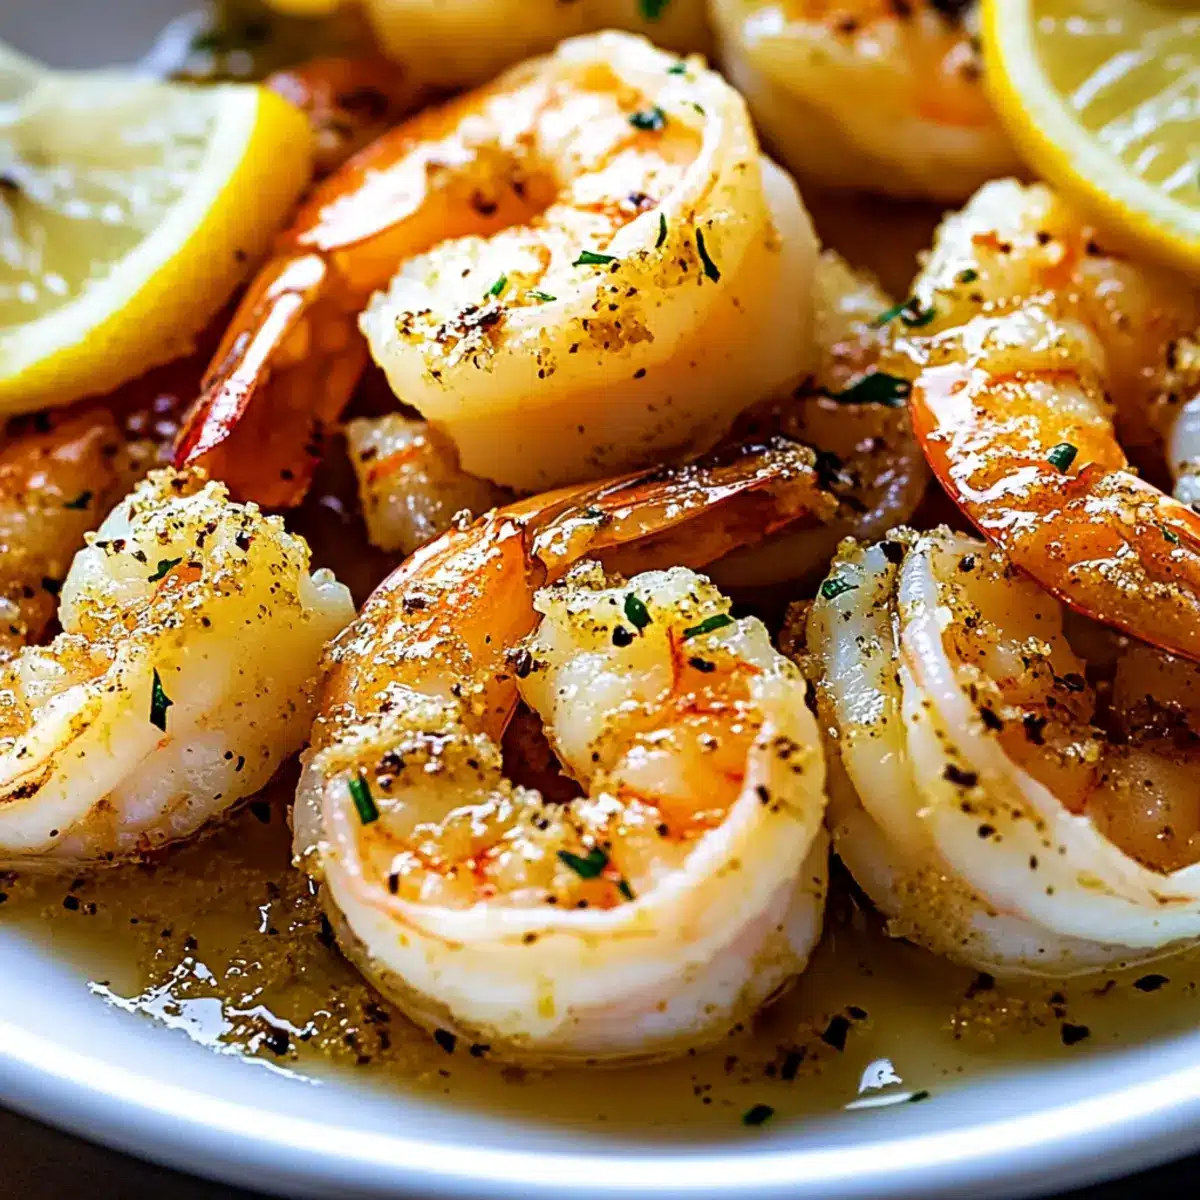
Every time I bake shrimp, I’m reminded of the exquisite dinner parties from my childhood where seafood was a must. Now, I relish the chance to recreate those memorable flavors with my Magic Baked Shrimp in Lemon Butter Sauce. This easy dinner is the perfect solution for busy weeknights when you crave something delightful without spending hours in the kitchen. The juicy shrimp swim in a luscious, garlicky lemon butter sauce, and are crowned with a golden, crispy panko topping that adds a satisfying crunch. Not only is this dish quick to prepare, but it’s also adaptable, allowing you to use ingredients you already have on hand. Curious about how to make this seafood sensation at home? Let’s dive in!
What makes Magic Baked Shrimp special?
Simplicity: This recipe shines with its easy-to-follow steps, perfect for both novice cooks and seasoned chefs.
Flavor Explosion: The zesty lemon butter combined with garlic elevates the shrimp, creating a savory profile that tantalizes your taste buds.
Versatility: Feel free to switch up ingredients based on what you have—add herbs, adjust the acidity, or try different toppings for endless variations.
Quick Meal: Ready in just 30 minutes, this dish is ideal for busy weeknights when you desire something both tasty and satisfying.
Crowd-Pleaser: Serve it at dinner gatherings, and watch as your guests rave about this restaurant-quality dish! If you’re looking for more seafood inspiration, check out my delightful Shrimp Scampi Bowls or the rich flavors of Shrimp Asparagus Carbonara.
Magic Baked Shrimp Ingredients
• Enjoy a culinary delight!
For the Shrimp
- Unsalted Butter – The key source of richness; substitute with vegan butter for a dairy-free option.
- Salt – Enhances overall flavor; adjust to your preference.
- Black Pepper – Adds mild heat; white pepper can be used for variation.
- Shrimp (1 lb) – The star ingredient, peeled and deveined for convenience; use frozen shrimp after thawing and drying.
- Garlic (3 cloves, minced) – Essential for depth; garlic powder can work in a pinch.
- Lemon Juice (2 tbsp) – Adds brightness and acidity; fresh lemon juice is ideal but bottled can suffice.
For the Topping
- Salt for Topping (1/4 tsp) – Helps flavor the breadcrumb mixture.
- Panko Breadcrumbs (3/4 cup) – Provides a crunchy texture; can substitute with regular breadcrumbs if needed.
- Parmesan Cheese (1/4 cup, shredded) – Adds a salty richness; skip or choose nutritional yeast for a dairy-free version.
- Olive Oil (1.5 tbsp) – Binds the topping together; you can replace it with melted butter for a richer flavor.
Now that you have the magical ingredients, it’s time to bring this dish to life and impress your family or guests with this delightful Baked Shrimp in Lemon Butter Sauce!
Step‑by‑Step Instructions for Magic Baked Shrimp
Step 1: Preheat the Oven
Start by preheating your oven to 375°F (190°C). This temperature is crucial for ensuring your Magic Baked Shrimp cooks evenly and develops that golden, crispy topping. While the oven heats, take a moment to gather your ingredients and equipment, including a large mixing bowl and a 9×13-inch baking dish.
Step 2: Prepare the Shrimp Mixture
In a large bowl, combine melted unsalted butter, minced garlic, and fresh lemon juice. Stir well until all ingredients are fully incorporated. Next, add your peeled and deveined shrimp, seasoning them with salt and black pepper to taste. Toss everything together until the shrimp are thoroughly coated in the luscious lemon butter mixture.
Step 3: Arrange the Shrimp
Spread the coated shrimp in a single layer within your greased 9×13-inch baking dish. Make sure they are evenly spaced for even cooking. At this point, the shrimp should look glistening from the butter and seasoning. This step is essential for allowing the shrimp to bake to perfection in the Magic Baked Shrimp recipe.
Step 4: Create the Crunchy Topping
In a separate bowl, mix the panko breadcrumbs, shredded Parmesan cheese, salt for the topping, and olive oil. Stir until the breadcrumbs are evenly coated with oil and cheese, creating a tantalizing texture. This mixture will provide that irresistible crunch on top of your shrimp once baked, enhancing the overall dish.
Step 5: Top the Shrimp
Evenly sprinkle the panko mixture over the arranged shrimp in the baking dish. Press gently to adhere the topping to the shrimp, ensuring that each piece is well-covered. The golden panko topping will crisp up beautifully while the shrimp bake, making your Magic Baked Shrimp visually appealing as well as delicious.
Step 6: Bake for Perfection
Place the baking dish in your preheated oven and bake for 12-15 minutes. Keep an eye on the shrimp; they should turn a vibrant pink color and be firm yet tender when done. The topping will become golden brown and crispy, a beautiful contrast against the juicy shrimp lurking beneath.
Step 7: Broil for Extra Crunch
For an added level of crispiness, consider broiling your Magic Baked Shrimp for an additional 1-2 minutes after baking. Watch it closely to prevent burning—you’re looking for that perfect golden hue on top. The broiler works wonders in giving your dish an irresistible finish.
Step 8: Serve and Savor
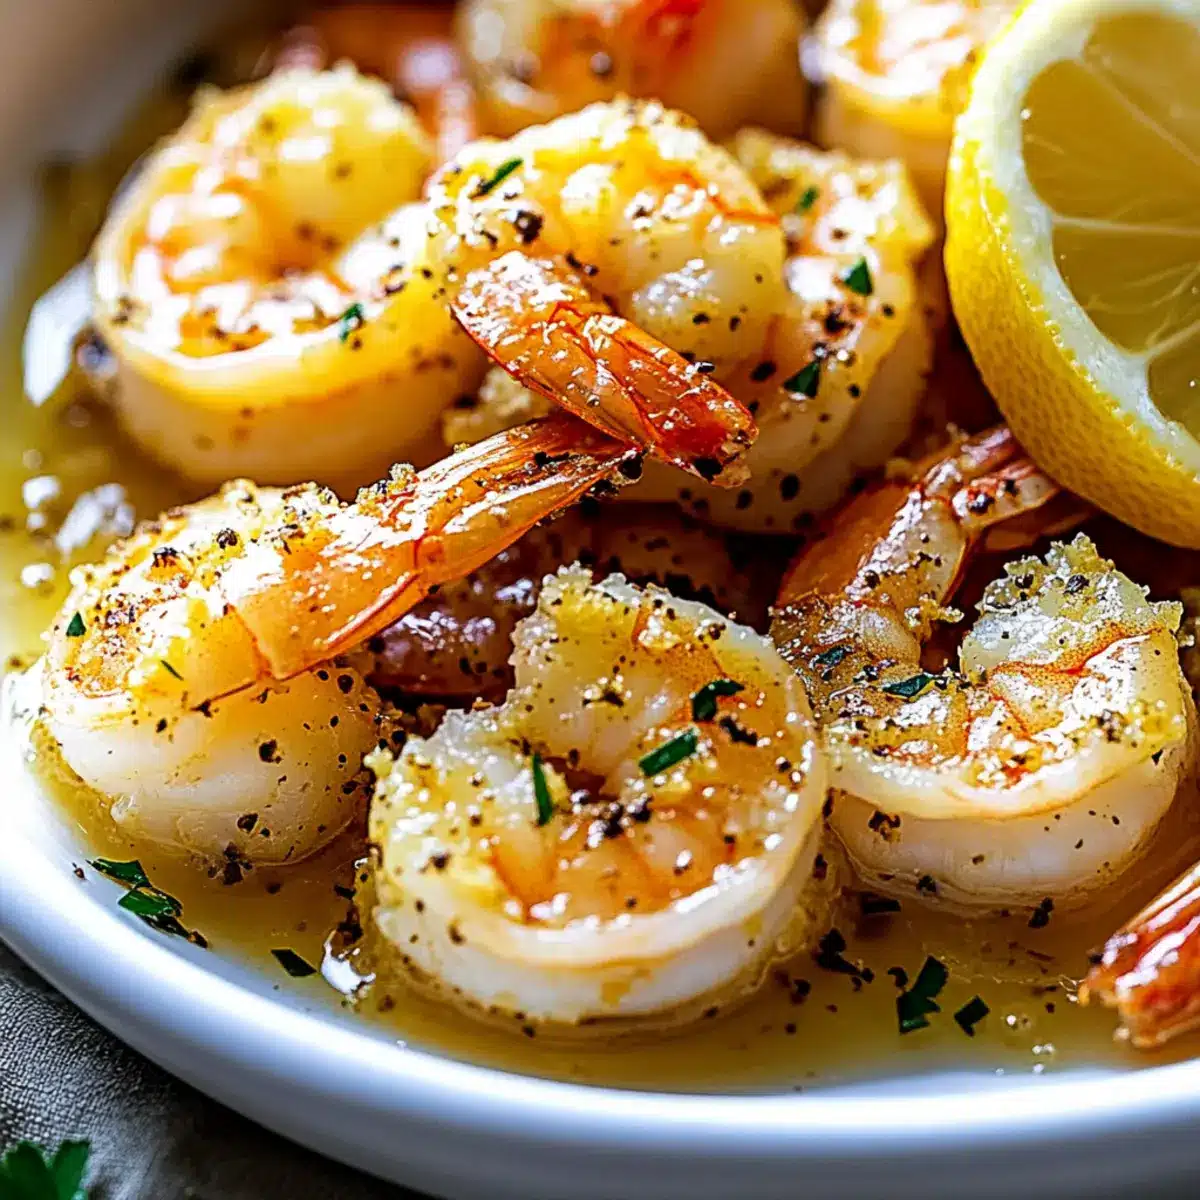
Remove your Magic Baked Shrimp from the oven and serve immediately. Spoon any remaining lemon butter sauce over the shrimp for a burst of flavor. Pair it with crusty bread or a fresh salad to soak up all that zesty goodness, and enjoy a delightful dinner that’s sure to impress!
Expert Tips for Magic Baked Shrimp
-
Thawing Shrimp: Ensure shrimp are fully thawed and patted dry. This step is crucial for achieving that perfect crispy texture without excess moisture.
-
Watch the Clock: Be attentive to baking time, as shrimp can become rubbery if overcooked. They should be opaque pink and slightly curled when done.
-
Gluten-Free Option: For a gluten-free version, substitute regular panko with gluten-free panko or even crushed rice crackers—still a crunchy delight!
-
Broiling Benefits: Broil for 1-2 minutes after baking to enhance crunch. Stay vigilant during this step to avoid burning the topping.
-
Flavor Adjustments: Feel free to add red pepper flakes or fresh herbs for a boost of flavor—as versatile as your Magic Baked Shrimp can be, the options are endless!
How to Store and Freeze Magic Baked Shrimp
Fridge: Store cooled Magic Baked Shrimp in an airtight container for up to 2 days. This way, you can enjoy leftovers while keeping them fresh.
Freezer: If you have leftovers, freeze the shrimp in a freezer-safe container for up to 3 months. For best results, wrap tightly to prevent freezer burn.
Reheating: To bring back that crispy topping, reheat in a 300°F oven until warmed through. This method keeps the shrimp tender while reviving the delightful crunch.
Enjoy Freshness: For optimal flavor, consume leftovers promptly, as reheating too often can compromise the juicy texture of the shrimp.
Make Ahead Options
These Magic Baked Shrimp in Lemon Butter Sauce are perfect for busy home cooks looking to save time during hectic weeknights! You can marinate the shrimp in the lemon butter and garlic mixture up to 24 hours before baking. Just place the coated shrimp in an airtight container and refrigerate. Additionally, the panko topping can be prepared and kept separate in the fridge for up to 3 days. When you’re ready to serve, simply preheat your oven, arrange the shrimp in the baking dish, sprinkle the topping on top, and bake as directed. This way, you’ll enjoy a delicious, effortless meal that feels fresh and luxurious!
Magic Baked Shrimp Variations & Substitutions
Feel free to make this dish your own and create flavors that excite your palate!
-
Spicy Kick: Add a teaspoon of red pepper flakes to the butter mixture for a zesty heat that enhances the shrimp’s savory goodness. The heat perfectly balances the lemon, creating a delightful explosion of flavors.
-
Citrus Twist: Swap lemon juice with lime or orange juice for a refreshing citrus profile. Each variation brings a unique brightness that complements the shrimp beautifully and adds a novel taste to the dish.
-
Fresh Herb Boost: Incorporate chopped fresh herbs, such as parsley or chives, either in the coating or as a garnish before serving. Their vibrant green color and fresh aroma elevate the dish and add a burst of flavor that dances on your taste buds.
-
Cheese Alternatives: If Parmesan isn’t on hand, you can substitute it with any hard, salty cheese like pecorino or asiago. Each cheese brings its unique character, adding depth of flavor to the crunchy topping.
-
Gluten-Free Goodness: Use gluten-free panko breadcrumbs or crushed rice crackers for the topping. They retain the delightful crunch while catering to gluten-sensitive diners, allowing everyone to enjoy this savory delight.
-
Vegetable Addition: Toss some thinly sliced zucchini or asparagus into the baking dish before adding the shrimp. This hug of veggies complements the dish without sacrificing any flavor, creating a nutritious component to your meal.
-
Creamy Variation: For a richer taste, drizzle a bit of heavy cream or cream cheese over the shrimp before baking. This twist adds extra creaminess, making each bite lusciously satisfying.
If you’re looking for more seafood inspiration, don’t miss my recipes for Baked Pears with Berries and Baked Apple Fritters to get your creative juices flowing!
What to Serve with Magic Baked Shrimp?
Elevate your seafood dinner experience by pairing it with delightful sides that complement the sumptuous flavors of this dish.
-
Crusty Bread: A warm, crusty loaf serves as the perfect vehicle for soaking up the zesty lemon butter sauce; each bite will transport you to a coastal paradise.
-
Garlic Mashed Potatoes: Creamy and comforting, these potatoes balance the bright acidity of the shrimp, making for a soul-satisfying combination everyone will love.
-
Fresh Green Salad: A crisp and refreshing salad with mixed greens, cherry tomatoes, and a light vinaigrette adds a burst of color and nutrients to your meal.
-
Steamed Asparagus: Tender, vibrant asparagus not only brings a pop of green to your plate but its slight crunch pairs beautifully with the tender shrimp.
-
Lemon Rice: Lightly flavored rice with hints of lemon complements the dish, enhancing the overall citrus notes while offering a comforting base for the shrimp.
-
Chilled White Wine: A glass of chilled Sauvignon Blanc or Pinot Grigio will add a layer of sophistication, enhancing the overall seafood experience.
With these pairings, your Magic Baked Shrimp dinner will be truly unforgettable, creating a heartwarming and flavorful dining moment for you and your loved ones.
Magic Baked Shrimp Recipe FAQs
How do I select the best shrimp?
Absolutely! When choosing shrimp, look for firm, translucent flesh that’s free from black spots or discoloration. Fresh shrimp should have a mild, sea-like aroma, while frozen should be clean-looking and free from ice crystals, indicating they haven’t been thawed and refrozen.
What is the best way to store leftover Magic Baked Shrimp?
After enjoying your delicious meal, allow any leftovers to cool down and transfer them to an airtight container. They can stay in the fridge for up to 2 days. For longer storage, you can freeze the shrimp in a freezer-safe container or bag for up to 3 months, ensuring they’re tightly wrapped to prevent freezer burn.
Can I freeze Magic Baked Shrimp?
Certainly! To freeze, place the cooled shrimp in a single layer on a baking sheet until solid, then transfer them into a freezer-safe container or bag. This prevents them from clumping together. When you’re ready to enjoy them again, thaw in the refrigerator overnight before reheating for the best taste and texture.
What if the shrimp turn rubbery after baking?
Very! Overcooking shrimp is a common issue. To avoid this, watch the baking time closely, aiming for around 12-15 minutes. They’re done when they turn a vibrant pink and are slightly curled. If it’s your first time making the dish, you can check them a couple of minutes early—better to undercook just a tad than to end up with rubbery shrimp!
Are there any dietary considerations for Magic Baked Shrimp?
Of course! If you or your guests have dietary restrictions, this dish is quite adaptable. You can easily make it gluten-free by using gluten-free panko or even crushed rice crackers. If you have lactose intolerance, simply omit the Parmesan or substitute with nutritional yeast for a dairy-free alternative. Always check the packaging of ingredients to avoid allergens.
Magic Baked Shrimp with Zesty Lemon Butter Bliss
Ingredients
Equipment
Method
- Preheat your oven to 375°F (190°C). Gather your ingredients and equipment.
- In a large bowl, combine melted butter, minced garlic, and lemon juice. Stir until incorporated. Add shrimp and season with salt and pepper, tossing to coat.
- Spread the coated shrimp in a single layer in a greased baking dish, ensuring even spacing.
- In a separate bowl, mix panko breadcrumbs, Parmesan, salt for topping, and olive oil until breadcrumbs are evenly coated.
- Sprinkle the panko mixture over the shrimp and press gently to adhere.
- Bake for 12-15 minutes until shrimp is pink and firm. The topping should be golden brown.
- For extra crunch, broil for 1-2 minutes after baking, watching closely to prevent burning.
- Serve immediately, spooning any remaining lemon butter sauce over the shrimp.
Leave a Reply