
Stepping into my kitchen, a wave of nostalgia embraces me as I rummage through my pantry, eager to create something special. Today, I’m whipping up these Peanut Butter Protein Rice Krispies Treats—my take on a classic with a healthier twist. These marshmallow-free Rice Krispies treats are everything you want in a snack: chewy, crispy, and packed with energy-sustaining protein. With just six hassle-free ingredients, preparing these delights is a breeze, making them an instant crowd-pleaser for anyone tired of empty-calorie treats. Perfect for a post-workout boost or a sweet craving fix, they give you the satisfaction of a classic treat without the guilt. Curious how to make these delicious squares that make healthy snacking fun? Let’s dive in!
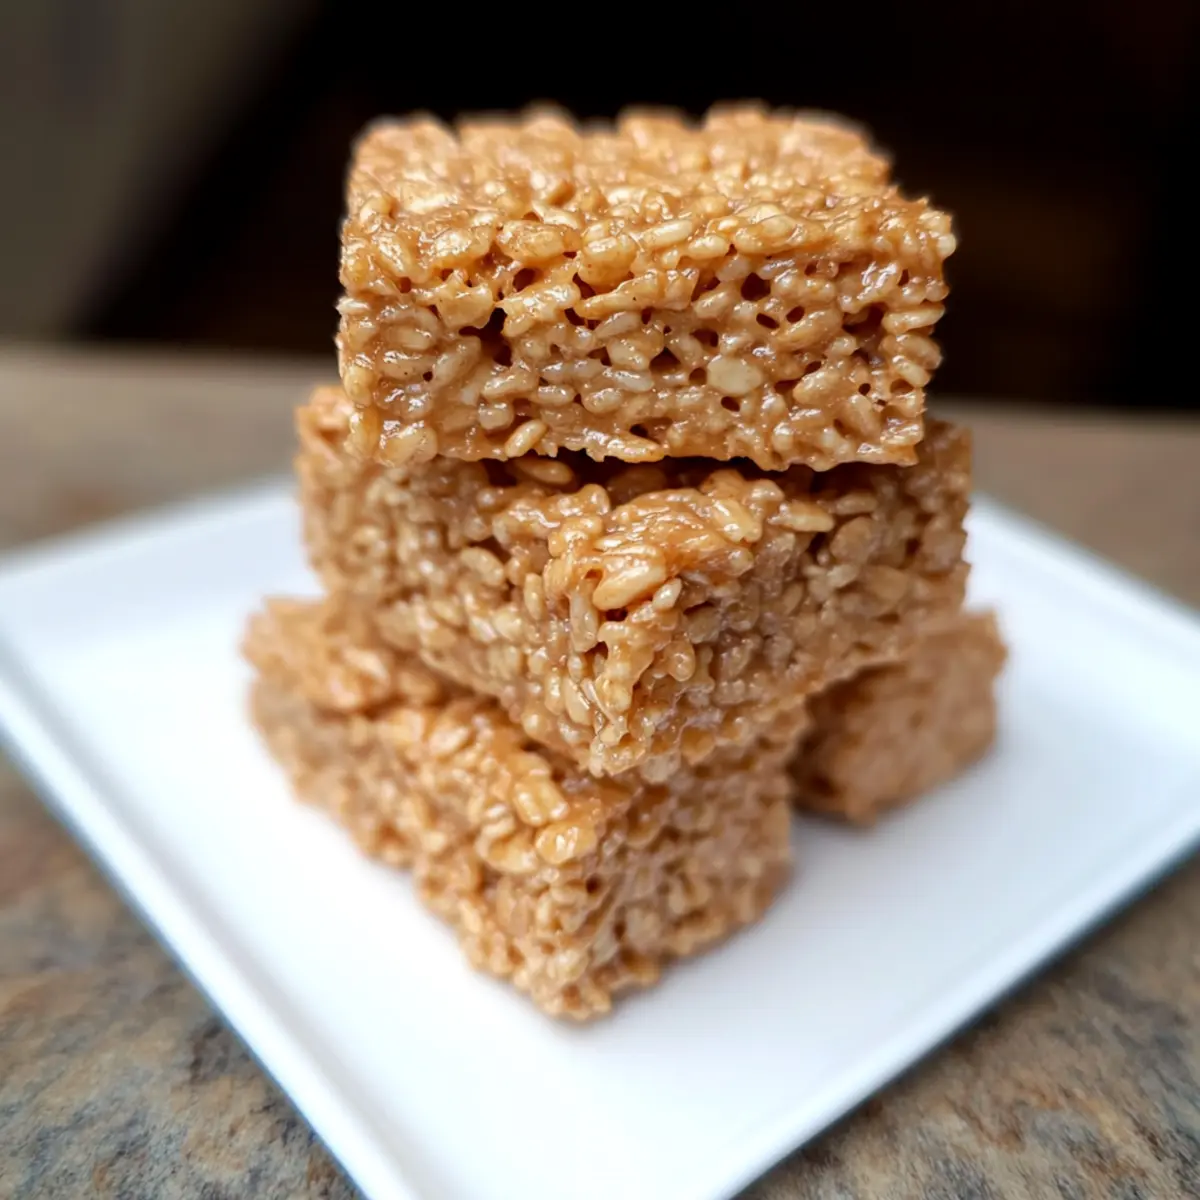
Why Try These Marshmallow-Free Treats?
Simplicity at Its Finest: With only six easy-to-find ingredients, you can whip up these Peanut Butter Protein Rice Krispies Treats in no time!
Nostalgic Flavor: Enjoy the same classic taste you remember, just without the marshmallow, making them a unique twist on a beloved snack.
Healthy Snacking: Packed with protein and low in calories, these treats will leave you feeling satisfied and guilt-free.
Versatile Customization: Want to mix things up? Add chocolate chips or dried fruits for an extra flavor boost!
Family Friendly: These treats are perfect for both kids and adults, making them an ideal snack for school lunches or after-work indulgence.
Try serving them alongside other favorites like Rice Krispie Treats or Scampi Garlic Rice for a delightful spread!
Marshmallow-Free Rice Krispies Treats Ingredients
For the Base
- Brown Rice Syrup – Provides natural sweetness and binding properties. Substitute with honey or agave syrup if needed.
- Peanut Butter – Adds rich flavor and protein. Any nut or seed butter can be used as a substitute.
- Vanilla Extract – Enhances the overall flavor profile. A non-alcoholic vanilla can be used for a different taste.
- Protein Powder – Increases the protein content. Whey, plant-based, or collagen proteins can work.
- Rice Cereal – The main structure and texture creator. Look for gluten-free options if dietary needs require.
- Cooking Spray – Prevents sticking in the pan. Use any non-stick spray or line with parchment paper.
Enjoy making these delightful marshmallow-free Rice Krispies treats that will wow your taste buds!
Step‑by‑Step Instructions for Marshmallow-Free Rice Krispies Treats
Step 1: Prepare the Pan
Start by preparing a 9-by-13-inch baking pan. Lightly spray it with cooking spray to prevent sticking, ensuring every corner is well coated. This crucial step will make removing your delicious marshmallow-free Rice Krispies treats a breeze once they’ve set.
Step 2: Combine Ingredients
In a large saucepan, combine the brown rice syrup and peanut butter over medium heat. Stir frequently for about 5 minutes until the mixture is warmed and completely liquefied, creating a smooth, cohesive blend. You’ll know it’s ready when it bubbles gently and coats the back of your spoon nicely.
Step 3: Add Flavors
Remove the pan from heat and add the vanilla extract and protein powder to the warm peanut butter mixture. Stir vigorously until everything is fully incorporated, and the protein powder disappears into the substance. The result should be a fragrant, smooth mixture that enhances the delightful flavor of your marshmallow-free Rice Krispies treats.
Step 4: Incorporate Cereal
Quickly fold in the rice cereal with a spatula, mixing until all the pieces are thoroughly coated in the peanut butter blend. Aim for a uniform coating to ensure every bite is satisfying. This step is crucial, so move fast to prevent the mixture from cooling and hardening too much.
Step 5: Press Mixture into Pan
Transfer the coated cereal mixture into the prepared pan. Using the back of a spatula, press the mixture evenly and firmly into the pan to create a compact layer. This ensures that the bars will hold together once cut. The mixture should be packed tightly and have a smooth top surface.
Step 6: Cool and Cut
Place the pan in the refrigerator for at least 1 hour to allow the marshmallow-free Rice Krispies treats to set and firm up. Once chilled, remove from the fridge and cut into 18 equal squares with a sharp knife. This final touch transforms your creation into shareable, delightful snacks ready to be devoured!
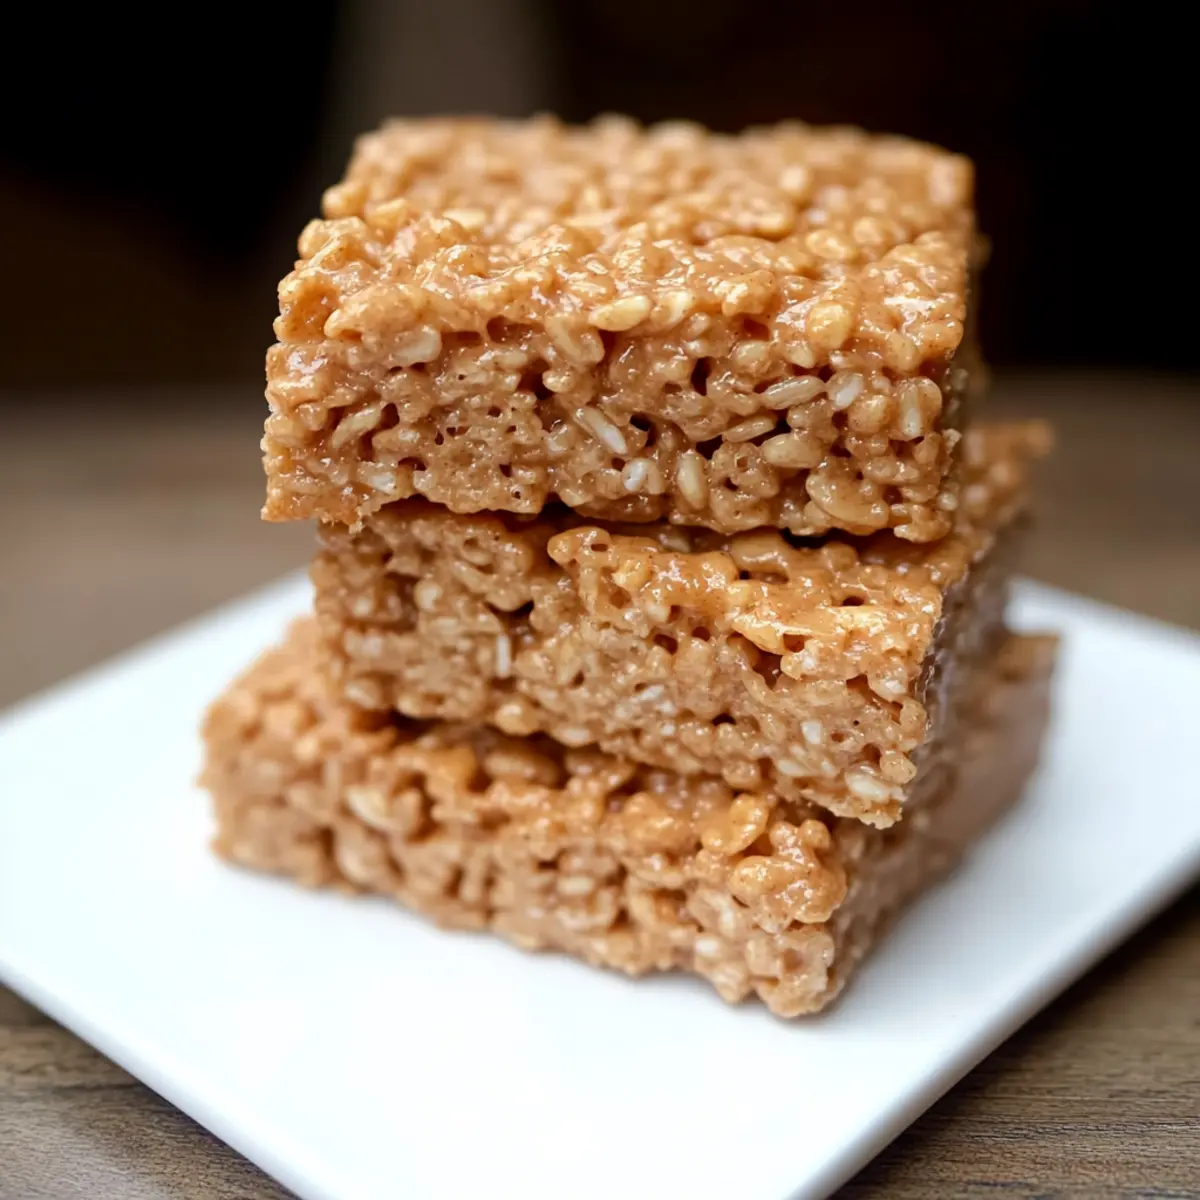
Storage Tips for Marshmallow-Free Rice Krispies Treats
- Room Temperature: These treats can be kept at room temperature for up to 2 days, but ensure they are stored in an airtight container to maintain their texture.
- Fridge: For longer freshness, store the marshmallow-free Rice Krispies treats in the fridge for up to one week. Use an airtight container to prevent them from drying out.
- Freezer: If you want to save some for later, freeze the treats in a single layer wrapped in parchment paper, then place them in a freezer-safe bag. They can last up to 3 months.
- Reheating: If desired, you can microwave a square for about 10 seconds to soften before enjoying, but avoid overheating to maintain their delightful texture.
Marshmallow-Free Rice Krispies Treats Variations
Feel free to enhance or personalize your marshmallow-free Rice Krispies treats with these delightful twists!
- Nut-Free: Substitute peanut butter with sunflower seed butter for a nut-free version that’s just as tasty.
- Natural Sweetness: Swap brown rice syrup with honey or agave for a unique flavor profile while keeping it sweet.
- Chocolate Lovers: Fold in dark chocolate chips or mini chocolate chunks for a rich flavor boost that will have everyone coming back for more.
- Fruit & Crunch: Add dried fruits like cranberries or raisins, along with a sprinkle of nuts or seeds, to give your treats a delightful chew and extra texture.
- Flavor Explosion: Experiment with flavored protein powders such as chocolate or vanilla to elevate the taste of your treats.
- Extra Crunch: Mix in a handful of puffed quinoa or toasted coconut for an added crunch that contrasts beautifully with the chewy texture.
- Spiced Up: Add a pinch of cinnamon or a dash of sea salt for a tantalizing contrast to the sweetness.
- Cooling Twist: Drizzle melted dark chocolate on top, then allow it to set in the fridge for an elegant touch that transforms these treats into the perfect dessert.
Enjoy experimenting with these variations! They’re wonderful companions to Rice Krispie Treats or a side of Scampi Garlic Rice for a deliciously balanced snack spread.
Helpful Tricks for Marshmallow-Free Rice Krispies Treats
-
Well-Coated Cereal: Make sure the rice cereal is thoroughly coated with the peanut butter mixture. This is vital for that delightful texture you’re aiming for!
-
Press Firmly: When pressing the mixture into the pan, use firm, even pressure. This helps the bars hold together beautifully once cooled.
-
Cool Completely: Don’t skip the chilling step! Let the marshmallow-free Rice Krispies treats cool completely in the fridge to achieve the perfect firmness and make slicing easier.
-
Stir Quickly: After removing the mixture from heat, fold in the cereal quickly to prevent it from hardening too soon. Timing is key!
-
Storage Tips: Keep any leftover bars in an airtight container in the fridge. They will stay fresh for up to one week and are perfect for snacking!
What to Serve with Peanut Butter Protein Rice Krispies Treats
These delightful treats are perfect for rounding out a satisfying and harmonious meal or snack time experience.
-
Fresh Fruit Salad: Bright and juicy, a fresh fruit salad adds a refreshing contrast to the rich peanut butter flavor. Try mixing berries with a hint of mint for an extra zing!
-
Greek Yogurt Parfait: Creamy Greek yogurt layered with granola and a drizzle of honey provides a creamy counterpart. It’s a wholesome way to enhance your protein intake alongside these tasty bars.
-
Nutty Trail Mix: A handful of nutty trail mix offers crunch and further boosts the protein level. The mixed textures keep your snacking experience exciting and flavorful.
-
Dark Chocolate Dipped Strawberries: Indulgent yet wholesome, the sweetness of the strawberries complements the nutty treat. Plus, it makes for a delightful post-snack dessert!
-
Iced Matcha Latte: Cool and refreshing, an iced matcha latte pairs wonderfully with the treats. The earthy notes of matcha balance the sweetness, creating a delightful harmony in flavors.
-
Chia Seed Pudding: Creamy, nutrient-rich chia seed pudding can be a perfect side. Add vanilla or cocoa to create a flavor that complements the peanut butter in your treats!
-
Coconut Water: Hydrating and slightly sweet, coconut water is a light drink option that keeps the focus on these scrumptious bars. It’s perfect for post-workout refreshment, too.
Explore these tasty pairings to elevate your snack experience with Peanut Butter Protein Rice Krispies Treats; they are sure to delight your taste buds!
Make Ahead Options
These Peanut Butter Protein Rice Krispies Treats are perfect for meal prep enthusiasts! You can prepare the mixture of brown rice syrup, peanut butter, vanilla extract, and protein powder up to 24 hours in advance. Simply combine these key ingredients and refrigerate them in an airtight container. The rice cereal can also be mixed in a separate bowl and stored for up to 3 days. To maintain their delightful texture, press the mixture into the pan and refrigerate it until ready to enjoy. When you’re set to serve, just cut into squares and savor the same delicious flavors with minimum effort, making healthy snacking easy for busy weeknights!
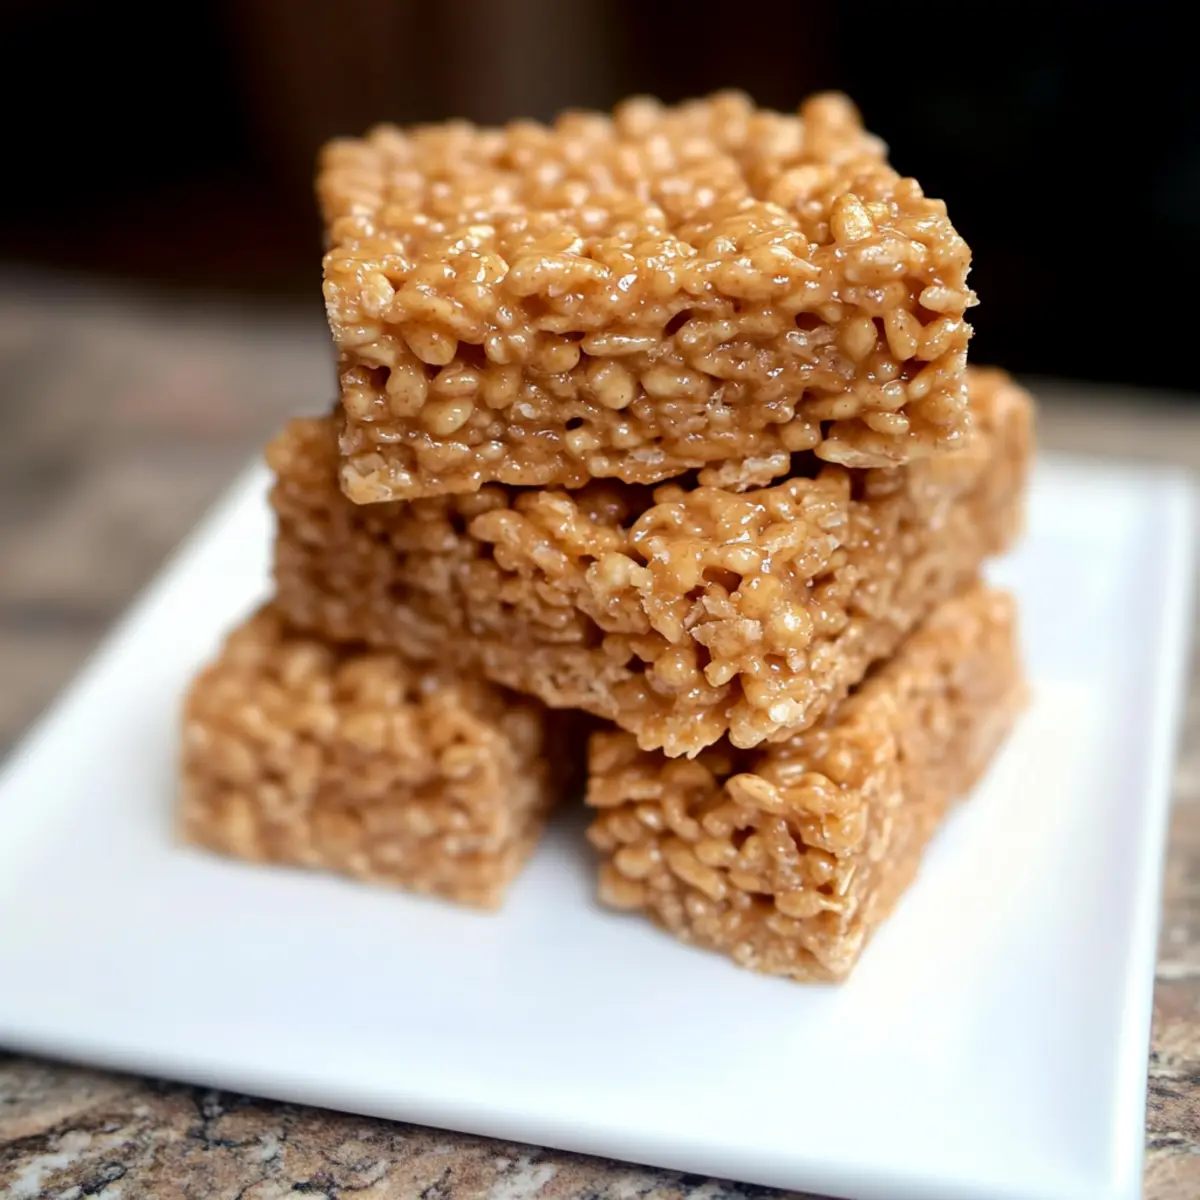
Marshmallow-Free Rice Krispies Treats Recipe FAQs
How do I select the best ingredients for these treats?
Absolutely! When choosing brown rice syrup, look for a brand that is organic for the best flavor and consistency. For peanut butter, opt for one that contains no added sugars or oils for a healthier treat. If you decide to use protein powder, ensure it complements the flavor—vanilla or chocolate varieties work beautifully with the peanut butter.
What’s the best way to store leftover Rice Krispies treats?
For optimal freshness, store your marshmallow-free Rice Krispies treats in an airtight container in the fridge. This will keep them nice and chewy for up to one week. If you want to keep them longer, opt for freezing—the treats can be safely stored in a freezer-safe bag for up to 3 months. Just be sure to wrap them in parchment paper first to prevent sticking!
Can I freeze these Peanut Butter Protein Rice Krispies Treats?
Absolutely! To freeze, first cut the treats into squares, then layer them between sheets of parchment paper in an airtight container or a freezer-safe bag. Make sure to remove as much air as possible. They’ll stay fresh for up to 3 months. When you’re ready to enjoy, just pull one out and let it thaw at room temperature or warm it in the microwave for about 10 seconds.
What should I do if my treats fall apart after cutting?
Very common! If the mixture isn’t pressed firmly enough into the pan, the bars may crumble. Make sure to press the mixture down firmly and evenly with the back of a spatula. Additionally, if the mixture cools too much before you incorporate the cereal, it can become difficult to mix. Try to work quickly and press down well; if all else fails, they’re still delicious even in small bits!
Are these treats suitable for those with nut allergies?
Yes, indeed! You can substitute the peanut butter with sunflower seed butter or any other seed butter to make a nut-free version of these marshmallow-free Rice Krispies treats. Just be mindful of any allergies with the protein powder and make sure it aligns with dietary restrictions if being shared.
Can I add other ingredients to customize my treats?
Certainly! I often mix in some mini chocolate chips or dried fruits like cranberries or apricots for an extra layer of flavor and texture. Feel free to get creative while keeping the original balance of ingredients intact to ensure your treats stay delicious!
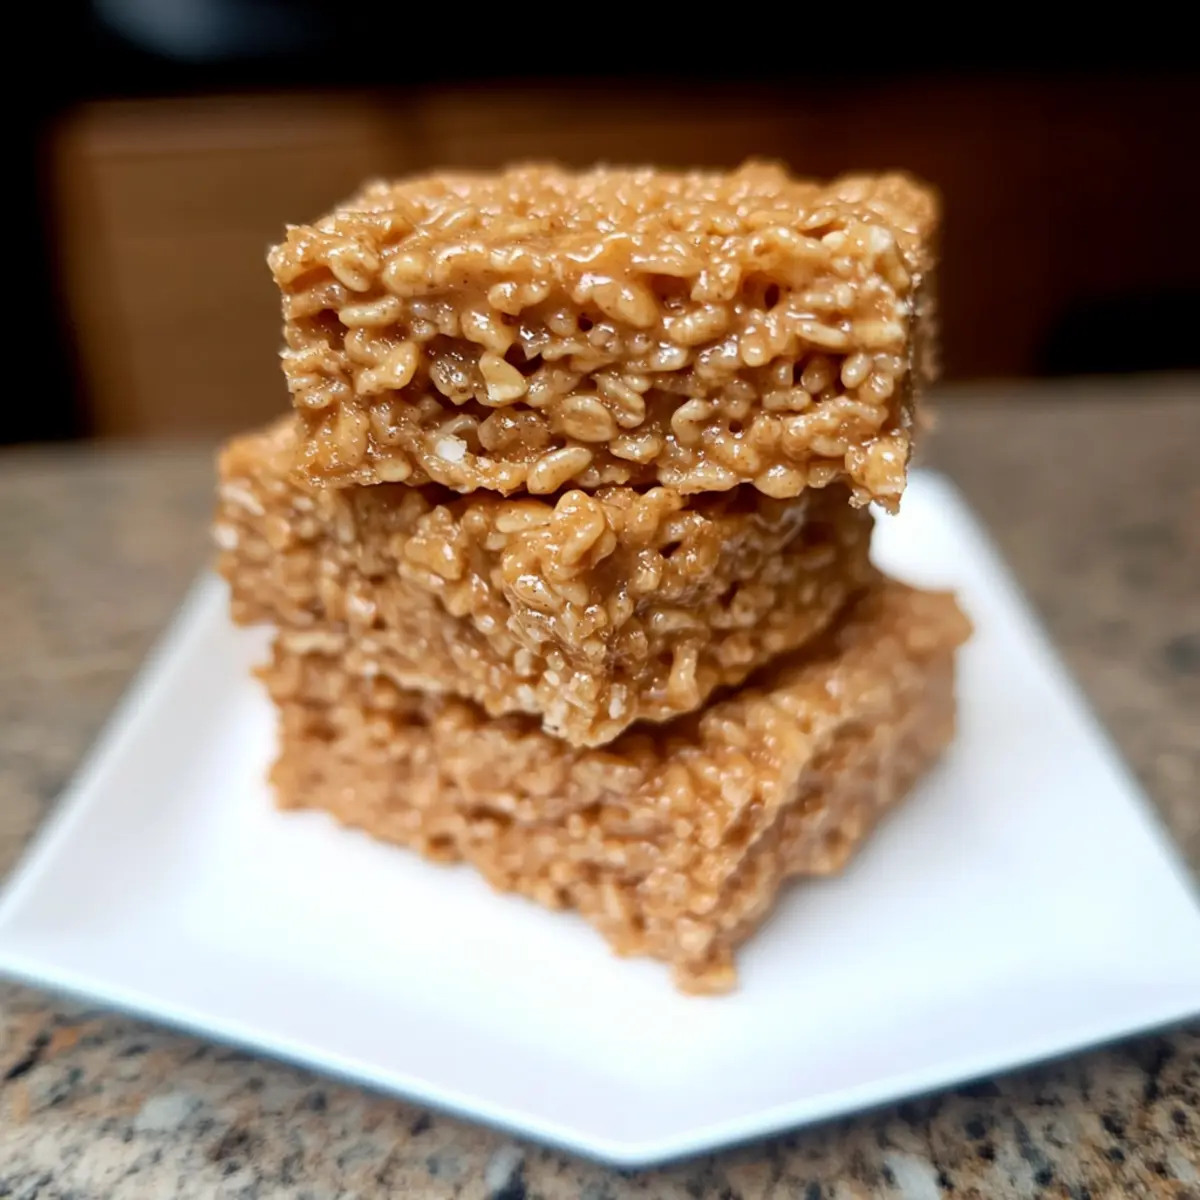
Marshmallow-Free Rice Krispies Treats That Wow Your Taste Buds
Ingredients
Equipment
Method
- Prepare a 9-by-13-inch baking pan by lightly spraying it with cooking spray.
- In a large saucepan, combine the brown rice syrup and peanut butter over medium heat. Stir frequently for about 5 minutes until the mixture is warmed and liquefied.
- Remove the pan from heat and add the vanilla extract and protein powder. Stir vigorously until fully incorporated.
- Quickly fold in the rice cereal with a spatula until all pieces are coated in the peanut butter blend.
- Transfer the coated mixture into the prepared pan, using the back of a spatula to press it evenly and firmly.
- Place the pan in the refrigerator for at least 1 hour to allow the treats to set. Cut into 18 equal squares.
Leave a Reply