
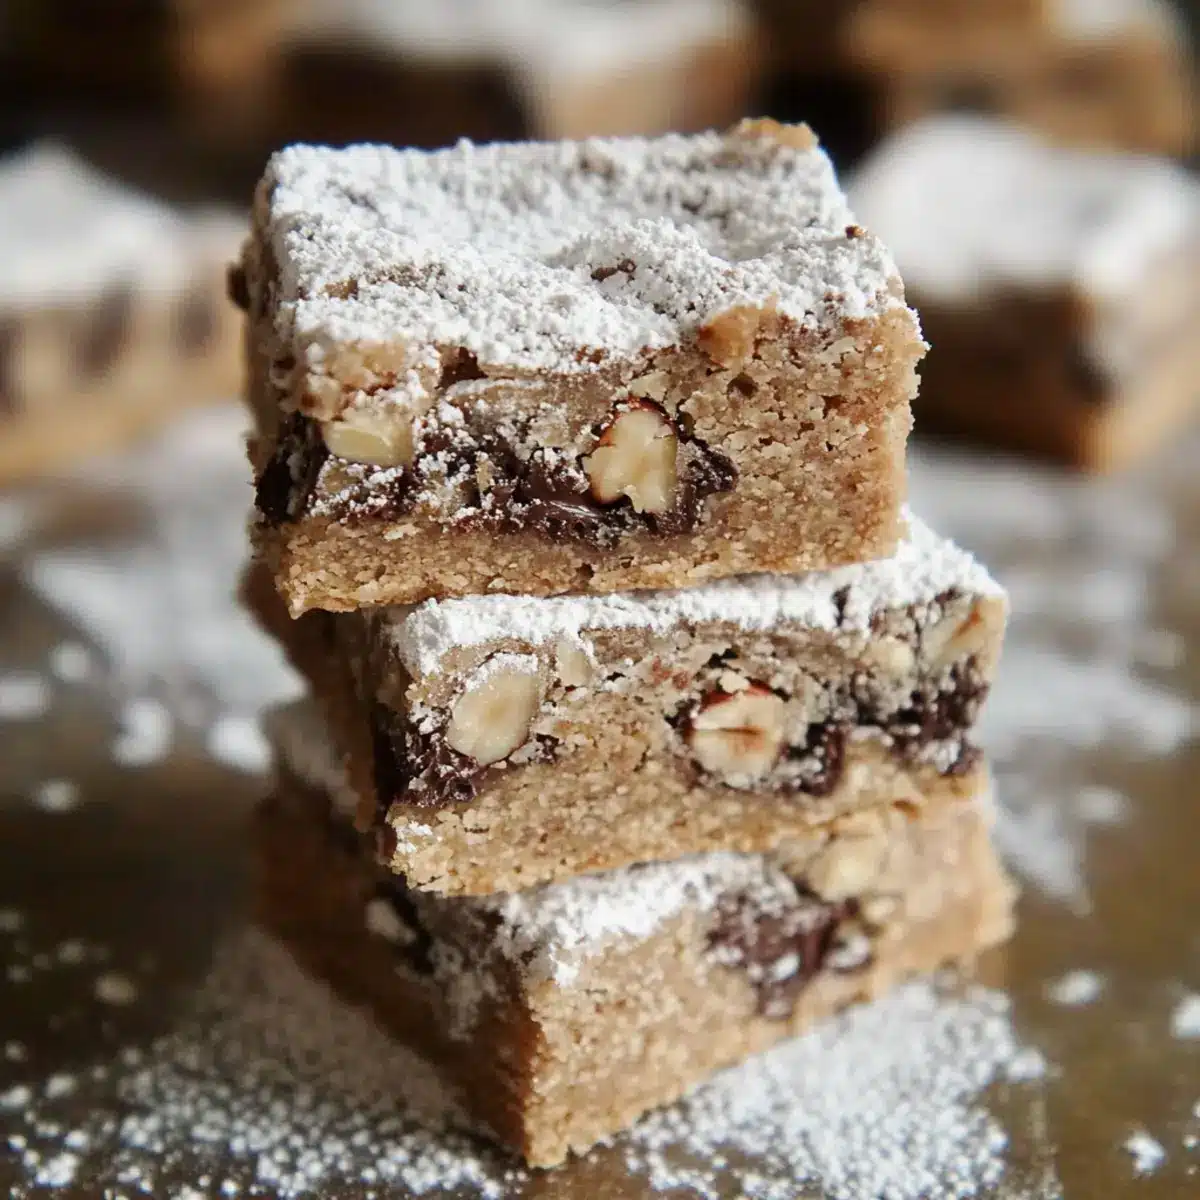
As the warm sun streams through the kitchen window, I can’t help but smile at the thought of the No-Bake Smoosh Bars chilling in the fridge. These easy dessert squares are a game-changer for anyone craving something sweet without the fuss of an oven. With just a handful of ingredients, including crunchy vanilla wafers and rich chocolate chips, making them is as simple as mix, press, and chill. The best part? They’re perfect for children and adults alike, making them a delightful, kid-friendly treat that everyone will adore. Plus, you can customize them with your favorite cookie flavors or nuts, adding a personal twist that’s sure to impress. Are you ready to dive into this no-bake bliss?
Why Are No-Bake Smoosh Bars So Irresistible?
Easy to Make: With just a few simple steps—mix, press, and chill—these bars are perfect for busy days when you need a quick treat without the hassle of baking.
Kid-Friendly Fun: Kids will love helping to crush the cookies and mix the ingredients, making this a delightful family activity that results in a tasty reward.
Customizable Options: Whether you prefer vanilla wafers, graham crackers, or even ginger snaps, you can easily tweak the base to match your taste. You might even want to check out my Banana Pudding Dream for another sweet inspiration!
Crowd-Pleasing Dessert: These bars are a hit at potlucks and gatherings; everyone will be coming back for seconds!
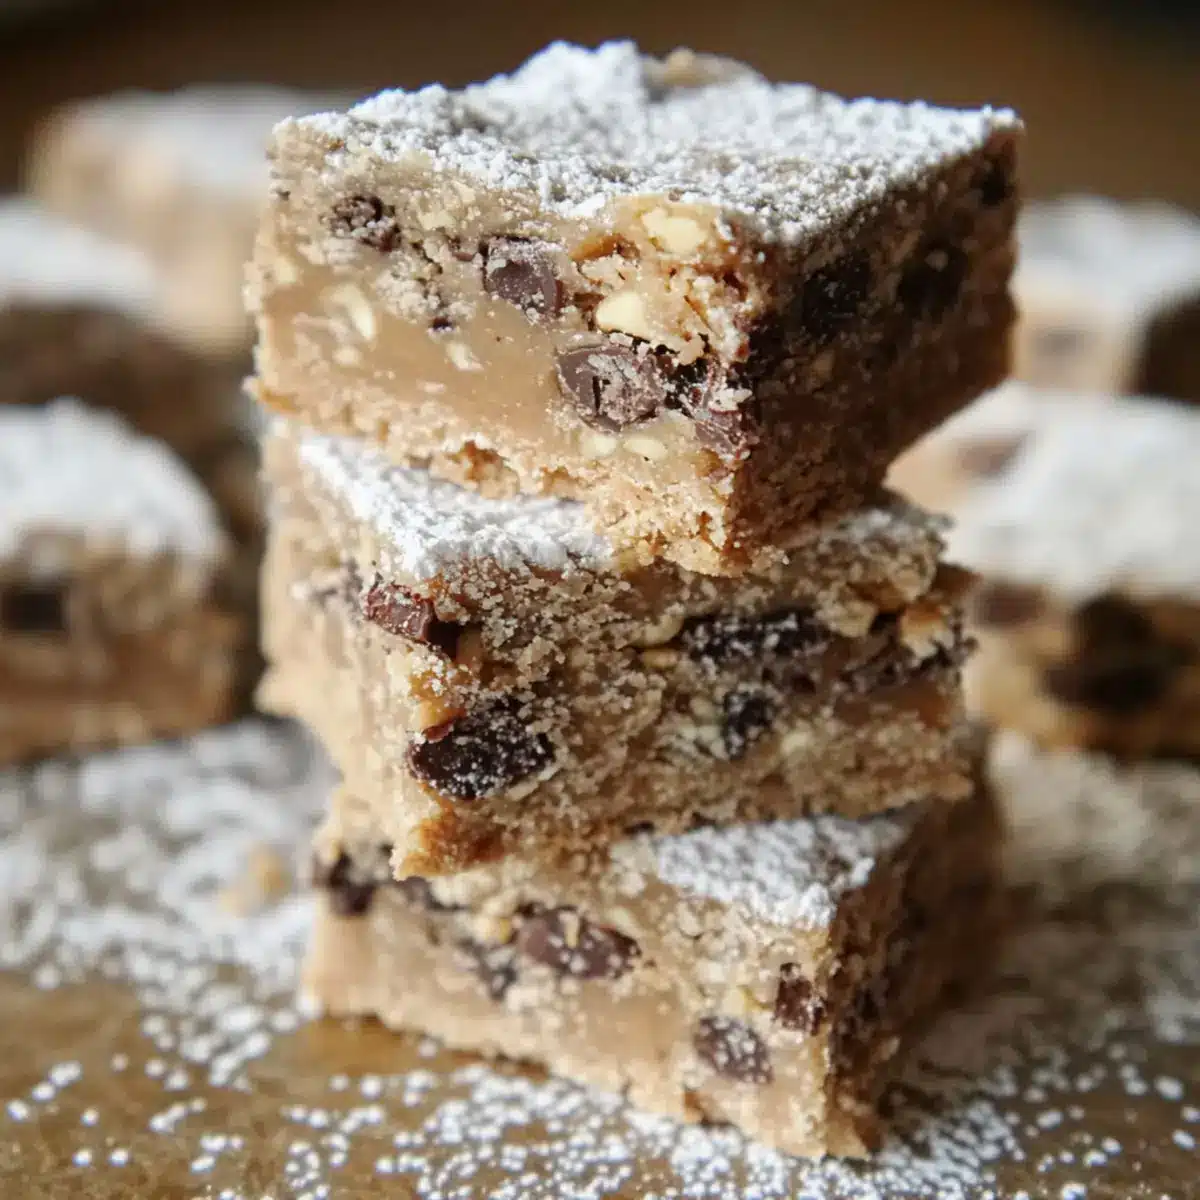
Sweet and Satisfying: Indulge in that rich chocolate and nutty flavor profile that pairs beautifully with the creamy sweetness of sweetened condensed milk.
Make Ahead Convenience: Just pop them in the fridge, and you’ll have a delectable dessert ready to go for days ahead!
No-Bake Smoosh Bars Ingredients
Get ready to create a dessert everyone will love!
For the Base
- Vanilla Wafer Cookies – These provide a delightful crunch and form the foundation of your bars; you can swap them for graham crackers or ginger snaps for a different flavor.
- Sweetened Condensed Milk – This adds a creamy sweetness that helps bind everything together.
For the Filling
- Semi-Sweet Chocolate Chips – For that rich, indulgent chocolate flavor that makes every bite irresistible.
- Chopped Pecans (or Walnuts) – Adds a satisfying crunch; toasting them will enhance their nutty flavor!
For Added Flavor
- Vanilla Extract – A splash of this ingredient elevates the overall taste, ensuring each bite is flavorful.
- Salt – A pinch balances the sweetness and enhances the flavors of the bars.
For the Finishing Touch
- Powdered Sugar – Dust it on top for an extra touch of sweetness; adjust the amount based on your preference for sugariness!
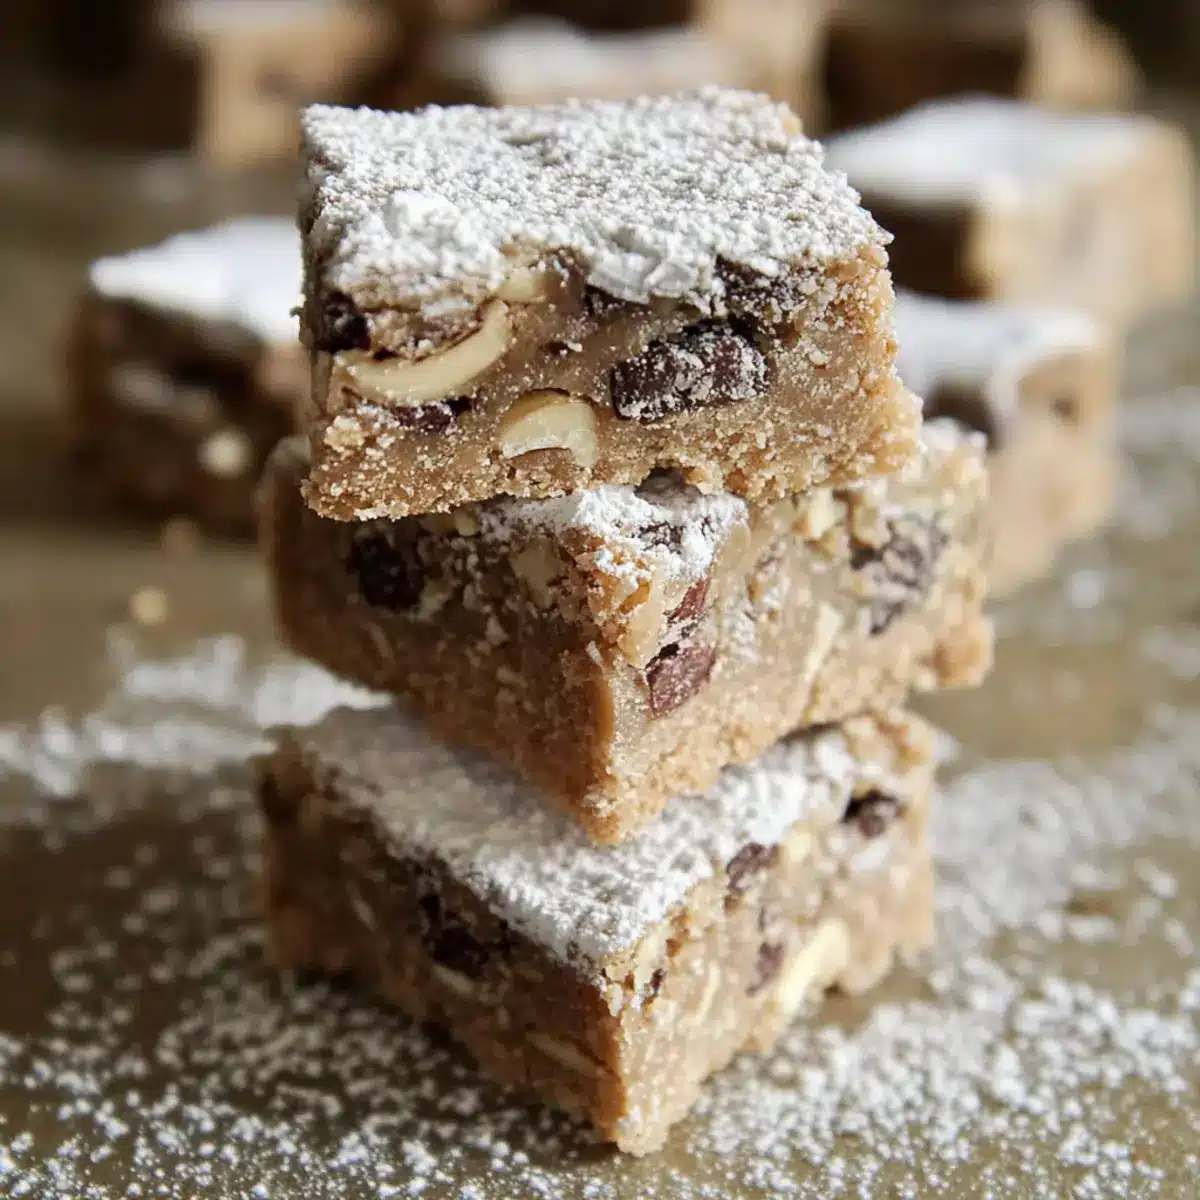
Dive into these No-Bake Smoosh Bars and experience a deliciously easy dessert that satisfies your sweet cravings!
Step‑by‑Step Instructions for No-Bake Smoosh Bars
Step 1: Prep the Pan
Begin by preparing your baking dish. Line an 8×8-inch square pan with aluminum foil, allowing some overhang for easy lifting later. Lightly spray the foil with nonstick cooking spray to prevent sticking. This step ensures that your No-Bake Smoosh Bars will come out of the pan effortlessly when it’s time to slice.
Step 2: Crush Cookies
Next, it’s time to crush the vanilla wafer cookies. You can use a food processor for quick results, pulsing until fine crumbs form, or place the cookies in a zip-top bag and roll them with a pin until they resemble sand. Aim for even crumb size to give your No-Bake Smoosh Bars a consistent texture throughout.
Step 3: Combine Ingredients
In a large mixing bowl, combine the crushed vanilla wafers with the sweetened condensed milk, semi-sweet chocolate chips, and chopped nuts. Add a splash of vanilla extract and a pinch of salt to enhance the flavor. Stir everything together with a spatula until well combined, ensuring that all the cookie crumbs are coated and the mixture is sticky and cohesive.
Step 4: Press Mixture
Transfer the mixture into your prepared pan and use your hands or the back of a spatula to firmly press it down into an even layer. Aim for a compact consistency so that your No-Bake Smoosh Bars hold together when sliced. Smooth out the top with a spatula to ensure a neat finish before moving on to the next step.
Step 5: Chill
Place the pan in the refrigerator and let it chill for about 2 hours. This step is crucial for allowing the bars to firm up so they can be cut into perfect squares. As the mixture cools, it will set and become the delightful texture you expect from No-Bake Smoosh Bars.
Step 6: Slice & Dust
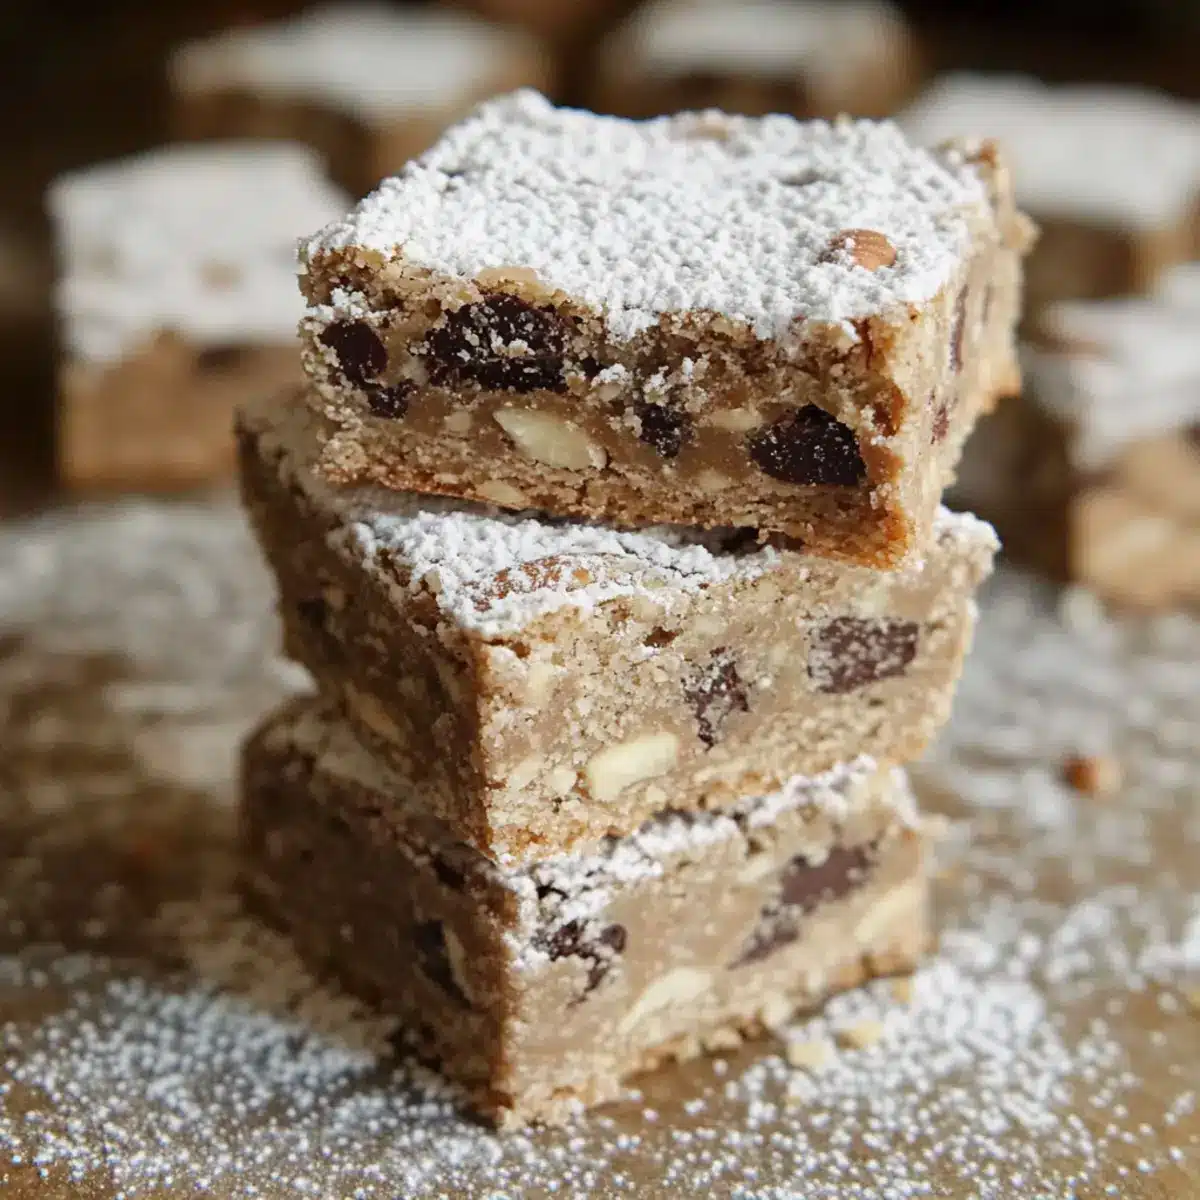
Once the chilling time is up, carefully lift the bars out of the pan using the foil overhang. Place them on a cutting board and slice into 16 equal squares. For a sweet finish, dust the tops with powdered sugar, adjusting the amount to match your preference for sweetness. Your No-Bake Smoosh Bars are ready to be enjoyed!
What to Serve with No-Bake Smoosh Bars
Indulging in the creamy goodness of these delightful dessert squares opens up a world of delicious pairings that elevate any gathering.
-
Fresh Berries: A burst of juicy strawberries, blueberries, or raspberries adds a refreshing contrast to the rich sweetness of the bars. They not only enhance the flavor but also create a vibrant, colorful plate.
-
Ice Cream Scoops: A scoop of vanilla or chocolate ice cream brings a lovely creaminess, turning your No-Bake Smoosh Bars into a decadent sundae experience. The combination of warm and cool textures is simply irresistible!
-
Whipped Cream: A dollop of fluffy whipped cream provides a light, airy balance to the chewy texture of the bars. It’s a simple touch that adds an extra layer of sweetness and visual appeal.
-
Chocolate Drizzle: A drizzle of warm chocolate sauce over the bars heightens the chocolatey goodness and makes each bite even more indulgent. This easy add-on will please chocolate lovers at your table!
-
Espresso or Coffee: The rich flavors of freshly brewed coffee or a shot of espresso beautifully complement the sweetness of your dessert. The bitterness of coffee balances the sugar, creating a sophisticated treat.
-
Nutty Trail Mix: A side of toasted nut and dried fruit trail mix introduces a crunchy texture that contrasts the creamy bars. This combination is not only satisfying but also adds a healthy touch to your dessert spread.
-
Fruit-Laden Salad: A light fruit salad drizzled with honey adds a refreshing counterpart to your No-Bake Smoosh Bars. The bright flavors will cleanse the palate and keep the dining experience light and enjoyable.
-
Chilled Milk: Don’t forget a glass of cold milk! It’s a classic pairing that enhances the creamy, sweet elements of the bars, creating that nostalgic dessert vibe we all cherish.
-
Coffee or Tea: Pairing your bars with a warm cup of coffee or tea can enhance both flavors and create a serene end to any meal. The warmth of these beverages complements the cool, chewy texture of your No-Bake Smoosh Bars perfectly.
-
Nut Butter Spread: A thin layer of almond or peanut butter on the side adds a savory touch that pairs well with the sweetness of the bars. The contrast between flavors creates a delightful harmony that bursts with flavor!
Make Ahead Options
These No-Bake Smoosh Bars are ideal for meal prep, saving you time during busy weeks! You can prepare the mixture up to 24 hours in advance by following the first four steps: prepping the pan, crushing the cookies, combining the ingredients, and pressing the mixture into the pan. After pressing, just cover the pan tightly with plastic wrap and refrigerate. This ensures freshness while preventing any browning or drying out. When you’re ready to serve, simply chill for the remaining 2 hours, slice into squares, and dust with powdered sugar for an effortlessly delightful treat that tastes just as delicious as if you’d made it the same day!
No-Bake Smoosh Bars Variations
Feel free to get creative with these No-Bake Smoosh Bars and truly make them your own!
-
Graham Cracker Base: Swap vanilla wafers with graham crackers for a honeyed flavor that will add a delightful twist to the bars. The combination of textures is simply irresistible!
-
Ginger Snap Surprise: For a zesty kick, use ginger snaps as a base. The spicy undertone will elevate the overall taste and give your bars a unique character.
-
Nut-Free Option: Replace chopped nuts with sunflower seeds to keep things crunchy but without the allergens. This is perfect for school snacks!
-
White Chocolate Delight: Change semi-sweet chocolate chips to white chocolate chips for a sweeter, creamier flavor profile. Treat yourself to a decadent dessert that’s absolutely heavenly!
-
Fruit Infusion: Consider folding in dried cranberries or raisins for a fruity twist that adds sweetness and chewiness. This little addition brings a surprising burst of flavor!
-
Spiced Pecans: Before mixing, toss your pecans with a sprinkle of cinnamon to introduce warm, comforting spices that will envelop each bite in bliss.
-
Extra Creamy: For a creamier texture, include a couple of tablespoons of cream cheese in your mixture. This gives an extra layer of richness that everyone will love.
-
Layered Bars: For a stunning presentation, create layers by alternating between chocolate and vanilla wafers in your mixture. Not only does this look delightful, but it adds a depth of flavor too!
As you explore these variations, don’t forget to check out my Chocolate Chip Bars and Bake Cottage Bites for even more tasty inspirations! Each option is a fun way to mix up this classic recipe and bring a personal touch. Enjoy your culinary journey!
Expert Tips for No-Bake Smoosh Bars
-
Texture Matters: Pressing the mixture firmly into the pan ensures your No-Bake Smoosh Bars hold together beautifully when sliced, preventing crumbles and unsightly pieces.
-
Cookie Variations: Don’t hesitate to experiment! Try using graham crackers or ginger snaps instead of vanilla wafers for a unique flavor twist in your bars.
-
Toasting Nuts: Toast your pecans or walnuts before adding them for a deeper, richer nutty flavor that elevates your No-Bake Smoosh Bars to another level.
-
Chill Thoroughly: Be patient during the chilling step; allowing your bars to set for a full 2 hours will result in a firmer texture that’s easier to slice.
-
Sweetness Balance: Adjust your powdered sugar dusting on top to match your personal sweetness preference—this ensures your No-Bake Smoosh Bars are just right for you!
How to Store and Freeze No-Bake Smoosh Bars
Fridge: Keep your No-Bake Smoosh Bars in an airtight container in the refrigerator for up to 5 days. This helps maintain their chewy texture and freshness.
Freezer: For longer storage, wrap each bar individually in plastic wrap and place them in a freezer-safe container. They can be frozen for up to 2 months.
Thawing: When ready to enjoy, simply remove the bars from the freezer and let them thaw in the fridge for a few hours before indulging.
Reheating: There’s no need to reheat these bars; enjoy them chilled to experience their delightful texture!
No-Bake Smoosh Bars Recipe FAQs
How do I choose the best vanilla wafer cookies for No-Bake Smoosh Bars?
When selecting vanilla wafer cookies, look for those that are fresh and free of any dark spots or breakage. The texture and flavor of the cookies will play a huge role in the final result, so a good quality brand is recommended. If you prefer a different taste, Graham crackers or ginger snaps also work beautifully in this recipe!
What is the best way to store No-Bake Smoosh Bars?
To keep your No-Bake Smoosh Bars fresh, store them in an airtight container in the refrigerator for up to 5 days. This helps maintain their chewy texture and keeps them safe from odors from other foods. I often layer parchment paper between the bars to prevent sticking!
Can I freeze No-Bake Smoosh Bars?
Absolutely! For longer storage, wrap each bar individually in plastic wrap and place them in a freezer-safe container or bag. They can be frozen for up to 2 months. When you’re ready to enjoy them, just move them to the fridge for a few hours to thaw—no need to reheat!
What should I do if my No-Bake Smoosh Bars are too crumbly?
If your bars come out crumbly, it might be due to not enough moisture. Next time, try adding a little more sweetened condensed milk or ensure you are pressing the mixture firmly into the pan. A good mix is essential, and letting them chill in the fridge for the full 2 hours will help them set nicely!
Are No-Bake Smoosh Bars safe for kids with nut allergies?
If nuts are a concern, you can easily omit the chopped pecans or walnuts from the recipe. Additionally, be sure to check labels for any potential cross-contamination with nuts if using packaged ingredients. The bars will still be delicious and satisfying without nuts!
How can I customize the flavor of my No-Bake Smoosh Bars?
There are so many fun ways to customize your No-Bake Smoosh Bars! You can experiment with different cookie bases like graham crackers or ginger snaps for unique flavors. Feel free to swap semi-sweet chocolate chips for white chocolate or butterscotch chips for an adventurous twist!
No-Bake Smoosh Bars: Irresistibly Chewy Dessert Bliss
Ingredients
Equipment
Method
- Prep the Pan: Line an 8x8-inch square pan with aluminum foil and spray it lightly with nonstick cooking spray.
- Crush Cookies: Crush the vanilla wafer cookies into fine crumbs using a food processor or a zip-top bag.
- Combine Ingredients: In a bowl, mix the crushed cookies with sweetened condensed milk, chocolate chips, nuts, vanilla extract, and salt until well coated.
- Press Mixture: Transfer the mixture to the pan and press down firmly to create an even layer.
- Chill: Place in the refrigerator for about 2 hours to set.
- Slice & Dust: Lift the bars from the pan using the foil, slice them into squares, and dust with powdered sugar.
Leave a Reply