
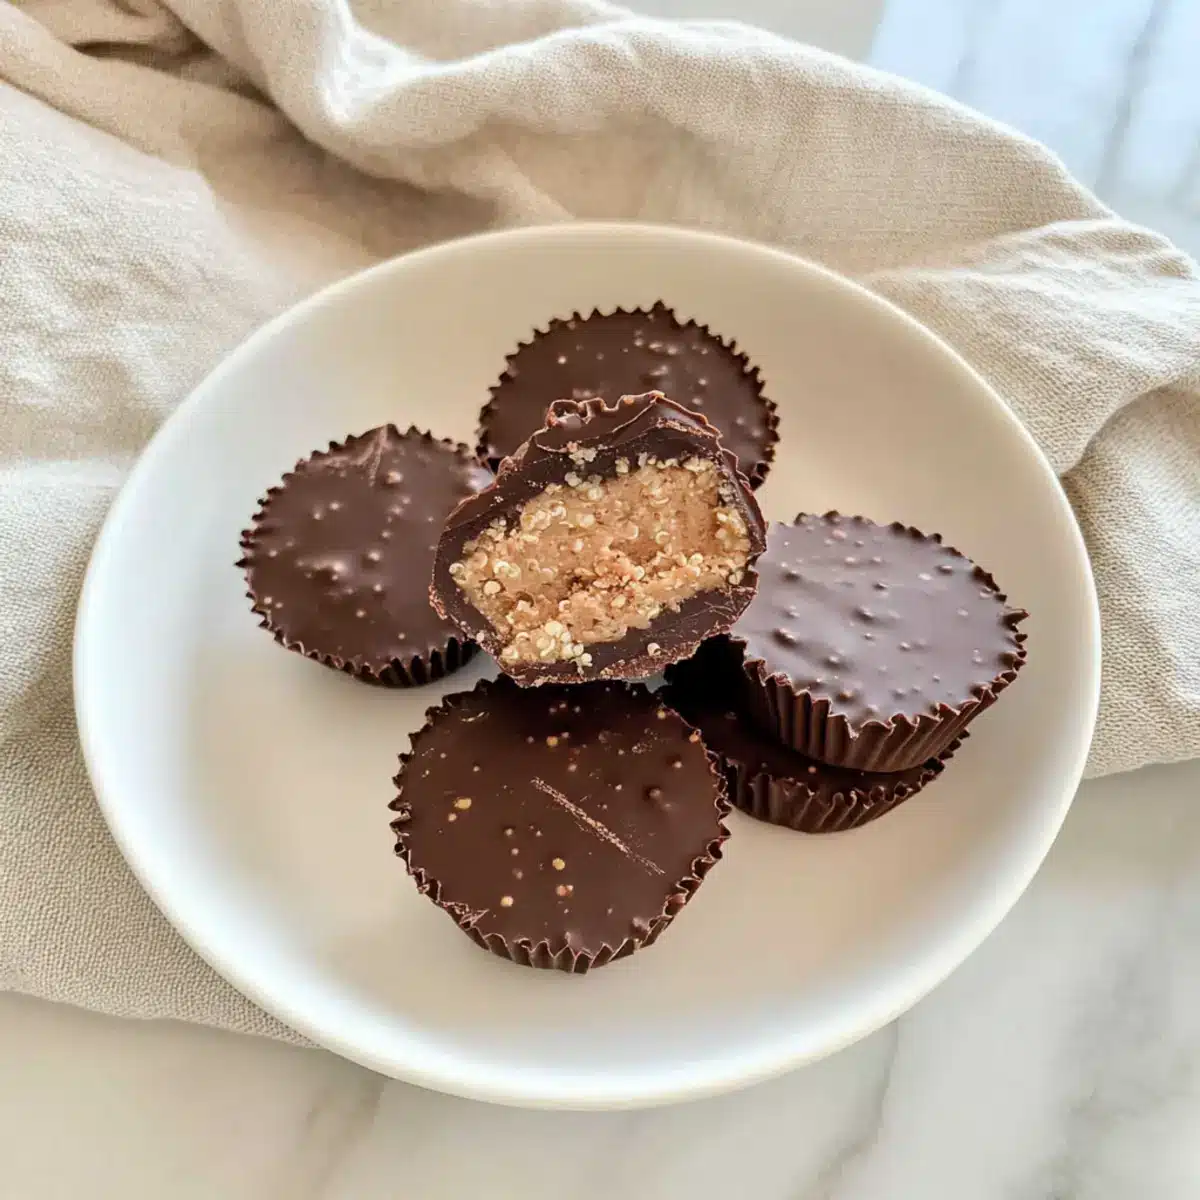
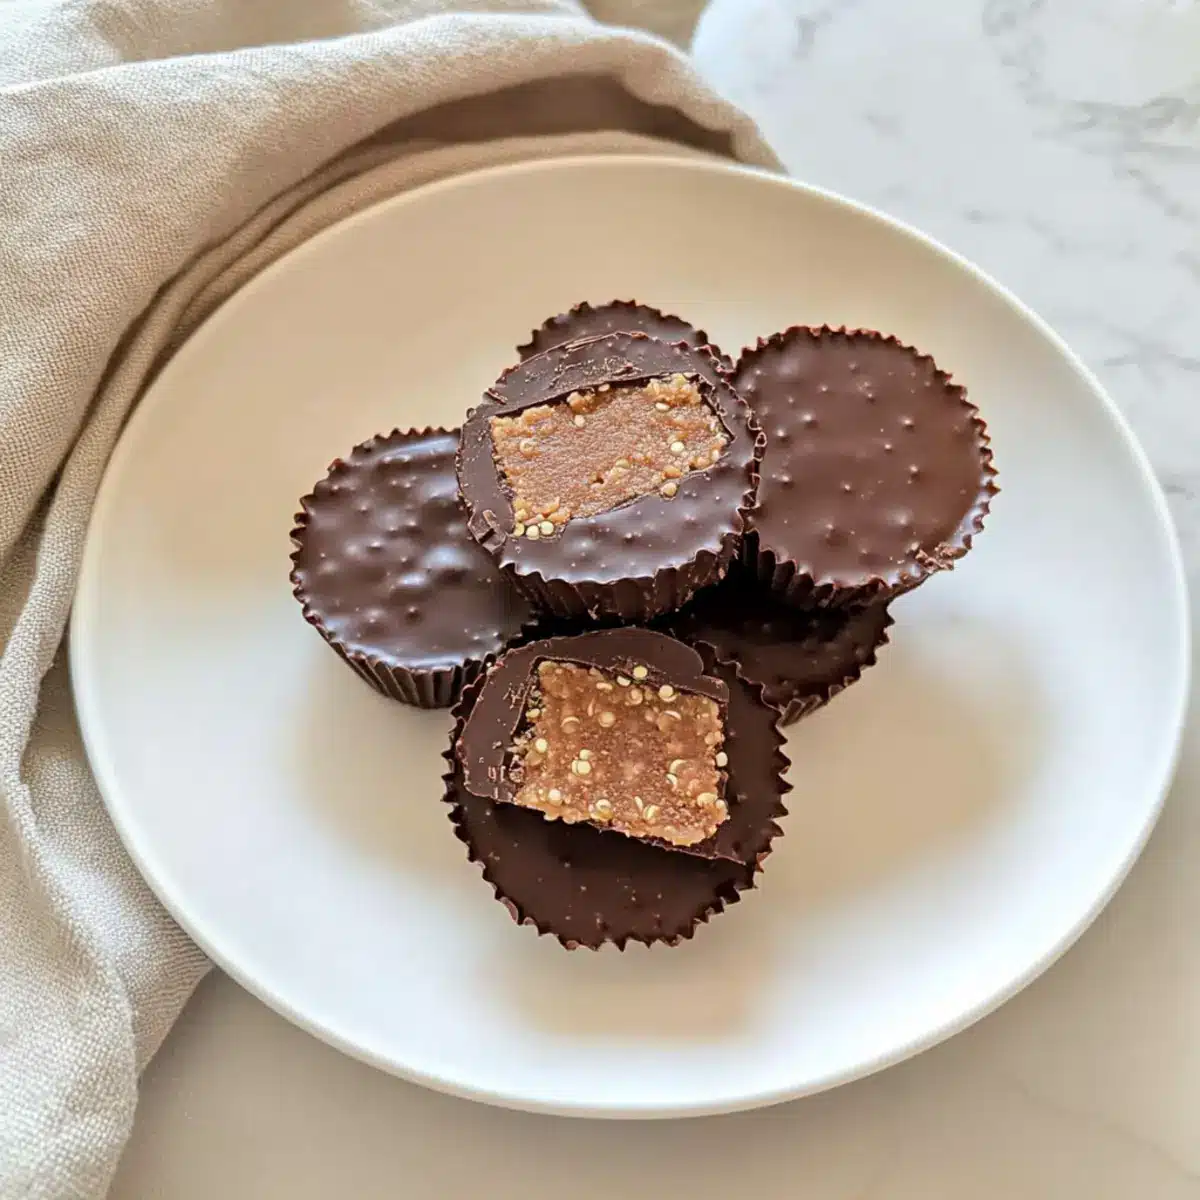
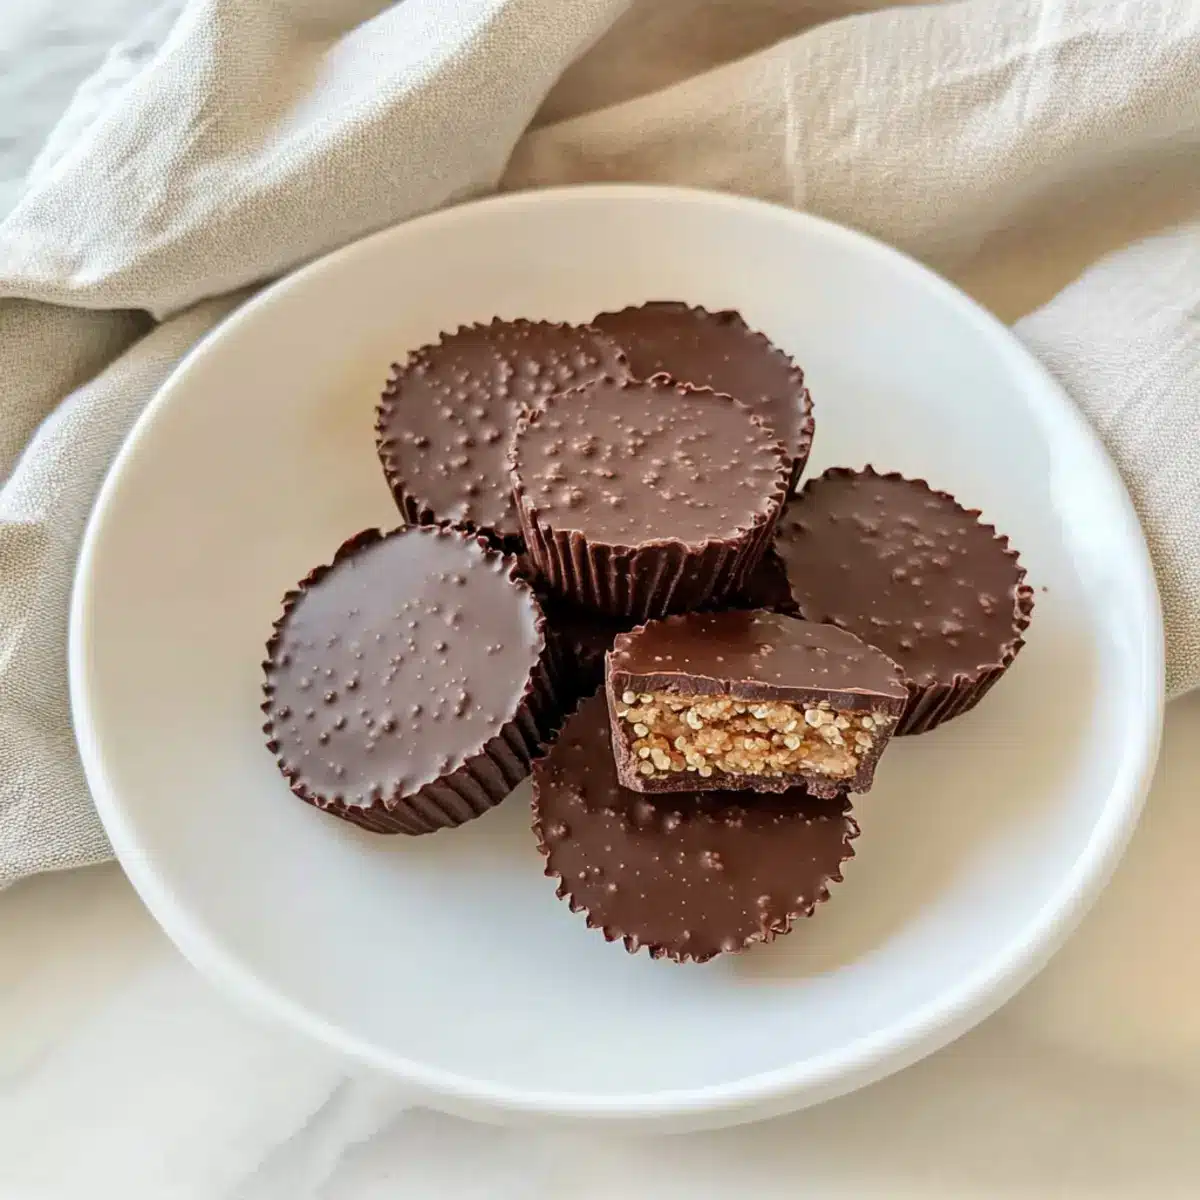
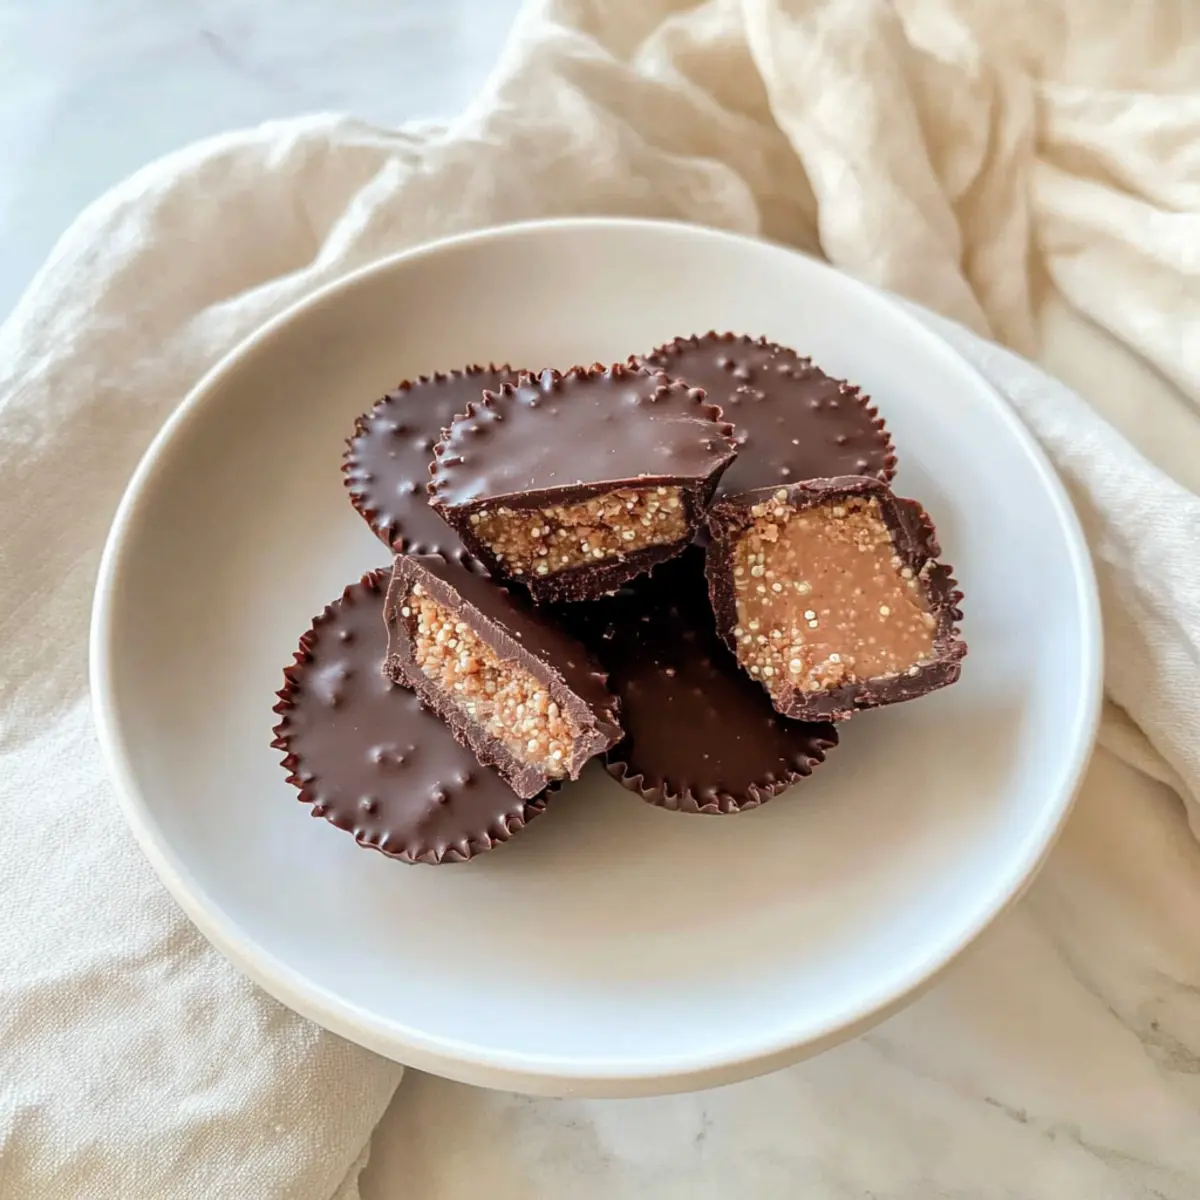
A little crunch can change everything, especially when it comes to desserts! These Quinoa Crunch Peanut Butter Cups are not just a treat; they’re a game-changer for anyone craving something sweet yet wholesome. With only four ingredients, this no-bake recipe is a quick triumph that brings together creamy peanut butter and rich dark chocolate, wrapped around a delightful pop of crisp quinoa. Whether you’re vegan, gluten-free, or simply in need of a decadent snack to satisfy your sweet tooth, these cups deliver the ultimate comfort in every bite. Plus, they’re freezer-friendly, making them perfect for meal prep or those unexpected cravings. Ready to indulge in a guilt-free delight? Let’s dive into this simple yet satisfying recipe!
Why are these cups irresistible?
Simplicity shines through with just four ingredients, making these Quinoa Crunch Peanut Butter Cups incredibly easy to whip up. Flavor-packed with the rich goodness of dark chocolate and the creamy texture of peanut butter, they offer a delightful taste experience. Healthy indulgence means you can satisfy your sweet craving without the guilt, perfect for both vegan and gluten-free diets. Freezer-friendly and versatile, these cups are a sweet snack ready whenever you need, whether it’s for a party, a lunchbox treat, or an afternoon pick-me-up. If you’re in the mood for something equally delicious, check out my recipe for Chocolate Peanut Butter Muffins for another crave-worthy option!
Quinoa Crunch Peanut Butter Cups Ingredients
For the Chocolate Layer
- Dark Chocolate – Forms the rich base layer; choose a dairy-free option for a vegan twist.
- Coconut Oil – Ensures the chocolate melts smoothly and adds a subtle tropical flavor; can substitute with any neutral oil, like avocado oil.
For the Filling
- Peanut Butter – Creates a creamy and delicious filling; almond or cashew butter can be used for variety.
- Quinoa Crisps – Adds a satisfying crunch to these cups; they’re easily found at health food stores or online.
Step‑by‑Step Instructions for Quinoa Crunch Peanut Butter Cups
Step 1: Melt the Chocolate
Begin by placing 1 cup of dark chocolate and 2 tablespoons of coconut oil in a microwave-safe bowl. Heat the mixture in 30-second increments, stirring vigorously between each round until the chocolate is completely melted and smooth. This process usually takes about 1–2 minutes total. The shiny, melted chocolate will form the delicious base for your Quinoa Crunch Peanut Butter Cups.
Step 2: Prepare the Chocolate Mixture
Once your chocolate mixture is silky, stir in 2 tablespoons of peanut butter and 3 tablespoons of quinoa crisps. Mix everything together until the quinoa is evenly coated. This step adds both flavor and texture to our cups and will set aside for later. You want a thick, somewhat chunky consistency that will give your cups a delightful crunch.
Step 3: Make the Peanut Butter Filling
In a separate bowl, combine the remaining peanut butter (about 1/2 cup) with 2 tablespoons of maple syrup, stirring until smooth. Next, fold in 3 tablespoons of coconut flour until the mixture is slightly thickened and forms a sticky and cohesive paste. This creamy filling will balance the rich chocolate layer perfectly in your Quinoa Crunch Peanut Butter Cups.
Step 4: Assemble the Cups
Line a mini muffin tin with silicone cupcake liners for easy removal. Pour about 1/2 tablespoon of the chocolate mixture into the bottom of each liner, using the back of a spoon to spread it evenly. The chocolate should cover the base, creating a solid foundation for the filling. Aim for a uniform layer, as this will help the cups hold their shape.
Step 5: Add the Filling
Now, using your hands, roll a teaspoon of the peanut butter mixture into a small ball, then flatten it slightly to fit into the liner. Place the flattened filling in the center of each chocolate-covered liner. This step is crucial to ensure your Quinoa Crunch Peanut Butter Cups have that delicious creamy center that lovers of this treat crave.
Step 6: Top with Chocolate
For the finishing touch, spoon the remaining chocolate mixture on top of the peanut butter filling in each liner, fully covering it. Use the back of the spoon to smooth it out if necessary. This layer will seal in the filling and create a chocolatey experience. You should aim for a nice, even layer that completely envelops the filling.
Step 7: Freeze Until Firm
Place the muffin tin in the freezer for about 1–2 hours, or until the Quinoa Crunch Peanut Butter Cups are completely firm. You’ll know they are ready when they easily pull away from the sides of the liners. Allowing them to freeze ensures they hold their shape and provide that satisfying crunch when you take a bite.
Step 8: Serve and Enjoy
Once firm, carefully remove each cup from the silicone liners. These are now ready to be enjoyed! Serve them chilled straight from the refrigerator or at room temperature for a firmer texture. These Quinoa Crunch Peanut Butter Cups are perfect for sharing at parties or enjoying as a sweet snack anytime!
What to Serve with Quinoa Crunch Peanut Butter Cups
These delightful vegan treats can be the centerpiece of a heartwarming dessert spread or simply enjoyed on their own with a cozy beverage.
-
Fresh Berries: The brightness of strawberries or raspberries provides a refreshing contrast, balancing the richness of the peanut butter cups.
-
Coconut Chia Pudding: This creamy dessert adds an extra layer of indulgence while keeping with the tropical theme introduced by coconut oil in the cups.
-
Nutty Granola: A crunchy side of homemade or your favorite granola brings texture and a slight sweetness that beautifully complements these decadent cups.
-
Vanilla Almond Milk: A smooth, nutty beverage that pairs perfectly, offering a calming touch to the rich flavors of the chocolate and peanut butter.
-
Iced Herbal Tea: A chilled brew, like peppermint or hibiscus, adds a fragrant and refreshing note, making it a lovely choice for warm days.
-
Dark Chocolate Drizzle: If you’re feeling extra indulgent, a drizzle of melted dark chocolate over fresh fruit can elevate your dessert experience and tie in the chocolatey flavor.
Adding these complementary items will elevate your dessert experience and delight your taste buds!
Expert Tips for Quinoa Crunch Peanut Butter Cups
- Use Silicone Molds: They make removing the cups easier and prevent breakage, ensuring your Quinoa Crunch Peanut Butter Cups look as good as they taste.
- Melt Carefully: Heat the chocolate in short intervals and stir well to avoid burning, achieving a perfect silky texture every time.
- Adjust Sweetness: Taste the filling before assembling; if you prefer a sweeter center, feel free to add more maple syrup!
- Refrigerate or Freeze: For the best flavor and texture, store these cups in the fridge for immediate enjoyment or freeze for later cravings.
- Experiment with Flavors: Don’t hesitate to mix it up! Try adding different nut butters or additional toppings like sea salt for variety in your Quinoa Crunch Peanut Butter Cups.
How to Store and Freeze Quinoa Crunch Peanut Butter Cups
Fridge: Store the cups in an airtight container for up to 30 days. This keeps them fresh and maintains their delightful texture.
Freezer: For longer storage, freeze the cups in an airtight container for up to 60 days. They make for a quick, frozen treat whenever a craving hits!
Thawing: When ready to enjoy, simply remove from the freezer and allow to thaw at room temperature for about 10–15 minutes before serving.
Reheating: If you prefer a softer treat, you can microwave them for a few seconds, but be cautious not to overheat and melt the chocolate completely.
Make Ahead Options
These Quinoa Crunch Peanut Butter Cups are perfect for meal prep enthusiasts! You can prepare the chocolate mixture and the peanut butter filling up to 24 hours in advance, storing them separately in airtight containers in the refrigerator. To maintain the quality, ensure the chocolate mixture is well-covered to prevent it from hardening. When you’re ready to assemble, simply follow the assembly instructions and freeze the cups for an additional 1–2 hours until firm. This way, you’ll have delicious homemade snacks ready to grab at a moment’s notice, saving time during busy weeknights while still delivering satisfying and guilt-free treats!
Quinoa Crunch Peanut Butter Cups Variations
Feel free to get creative with these Quinoa Crunch Peanut Butter Cups; let your taste buds lead the way!
- Nut-Free Version: Swap peanut butter for sunflower seed butter for a nut-free option that’s equally delightful.
- Chocolate Drizzle: Amp up the visual appeal by drizzling some melted chocolate on top for a show-stopping finish! This simple addition impresses without much effort.
- Crispy Twists: Use puffed brown rice instead of quinoa crisps for an exciting texture change; it brings a different crunch while keeping the bite light and airy.
- Spicy Kick: Add a pinch of cayenne pepper or chili powder to the chocolate layer for a surprising heat that contrasts beautifully with the sweetness.
- Flavor Infusion: Mix in a teaspoon of vanilla extract to the peanut butter filling for a lovely aromatic twist that enhances the overall flavor profile.
- Mini-Cups: Make bite-sized treats by using a mini muffin tin; perfect for gatherings or if you desire smaller nibbles!
- Nutty Topping: Sprinkle chopped nuts like pecans or almonds on top of the chocolate layer before it sets for an added crunch and extra flavor.
- Coconut Bliss: Stir in unsweetened shredded coconut into the chocolate mixture for a tropical flair, and transport your taste buds to paradise!
Enjoy these delicious variations, and if you’re looking for more wholesome recipes, don’t miss my delightful Quinoa Salad Bright for another nutritious treat!
Quinoa Crunch Peanut Butter Cups Recipe FAQs
How do I choose the right quinoa crisps?
Absolutely! When selecting quinoa crisps, look for brands that are minimally processed and free from added sugars or preservatives. You can find them at health food stores or online. If you’re in a pinch, puffed rice can be a suitable alternative, offering a similar crunch without the quinoa.
How should I store the Quinoa Crunch Peanut Butter Cups?
You can store these delightful cups in an airtight container in the fridge for up to 30 days, which helps maintain their texture and flavor. If you want to keep them for longer, pop them in the freezer for up to 60 days. Just remember to separate layers with parchment paper to avoid sticking!
Can I freeze Quinoa Crunch Peanut Butter Cups?
Yes, indeed! To freeze these cups, place them in an airtight container, ensuring they are not crowded together to prevent sticking. They can be kept frozen for up to 60 days. When you’re ready to enjoy one, simply let it thaw at room temperature for about 10–15 minutes for the best textural experience.
What should I do if my chocolate mixture is too thick?
No worries! If your chocolate mixture becomes too thick while melting, simply add a little more coconut oil. Start with a teaspoon, stir well, and heat for an additional 10 seconds if needed, ensuring a smooth and silky consistency. This will help give your Quinoa Crunch Peanut Butter Cups a perfect chocolate layer.
Are these Quinoa Crunch Peanut Butter Cups pet-friendly?
Not at all! While they are vegan and gluten-free, the ingredients in these cups may not be suitable for pets. Chocolate, for example, can be toxic to dogs and cats. Always keep these treats out of reach of your furry friends, and enjoy them safely for yourself!
Can I modify the filling for allergies?
Very much so! If you or someone you know has a nut allergy, you can replace peanut butter with sun butter or soy nut butter. Both alternatives provide a creamy texture and flavor without the risk of allergens. Always check labels for cross-contamination if allergies are a concern!
Quinoa Crunch Peanut Butter Cups: A Delicious Vegan Treat
Ingredients
Equipment
Method
- Begin by placing 1 cup of dark chocolate and 2 tablespoons of coconut oil in a microwave-safe bowl. Heat in 30-second increments until melted and smooth.
- Once melted, stir in 2 tablespoons of peanut butter and 3 tablespoons of quinoa crisps until well combined.
- In a separate bowl, mix the remaining peanut butter with 2 tablespoons of maple syrup, then fold in 3 tablespoons of coconut flour.
- Line a mini muffin tin with silicone liners. Pour about 1/2 tablespoon of the chocolate mixture into each liner.
- Roll a teaspoon of the peanut butter mixture into a small ball and place it into each chocolate-covered liner.
- Spoon the remaining chocolate mixture on top of the peanut butter filling and smooth it out.
- Freeze the muffin tin for about 1–2 hours until the cups are firm.
- Carefully remove each cup from the silicone liners and serve chilled or at room temperature.
Leave a Reply